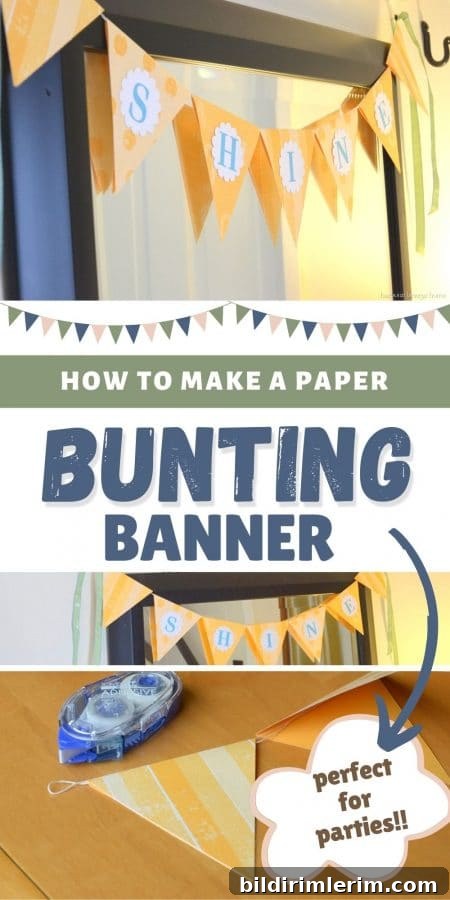
How to Make a Quick & Easy Paper Bunting Banner
Add color and personality to any room with a simple paper bunting banner. With basic scrapbooking supplies and a little time, you can create charming decor for parties, seasonal displays, or everyday styling.
Refreshing your home decor doesn’t have to be expensive. Using paper you already have — or a few affordable sheets from a craft store — you can make a decorative bunting banner in about 20 minutes. This easy project is great for beginners and ideal for customizing colors and patterns to match any theme.
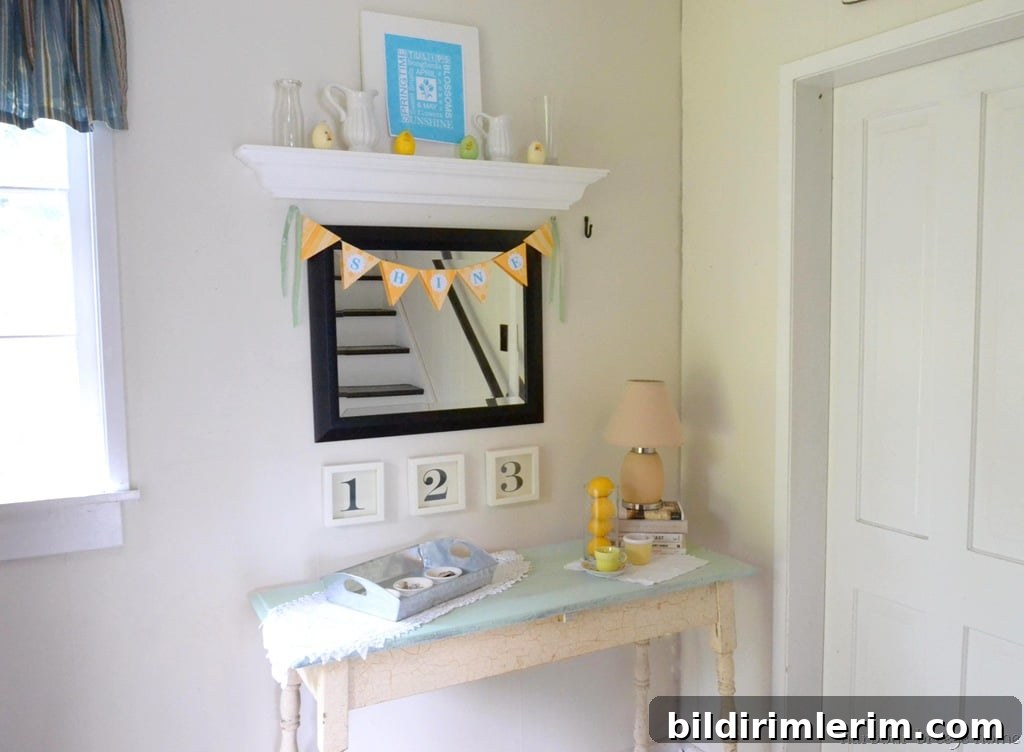
Materials (what you’ll need)
- 61 inches of lightweight string or baker’s twine
- Three sheets of coordinating 12 x 12 patterned paper (or similar scrap paper)
- Paper cutter or scissors and a ruler
- Double-sided tape or a strong glue stick
- White cardstock for letters or accents
- Round or scallop paper punch (optional)
- Alphabet stamps or a printer to create letters
- Decorative ribbon for the ends (optional)
Step-by-step instructions
- Cut your string to 61 inches. Fold it in half and tie a knot at the two cut ends so the banner will hang evenly.
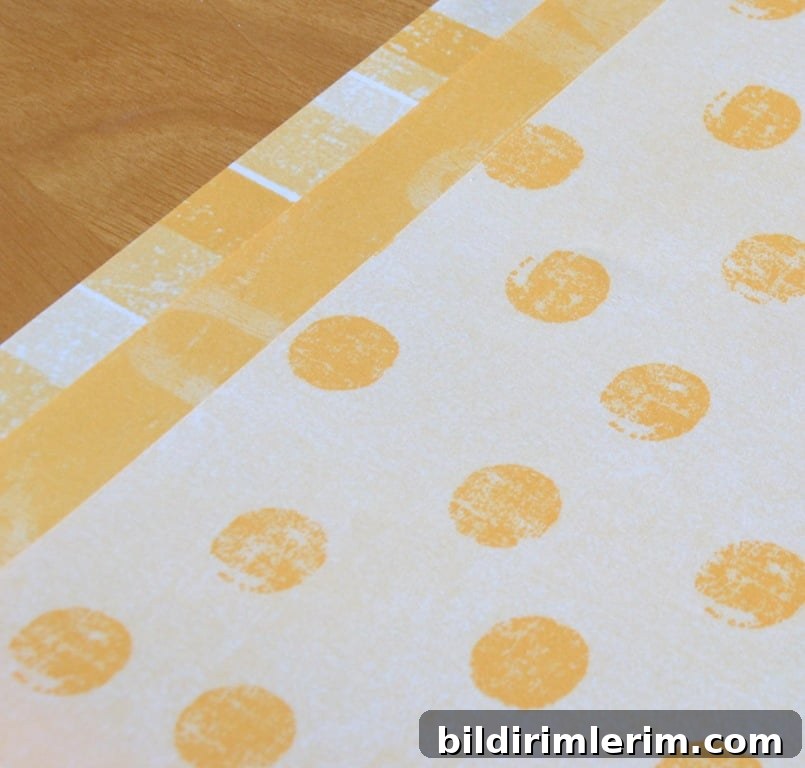
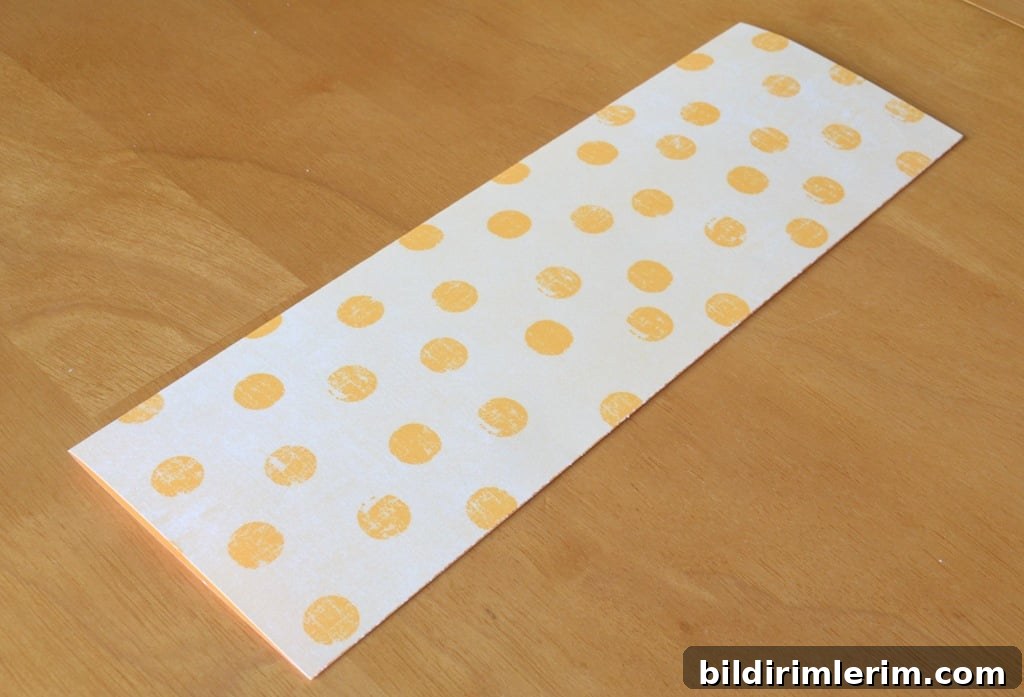
- From each 12 x 12 paper sheet, cut a piece that measures 8 x 12 inches. You’ll have three pieces total.
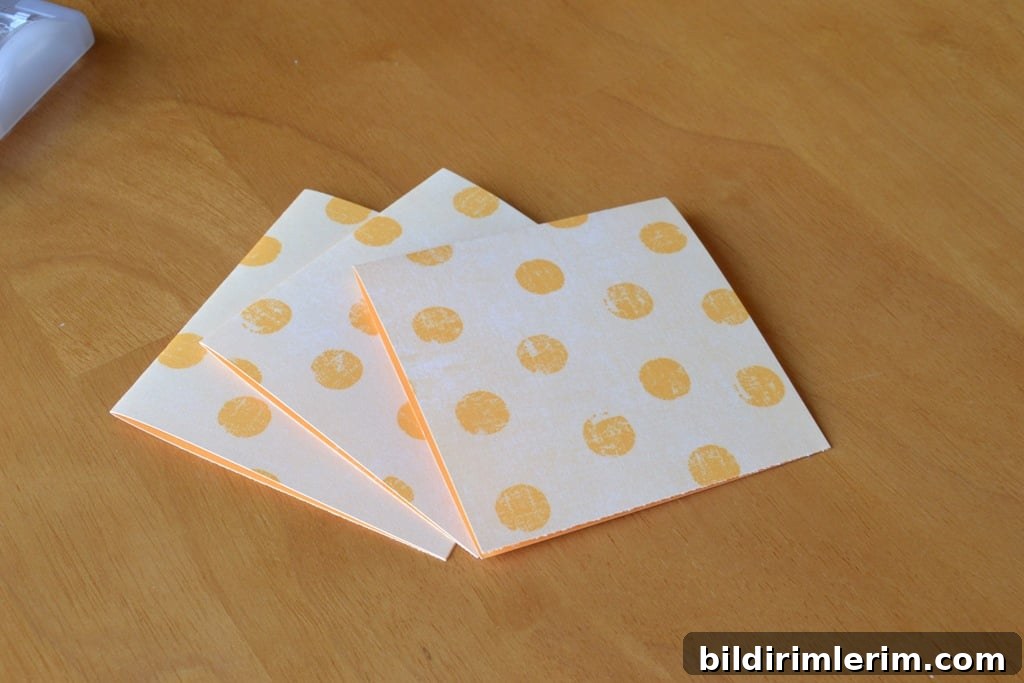
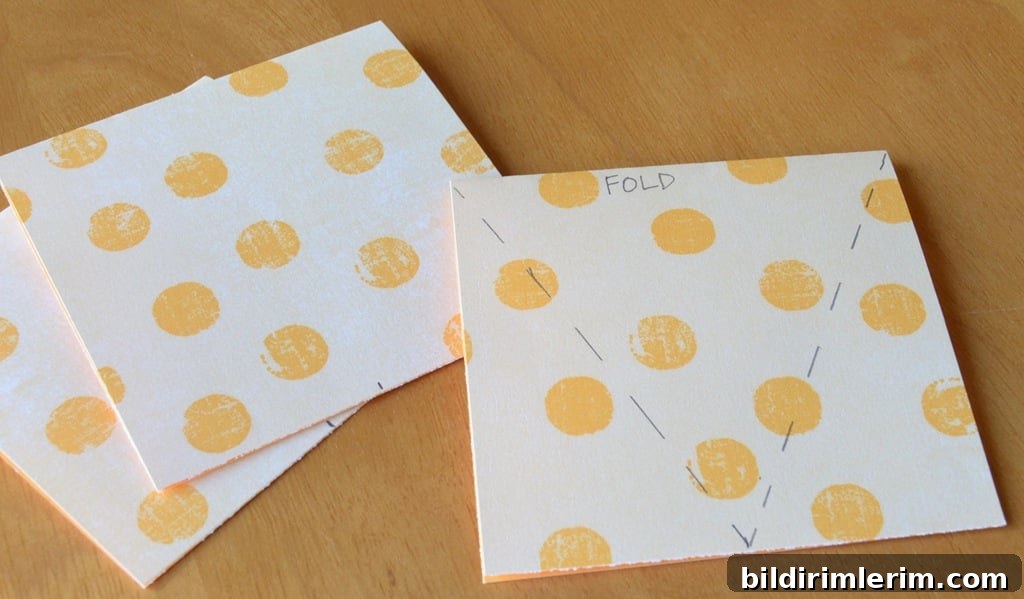
- Fold each 8 x 12 piece in half lengthwise so it measures 4 x 12 inches. Then cut across the folded sheet at 4-inch intervals. After cutting, you’ll have folded squares that measure 4 x 4 inches.
- On the unfolded edge of each square, measure 2 inches from one side and cut diagonally toward the opposite corner to create a triangle shape when folded. When folded again, this produces the classic bunting pennant shape.
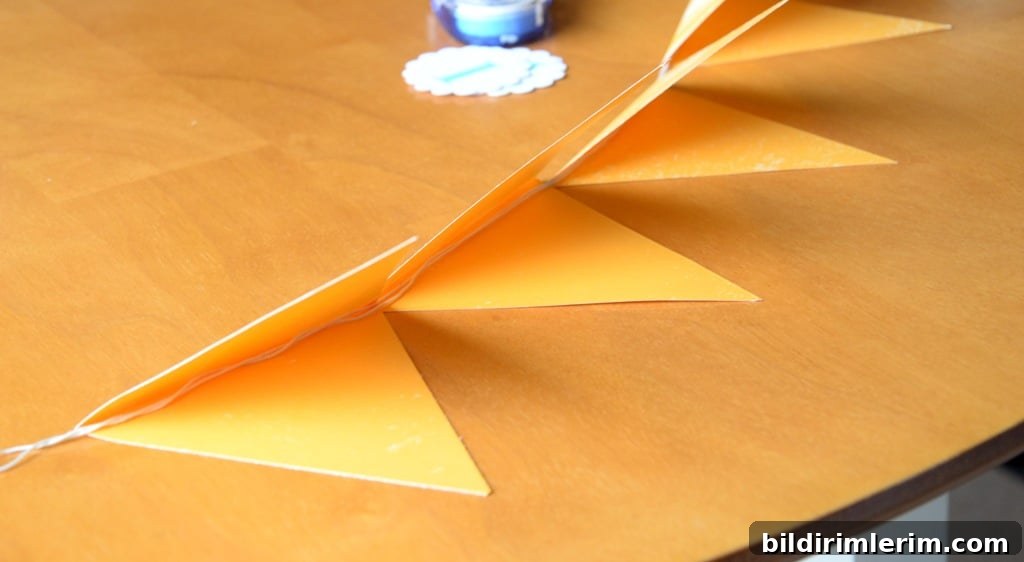
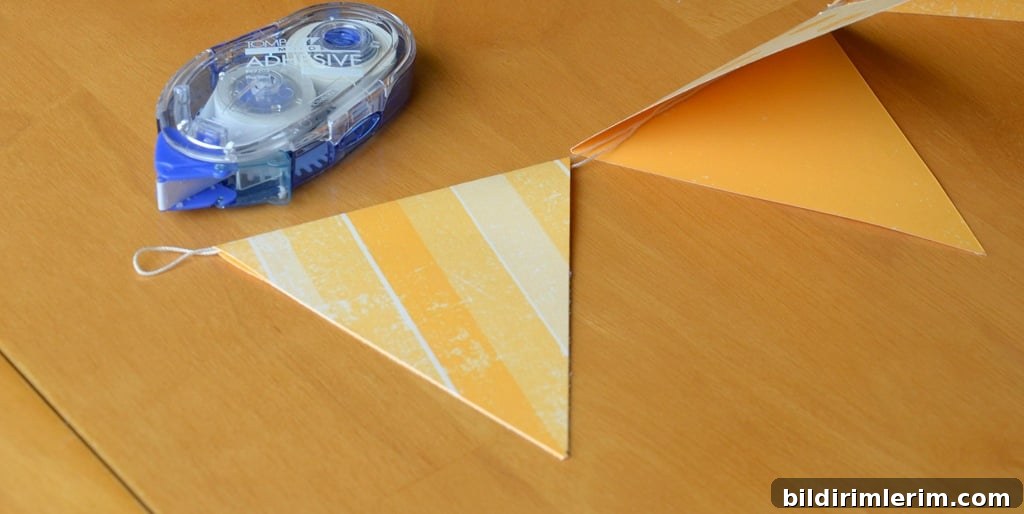
- Arrange the folded triangles along the string with the string tucked inside each folded pennant. Space them evenly; you can lay out the full length first to check spacing. You may have a few extra pennants — these are handy for adjustments or short banners.
- Secure each folded pennant with double-sided tape or a small dab of glue on the inside fold so it holds the string in place.
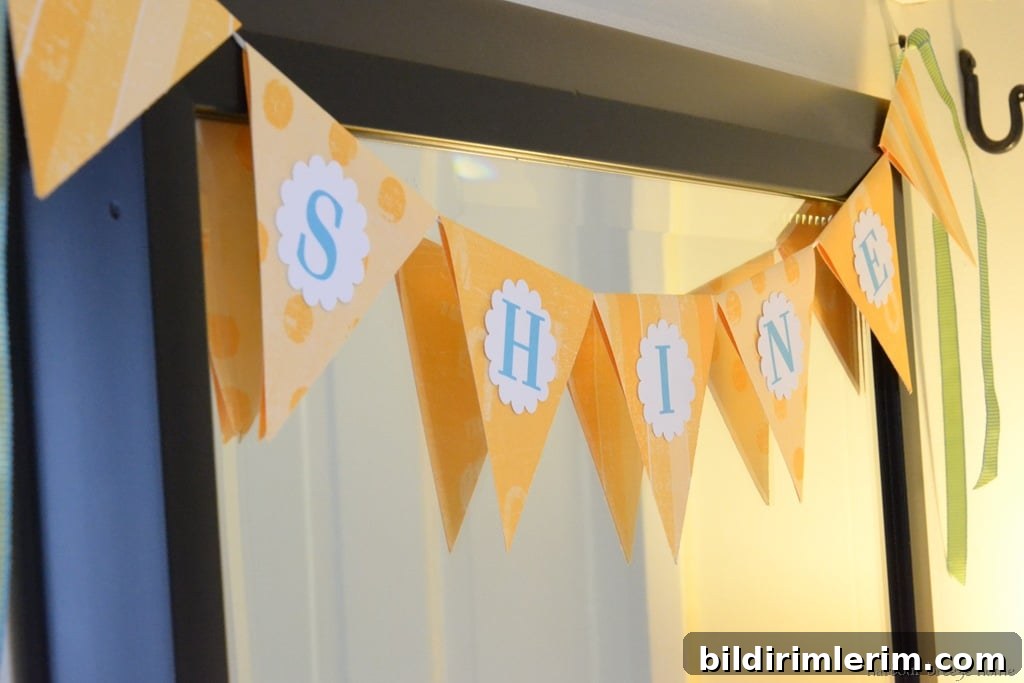
- Create your lettering or accents on white cardstock. Print letters from a computer or use stamps. Cut the letters into circles, scallops, or rectangles — a 2-inch scallop punch works nicely — and attach them to the front of each pennant with double-sided tape.
- Finish the ends of the string with small knots and tie on decorative ribbon if desired. Hang the banner using thumbtacks, small nails, or removable hooks, and adjust the pennants so they sit evenly.
Tips and variations
- If you don’t have patterned paper, use pages from old magazines, leftover wallpaper samples, or print custom patterns at home.
- For a sturdier banner, back each pennant with thin cardstock before folding and taping.
- Use different shapes — flags, circles, or heart-shaped cutouts — to change the look. Mixing patterns adds visual interest.
- Instead of letters, try small painted shapes, stamped icons, or stickers for non-word banners.
- To create a longer banner, simply add more pennants and adjust the string length accordingly.
Finishing touches and display ideas
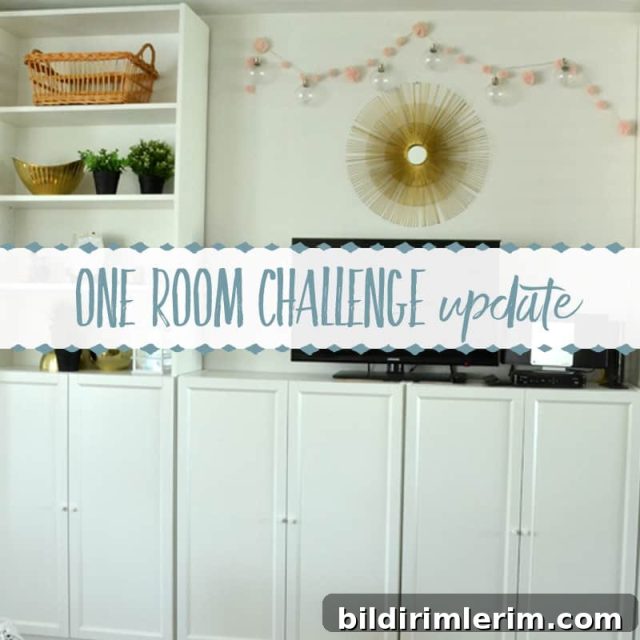
Once your bunting is assembled, think about where it will have the most impact. Drape it across a mirror, above a mantel, along a bookshelf, or across a party table. For parties, coordinate banner colors with tableware and balloons. For seasonal decor, choose paper with autumn, winter, spring, or summer palettes.
The project is quick, affordable, and highly customizable — making it perfect for last-minute decorating or a small craft afternoon with kids. Once you’ve made one banner, you’ll see how simple it is to adapt the idea for birthdays, showers, holidays, or everyday home styling.
If you want a printable version of the instructions, copy this page into a document and print for easy reference while you craft. Enjoy making your banner — it’s a fast, cheerful way to update any space.