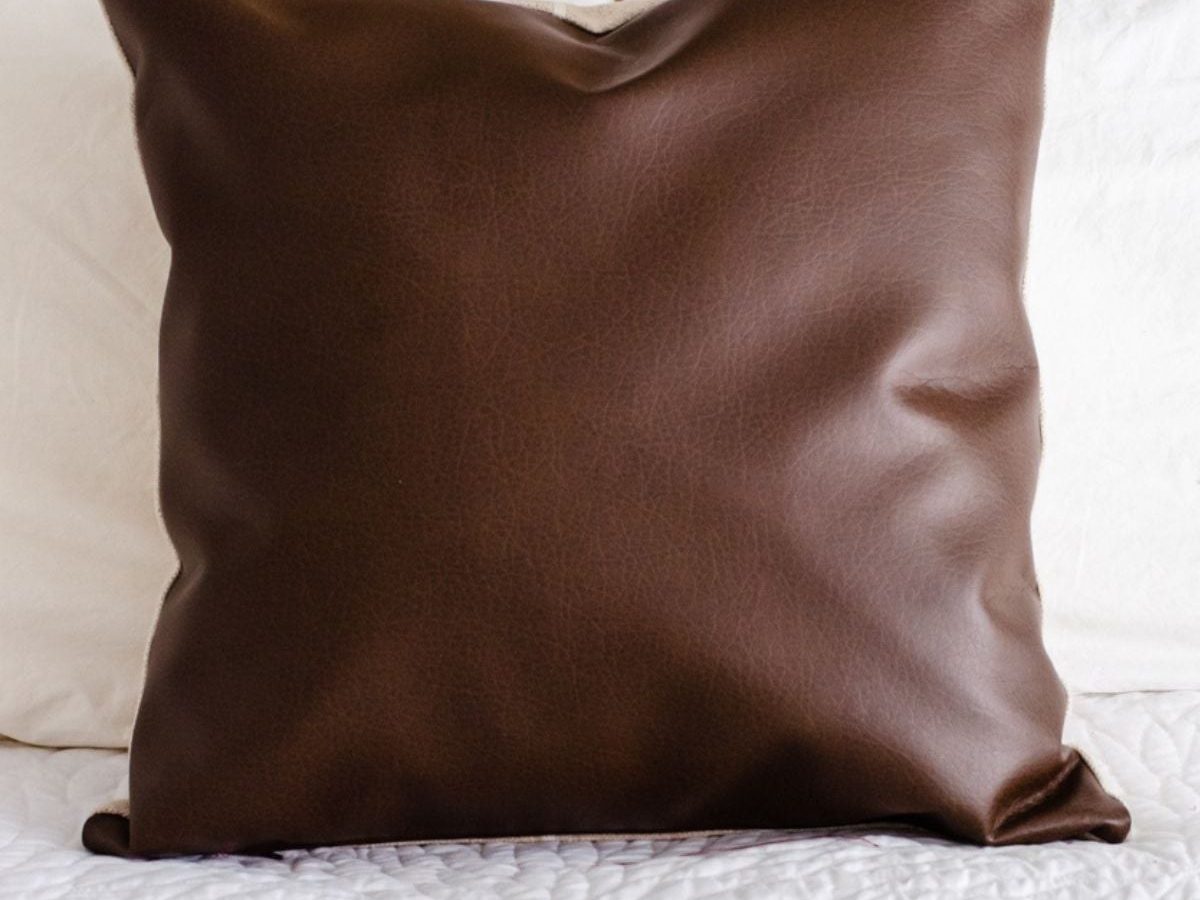
Follow this clear, step-by-step guide to learn how to make faux leather pillow covers with zipper closures.
Making faux leather pillow covers with zipper closures is easier than it looks and yields a polished, modern result. These covers are perfect for updating a living room or bedroom and save storage space because you can remove the insert when not in use.
I discovered how simple this project is while finishing a Modern Farmhouse Boho bedroom makeover. I wanted a finishing touch—throw pillows with a clean, tailored look that still felt relaxed on the bed.
Pillow covers are a practical choice in a smaller home because they store flat and take up far less room than full pillows. If you want the look of leather without the cost or maintenance, faux leather is a great fabric to work with.

How to Make Faux Leather Pillow Covers with Zipper Closures
Disclosure: This post may mention tools and supplies for your convenience.
Supplies you’ll need
- 18-inch pillow insert
- 1/2 meter of faux leather (enough for two pillow fronts)
- 1/2 meter of contrasting fabric for the backs (striped canvas, linen, or similar)
- Two 14-inch zippers
- Leather needle for your sewing machine
- Sewing machine
- Seam ripper
- Sewing pins (use clips if pins leave marks on faux leather)
- Fabric scissors
- Cutting mat (optional but helpful)
- Rotary cutter (optional)
Step 1: Cut the pillow fronts and backs
For an 18-inch pillow insert, cut each piece to 19½ inches square. This generous size provides a slightly relaxed, “slouchy” look on the bed and allows for a ½-inch seam allowance. Take care to make clean, straight cuts—using a cutting mat and rotary cutter speeds this up and improves accuracy.
Step 2: Sew the bottom seam
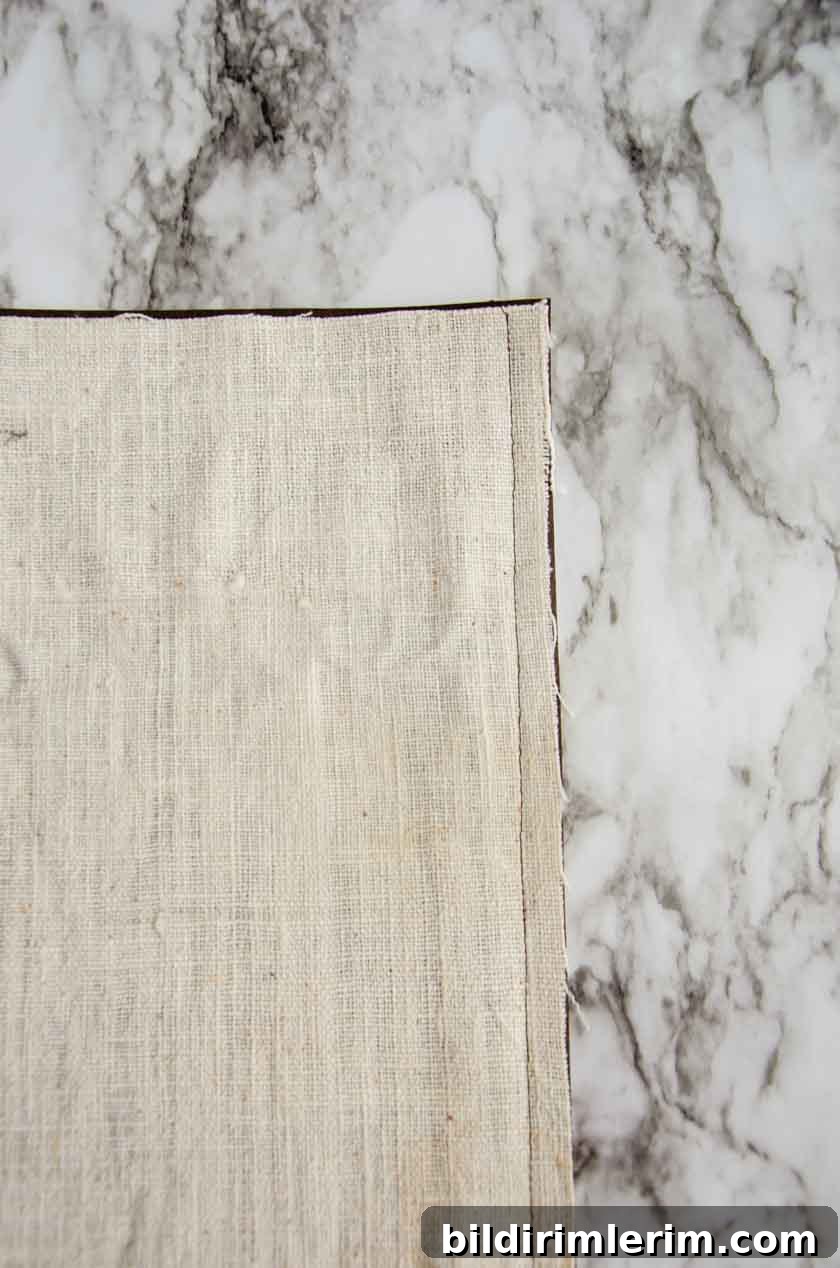
Place the faux leather front and the backing fabric with right sides together and sew the bottom edge with a ½-inch seam. Press the seam open on the backing fabric as much as possible—avoid ironing the faux leather surface directly, as heat can damage its finish. If needed, press from the reverse side or use a protective cloth and a low-heat setting on the backing only.
Step 3: Install the zipper closure
Adding a zipper might feel intimidating, but it’s straightforward when you follow a few simple steps. The zipper will let you remove the insert easily and keep the cover looking neat.
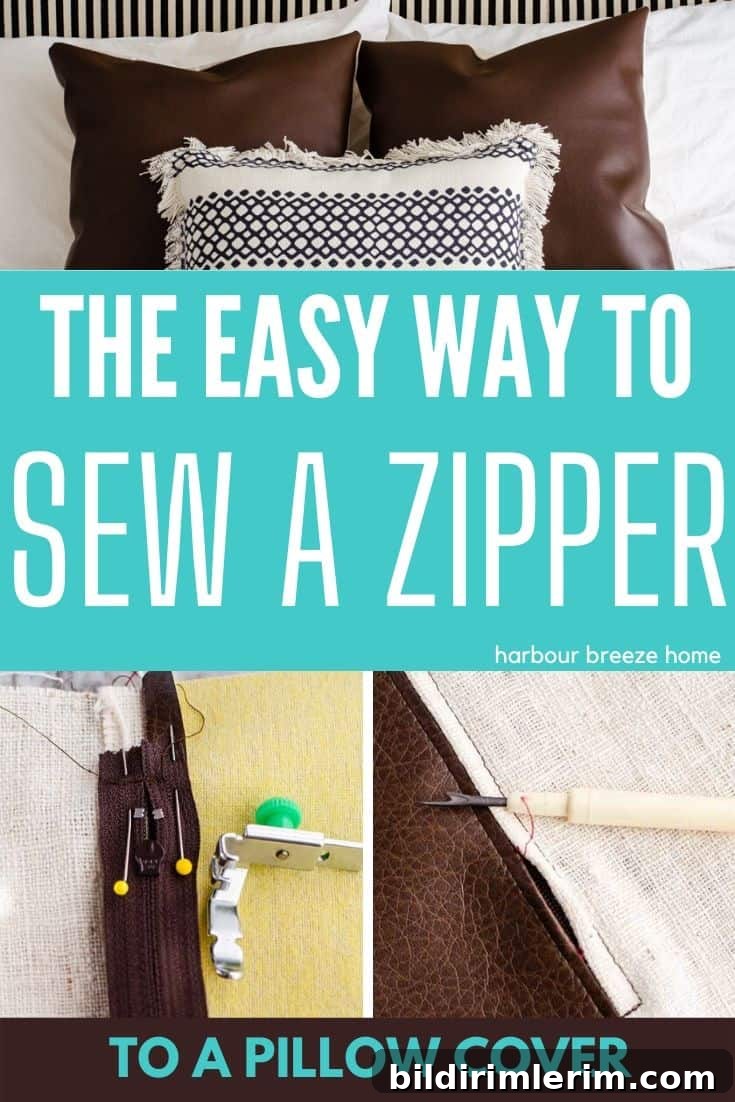
How to add a zipper to a pillow cover
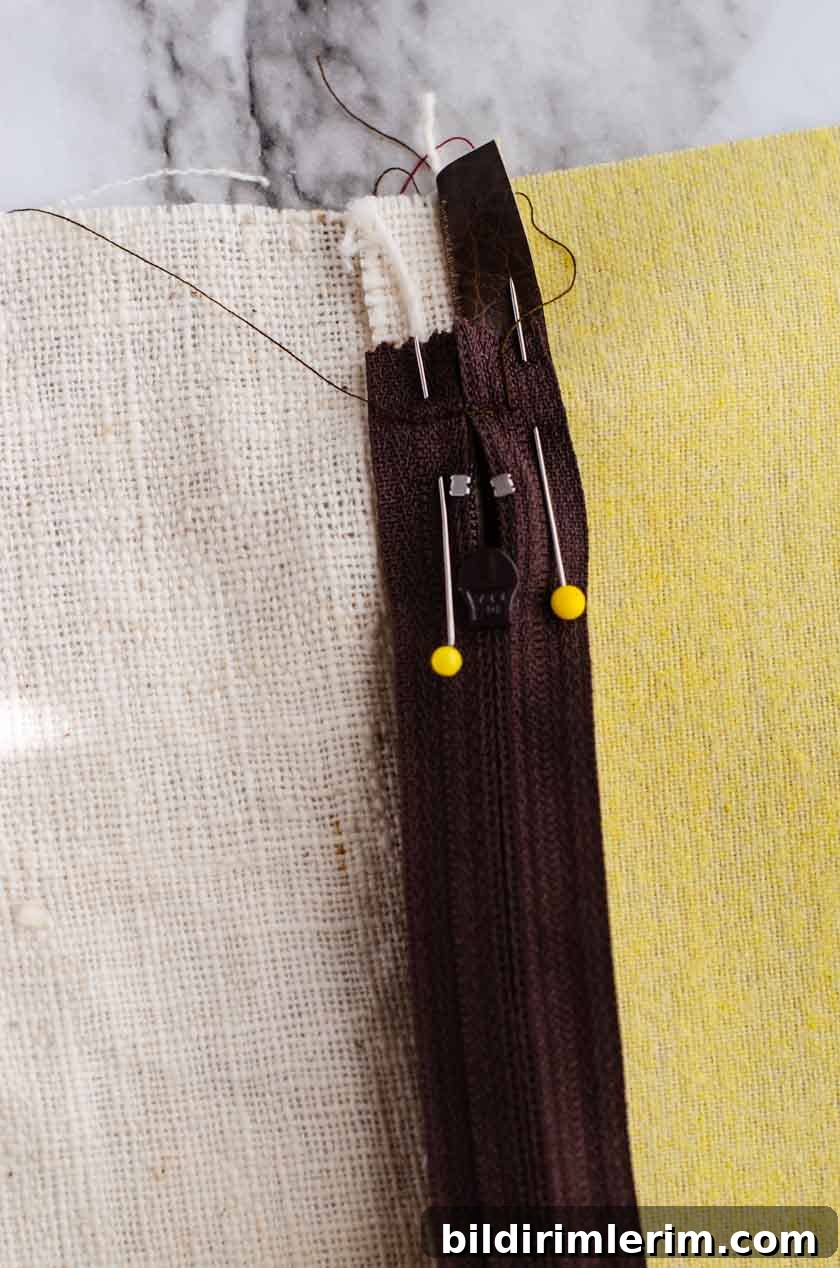
1. Lay the zipper face down along the sewn bottom seam so the zipper teeth sit directly on top of that seam. Pin or clip the zipper in place and tack the top edge of the zipper to the fabric with a short seam to hold it.
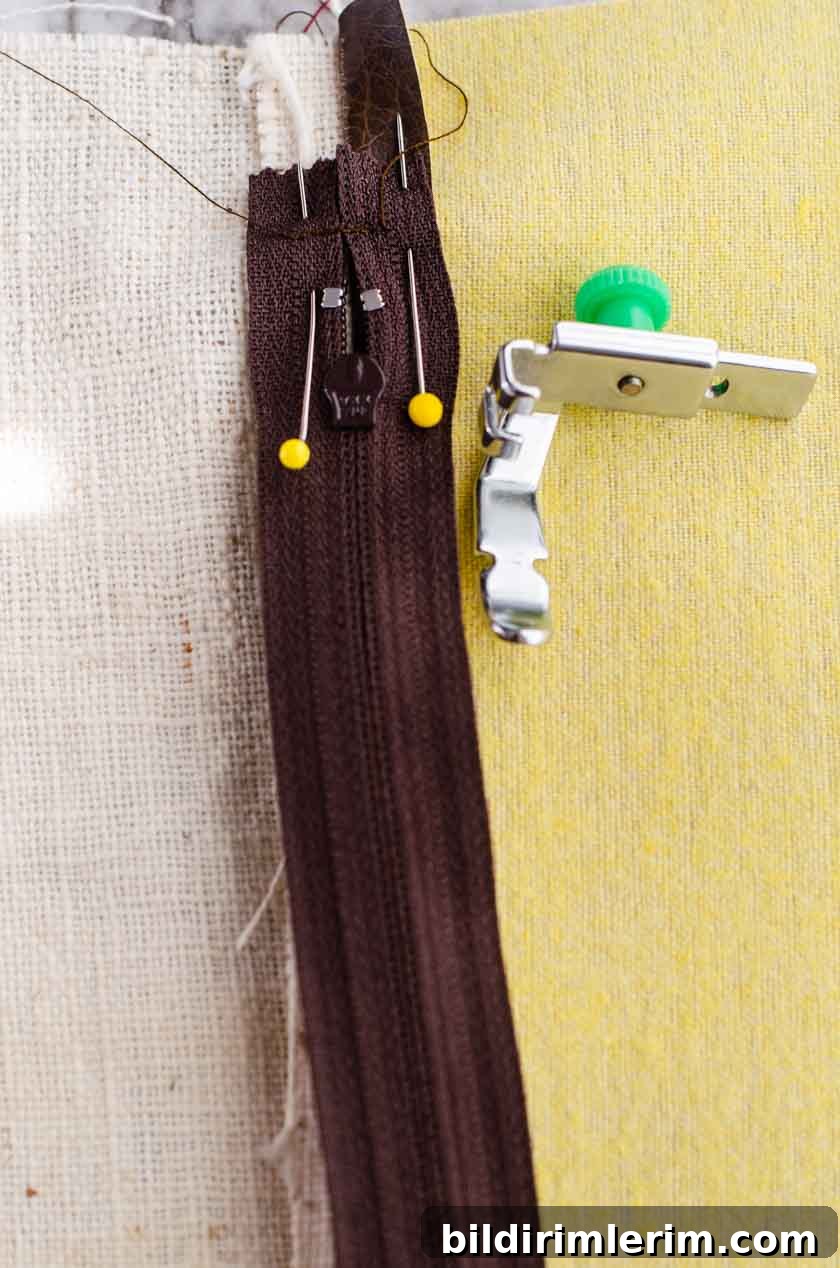
2. Attach the zipper foot to your sewing machine (consult your manual for specifics). The zipper foot lets you sew very close to the zipper teeth without hitting them.
3. With the zipper foot, sew down both sides of the zipper and tack the bottom edge in place just as you did the top. Make sure your stitches are even and backstitch at the ends to secure them.
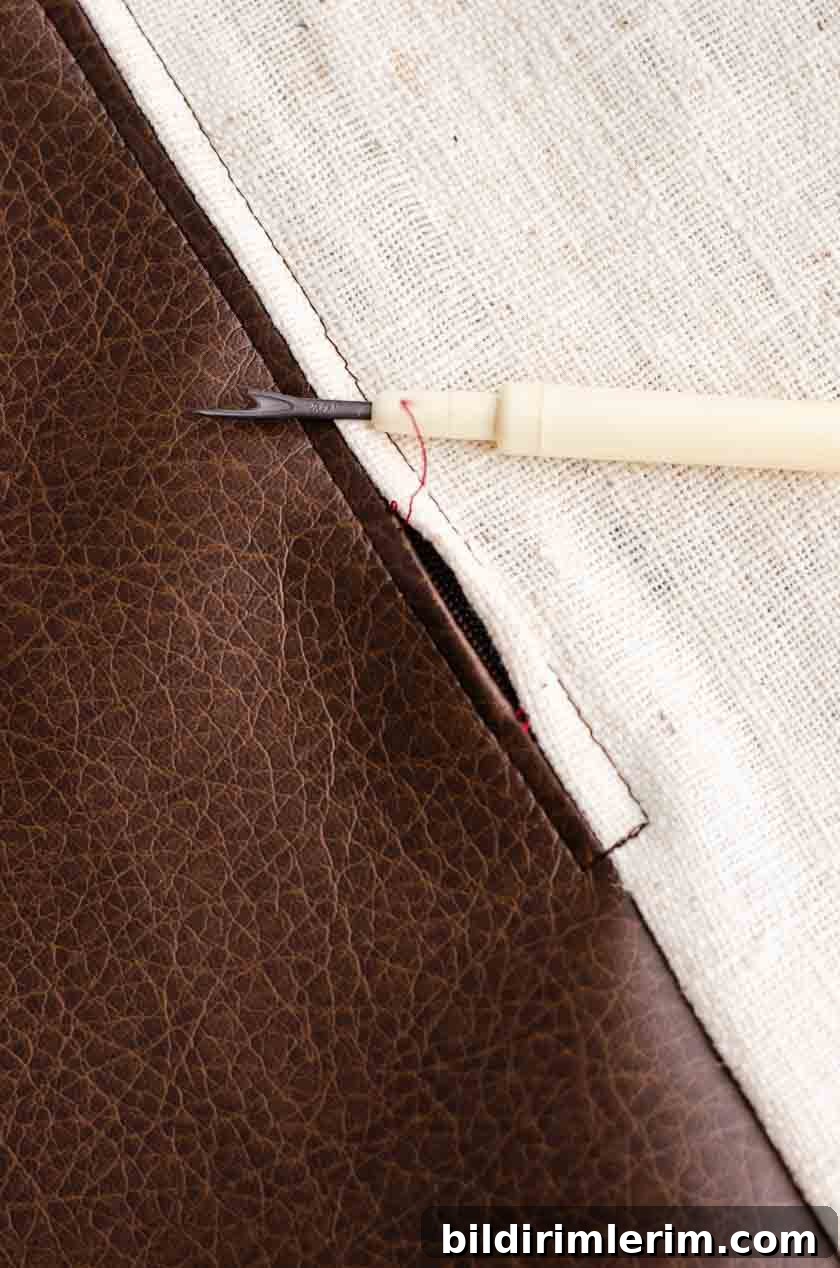
4. Turn the work over so the previous bottom seam is on top. Use a seam ripper to carefully remove the seam that runs along the zipper, opening the seam between the two tacked zipper ends. This creates the zipper opening while keeping the zipper securely attached to the fabric.
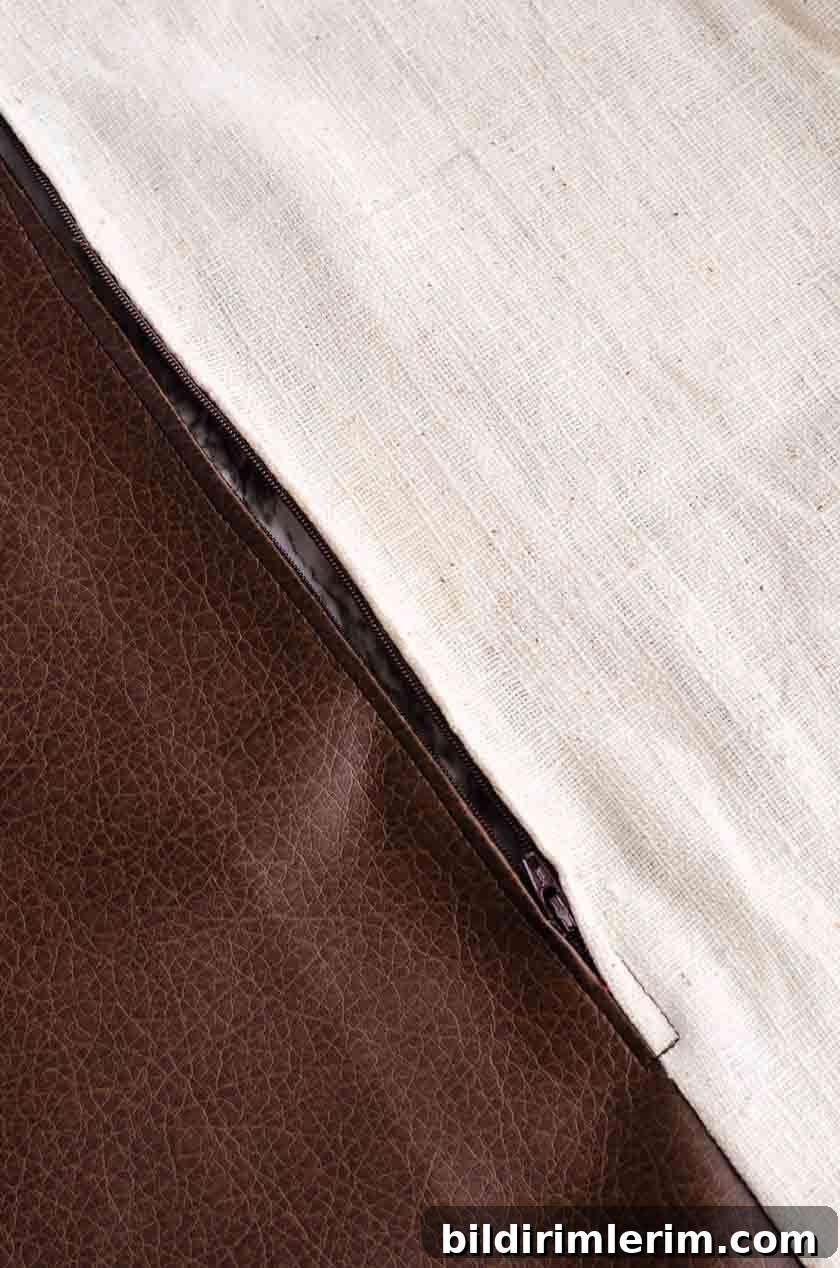
When you’re done, you’ll have a cleanly installed zipper hidden neatly along the bottom edge—just like a store-bought cover.
Step 4: Sew the remaining sides
With right sides together, sew the remaining three sides of the pillow using a ½-inch seam allowance. Leave the zipper partially open before sewing the last seams—this makes it much easier to turn the cover right side out once the seams are finished.
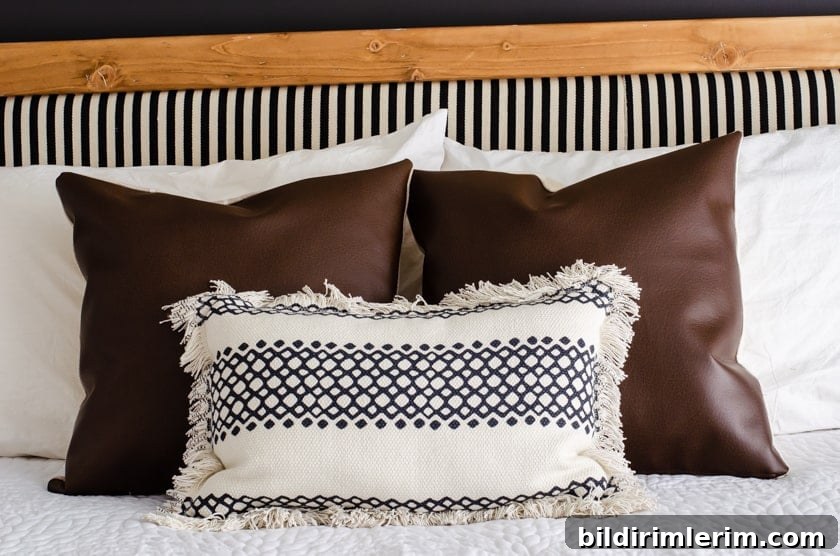
Step 5: Finish and insert the pillow
Trim any loose threads, clip corners carefully (without cutting the seam), and turn the cover right side out through the zipper opening. Gently push the corners into shape and insert your 18-inch pillow. Zip closed and smooth the surface for a sharp, polished look.

Tips and care
- Use a leather needle and a longer stitch length when sewing faux leather to prevent perforation marks and skipped stitches.
- Avoid ironing the faux leather surface. If pressing is needed, press the fabric backing from the reverse side with a protective cloth and low heat.
- If pins leave marks, use sewing clips to hold layers together while stitching.
- To clean faux leather pillow covers, follow the manufacturer’s recommendations—usually spot cleaning with a damp cloth and mild soap works well.
More pillow ideas
If you prefer projects without zippers, there are many easy pillow tutorials you can explore—envelope closures, simple tie closures, or iron-on designs all make fast, attractive covers. Experiment with contrasting fabrics, textures, and trims to create a custom look for your space.
Want more home projects and printables? Sign up for the site newsletter to get creative ideas, free printables, and step-by-step tutorials delivered to your inbox.