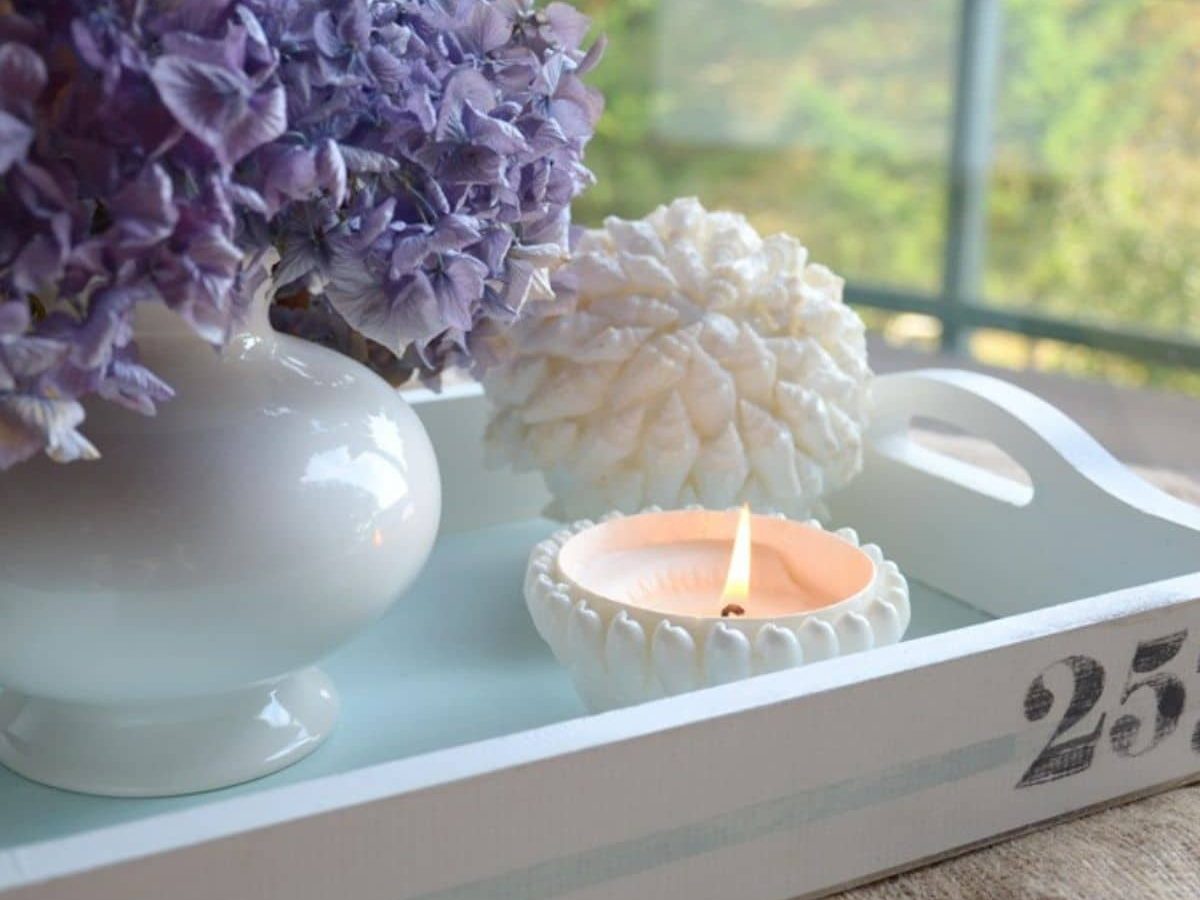
Transform a thrifted or dated wooden tray into a decorative piece that complements your home with these simple, step-by-step instructions for how to paint a wooden tray.
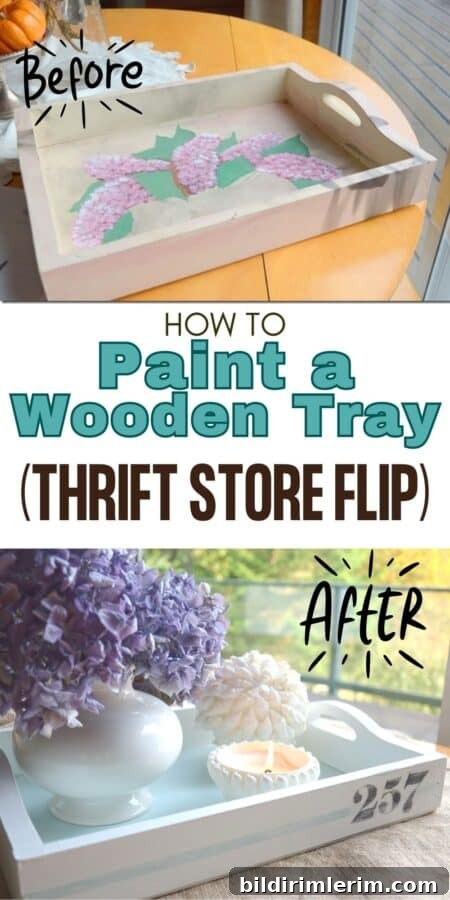
A friend gave me a creative birthday gift: a small collection of thrifted and garage-sale finds and encouraged me to refresh them. Among the items was a wooden tray that had clearly seen better days—but it had great potential.
Someone had already started painting it, and there were dark soot streaks near one corner, as if a candle had singed the surface. Despite the imperfections, the tray’s size and shape made it perfect for a coffee table or a small centerpiece, so I decided to give it a makeover.
Before you begin, gather the right supplies to ensure a durable, attractive finish.
Supplies needed to paint a wooden tray
- Sandpaper (medium and fine grit)
- Old cloth or tack cloth to remove dust
- Paint primer (optional, depending on the surface)
- Acrylic house paint in your chosen colors
- Paint brush
- Tracing paper for transferring designs
- Small craft brush for details
- Painters tape for clean lines
- Black acrylic craft paint for accents
How to paint a wooden tray
- Prep the tray by sanding and cleaning it thoroughly.
Preparation is the most important step for a long-lasting finish. If the tray has been painted before, lightly scuff the surface with sandpaper to give the new paint something to grip. Wipe away all dust with a tack cloth or damp rag and let it dry completely. If the surface seems particularly slick or the previous finish is stubborn, apply a quality primer before painting.
- Paint the tray in the colors you prefer.
For this tray, I primed the entire piece and painted the exterior Cloud White (Benjamin Moore) while the inside bottom received a soft aqua called Tide Pools (Behr). Two coats usually provide solid coverage—allowing ample drying time between coats helps prevent brush marks and ensures even color.
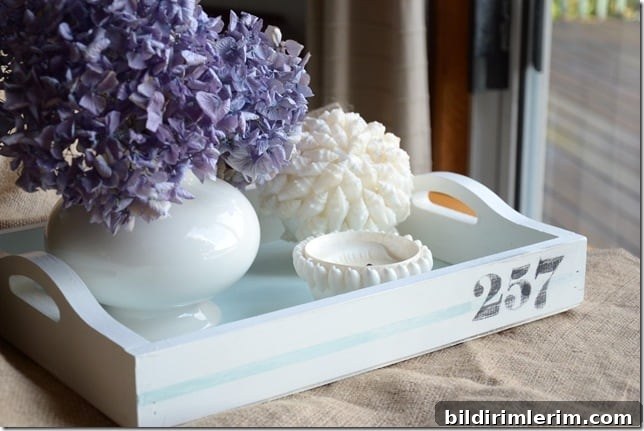
The contrast between a neutral exterior and a colored interior can add visual interest while keeping the overall look versatile for different rooms and styles.
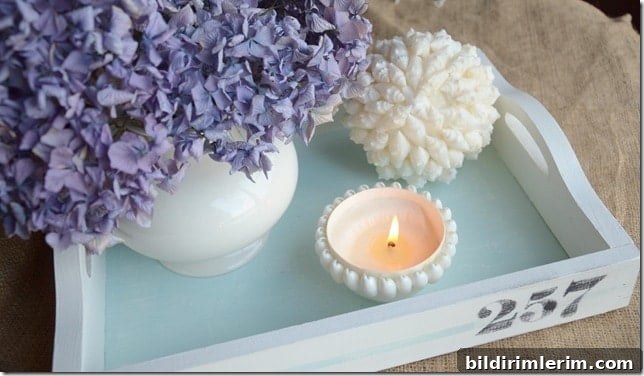
- Add accents or graphics on the outside if desired.
For subtle personalization, transfer numbers or a simple design using tracing paper, then paint them with a small craft brush. Mask straight lines with painters tape for crisp edges. After the paint dries, sand the edges lightly to create a distressed, aged look if that fits your style.
Finishing tips
– If you expect the tray to be used for serving food or drinks, consider sealing the painted surface with a clear, non-yellowing topcoat suitable for wood and safe for incidental food contact. – For a weathered look, focus sanding on edges and raised details. – Use contrasting colors for the interior and exterior to make the tray pop while remaining practical for everyday use.
Different ways to use a painted wooden tray
A painted wooden tray is a versatile accessory in many rooms. Ideas for using your refreshed tray include:
- Place it on a coffee table to corral books or magazines and anchor a candle or decorative object.
- Use it as a dining table centerpiece with a small floral arrangement, napkins, and salt-and-pepper shakers.
- Set it on top of a dryer or laundry shelf to hold detergent, dryer balls, and a small bottle of essential oil for a tidy, attractive laundry area.
- Turn it into a serving tray for coffee and tea when entertaining—arrange mugs, cream, sugar, and stir sticks for a coordinated display.
More painting ideas and techniques
- Explore a painting materials checklist to ensure you have every essential item before starting on larger projects.
- Learn techniques for painting over stained wood if you plan to alter furniture or trim.
- Try DIY paint recipes, such as homemade chalk paint, for textured or matte finishes.