Hang art, objects, mirrors, or any other heavy item on the wall using a french cleat system. You can build one yourself with the steps below or purchase a ready-made cleat to speed the process.
Finishing a project is often the hardest part. Painting or restoring a piece can be straightforward, but mounting a large or heavy object securely on the wall requires a reliable method. That’s where a french cleat comes in—simple, strong, and dependable.
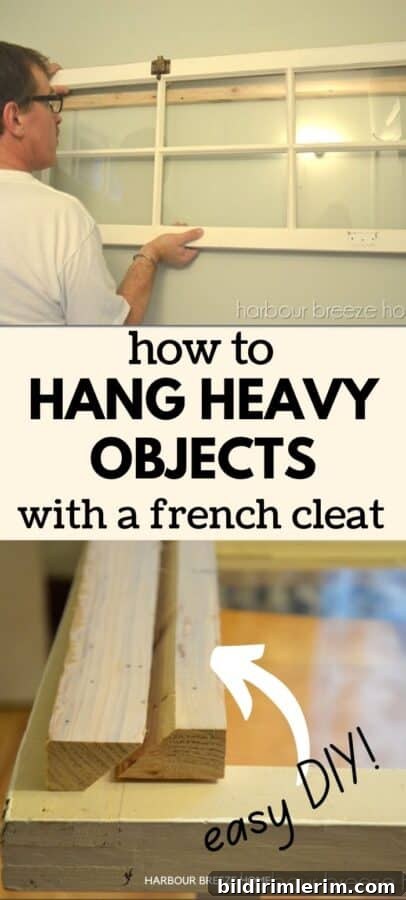
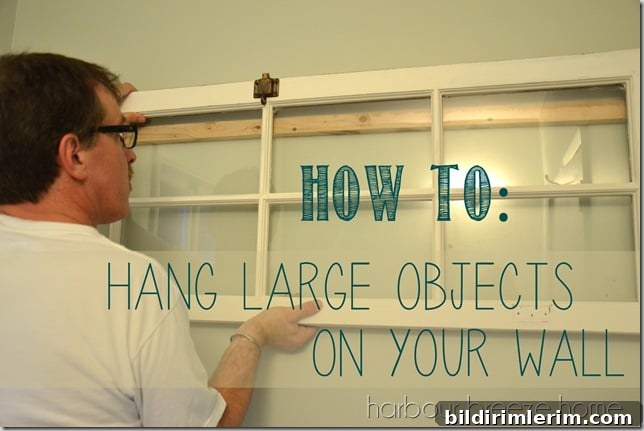
We used a french cleat to mount a heavy, chalk-painted vintage window. The painting was easy, but attaching the finished piece to the wall felt intimidating until we used this mounting method.
What is a french cleat hanging system?
A french cleat is a two-part hanging system made from wood or metal, each piece cut at a matching 45-degree angle so they interlock. One half is mounted to the wall with the angled edge facing up and out, and the other half is attached to the object with the angled edge facing down and in. When the two pieces meet, the angled edges lock together and distribute the weight across the wall-mounted cleat and the object-mounted cleat, creating a secure and stable bracket ideal for heavy or oversized items.
How to cut a french cleat from wood
- Start with a straight board at least as long as the item you are hanging. Common choices include 1×4 or 1×6 dimensional lumber for wooden cleats, or a pre-ripped board from a hardware store.
- Set a table saw or circular saw to cut at a 45-degree bevel and rip the board lengthwise into two matching pieces. Each piece will have a complementary 45-degree angle so they can interlock. If you’re not comfortable with power tools, many hardware stores can cut lumber to a specific angle for you.
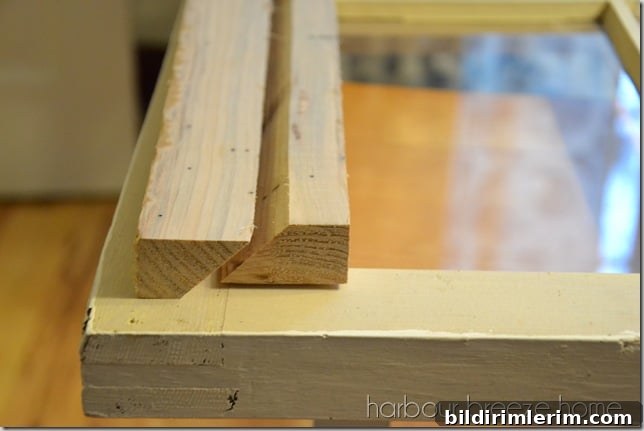
If you prefer a visual guide for the cutting process, look for a step-by-step french cleat tutorial. In our case, the cleat was cut in the workshop and brought home ready to install.
Next, prepare the cleat pieces for mounting:
- Predrill holes in the board that will be attached to the object. This prevents the wood from splitting and ensures the screws seat properly.
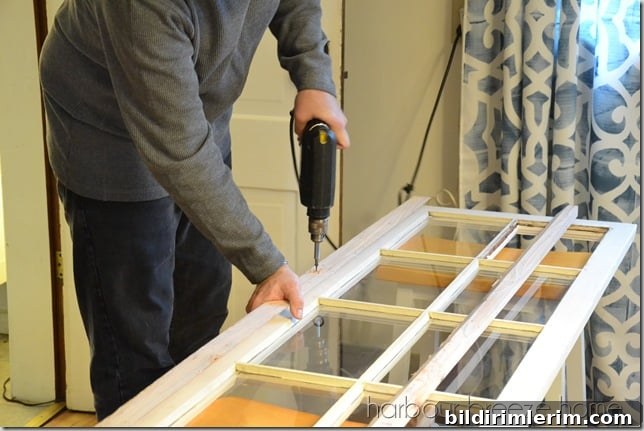
- Fasten the top half of the cleat to the back of the item with appropriately sized screws. Use screws long enough to bite into the cleat piece securely but not so long that they penetrate visible surfaces on the front.
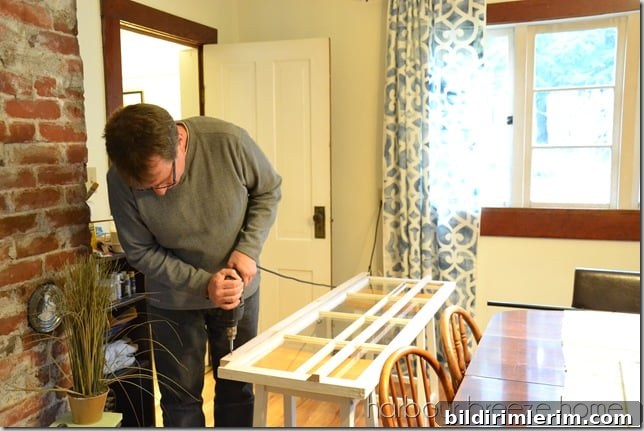
- Mount the mating cleat to the wall. Ensure the angled face is oriented to accept the cleat attached to the object.
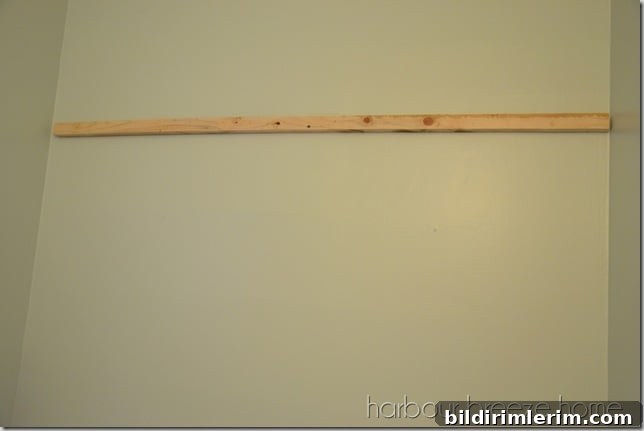
Tips for mounting the wall cleat
(Practical tips to make installation easier.)
Two details matter most when attaching the wall cleat. First, verify the cleat is oriented correctly—the angled edge should face up and out to accept the cleat on the object. Do a dry fit on the floor to confirm alignment before drilling.
Second, anchor the wall cleat into the wall studs. Screwing solely into drywall will not hold heavy items. Use a stud finder or other reliable method to locate studs, then fasten the cleat with long wood screws into those studs. If studs are unavailable in the ideal position, use appropriate heavy-duty anchors tested for the load you plan to hang.
After the wall cleat is secure, lift the object and drop the object-mounted cleat down onto the wall-mounted cleat. The angled faces will seat and lock, distributing the weight across the span of the cleat rather than a single point.
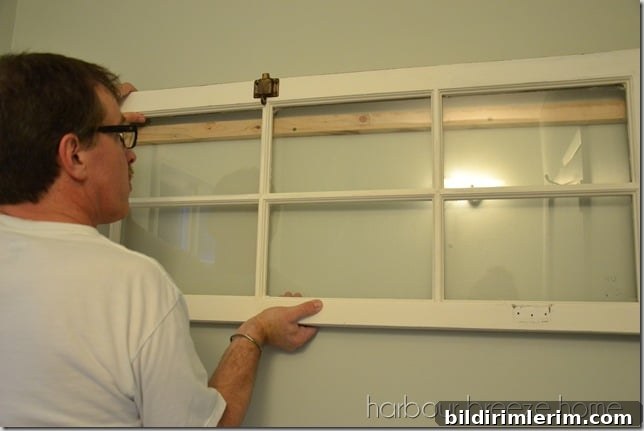
The 45-degree interlock provides a stable, secure connection that resists tipping and keeps heavy pieces flush to the wall. Once seated, check the fit and make any final adjustments.
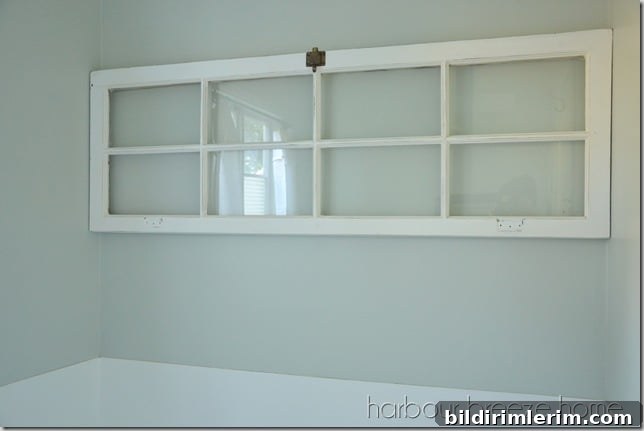
Do I have to make my own french cleat?
No. Ready-made french cleats and metal cleat systems are available in a range of lengths and weight ratings. Buying a premade cleat can save time and ensure consistent precision, especially if you don’t have access to a table saw or prefer a metal option for extra strength. Choose a cleat rated for the weight and size of your item and follow the manufacturer’s installation guidance.
More hanging tips and ideas
- Learn the best hacks for hanging pictures and art to ensure proper height and balance.
- Use appropriate anchors and techniques for hanging in drywall, especially when items have multiple hang points.
- For gallery walls or arrangements above furniture, plan spacing and layout on the floor first so placement looks intentional once hung.