
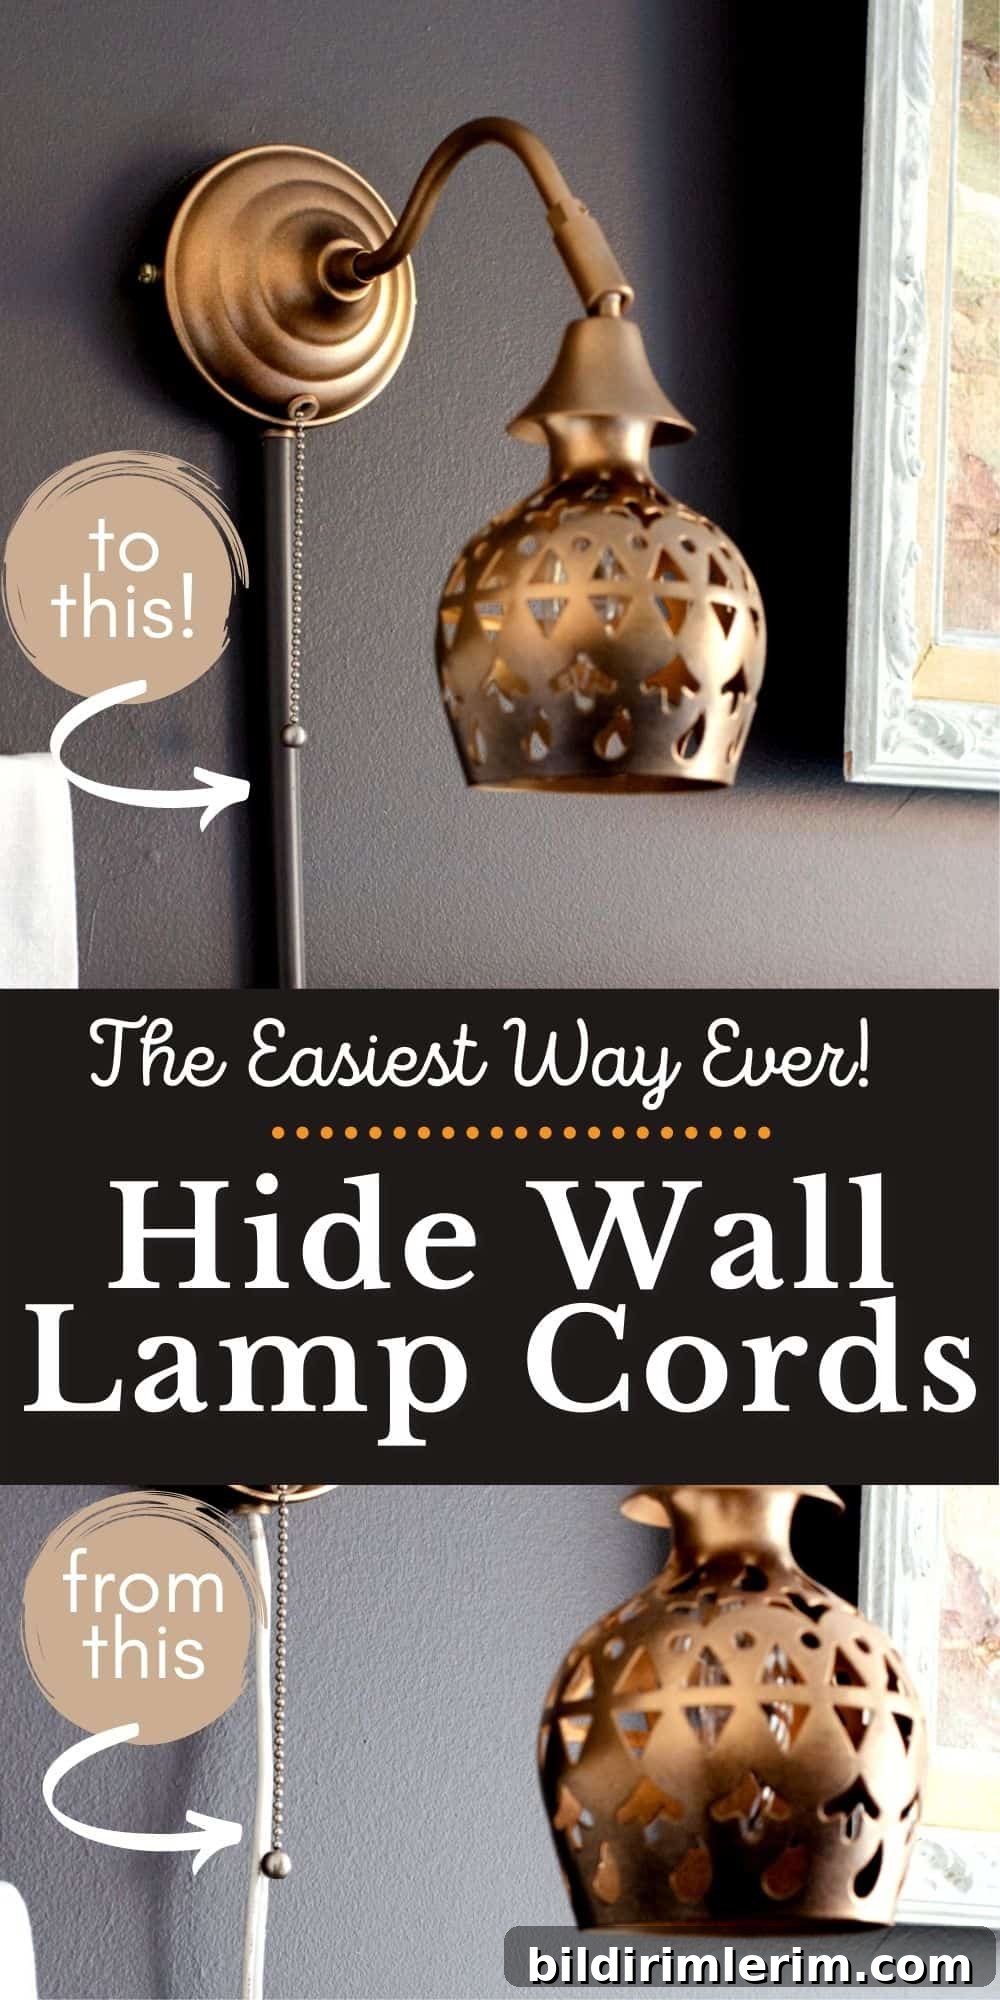
Learn a quick, easy method to hide a wall lamp cord using a paintable cord cover that blends seamlessly with your wall.
One small finishing task remained in our Boho Master Bedroom project: hiding the exposed cords from the wall lamps. The white cords contrasted sharply against the dark bedroom wall and stuck out more than I wanted. The good news is the fix is fast, inexpensive, and professional-looking.
This guide walks you through a simple, step-by-step approach to hide a wall lamp cord using a pre-primed, paintable cord cover. It took under 10 minutes of hands-on work, plus drying time, and the result is a clean, integrated look.
How to Hide a Wall Lamp Cord
Disclosure: this article may mention products commonly found at hardware and home stores for convenience.
Supplies You’ll Need
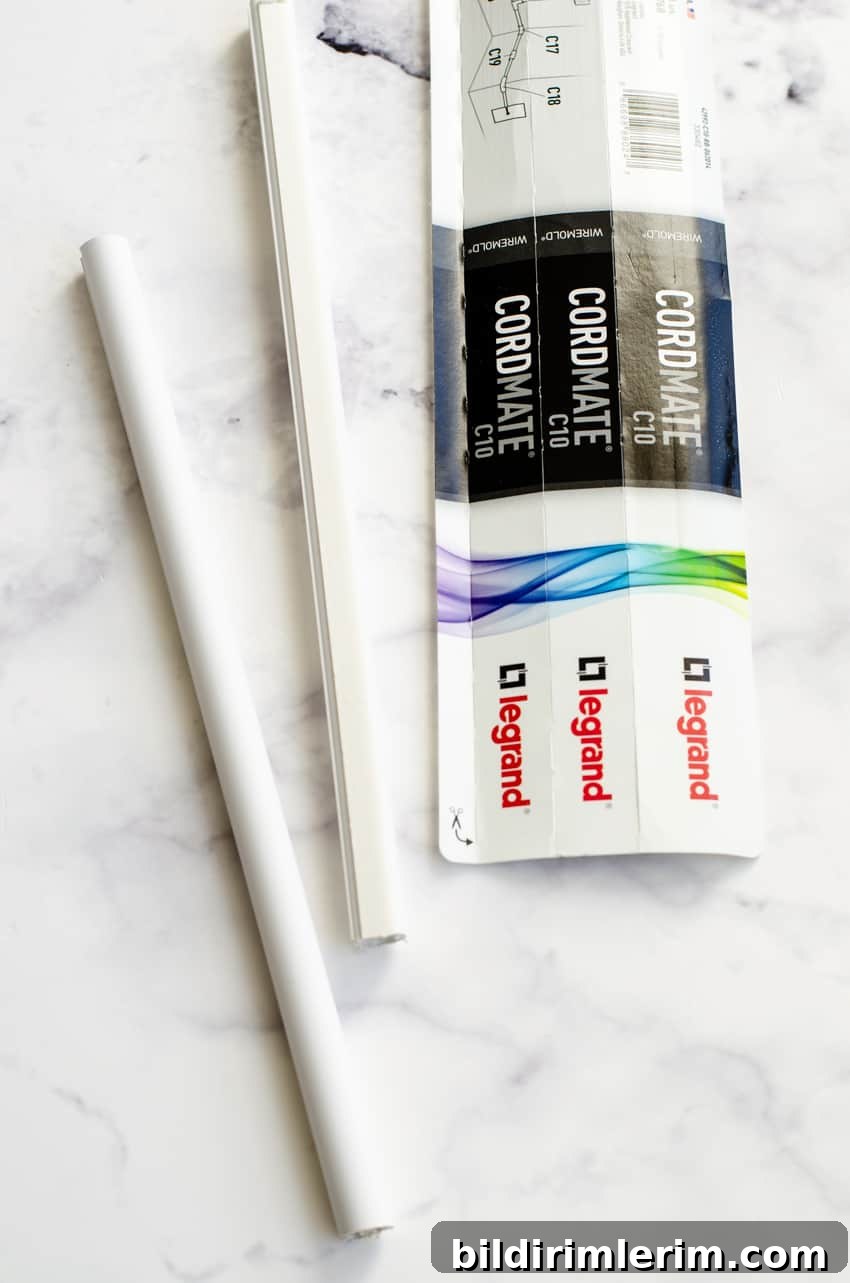
- Pre-primed paintable cord cover sized to fit your lamp cord
- Wall paint that matches your wall color
- Hacksaw (to cut the cord cover to length)
- Paintbrush or small foam roller for smooth coverage
- Optional: fine sandpaper to smooth cut edges
Why a Paintable Cord Cover Works
A paintable cord cover provides a slim channel that encloses the cord and sticks to the wall. Because it is pre-primed, it takes paint well and can be matched to your wall color so it virtually disappears. This approach is reversible and avoids cutting into the wall or running wiring behind it.
Step 1: Measure and Cut

Measure the distance from the lamp to the outlet or to where the cord will be secured. Cut the cord cover slightly longer than needed, then trim to final length so it sits neatly. A hacksaw cuts these plastic covers cleanly. If the cut edge is rough, lightly sand it for a smooth finish.
Step 2: Paint the Cord Cover
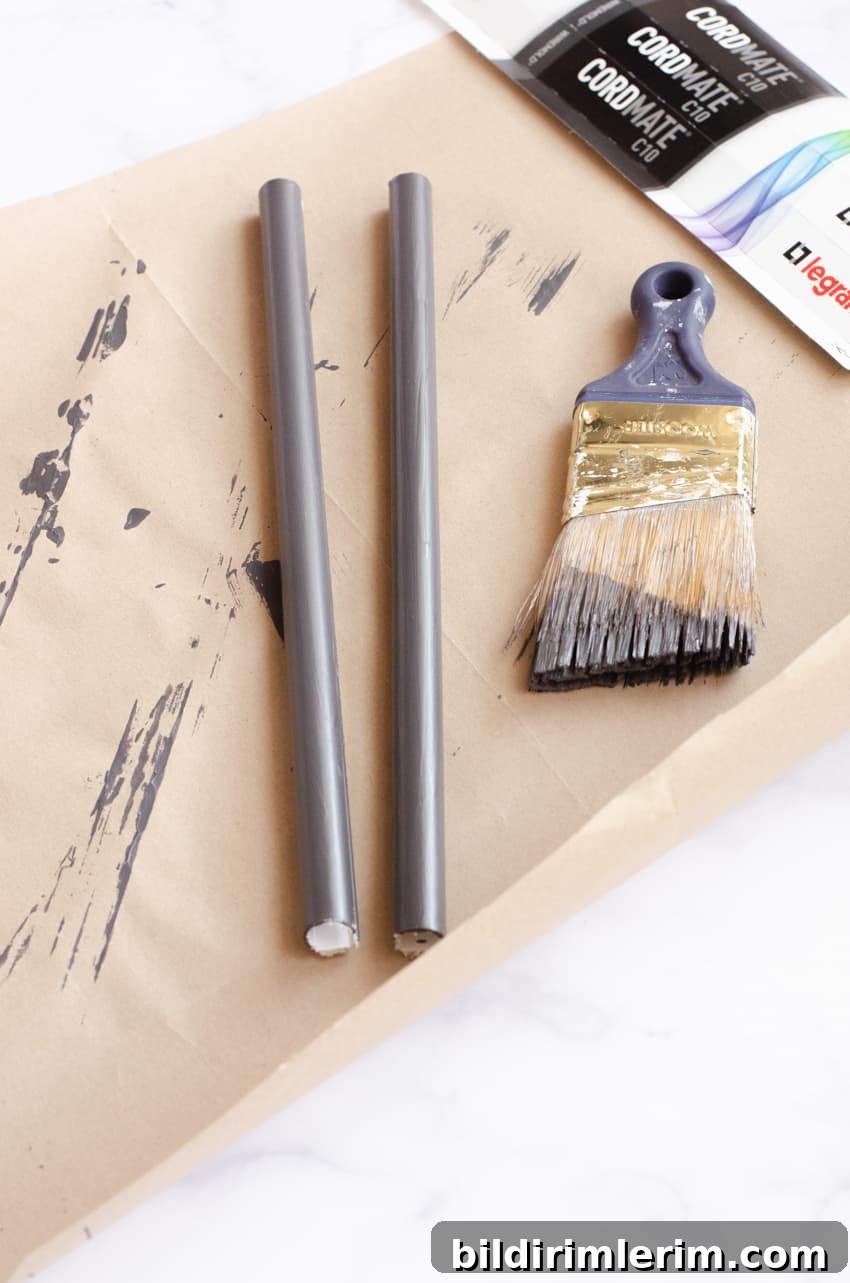
Since the cord cover is pre-primed, apply two thin coats of your wall paint, allowing full drying time between coats. Thin coats prevent drips and produce a smooth finish. If you need to speed drying, a hair dryer on low heat can help, but ensure the paint is fully cured before handling.
Step 3: Insert the Cord
After the paint is completely dry, open the channel and slip the lamp cord into the cover. Tuck the cord fully into the channel so it sits flush. If your cord has a bulky plug or inline switch, position the cord cover so those items remain accessible or route them outside the cover where needed.
Step 4: Adhere the Cover to the Wall
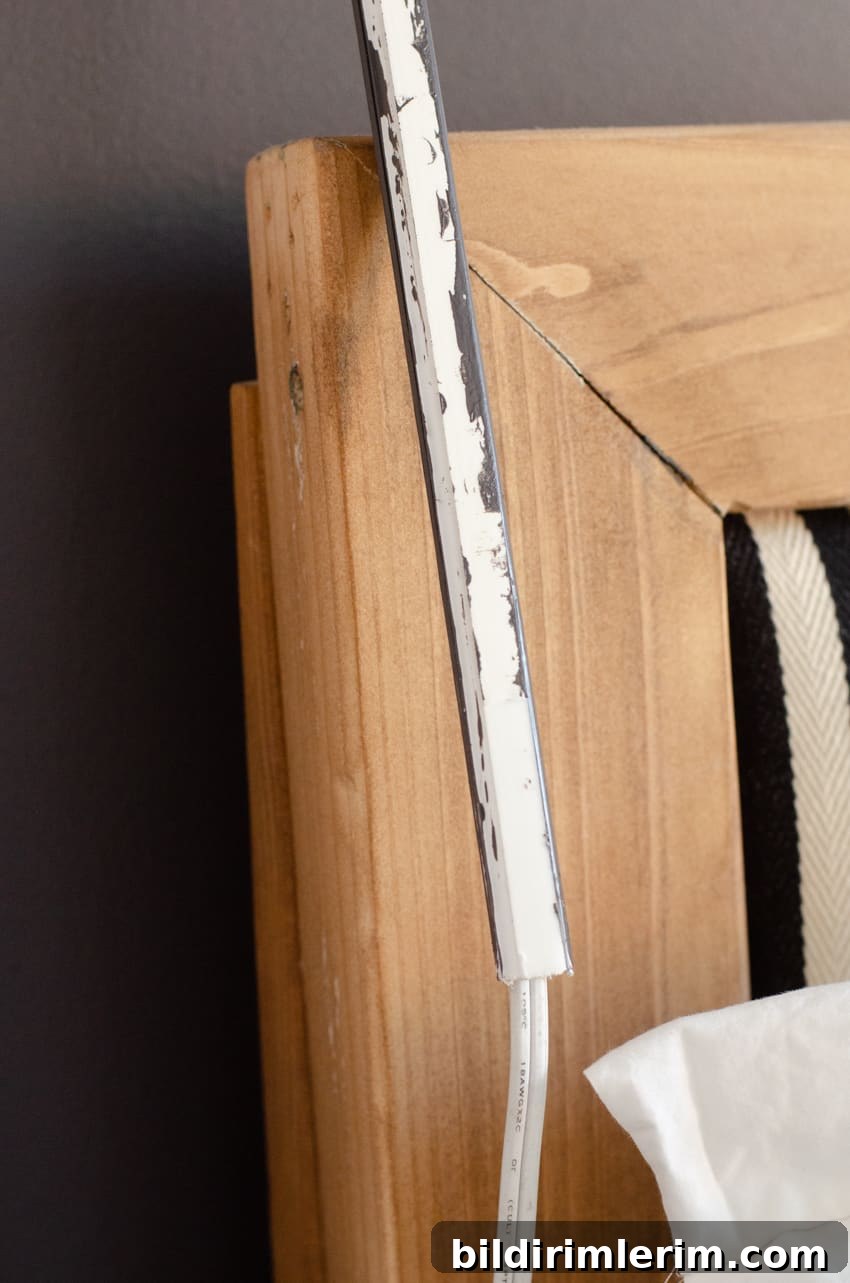
Remove the adhesive backing and press the cord cover onto the wall where you measured. If the cover has a full adhesive strip, you can choose to peel only the top and bottom portions to make future removal easier. Press firmly along the channel to secure it. For uneven surfaces, a few small finishing nails or a thin bead of paintable caulk at the edges can improve hold and blend the cover into the wall.

There it is — finally done! The painted cover blends with the wall and makes the lamp cord far less noticeable.

Finishing Touches and Tips
- If there’s any small visible gap at the edge, a thin line of paintable caulk will hide it and give a flush finish.
- When matching dark or textured paints, test on a scrap piece of cord cover to verify the color and sheen.
- For a permanent, seamless look, you can paint the cord cover after it’s installed, touching up any adhesive edge.
- Keep any inline switches or plugs accessible; cord covers are best for the straight run between the fixture and outlet.
If you enjoyed this quick project, consider trying other simple home updates like hanging artwork with minimal marks or creating a floating shelf. Small changes like these make a big visual difference and are great weekend projects.

Quick Project Summary
Estimated hands-on time: 10 minutes. Paint and dry time: about 1 hour depending on paint and conditions. Total time: roughly 1–2 hours to account for paint curing.
Result: A neat, painted cord cover that blends with your wall and hides the lamp cord without rewiring or wall damage.
Author: Rita Joy