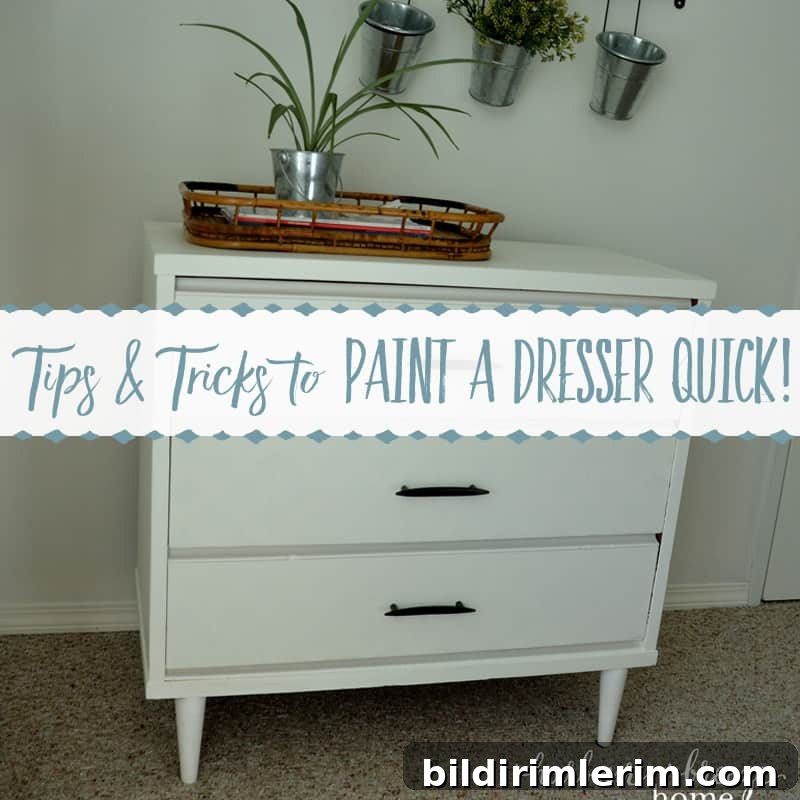
Refresh a worn piece of furniture with a fresh coat of paint. These simple, time-saving tips show you how to paint a dresser quickly and effectively.
Painting a dresser can be a meticulous, love-filled project — or it can be a quick, practical update you want finished in a day. Either way, a few smart shortcuts and the right supplies will speed the process while still giving a professional-looking result.
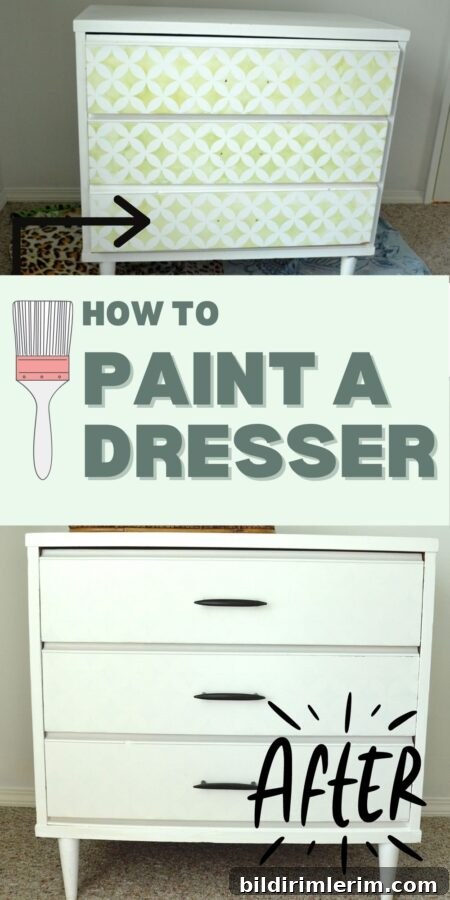
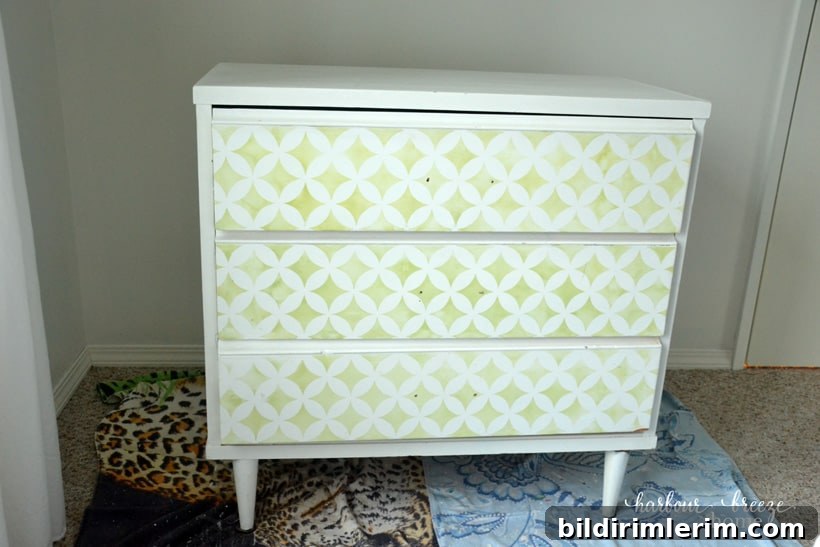
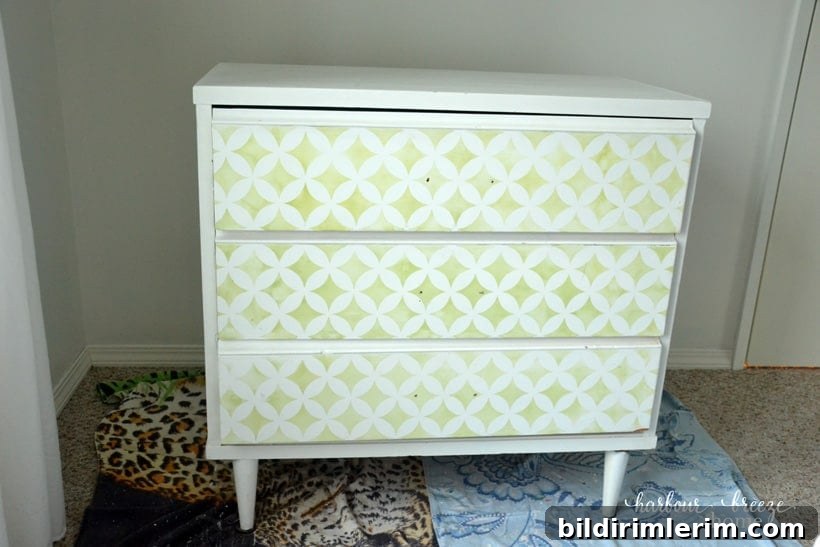
This dresser was a thrift-store find that had been painted and stencilled in a previous life. It isn’t sentimental, but it’s incredibly useful in our master bedroom. After several moves and a lot of bumps and scrapes, it needed a fast refresh. Below are the streamlined steps and tips I used to repaint it quickly and well.
Supplies you’ll need for painting a dresser
Gather these basic supplies before you start so you can move efficiently through each step:
- Sanding block set (assorted grits)
- Paint suitable for furniture — consider a paint with primer built in if you want to skip a separate priming step
- A quality paintbrush designed for smooth cutting-in and furniture work
- Small foam roller set (optional) for larger flat areas to reduce brush marks
- Tack cloth or a damp microfiber cloth to remove sanding dust
- Clear sealer or top coat if the surface will get heavy use or if you want extra stain resistance
Cheater Tricks for how to Paint a Dresser Quick!
1. Paint it where it will live.
Skip hauling the dresser outside or into a garage. Lay down a few old towels or a drop cloth and work in the room where the dresser will remain. That saves time moving it and reduces disruption.
2. Sand the whole piece quickly with sanding blocks.
You don’t need to spend hours sanding; just scuff the finish enough for the new paint to adhere. Start with a coarser grit (around 60–80) to take away any high spots or flaky paint, then move to a finer grit to smooth the surface. Most importantly, wipe the piece thoroughly after sanding with a tack cloth or a slightly damp cloth to remove all dust, dirt, and grease.
3. Choose paint with a built-in primer.
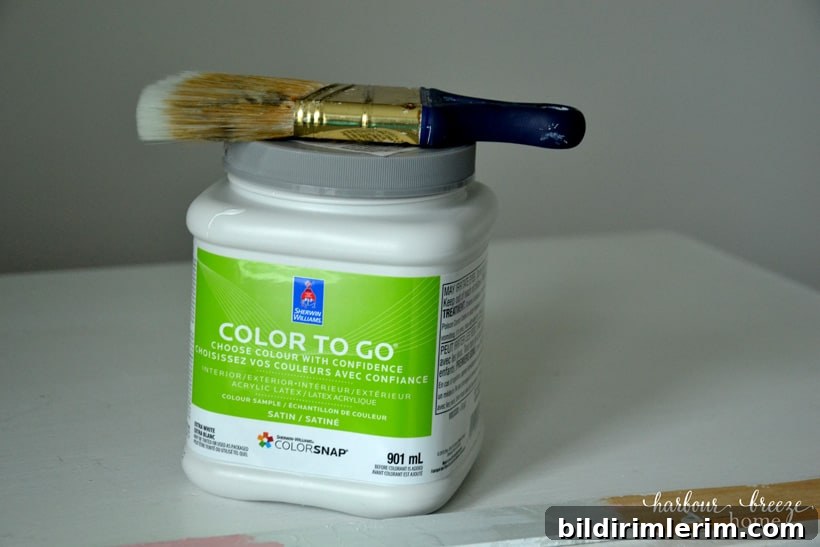
When speed is important, a paint that includes primer saves a whole step. For this project I used a satin finish in a neutral white. Buying a small sample size for a single dresser can also save money. Note: if you paint with a product that isn’t specifically formulated for furniture, consider sealing the top with a clear protective coat to prevent staining or wear.
Tip: Even paints that apply beautifully may benefit from a clear sealer on horizontal surfaces to protect against spills and stains.
4. Remove drawers and hardware, and avoid painting the top first.
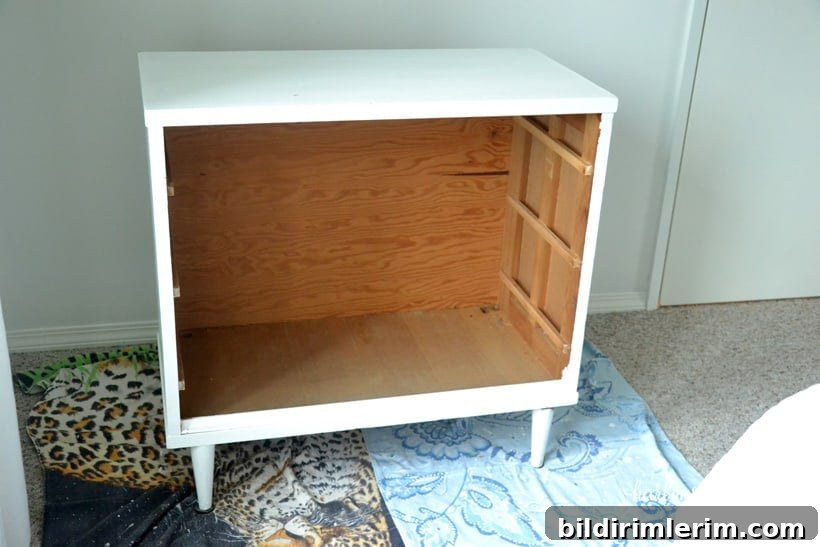
Take out the drawers and remove handles or knobs. Paint the frame, sides, and the insides of the drawer cavities first. That approach helps you avoid awkward angles and drips on finished sections.
5. Protect the contents and paint drawer fronts next; paint the top last.
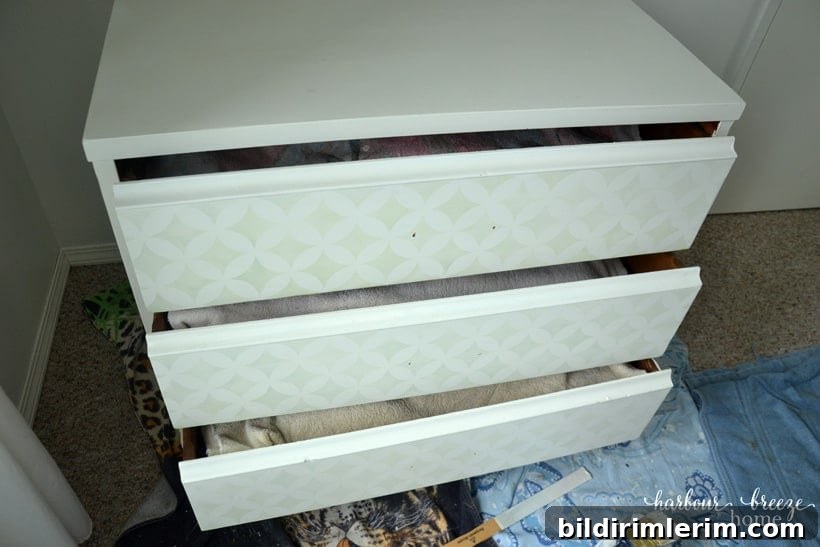
Place an old towel over clothes or items left in the dresser to shield them from drips. Reinsert the drawers slightly staggered so you can paint the fronts easily without fully reinstalling them. Save the dresser top for last — that way wet paint from drawer fronts won’t flake onto the top surface.
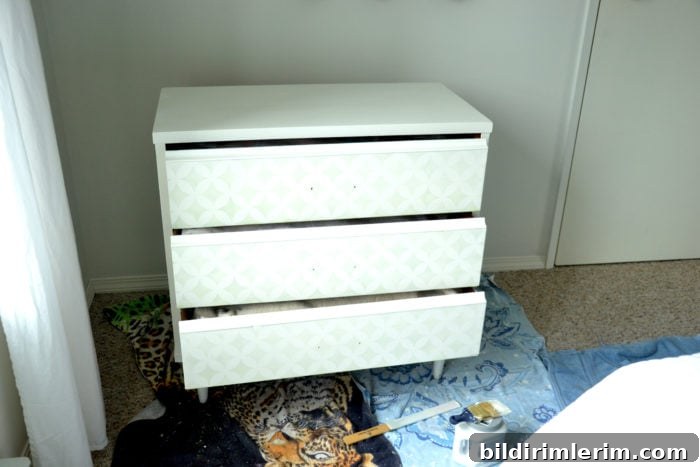
When brushing, watch for drips but apply enough paint so you can pull the brush across the surface smoothly while the paint is still wet. That prevents visible brush lines and creates a more even finish.
6. Apply as many thin coats as needed, letting each coat dry.
Thin, even coats provide the best coverage and durability. Because the original stencil was dark, the drawer fronts needed three coats to fully cover the pattern. Allow each coat to dry completely before sanding lightly and applying the next coat if desired.
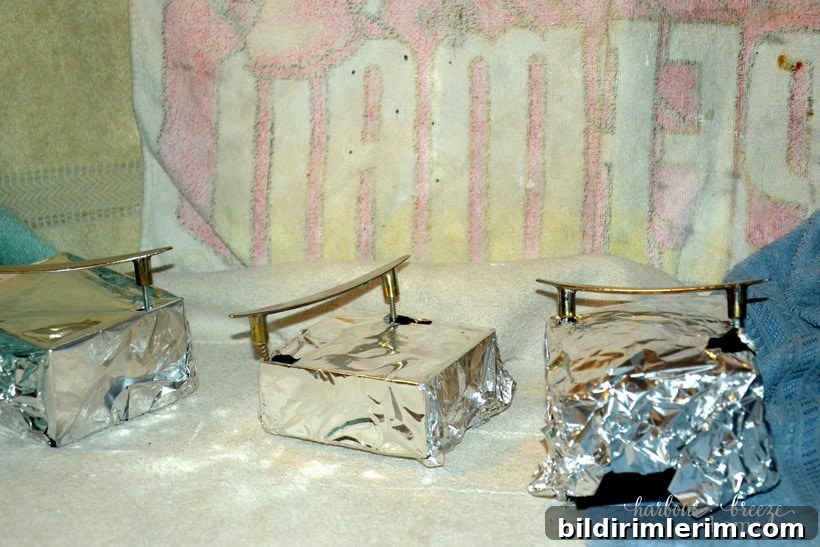
While waiting between coats, I spray-painted the original handles in a dark oil-rubbed bronze finish to update their look. Small changes to hardware can dramatically enhance the finished piece.
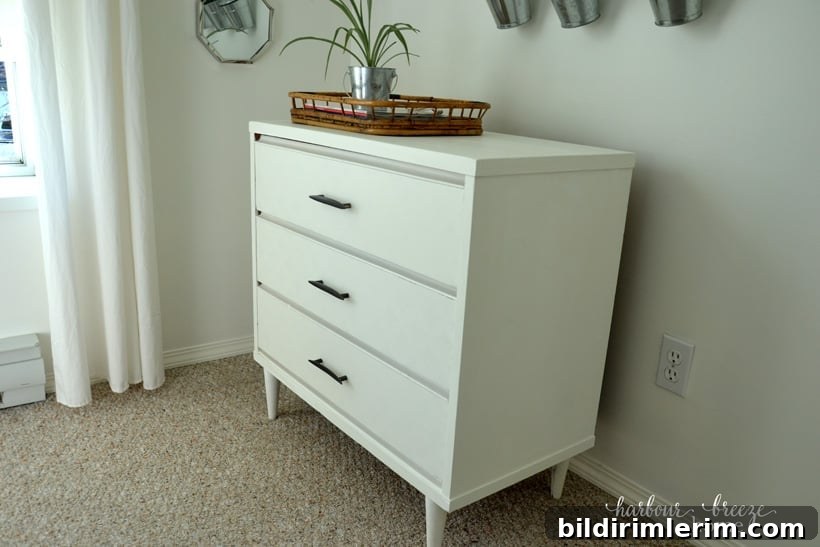
In just a few hours and with minimal fuss, the dresser transformed from a worn thrift-store find to a fresh, updated piece that complements the bedroom.
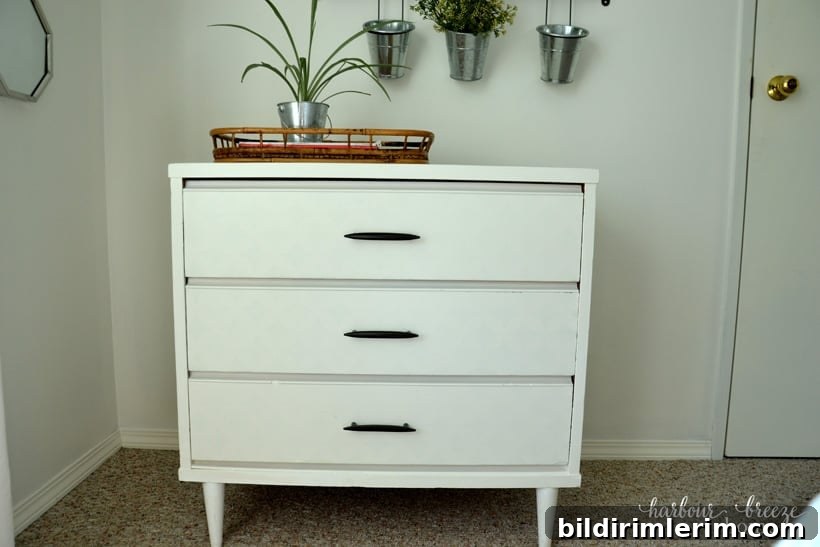
Small, deliberate steps — sanding, cleaning, choosing the right paint, protecting contents, and painting in a logical order — deliver excellent results without spending days on the project.
I documented the process in a live video during the repaint, and I plan to share similar quick projects in future live sessions on social media. If you enjoy step-by-step demonstrations, look for live painting demos on the page for more techniques and tips.