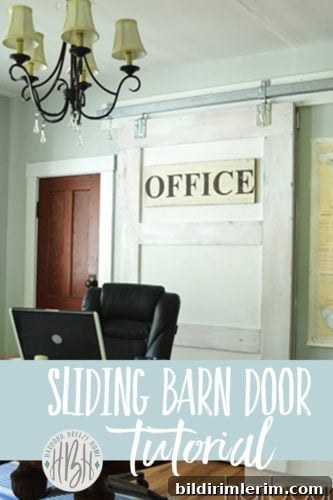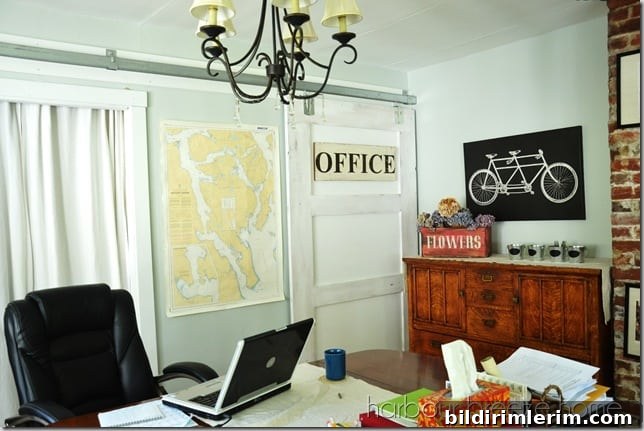
Add style and charm—and save precious floor space—by building a DIY sliding barn door for your home.
Trends come and go, but a well-designed sliding barn door can give any room character while solving practical problems. Even if a style is no longer labeled “trendy,” what matters most is creating spaces that feel like home to you. We built the sliding barn door shown here years ago for a previous house, and it remains one of my favorite DIY projects.
Below is a clear, step-by-step guide to help you build your own sliding barn door, including the materials, finishing tips, and installation notes that produced a durable, attractive result.
One challenge in our dining-room-turned-office makeover was an odd closet opening with a missing door. After exploring options, a sliding barn door emerged as the ideal solution: it provides privacy, saves floor space, and adds a strong visual focal point. Follow these steps to build a similar door for your space.
DIY Sliding Barn Door:
We began by following a trusted barn-door tutorial for the basic structure and joined boards, then adapted the dimensions and finishes to suit our room. Below are the core steps we used, with added tips for success.
1. Take accurate measurements for the opening.
Measure the width and height of the opening and allow for enough overlap so the door fully covers the opening when closed. Our finished door measured 49 inches wide by 84 inches tall. Double-check clearance above the opening for the track and rollers before cutting materials.
2. Purchase building and finishing supplies
Building supplies:
- Sheet of MDF (or plywood) for the door back
- 1×8 boards for the outer frame pieces
- 1×6 boards for the center planks
- Sliding barn door hardware kit (track and rollers), available from a local hardware store
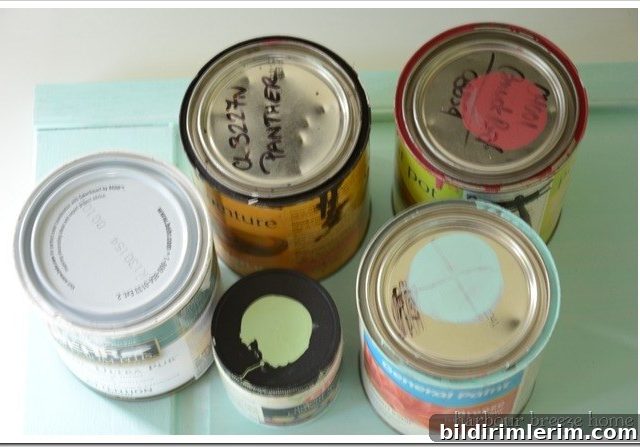
Painting and finishing supplies:
- Wood stain in the color you prefer
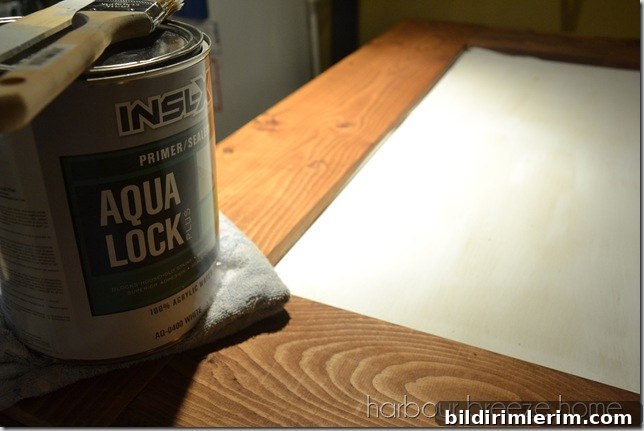
- Aqua Lock primer (or a comparable primer for MDF and wood)
- Paint in your chosen finish color
3. Assemble the door backing and attach the frame boards.
Cut the MDF or plywood to the final outer dimensions. Glue and clamp the 1×8 boards to the outer edges, then secure them with finish nails or a nail gun. Ensure the edges are flush and square before proceeding.
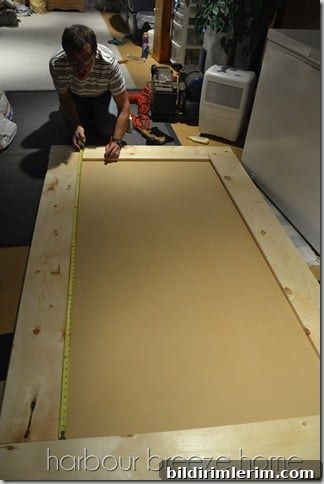
4. Add and secure the center planks.
Glue the 1×6 center boards into place across the face of the door to create the traditional barn-door look. Tack them down with nails while the glue cures. Make sure seams are tight and boards are straight for a professional appearance.
5. Stain the exposed wood parts.
After the glue has fully cured, apply wood stain to the outer and center boards. Wipe the stain on and remove excess to achieve a consistent tone. Staining emphasizes wood grain and produces depth beneath the painted finish if you plan to distress the door.
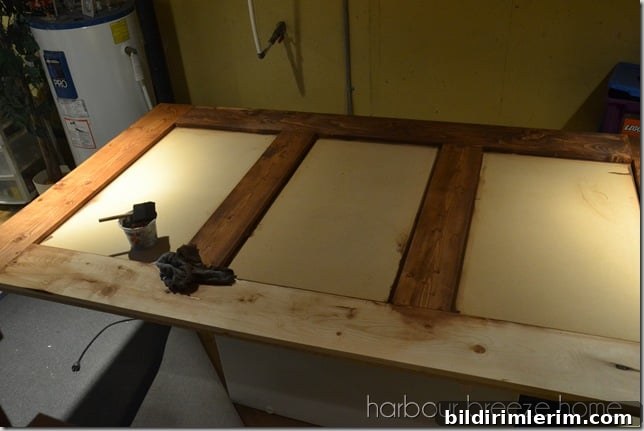
6. Prime the insets and the back of the door.
Use Aqua Lock primer or another suitable primer to seal the insets and the back side of the door. Priming prevents moisture absorption and ensures an even topcoat. Allow sufficient drying time before painting.
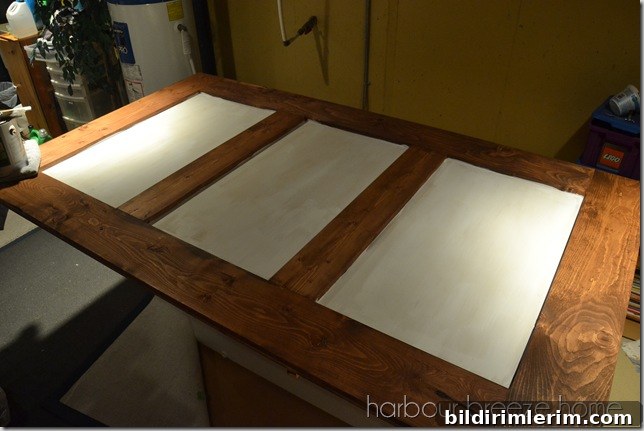
7. Create a rustic, aged look (optional).
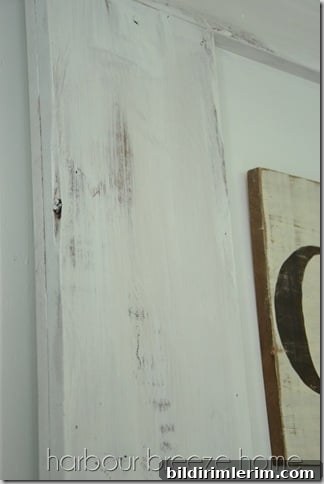
If you want a weathered or farmhouse appearance, apply a small amount of petroleum jelly (Vaseline) in random areas of the stained wood before painting. The paint will resist adhesion where the Vaseline is applied, producing a natural, worn patina after you paint and then wipe or sand select spots. We painted our door in White Heron by Benjamin Moore for a soft, vintage feel.
8. Reinforce the wall where the track will mount.
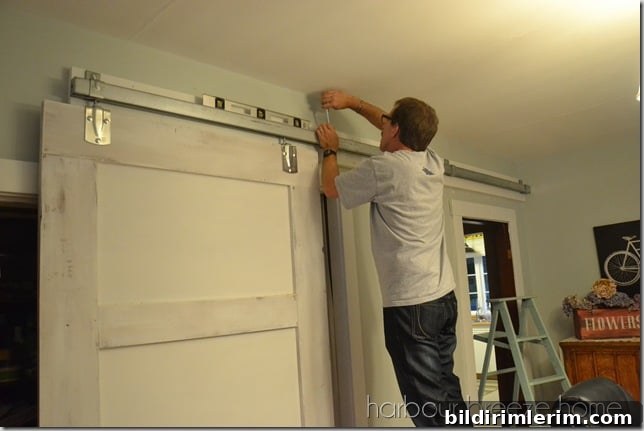
Attach a solid backing board—such as a 2×8—securely to the wall studs where the track will be mounted. This ensures the track and door are supported safely and prevents stress on drywall alone. For wide door installations, using a full-length backing board is especially important.
9. Install the track and hang the door.
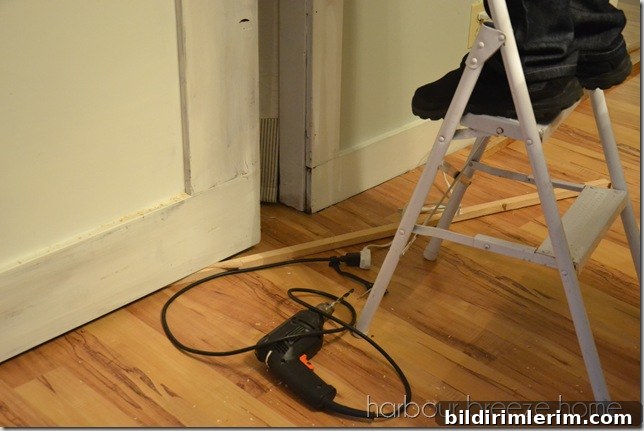
Mount the rail to the reinforced backing at the proper height so the door clears the floor and overlaps the opening as intended. With a helper, lift the door and hang the rollers on the track, checking alignment and smooth operation. During installation we propped the door on temporary supports to help manage the weight safely.
10. Final checks and enjoy your new door.
Once installed, test the door through several open-and-close cycles to ensure the rollers run smoothly and the door seals the opening when closed. Make any final touchups to paint or hardware placement. This sliding barn door covers our odd closet opening and, when slid fully closed, creates a private room separation while saving floor space compared with a swinging door.
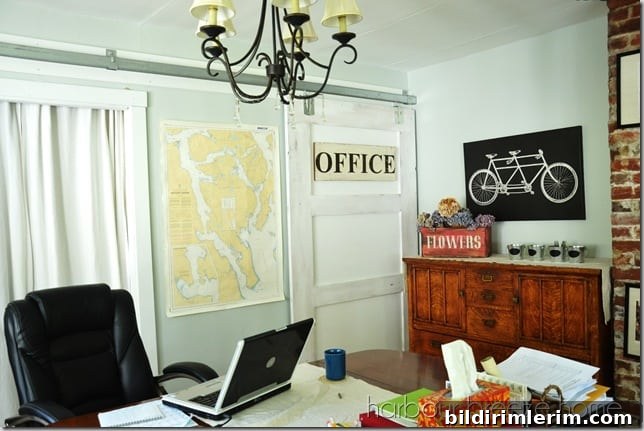
We really love how this door transformed the room—both functionally and aesthetically.
More farmhouse-style DIY ideas
- How to make farmhouse shiplap walls the easy way
- Adding a shiplap accent wall in a bathroom
- DIY shelves inspired by the Fixer Upper look
- Transforming Ikea bookcases with trim to create built-in-style shelving