Create an inexpensive floating frame for your canvas art with this clear, step-by-step DIY guide.
We recently updated our living room with a large canvas print as the focal point over the couch, and we loved the result. After hanging the canvas, we decided a simple floating frame would give it a polished, gallery-ready look without the high cost of a custom frame.
Canvas frames from stores can be expensive, but a DIY floating frame made from 1×2 pine is an affordable, attractive alternative that’s easy to build with basic tools.
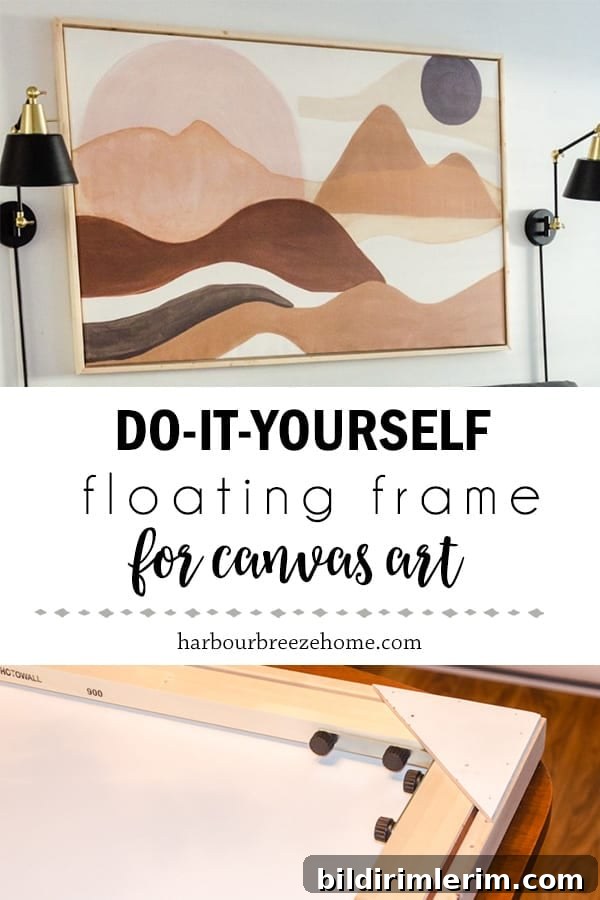
How to Frame a Canvas with a DIY Floating Frame
Disclosure: this post contains affiliate links for convenience.
Supplies You’ll Need to Make a Floating Frame
- 1×2 pine boards (standard thickness about 3/4″)
- Wood glue
- Miter saw (or a miter box and hand saw)
- Brad nails and a brad nailer
- Thin wood or veneer for corner backing pieces (leftovers from shiplap work well)
- Wood stain (optional) or a clear matte sealer such as polyurethane
(Click here to find links to our favorite DIY & craft supply items.)
Step 1: Measure and cut the 1×2 boards with mitered corners.
Start by measuring your canvas precisely. Note both the width and height. For our canvas the outer dimensions were 57″ x 37 1/4″. Decide how much space you want between the edge of the canvas and the inside edge of the floating frame — this gap creates the “floating” effect. We aimed for an 1/8″ gap but the finished gap ended up just over 1/4″ and still looked great.
To determine the cut lengths for the frame pieces, add the canvas dimension plus the chosen gap plus the thickness of the 1×2 board (about 3/4″). Cut each frame piece with a 45° miter at the ends so the corners will join cleanly.
Double-check measurements before cutting. Measure twice, cut once to keep the frame square and accurate.
Step 2: Cut backing veneer pieces at a 45° angle to support the frame.
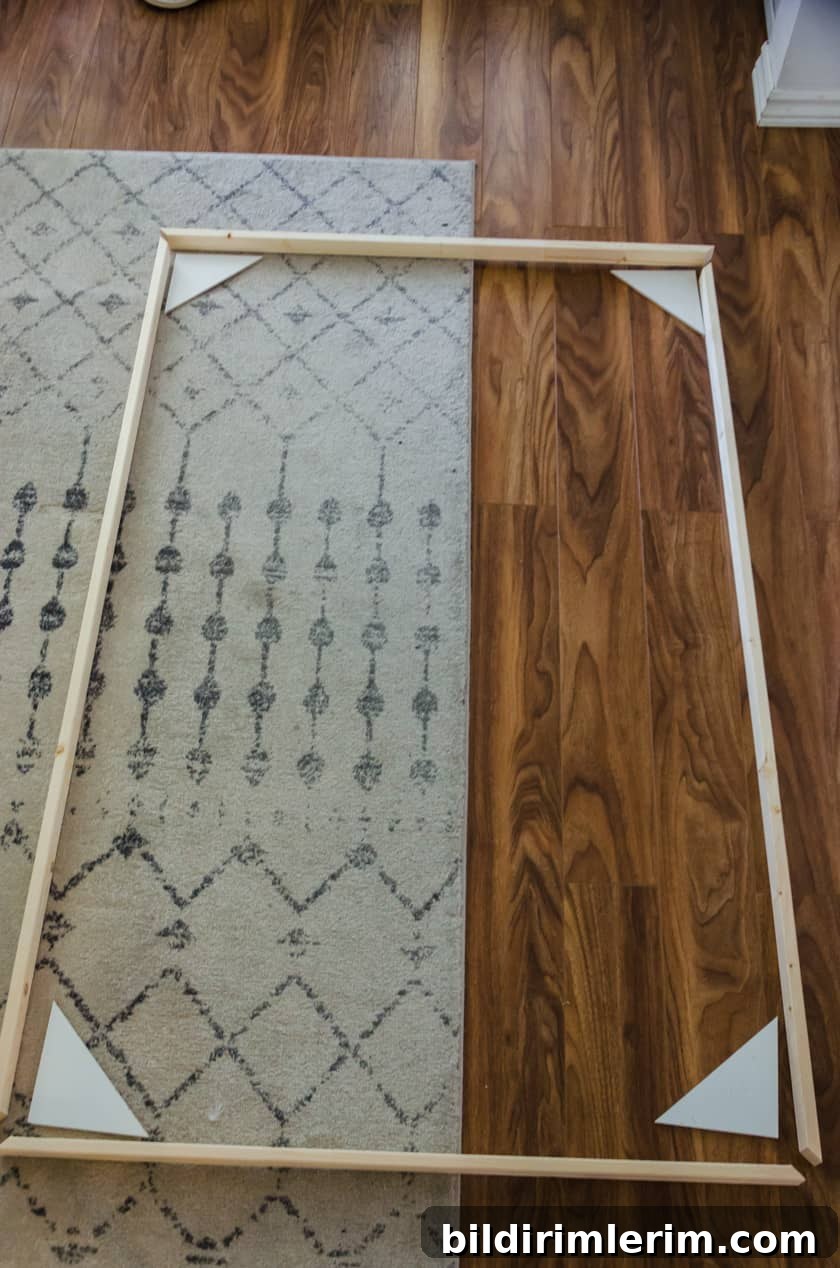
Step 3: Glue and nail the mitered corners together.
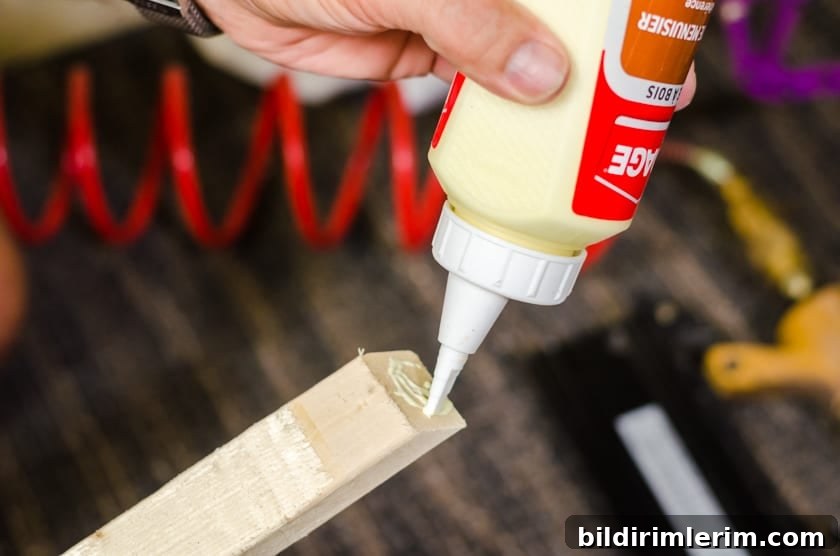
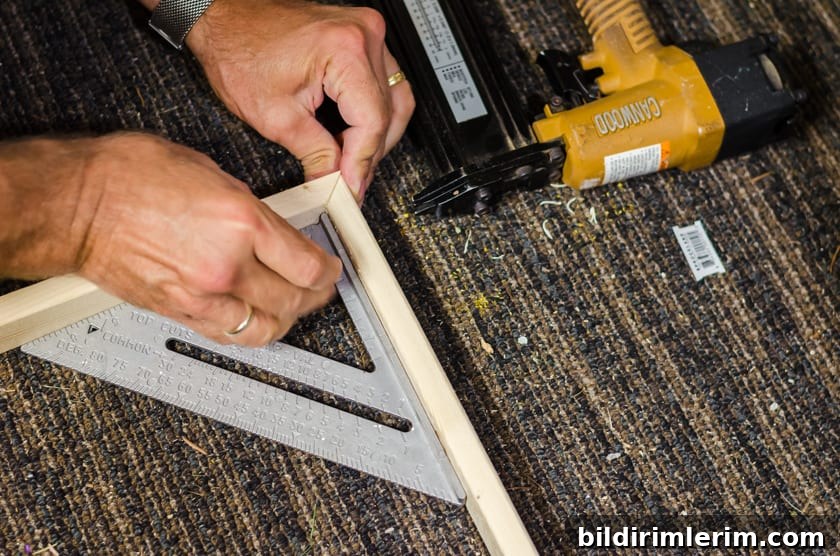
Apply wood glue to the mitered joints, arrange the pieces on a flat surface, and use clamps if available. When everything is aligned and square, reinforce each corner with a couple of brad nails driven in from the outside edges.
Step 4: Attach the thin corner backing pieces to the frame’s back.
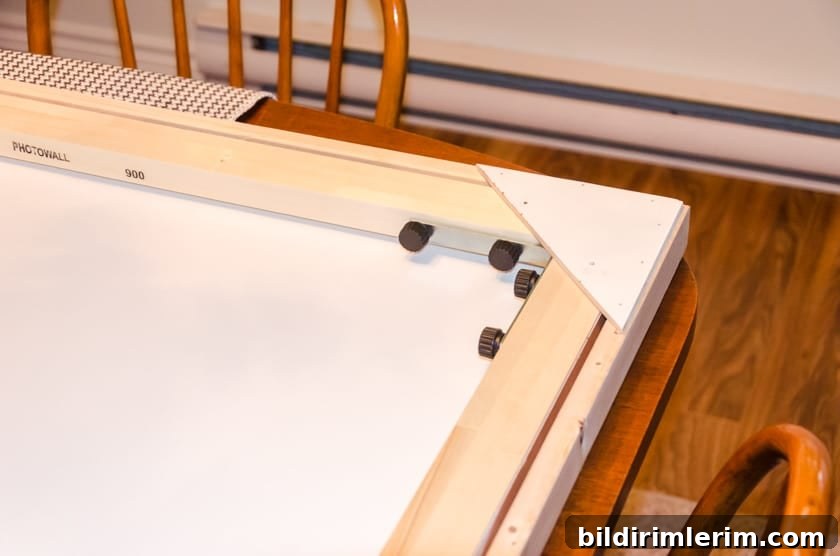
Cut thin veneer or leftover shiplap into small triangular or rectangular corner blocks that will sit behind the frame and against the canvas. Fasten these on the inside back of each corner with 1/4″ brad nails so they form a stable backing that keeps the frame set off the canvas at the chosen gap.
Step 5: Stain or seal the frame.
Decide on your finish. We preferred the natural look and applied a clear matte sealer. If you want a different tone, apply wood stain first, then seal. Allow ample drying time between coats and before handling.
Step 6: Attach the floating frame to the canvas using the corner backing pieces.
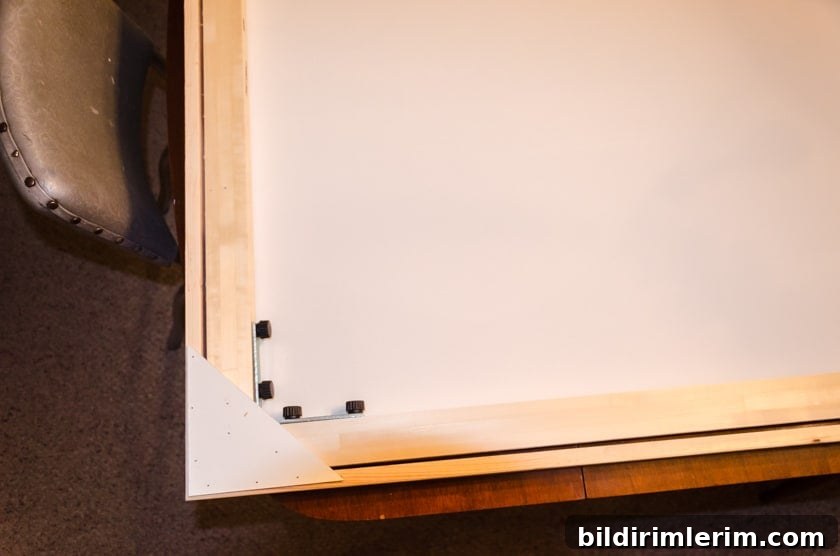
Set the canvas face down and center the frame over it. Use short finish nails to fasten through the backing pieces into the canvas stretcher, securing the frame without puncturing the canvas face. We learned the hard way that brads that are even a little too long can poke through the canvas, so test nail length first.
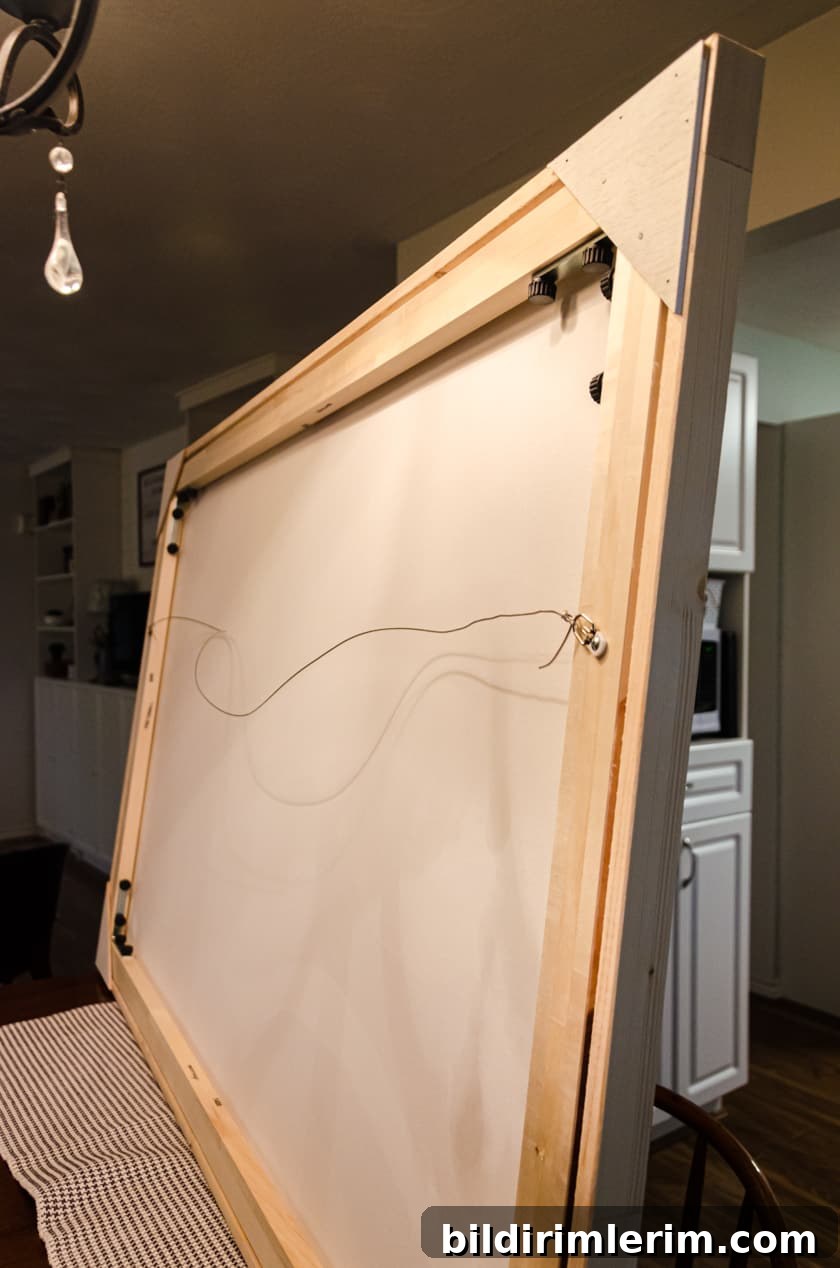
Step 7: Hang your newly framed canvas.
To hang a large canvas with a floating frame safely, use a simple but sturdy hanging system. Below are the supplies and steps that worked well for our piece.
Supplies you’ll need to hang a large canvas:
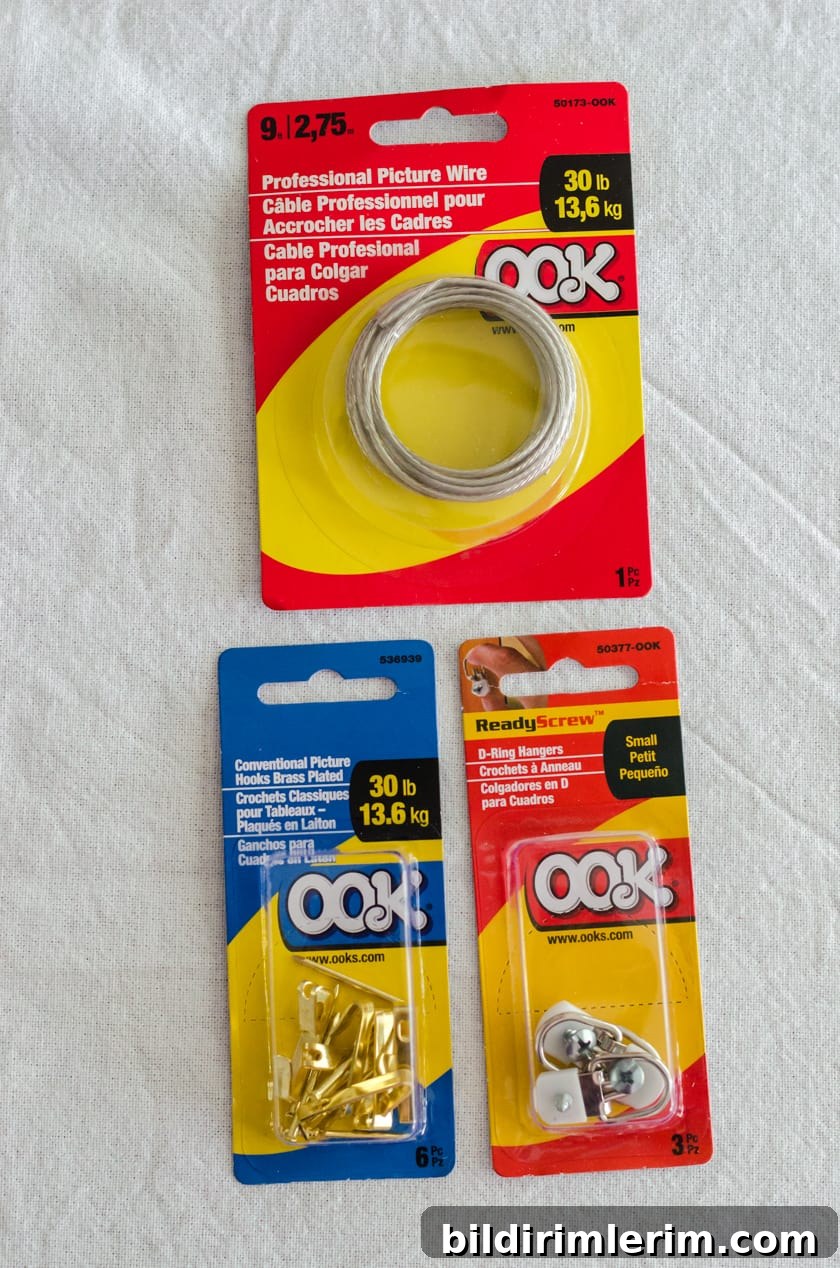
- Picture wire rated for at least 30 pounds
- Small D-ring hangers
- Picture hooks or wall anchors rated for the weight of the piece
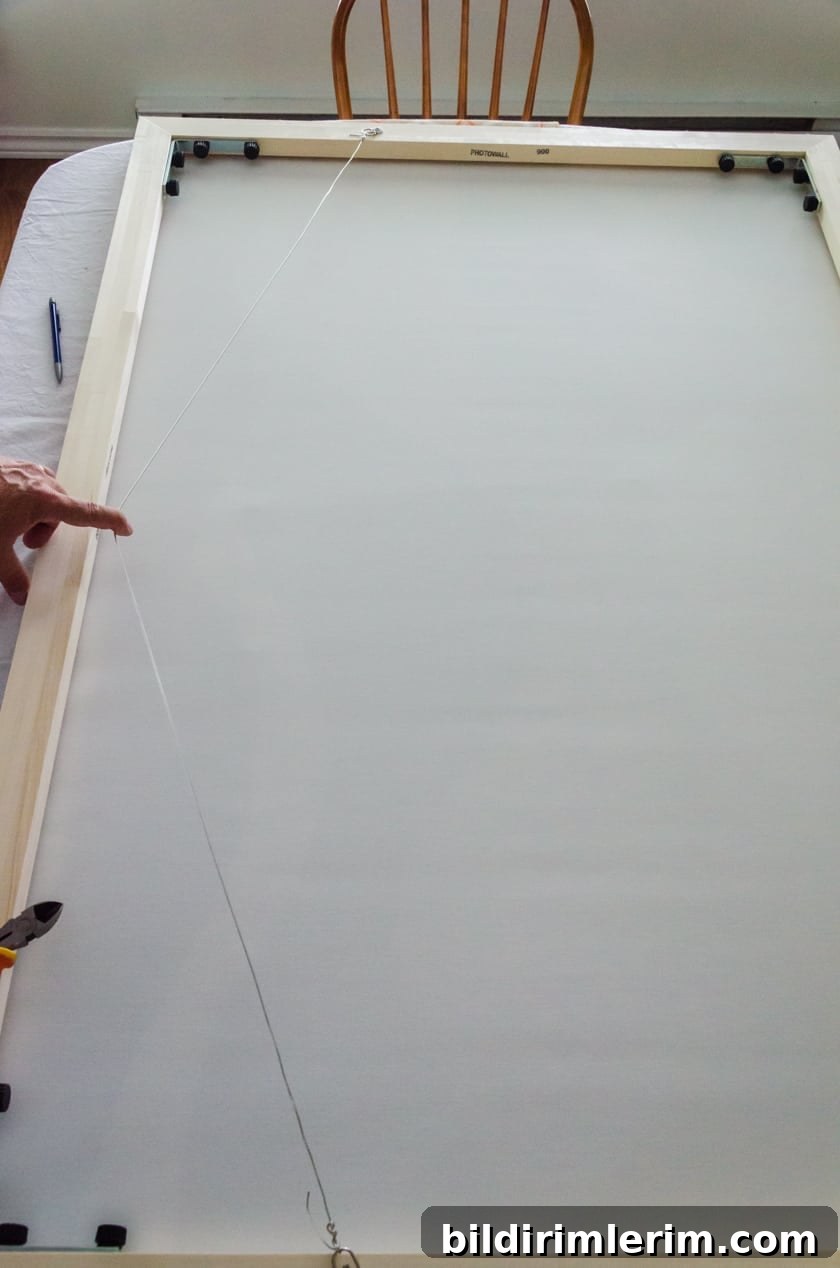
Attach D-ring hangers to the frame
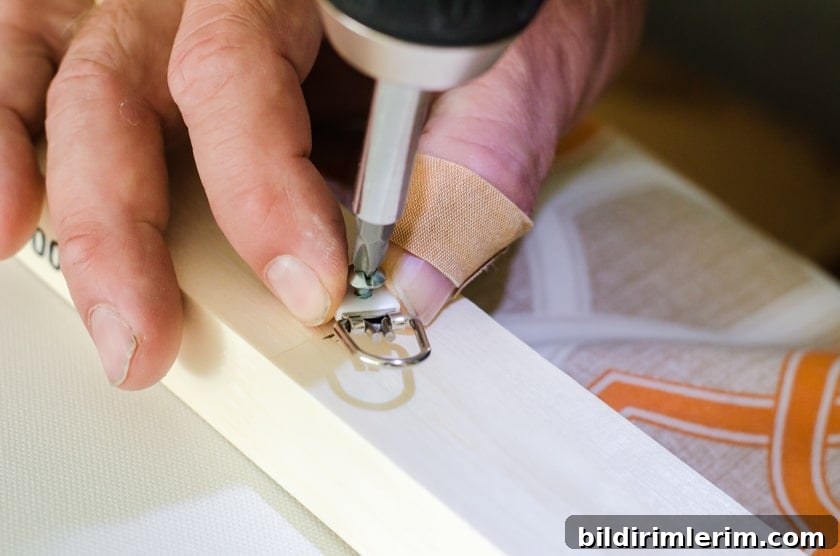
Screw D-ring hangers into the stretcher frame about one-third of the way down from the top on each side. Feed picture wire through each ring and twist securely so the wire sits slightly below the top edge of the frame when held tight.
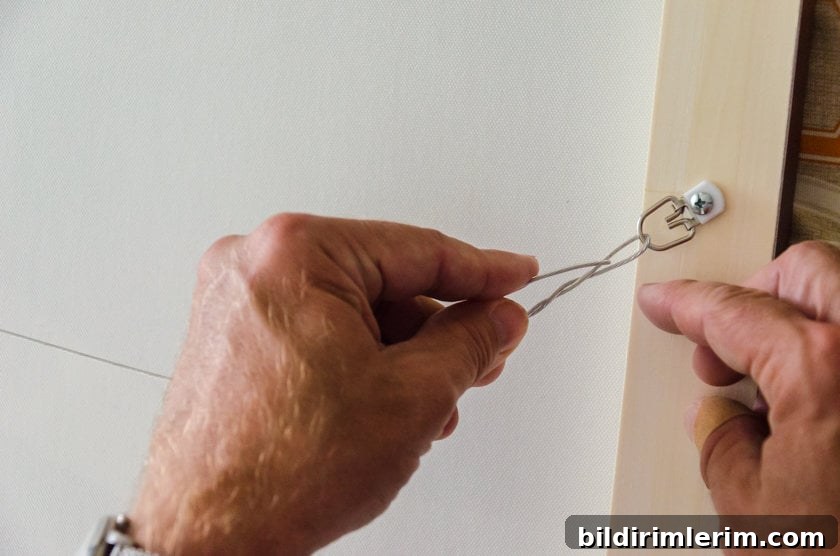
Install the correct picture hooks into your wall at the desired location, making sure they are rated to support the weight. Hang the canvas and adjust until it sits level.
Final step: Enjoy your finished gallery look
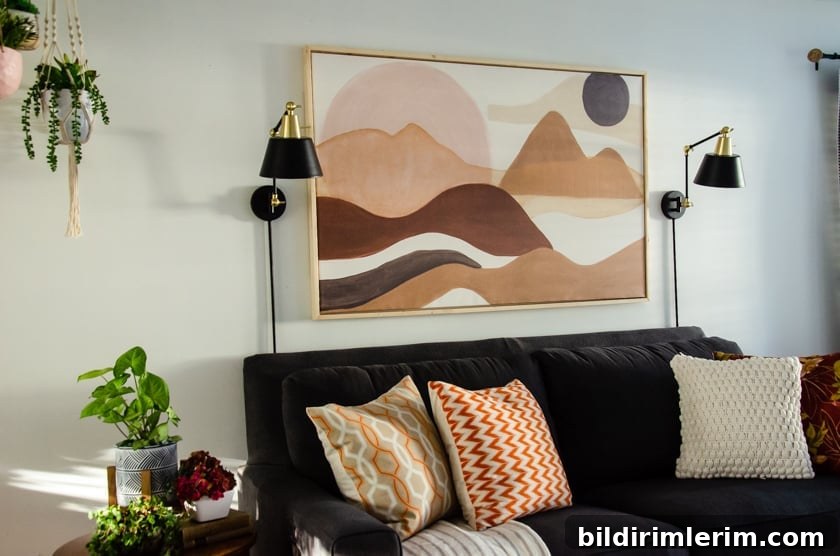
A floating frame adds depth and a professional appearance to canvas art without the expense of a custom frame. Once it’s sealed, secured, and hung, it creates a clean, modern display that’s easy to change or remove later.
More Wood-Based DIY Ideas
- DIY floating shelves built with wood and dowels
- Floating bedside tables that are quick and inexpensive
- Eight different DIY wall shelves you can complete in a few hours
Want more simple DIY projects?
Join our newsletter to receive easy, budget-friendly DIY ideas and home styling tips delivered to your inbox.