Learn the simple steps to make a DIY Christmas tree pillow in just 15 minutes — no sewing required!
I recently found a plain white pillow cover tucked away in a basket of curtains and decided to transform it into a quick Christmas accent for the couch. This no-sew Christmas tree pillow is fast, budget-friendly, and perfect for beginners. It also makes a thoughtful handmade gift that you can finish in about 15 minutes.

How to Make a No-Sew DIY Christmas Tree Pillow
Disclosure: This tutorial lists common craft supplies used to complete the project.
Supplies you’ll need for a DIY Christmas tree pillow:
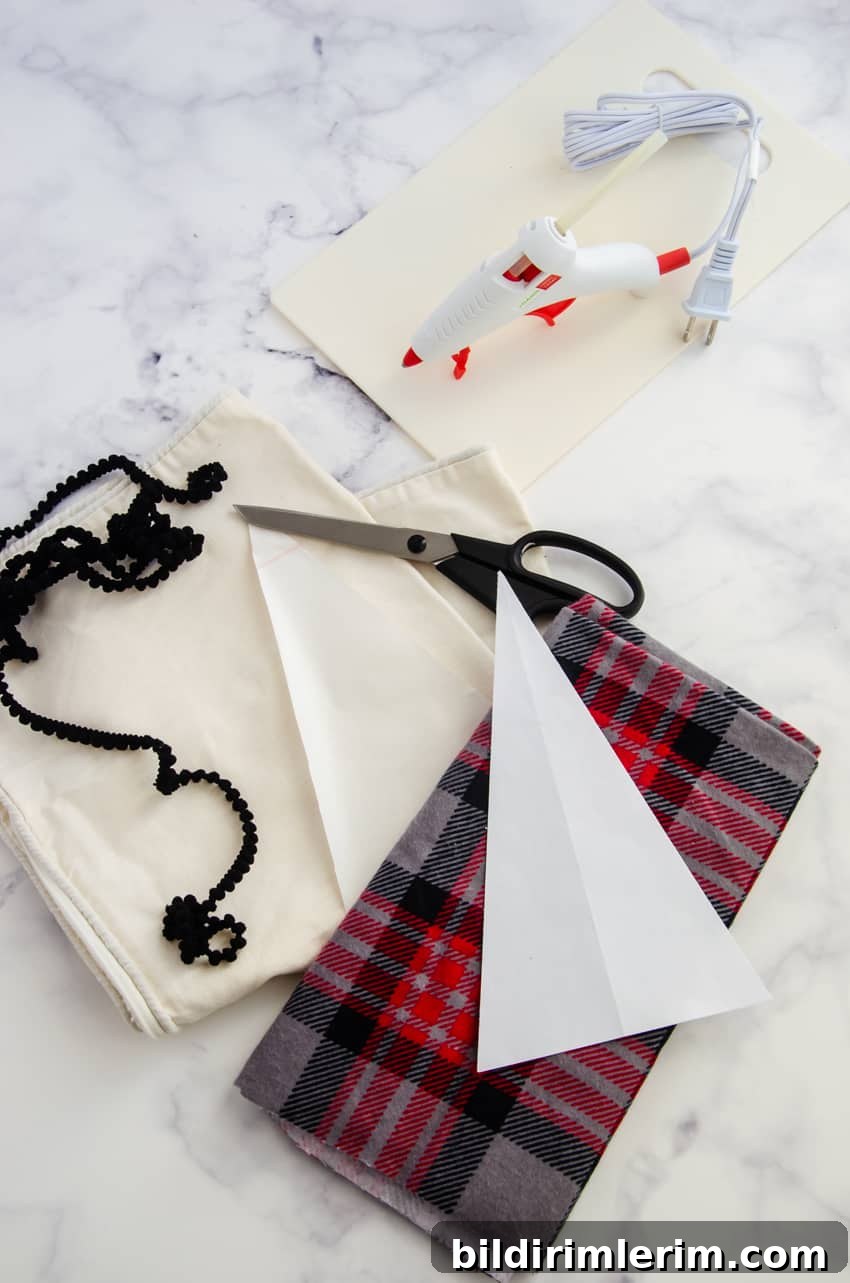
- Pillow cover (plain fabric works best; an inexpensive cover is ideal)
- Fabric scraps for the tree (flannel, cotton, or any preferred pattern)
- Pom pom trim or other decorative trim
- Heat n Bond or another fusible adhesive
- Iron and ironing surface
- Paper or cardstock for making a pattern
- Hot glue gun and glue sticks
- Pillow insert or form
Project details
Yield: 1 pillow cover. Time: about 15 minutes. Skill level: beginner — no sewing required.
Step-by-step instructions
1. Create a simple paper pattern for the tree
Keep this step easy. Decide how tall and wide you want the tree to be on the pillow. For a standard accent pillow I used a tree about 5.5 inches wide and 9¼ inches tall, but any size that fits your pillow face will work. Cut a rectangle to that size from scrap paper, fold it in half vertically, and cut a triangular tree shape from the folded edge down to the bottom. Open the paper to reveal a symmetric tree pattern.
2. Fuse Heat n Bond to the back of your fabric
Place the sticky (bumpy) side of the Heat n Bond against the wrong side of your fabric scrap and iron according to the adhesive manufacturer’s instructions. Make sure the adhesive piece is slightly larger than your paper pattern so you have room to trace and cut.
3. Trace the tree pattern and add a trunk
With the Heat n Bond fused to the fabric, trace your paper tree onto the fabric and add a small rectangle or trapezoid at the bottom center for a trunk. Cut out the tree shape carefully.
4. Adhere the tree to the pillow cover
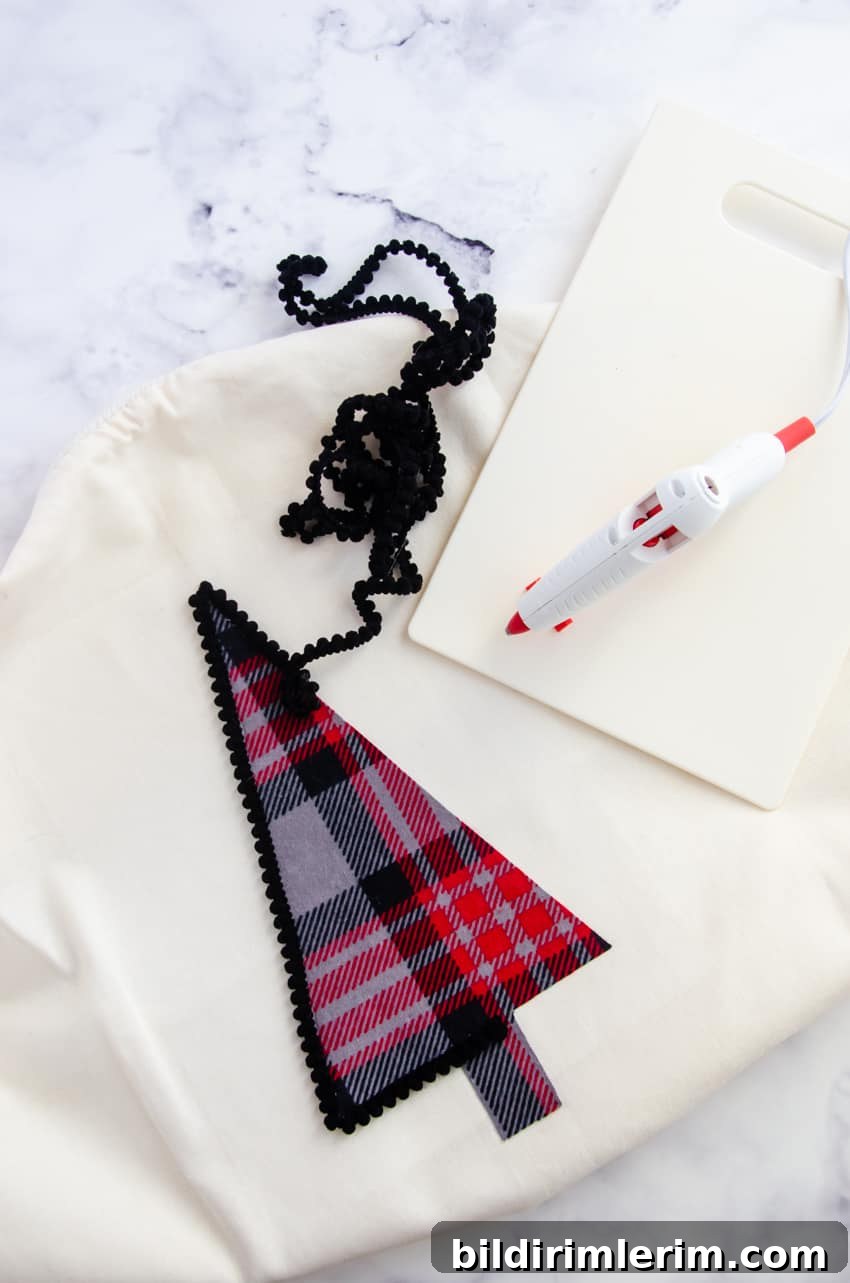
Peel the paper backing off the Heat n Bond and position the fabric tree in the center of the pillow cover. Press with a hot iron (follow Heat n Bond directions) to secure the tree in place. Smooth out any wrinkles and ensure edges are firmly fused.
5. Attach pom pom trim or other embellishment
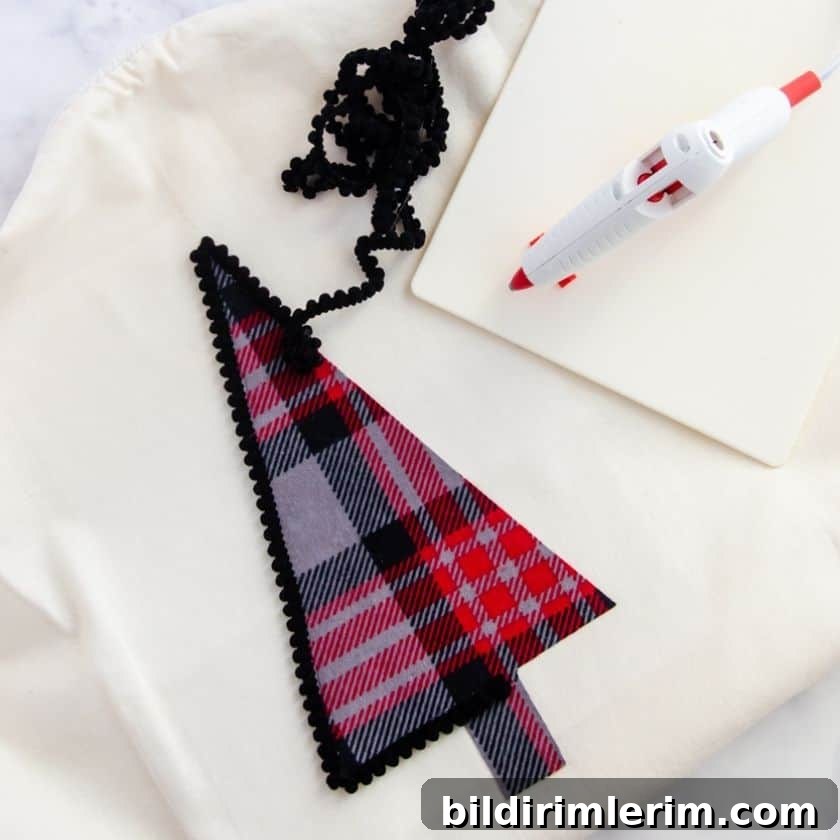
Use a hot glue gun to attach pom pom trim around the tree edge for contrast and a cozy, handcrafted look. Work in small sections so the glue remains tacky and press the trim into place. Alternatively, you can stitch the trim by hand if you prefer a stitched finish.
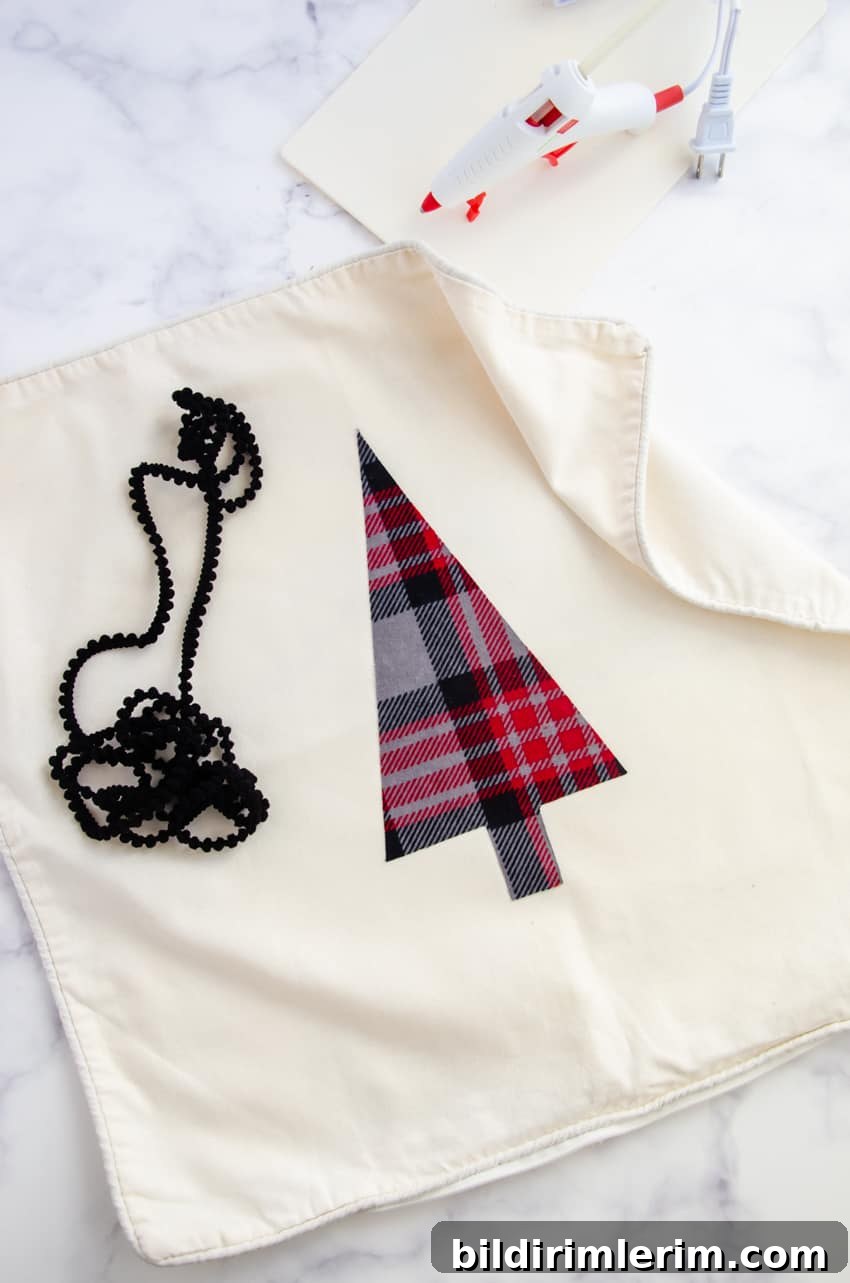
Once the trim is attached and the glue has cooled, insert your pillow form and fluff it into the cover. Your finished pillow is ready to display on a sofa, bench, or bed.

Tips and variations
- Fabric choice: Plaid flannel, burlap, felt, or patterned cotton each create a different look — farmhouse, rustic, or modern.
- Edge treatments: Instead of pom poms, try rickrack, piping, or a blanket stitch if you want to sew a decorative edge.
- Layered trees: Cut several tree shapes in different sizes and stack them for a layered dimensional look.
- Personalize: Add small fabric or wooden buttons as ornaments, or use fabric paint for added detail.
- Gift idea: Fill with a bright or scented pillow insert and wrap as a handmade present.
Care and storage
Spot clean glued embellishments and fabric appliques. Remove pillow insert before cleaning the cover. If you used a fabric that can be ironed, press gently on a low heat setting, avoiding direct heat on glued trim.
More Christmas craft ideas
If you enjoy making seasonal decor, try related projects such as a wood slice Christmas tree sign, a mini flocked faux tree made from budget supplies, simple DIY ornaments, or felt ornaments designed for gifting and trimming the tree.
That’s it — a quick, no-sew Christmas tree pillow you can make in minutes. Enjoy crafting, and have a cozy, decorative holiday season!