Tired of crumbs ruining your frosting? Try this simple, time-saving tip: freeze your cake layers before you frost them. Freezing helps prevent crumbs from mixing into the icing, reduces decorating stress, and keeps the cake tasting fresh.
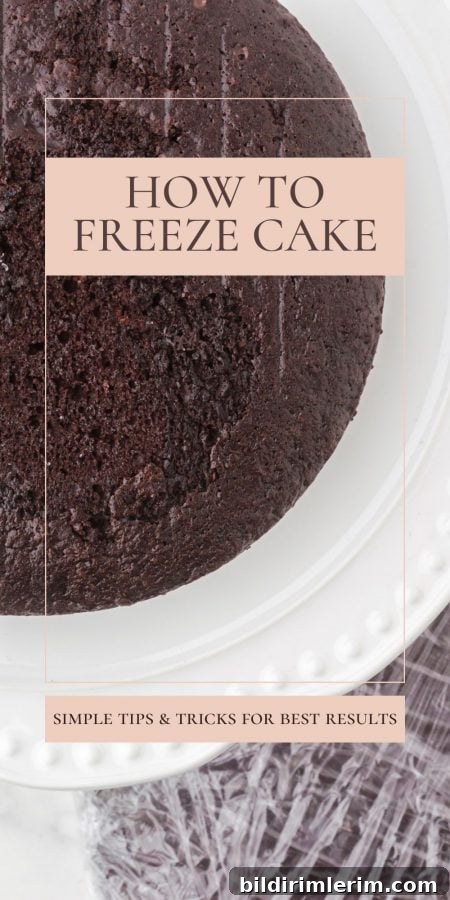
How to Freeze Cake (So It’s Easy to Frost Later!)
I learned the value of careful cake decorating from family—my aunt was a perfectionist who made wedding cakes that looked like little architectural feats. I, however, struggled with frosting. Crumbs would lift into my icing, layers would slide, and the whole process felt frustrating. Then I discovered a simple professional trick: frost a frozen cake. Many bakers and food stylists freeze cake layers before decorating, and the results are consistently better—smoother icing, clean edges, and far fewer crumbs.
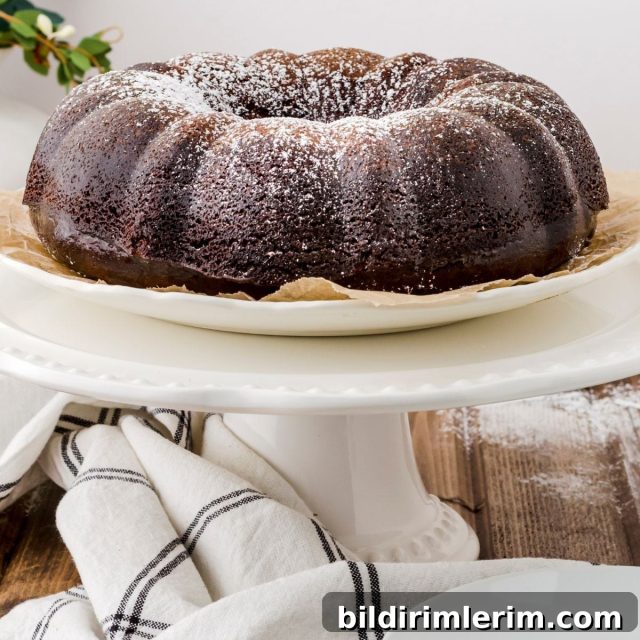
Below is the straightforward method I use for round layers, sheet cakes, bundt cakes, and even cupcakes. It minimizes freezer burn, preserves texture and flavor, and gives you a stable surface to work on when you ice the cake.
Why freeze cake after baking?
Freezing cake layers has benefits beyond storage. Key advantages include:
- Easier frosting: A frozen surface is firm, so your spatula or piping tip glides across the cake without pulling up crumbs.
- Build ahead: Bake layers in advance to save time the day you need the finished cake.
- Fewer decorating mishaps: Firm layers are less likely to slide or shift while you assemble and decorate.
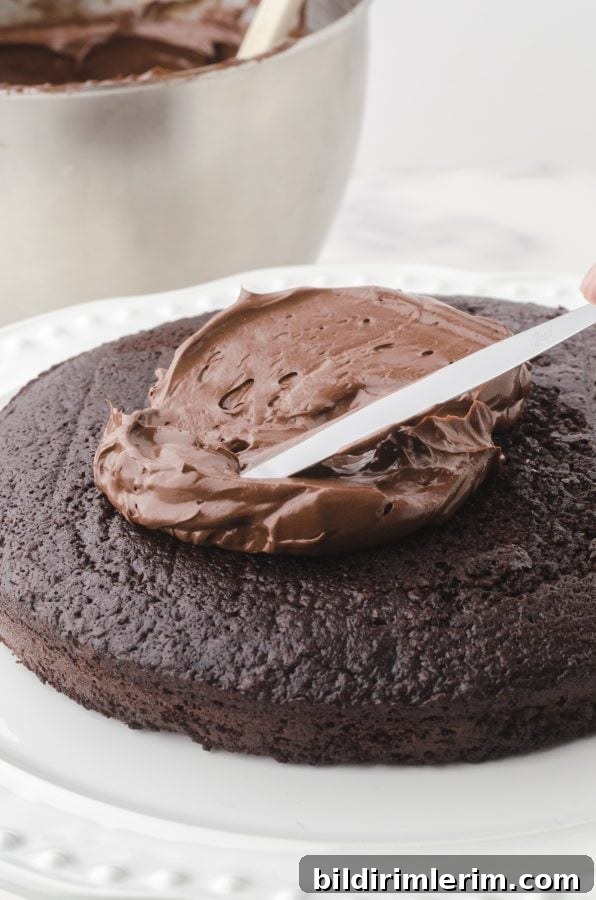
Prepare cake layers to stay fresh and avoid freezer burn
Tip: This approach works for layers, sheet cakes, bundts, and cupcakes.
To keep cake quality through freezing, protect it from air and moisture. The aim is to seal cake layers tightly so freezing doesn’t dry or flavor them. Below is the most reliable, commonly used method.
Supplies You’ll Need:
- Plastic wrap (Press’n Seal works well if you have it)
- Aluminum foil
- Sharpie marker to label date and contents
- Baking sheet or other flat surface for initial freezing
- Airtight container or large freezer bags for additional protection
Step-by-Step Instructions for How to Freeze Cake
- Bake and cool: Bake as your recipe directs and let each layer cool completely on a wire rack. Freezing warm cake traps steam and causes ice crystals.
- Level the tops: Trim domed tops with a serrated knife to create flat layers that stack and frost evenly.
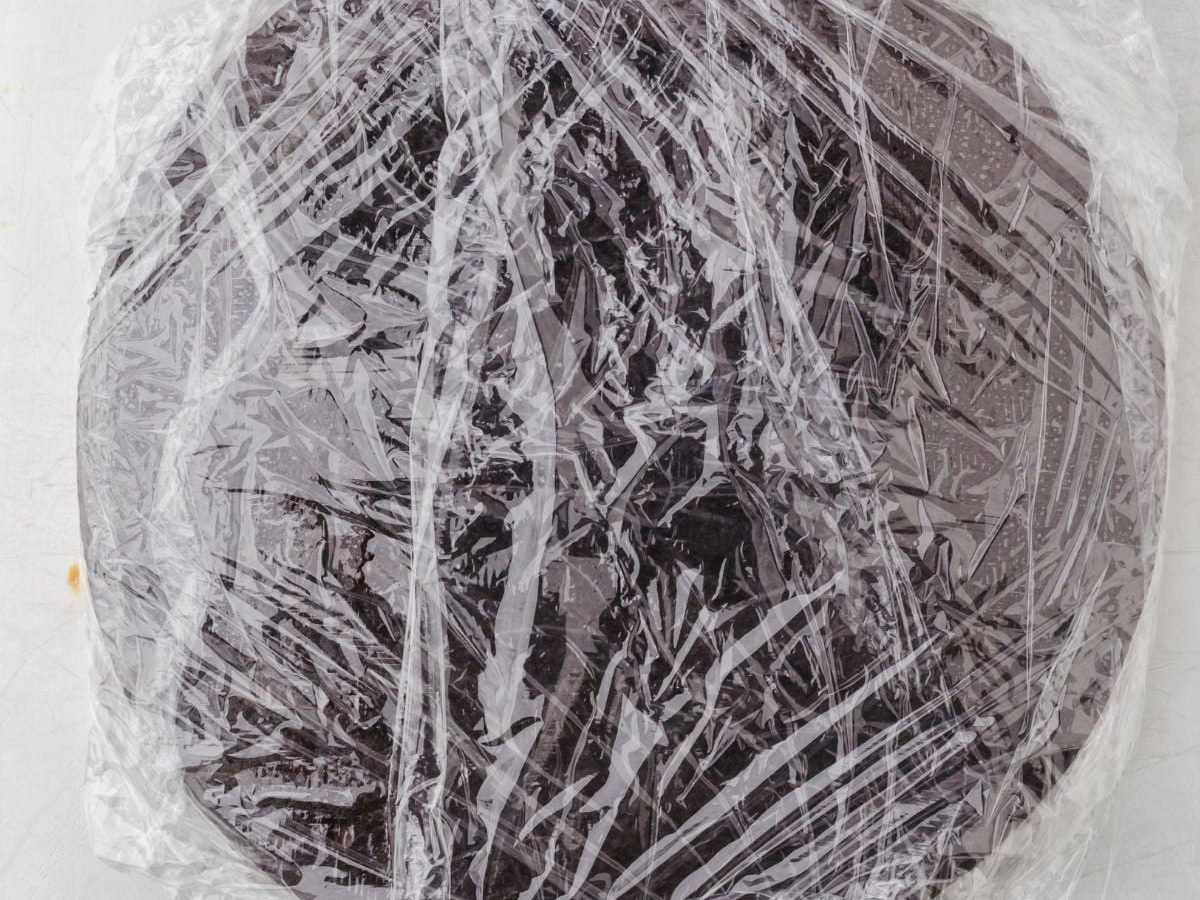
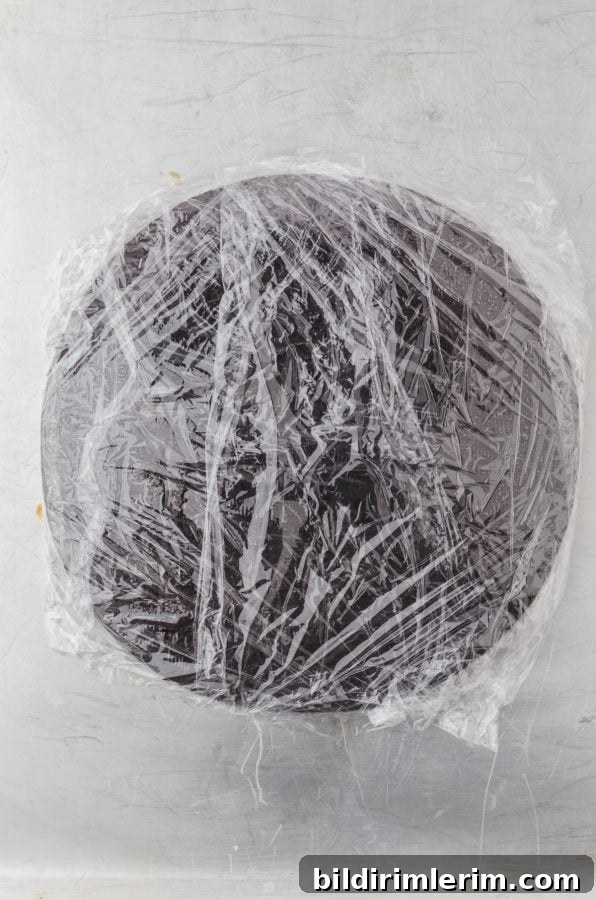
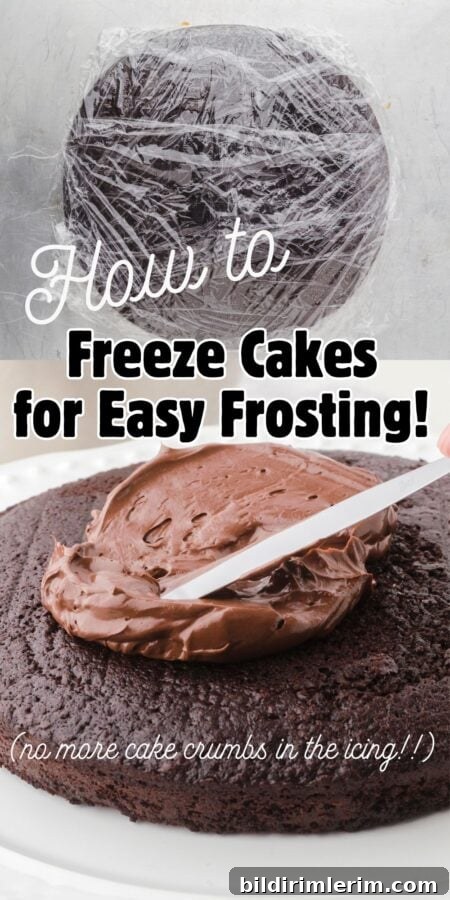
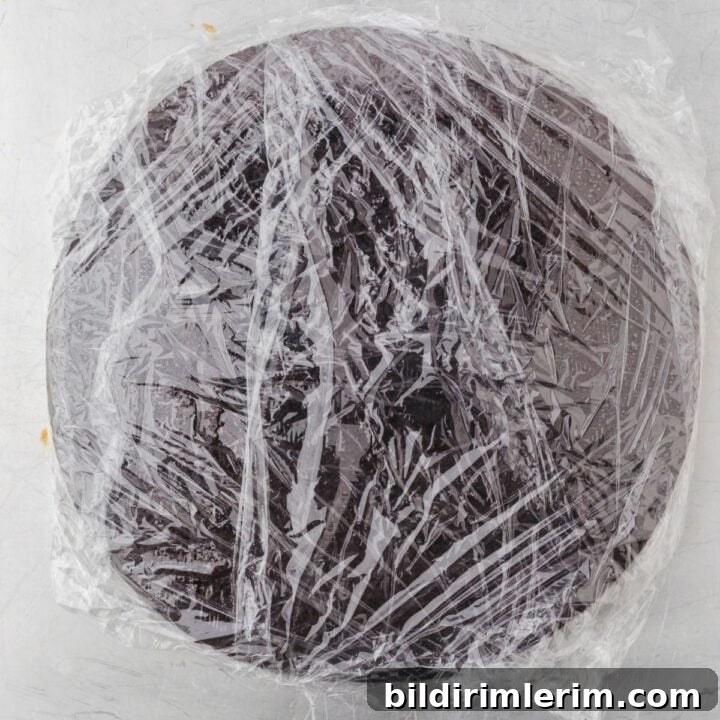
- Wrap tightly: Wrap each layer in plastic wrap. Start by wrapping across the cake horizontally, then add a second piece vertically to seal seams and minimize air exposure.
- Flash-freeze flat: Place wrapped layers flat on a baking sheet and freeze overnight so the shape is set and the surface becomes firm.
- Extra protection (optional): For long-term storage, after the layers are fully frozen, wrap them in aluminum foil or place them in airtight containers or large freezer bags to prevent freezer burn.
- Label and date: Use a marker to note the contents and freezing date. Properly wrapped cakes keep quality for up to three months in a typical home freezer.
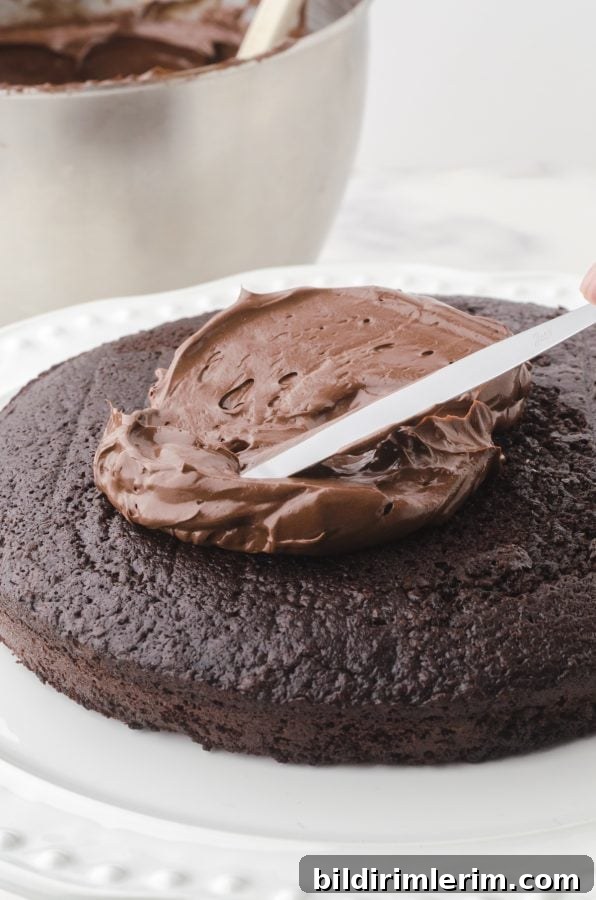
How to Frost a Frozen Cake
Frosting frozen layers is simple and very forgiving. Follow these steps for the best outcome:
- Prepare your frosting: Make sure your buttercream or other icing is at the right consistency for spreading or piping.
- Unwrap while cold: Remove the wrapped layers from the freezer and unwrap them completely so no moisture gets trapped under the frosting.
- Frost while frozen: Ice the cake while the layers are still frozen. The cold surface produces crisp edges, smooth sides, and minimal crumbs in the icing.
- Thaw before serving: After decorating, allow the assembled cake to thaw fully at room temperature or in the refrigerator before slicing to ensure an even texture.
This same technique works well for decorating cupcakes—freeze the cupcakes briefly before piping to get clean, neat swirls.
Cake Freezing Tips & Tricks
- Freeze before icing: For the cleanest finish, always freeze cakes before you apply the final frosting and decorations.
- Eliminate air: The better you seal the cake from air, the lower the risk of freezer burn and the more moisture the cake retains.
- Store flat: Keep layers flat while frozen so they don’t warp or shift shape.
How long can you freeze cake?
When wrapped and stored properly, cake will maintain good quality in the freezer for up to three months. After that, flavor and texture may begin to decline.
How to thaw frozen cake
To defrost, set the cake on a wire rack and let it come to room temperature. Remove plastic wrap and foil before thawing to avoid condensation soaking the cake. A single layer usually takes 2–3 hours to thaw; larger assembled cakes may require longer. After thawing, cover the cake to keep it moist until serving.
For more cake ideas that freeze well
- Vanilla cake with butterscotch filling and vanilla buttercream
- How to assemble a filled layer cake
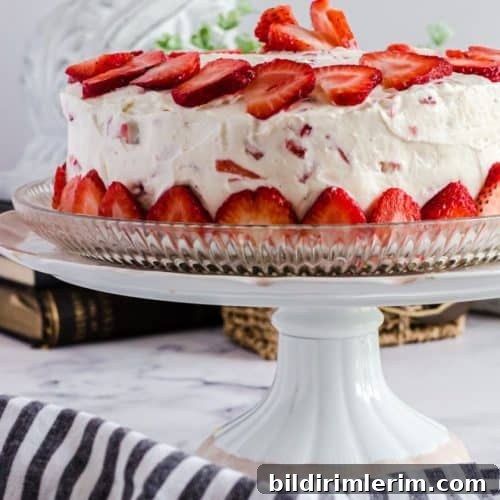
- Vanilla cake topped with fresh strawberry icing
- Chocolate mayonnaise cake (a moist, old-fashioned favorite)
More helpful kitchen tips
- How to freeze avocados so they last longer
- Best practices for using parchment paper in the kitchen
- Ways to sift flour without a sifter
- Easy tips for cleaning an electric cooktop
Want more recipes and kitchen hacks?
Join my newsletter for new recipes, time-saving kitchen tips, and simple baking techniques delivered to your inbox.

Pin this to remember it later!
How To Freeze Cakes
Quick, reliable method to freeze cake layers so they are easy to frost and stay fresh after freezing.
Ingredients / Supplies
- Plastic wrap or Press’n Seal
- Aluminum foil
- Sharpie marker
- Baking sheet or flat surface
- Airtight container or large freezer bags
Instructions
- Bake your cake according to the recipe and cool fully on a wire rack.
- Trim and level each layer if needed so they stack evenly.
- Wrap each layer tightly in plastic wrap, sealing seams and minimizing exposed air.
- Freeze flat on a baking sheet overnight to set the shape.
- For long-term storage (optional), add a layer of foil or place the frozen layer in an airtight container or freezer bag.
- Label and date each package. Use within three months for best quality.
Notes
Freeze layers before applying final frosting and decorations for the cleanest finish.
Share your results
If you try this method, share a photo and tag the account on social media: instagram @harbourbreeze