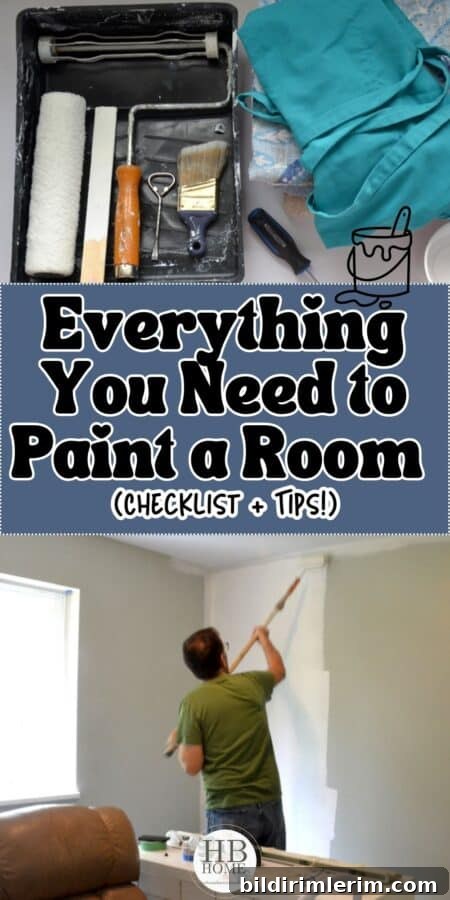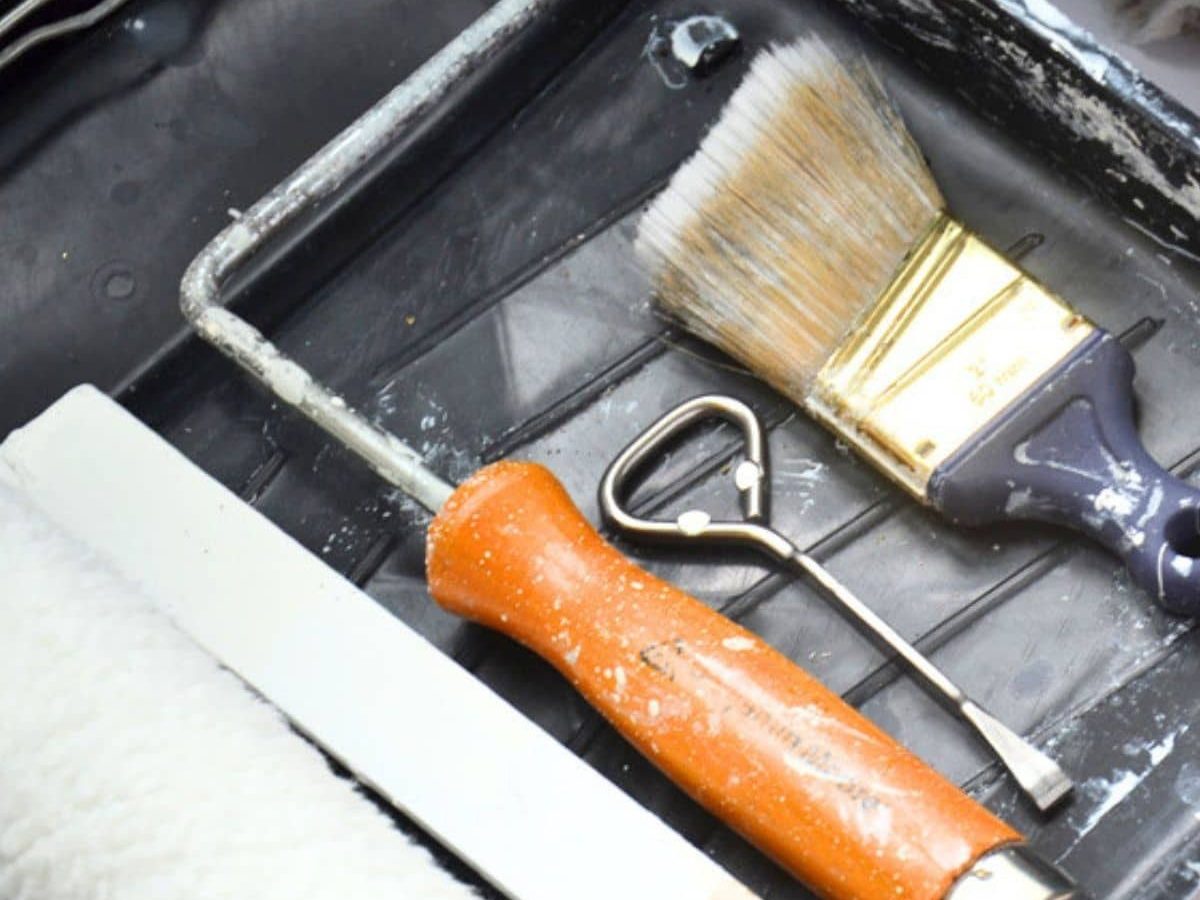
After painting room after room in many homes, these are the exact supplies I reach for every single time — plus the practical tips that make the job go smoothly.
There’s nothing quite like the fresh, clean feeling of a newly painted room. I’m currently refreshing our townhouse, room by room, with a classic white, and as I gathered my tools I realized that the same tried-and-true supplies and techniques serve me every time. Below is a clear, searchable painting supplies checklist and a set of realistic tips to help your next paint project go faster and look better.
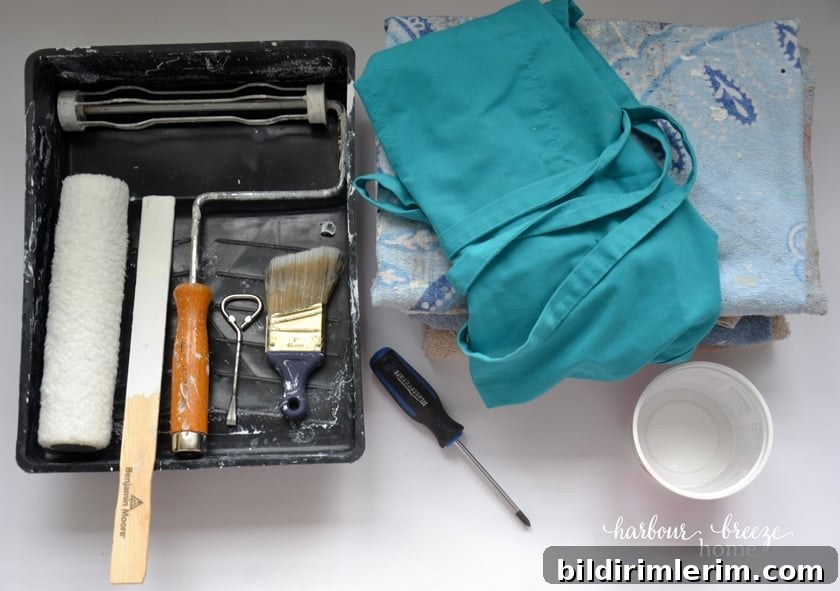
Your Painting Supplies Checklist
(Note: Some product recommendations can be found through retailers and paint stores; I list the essentials here so you can shop with confidence.)
- Paint tray
- Paint roller and roller handle — choose the correct roller nap for your wall texture; standard all-purpose rollers work well for most smooth to lightly textured walls
- Paint roller extension rod
- Quality paintbrush — a comfortable, well-balanced brush makes cutting in much easier
- Painter’s tape for any trim or detailed areas you want protected
- Stir stick
- Paint can opener
- Screwdriver for removing switch plates and outlet covers
- Sturdy ladder
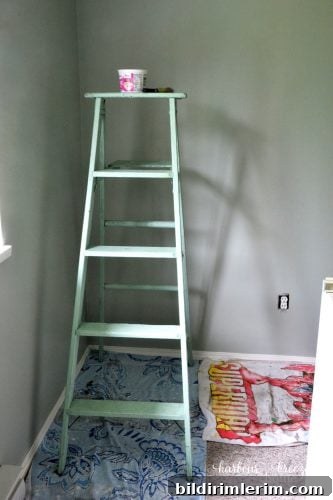
- Small disposable container (an old cottage cheese tub or similar) for holding a manageable amount of paint on the ladder
- Old towels or washable cloths to use as drop cloths
- Painting apron or old clothes you don’t mind getting paint on
- Plastic wrap or Saran wrap to keep brushes moist between coats
- Sandpaper or a sanding block for scuffing glossy surfaces
- Cleaning supplies (mild detergent and a sponge) to remove dirt and grease before painting

Practical Tips That Make Painting Easier
Having the right supplies is only half the battle — a few simple habits make the whole process smoother and lead to a more professional-looking finish.
Remove switch plates and outlet covers first
Before you open a can of paint, remove every light switch and outlet cover. Keep each cover with its screws in a single pile or small container so you can easily reinstall them once the paint is dry. This avoids hunting for tiny screws later and prevents accidental splatters on covers.
Use a small container on the ladder
Pour some paint into a small, lightweight container when you’re cutting in near ceilings or painting high walls. It’s much easier and safer to carry up and down a ladder than a full paint can. If you bump it, you’ll have less cleanup to do.
Old towels are better than plastic drop cloths
Old towels or cotton sheets stay in place and prevent slipping in a way that plastic often doesn’t. They’re washable and reusable, and they protect floors from drips when taped or tucked neatly into corners.
Wrap brushes in plastic between coats
If you need a break between coats, wrap the loaded brush tightly in plastic wrap to keep it from drying out. This is a convenient short-term solution; at the end of the day rinse brushes thoroughly and store them properly.
Invest in a good roller extension
A sturdy extension rod helps you paint wide, even strokes and reach high areas without straining. It makes rolling faster and produces a more consistent finish.
More Painting Tips
With proper prep and the right tools, painting a room is one of the most satisfying DIY projects. A few hours and a couple of coats of paint can transform your space. Below are answers to common questions and best practices to help you plan your project.
What is “cutting in” when painting a room?
“Cutting in” means painting a neat edge along ceilings, windows, door frames, and baseboards with a brush before you roll the walls. Cutting in creates clean lines where the roller cannot reach and sets the stage for a crisp professional finish.
Do I need painter’s tape when cutting in?
Many experienced painters cut in freehand using a steady brush, but painter’s tape is helpful for intricate trim, ornate molding, or when you want absolute precision. Practice will improve your freehand edges, but tape remains useful for detailed work.
Does the surface need preparation?
Yes. Clean walls thoroughly to remove dust, grease and grime — these can prevent paint from adhering properly. If the existing paint is glossy, lightly sand or scuff the surface so the new paint will bond. Proper prep prevents peeling and improves longevity.
How do I choose paint type and sheen?
Choose paint and sheen based on the room’s use. Flat and matte finishes hide imperfections and work well in low-traffic areas; eggshell and satin are more durable for living rooms and bedrooms; semi-gloss and gloss are ideal for trim, kitchens, and bathrooms. Talk with a paint professional if you’re unsure — a brief consultation can steer you to the right product and tell you whether a primer is recommended.
How long will it take to paint a room?
An average room usually takes a full day for two coats, including prep and drying time. Having your supplies organized and the room properly prepped will cut down on interruptions and make the project feel effortless.

Final Thoughts
Painting a room is rewarding: it’s relatively low cost, and the impact is huge. Use this painting supplies checklist to gather everything you need before you begin, take a little time to prep surfaces, and follow the simple tips above to achieve a clean, beautiful finish. With practice, your cutting-in will improve, and you’ll complete rooms faster and with more confidence.