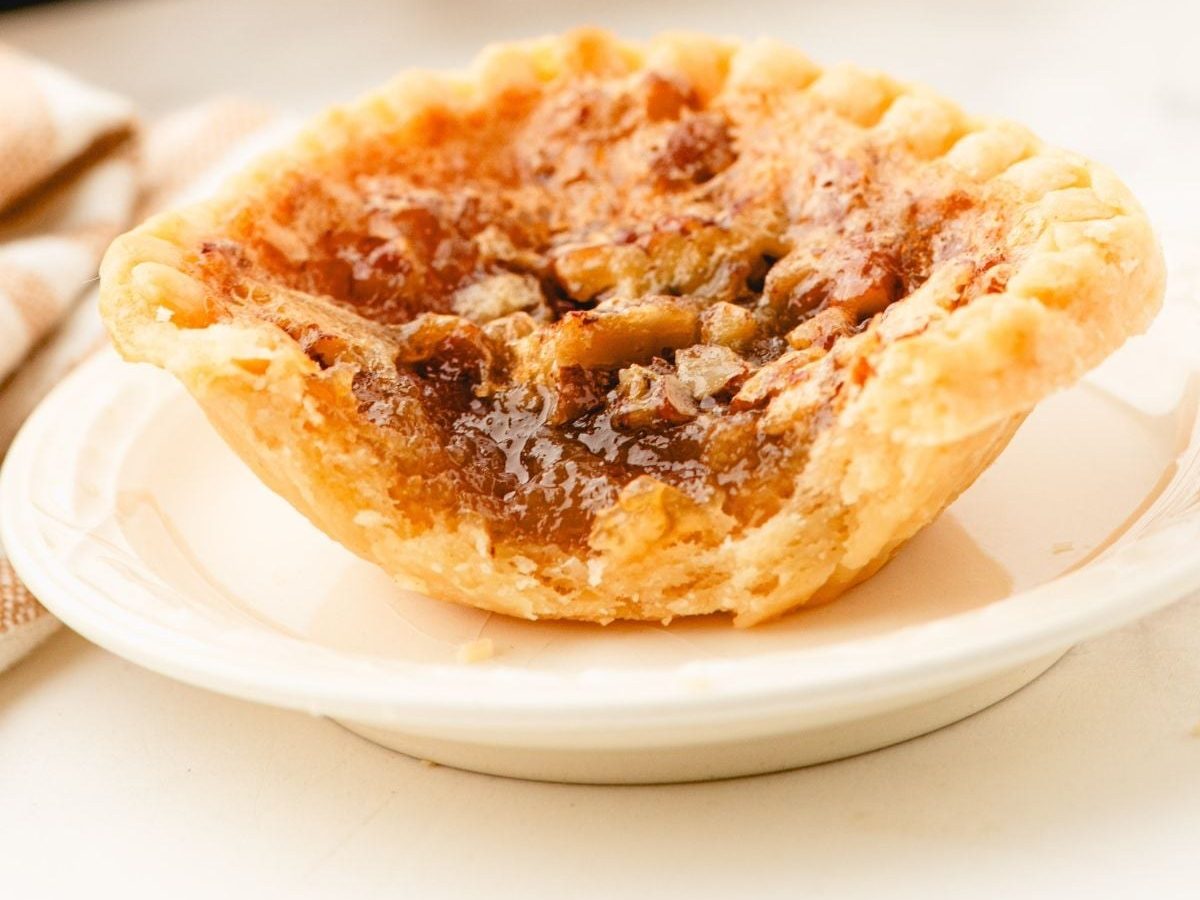
These easy butter tarts use store-bought tart shells and a gooey brown sugar pecan filling to create a classic Canadian treat in about 30 minutes—perfect for holiday baking or a simple afternoon dessert.
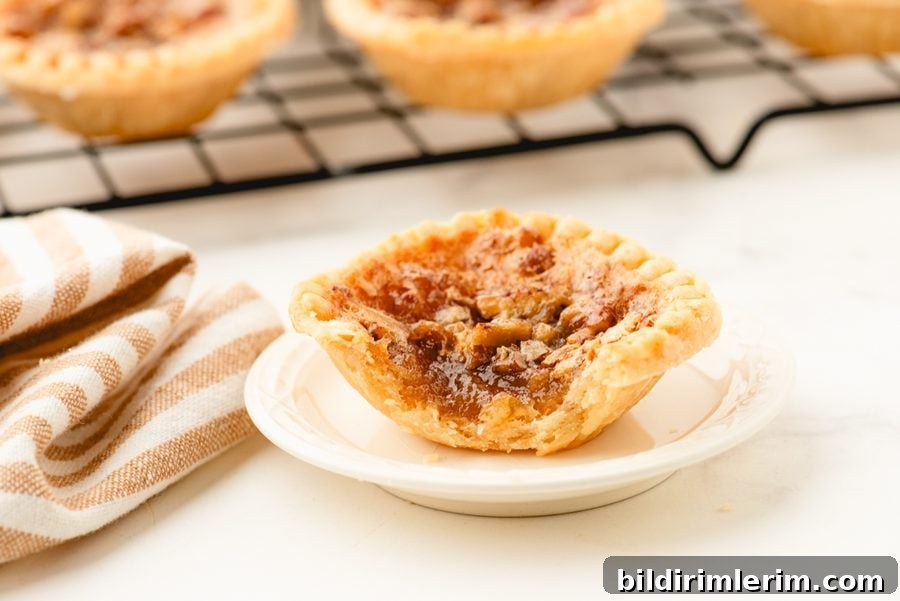
I never remember my mom making butter tarts when I was a child—pies and cookies, yes, but not tarts. Yet in Canada, butter tarts are everywhere. They’re a beloved classic you’ll find year-round in bakery cases and grocery stores. They quickly became one of my husband’s favorite treats, so we’ve bought quite a few over the years.
This was my first time making them myself using my daughter-in-law’s family recipe, and I loved how fast and simple they are. I did use a helpful shortcut: frozen tart shells (I used Tenderflake). That saves time and effort—no rolling or blind-baking required, and these tarts come together in just a few minutes.
Why You’ll Love These Butter Tarts
- Timeless Canadian dessert that’s comforting and nostalgic
- Quick and effortless when using store-bought frozen tart shells
- The filling mixes in one bowl with simple pantry ingredients
- Gooey, buttery filling with a pleasant crunch from pecans
- Great for holiday trays, potlucks, or a small homemade gift
Pecan Butter Tarts — Recipe Card
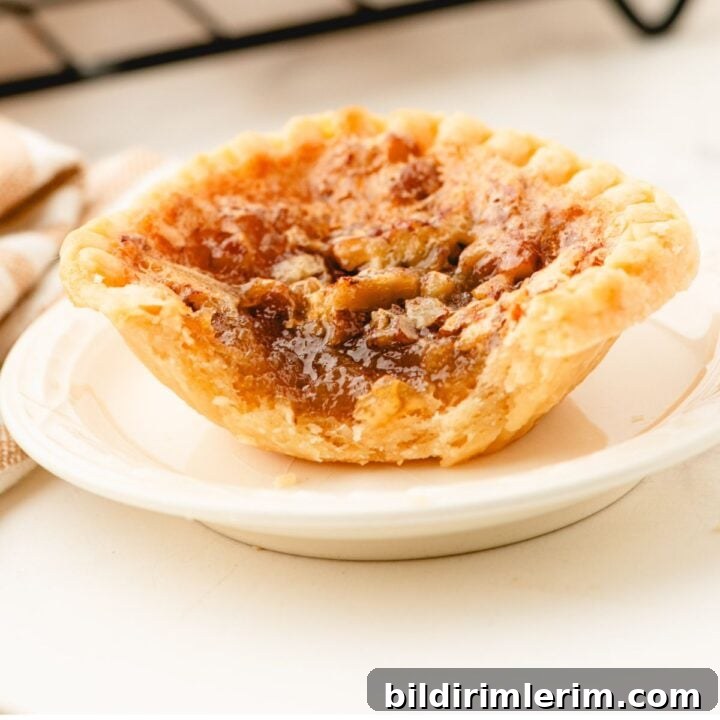
Pecan Butter Tarts
Yield: 12 tarts
Prep Time: 10 minutes
Cook Time: 15 minutes
Total Time: about 55 minutes (includes cooling)
Classic pecan butter tarts with a gooey brown sugar filling baked in frozen tart shells for an easy shortcut. These mix up quickly and are ideal for holiday baking trays, potlucks, or a cozy coffee-time treat.
Ingredients
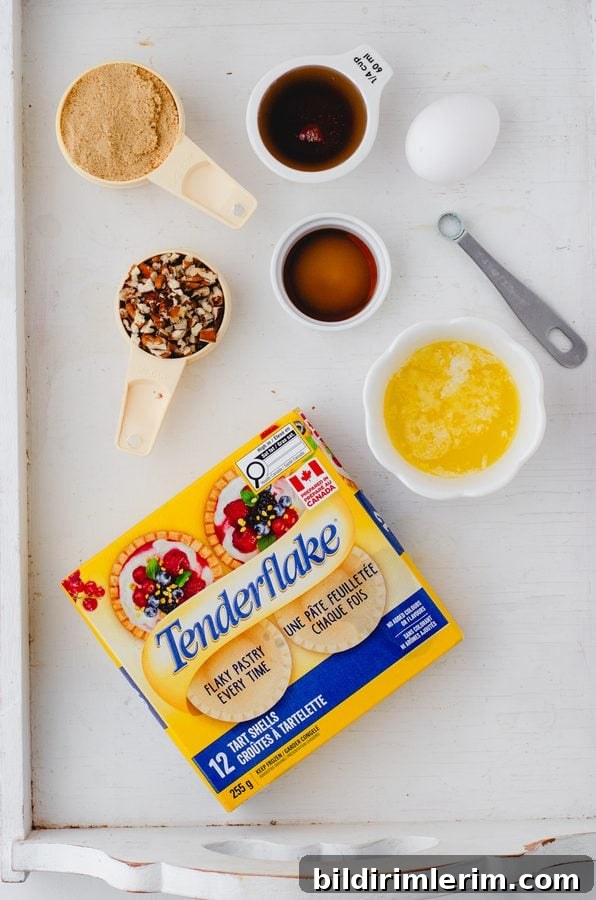
- 12 frozen tart shells (for example, Tenderflake), thawed per package directions
- 1/4 cup chopped pecans
- 1 large egg
- 1/2 cup packed brown sugar
- 1/4 cup light corn syrup
- 1/4 cup unsalted butter, melted
- 1/2 teaspoon vanilla extract
- 1/8 teaspoon salt
Step-by-Step Instructions
(For quick reference, follow the ingredient list and steps above in the recipe card.)
- Preheat the oven to 350°F (175°C).
- Prepare the tart shells. Thaw the frozen tart shells according to package directions (usually about 10 minutes). Arrange them on a parchment-lined baking sheet so they are easy to move in and out of the oven.
- Add the pecans. Evenly divide the chopped pecans among the tart shells, sprinkling them into the bottoms.
- Make the filling. In a medium bowl, lightly beat the egg. Add the brown sugar, corn syrup, melted butter, vanilla, and salt. Whisk until smooth and there are no lumps of brown sugar.
- Fill the shells. Use a cookie scoop or tablespoon to carefully portion the filling into each tart shell over the pecans. A little spillover is fine.
- Bake. Bake for about 15 minutes, until the pastry is lightly golden and the filling is bubbly. Baking time can vary slightly depending on how thawed the shells were—if they weren’t fully thawed, they may need a few extra minutes.
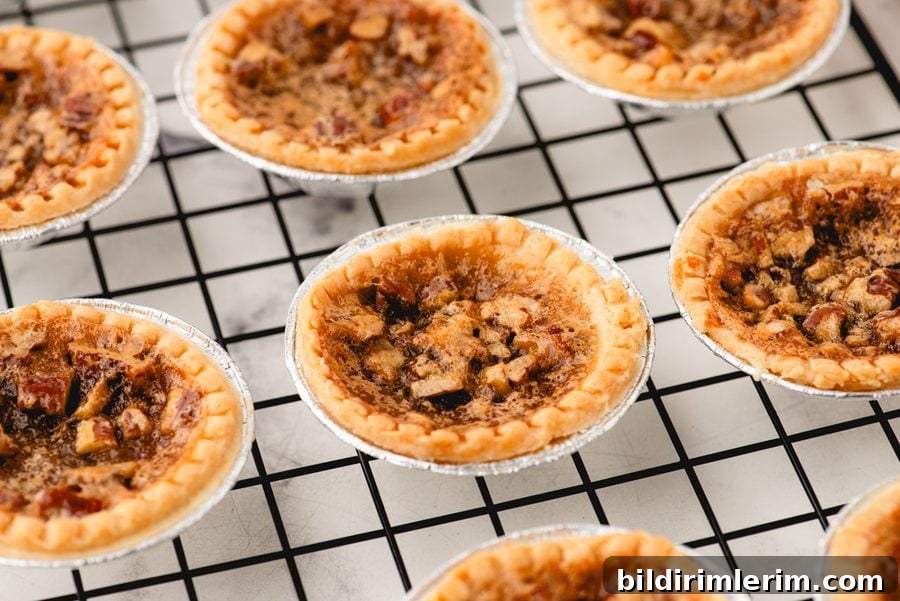
- Cool completely. Let the tarts cool on a wire rack until the filling sets. Cool fully before removing from the foil pans for clean removal.
Notes and Variations
- Raisin variation: Swap the pecans for raisins to make raisin butter tarts. Some cooks soak raisins in hot water briefly to plump them up, but it’s optional.
- Other nuts: Use walnuts instead of pecans or omit nuts for plain butter tarts.
- Homemade pastry: If you prefer, use your own favorite tart or pie crust recipe instead of frozen shells.
- Freezing: Butter tarts freeze well. Freeze cooled tarts in a single layer, then transfer to a freezer container for up to 3 months. Thaw at room temperature before serving.
Storage
- Counter: Store cooled tarts in an airtight container for 1–2 days.
- Refrigerator: Keep covered for up to about a week.
- Freezer: Freeze cooled tarts up to about 3 months; thaw before serving.
Helpful Tips
- Beat the filling until the brown sugar is fully dissolved to avoid grainy spots.
- A cookie scoop helps portion filling quickly and neatly.
- Bake on a parchment-lined baking sheet for easy cleanup and to prevent spills from sticking to the pan.
- Be patient with cooling—the filling sets as it cools and the tarts remove more easily from their pans when fully cooled.
How to Serve
- Enjoy plain with coffee or tea.
- Add to a holiday dessert tray alongside other Canadian classics like Nanaimo bars or fudge.
- Serve slightly warm with vanilla ice cream for an indulgent dessert.
Other Classic Desserts You Might Enjoy
- No-bake Nanaimo bars
- Classic chocolate fudge
- Butterscotch brownies
- Soft chewy toffee or toffee-doodle cookies