
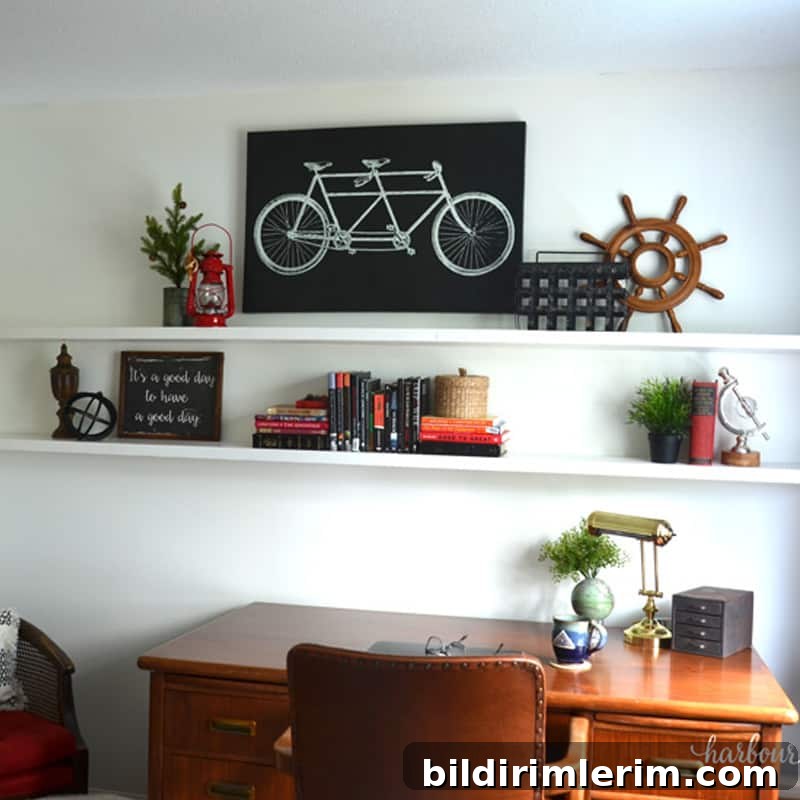
In this article: These DIY floating wall shelves made with a board and dowels are an attractive, space-saving solution for display and storage. Follow this step-by-step guide to build and install your own.
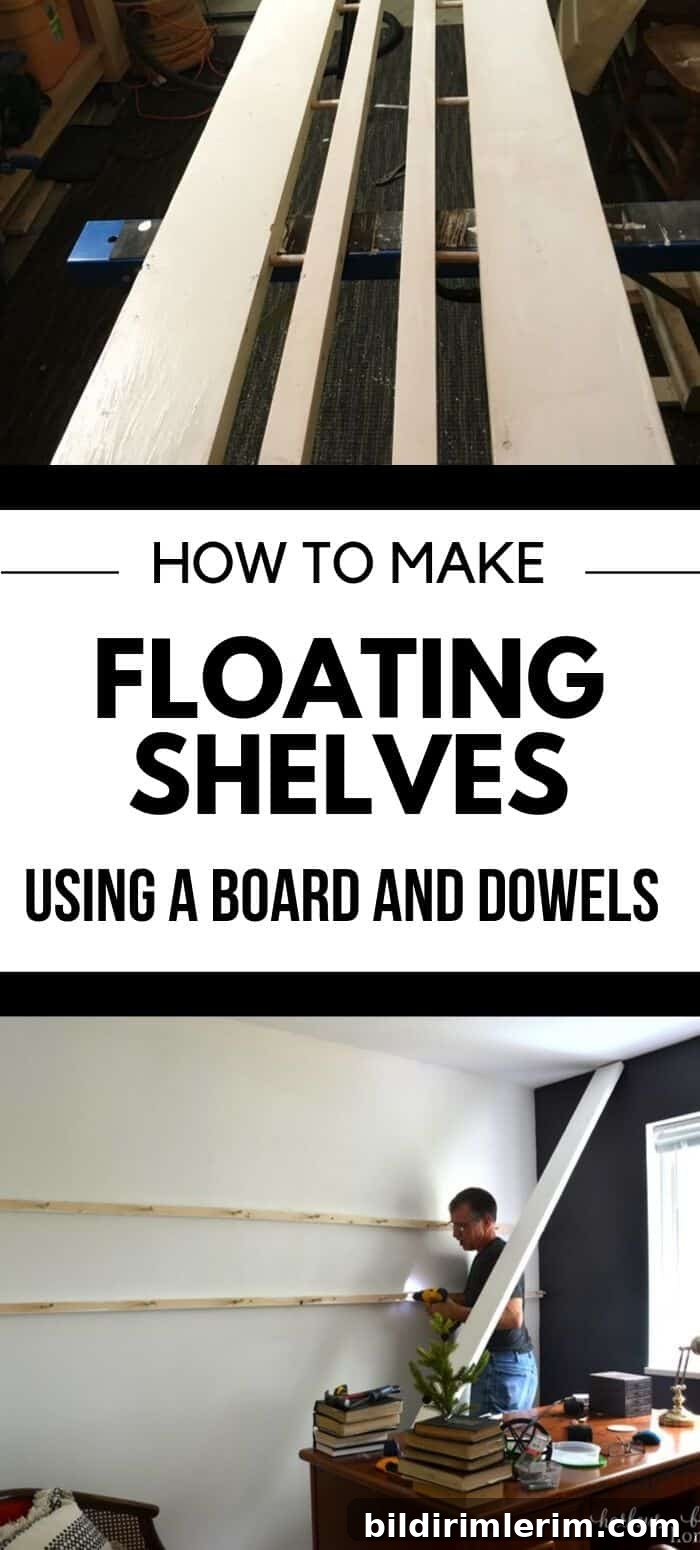
How to Make DIY Floating Shelves with a Board and Dowels
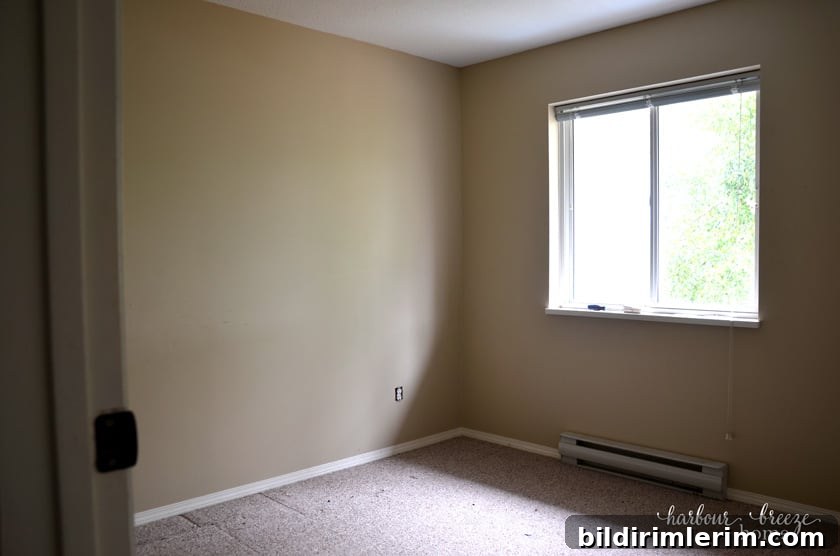
A few months ago we converted one of our townhouse bedrooms into my husband’s office. During the quick renovation, a long blank wall became the main design challenge: we wanted storage that felt light, modern, and made the room feel wider without taking up floor space.
Floating shelves were the answer. They stretch across the wall, visually broaden the room, and provide a clean, contemporary display for books, art, and keepsakes.
Inspiration and design choice
We were inspired by a simple look: long, continuous shelves that appear to float. That style elongates the wall and keeps the room feeling open. Rather than building a boxed frame or using complex hardware, we chose a straightforward method that uses a single board for the visible shelf and a matching narrow backing strip with dowels that slide into the shelf for support.
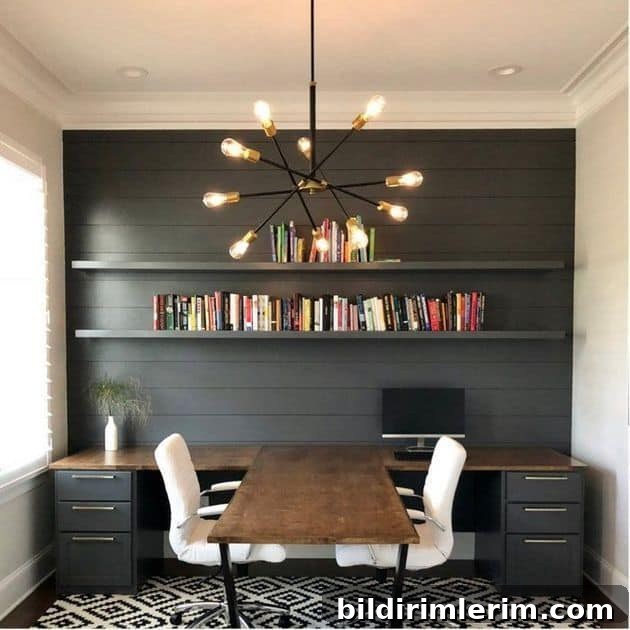
Source image used as visual reference for layout and proportion.
Project challenges we solved
When planning, we focused on three constraints:
- Cost — keep materials affordable.
- Time — finish quickly with straightforward steps.
- Tools — limited access to a full workshop, so the method needed to work with basic tools and with cuts available from local lumber suppliers.
The plan
We used a practical technique that requires only a board for the shelf and a narrow backing strip with evenly spaced dowels. The backing is fastened to the studs; the shelf slides onto the exposed dowels, creating a clean, hidden-support look without complex joinery.
Supplies for floating wall shelves
The following list covers materials for two 10-foot floating shelves. Adjust quantities for different lengths.
- 2 × 2×8 boards, 10 feet long each (after ripping, the shelf will be 1½” thick by 7¼” deep)
- 6 feet of ½” dowel rod
- Wood glue
- Drill and ½” drill bit
- Sandpaper or sanding sponge
- 3″ wood screws
- Paint or stain and appropriate brush or roller
Steps to make floating shelves with a board and dowels
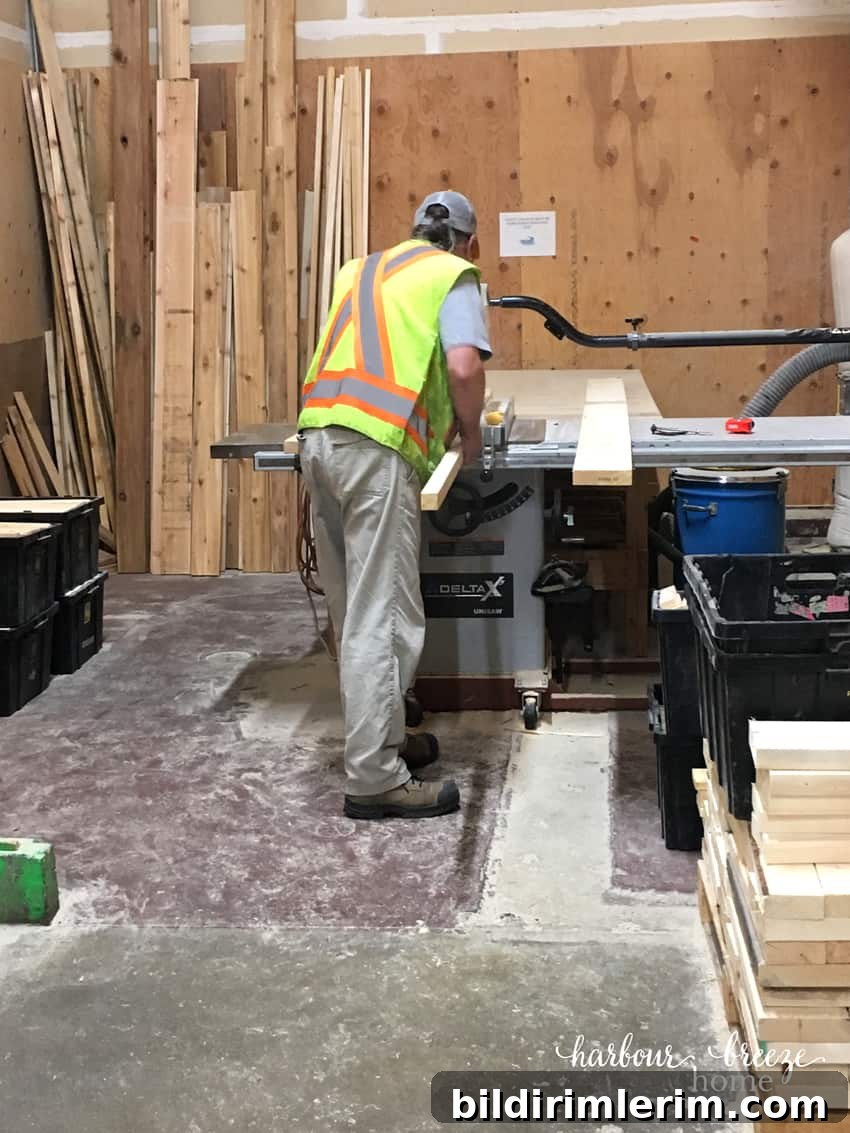
Have the lumber store rip each board to 1½ inches
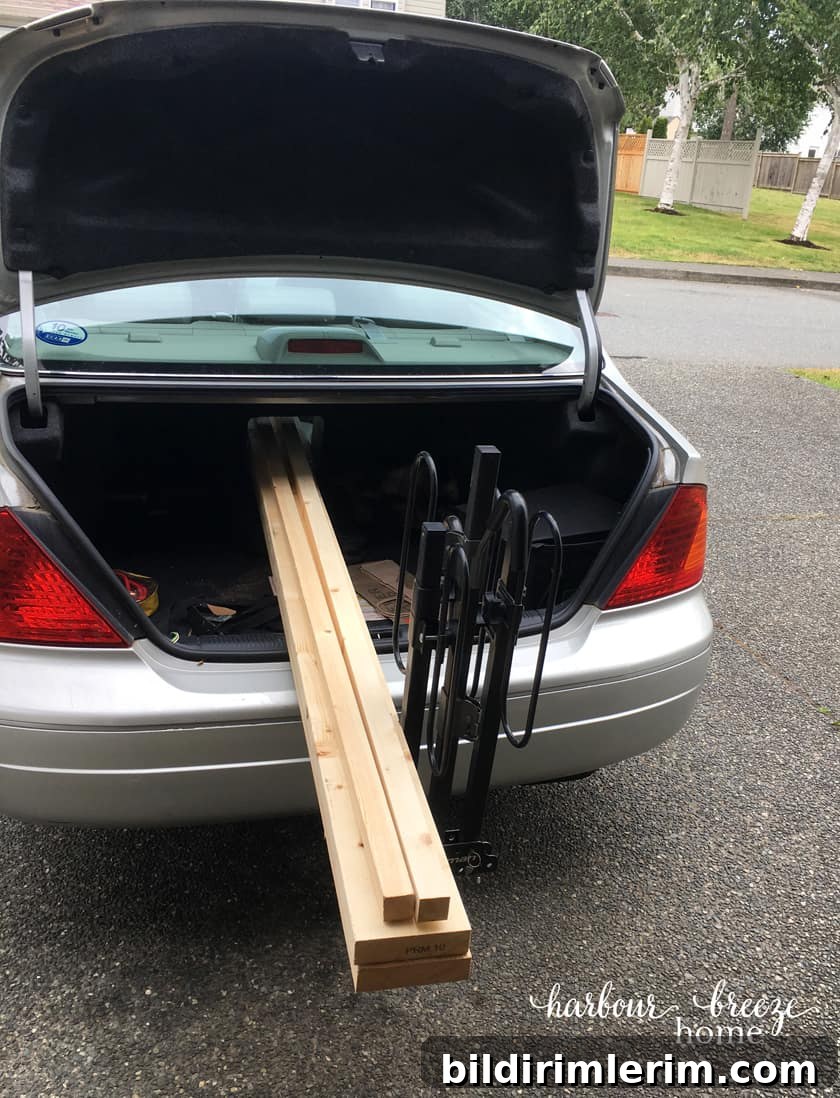
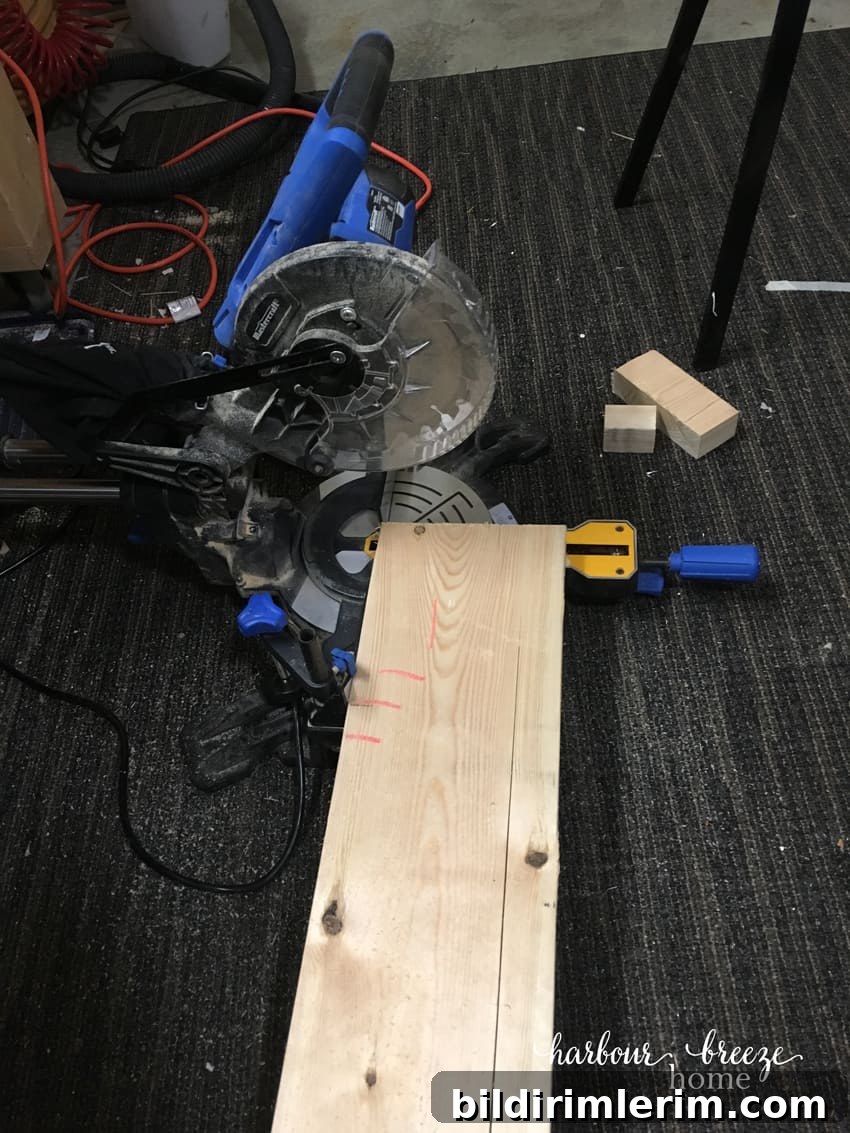
Transport the boards safely—use straps or bungee cords if they extend beyond your vehicle. Once home, clamp the thin ripped portion to the remaining board so the faces align, and trim both ends to the exact length you need.
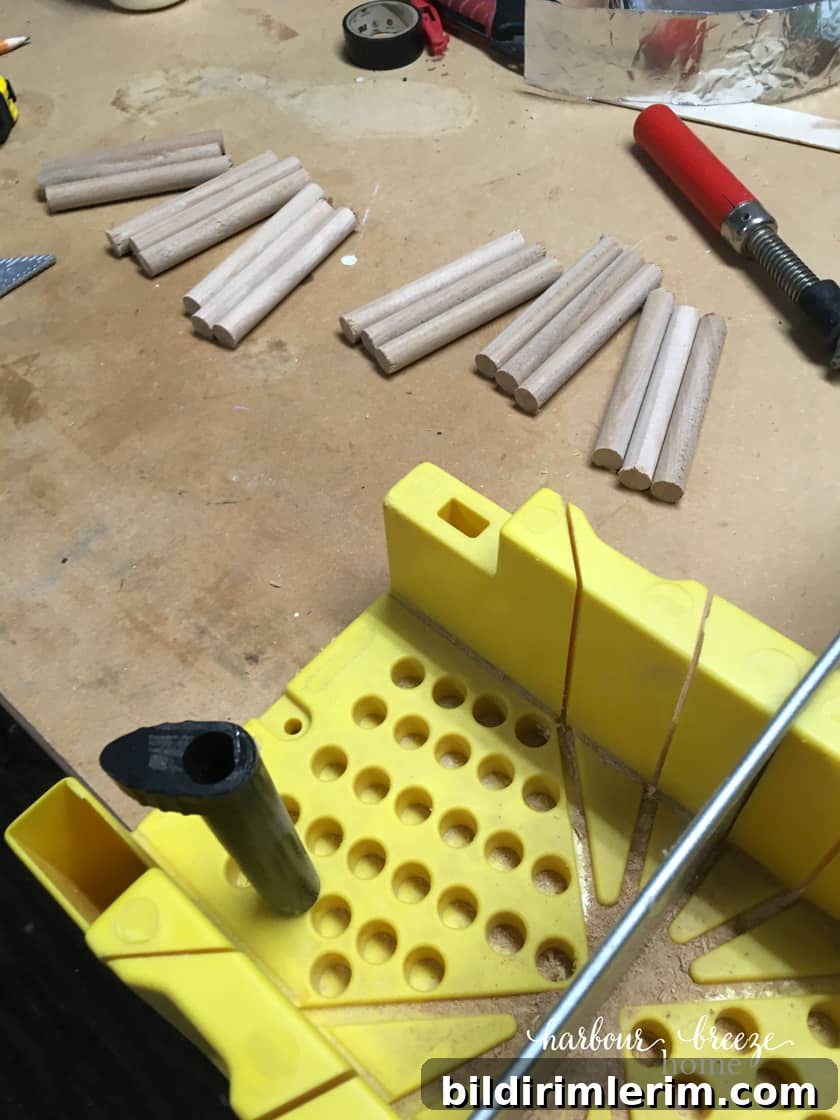
Cut the ½” dowel into uniform pieces about 4″ long. For our two 10-foot shelves we cut 18 pieces total.
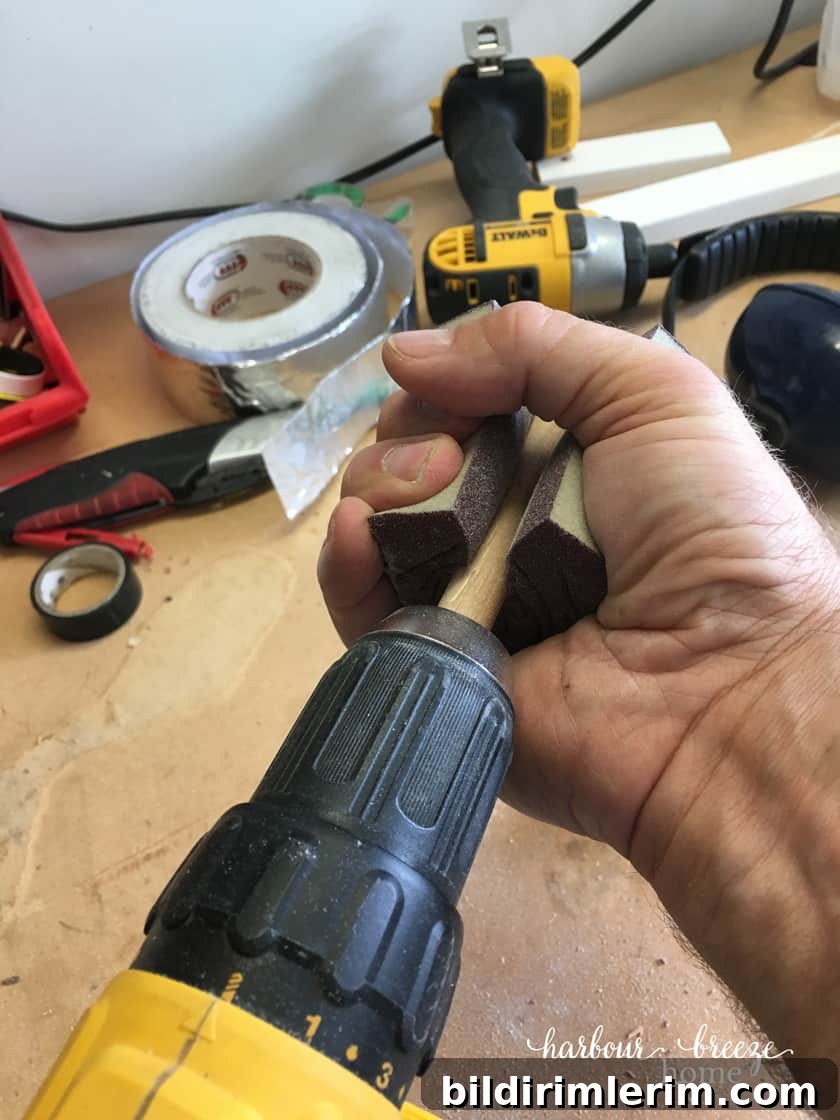
Use a drill to spin each dowel while compressing a sanding sponge against it; this quickly smooths and slightly reduces the dowel diameter so it fits easily into the drilled holes.
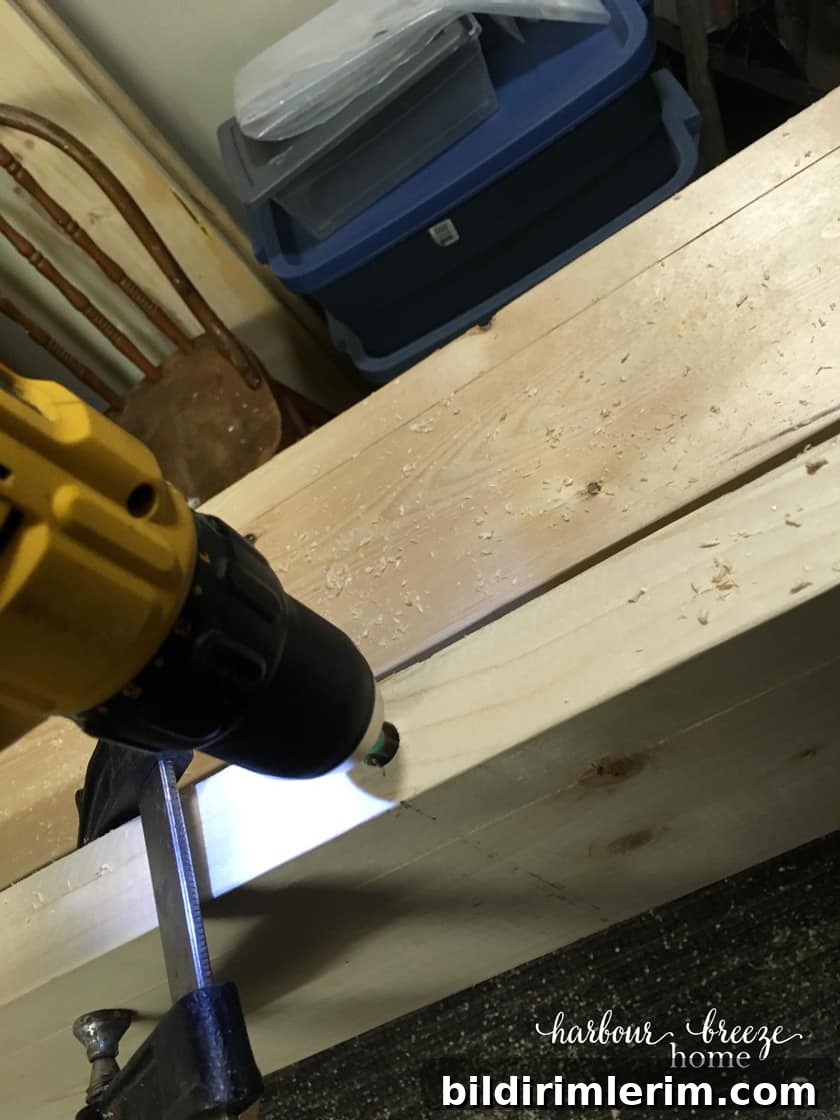
Mark your drill bit at 4″ with tape so you know how deep to drill. Clamp the thin backing strip flush to the full board and drill holes through the thin piece into the thick board at each dowel location. Space the dowel holes evenly across the length and start close to each end.
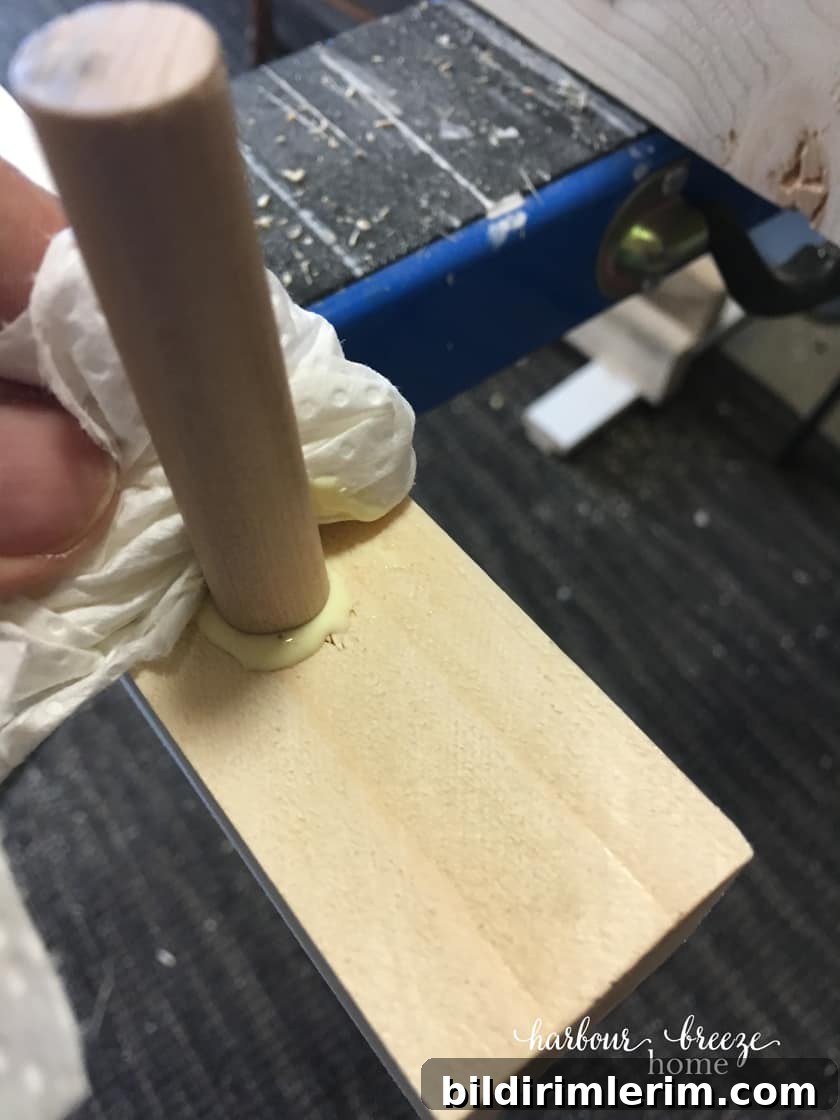
Separate the pieces and glue each dowel into the narrow backing strip. Apply wood glue to the dowel ends, tap them into the holes until they are flush, and wipe away any squeeze-out. Allow the glue to dry fully before continuing.
A dry fit first will confirm alignment: slide the shelf onto the glued dowels before painting or finishing to ensure the holes line up. If everything fits, finish-sand and paint or stain the shelf and backing strip as desired.
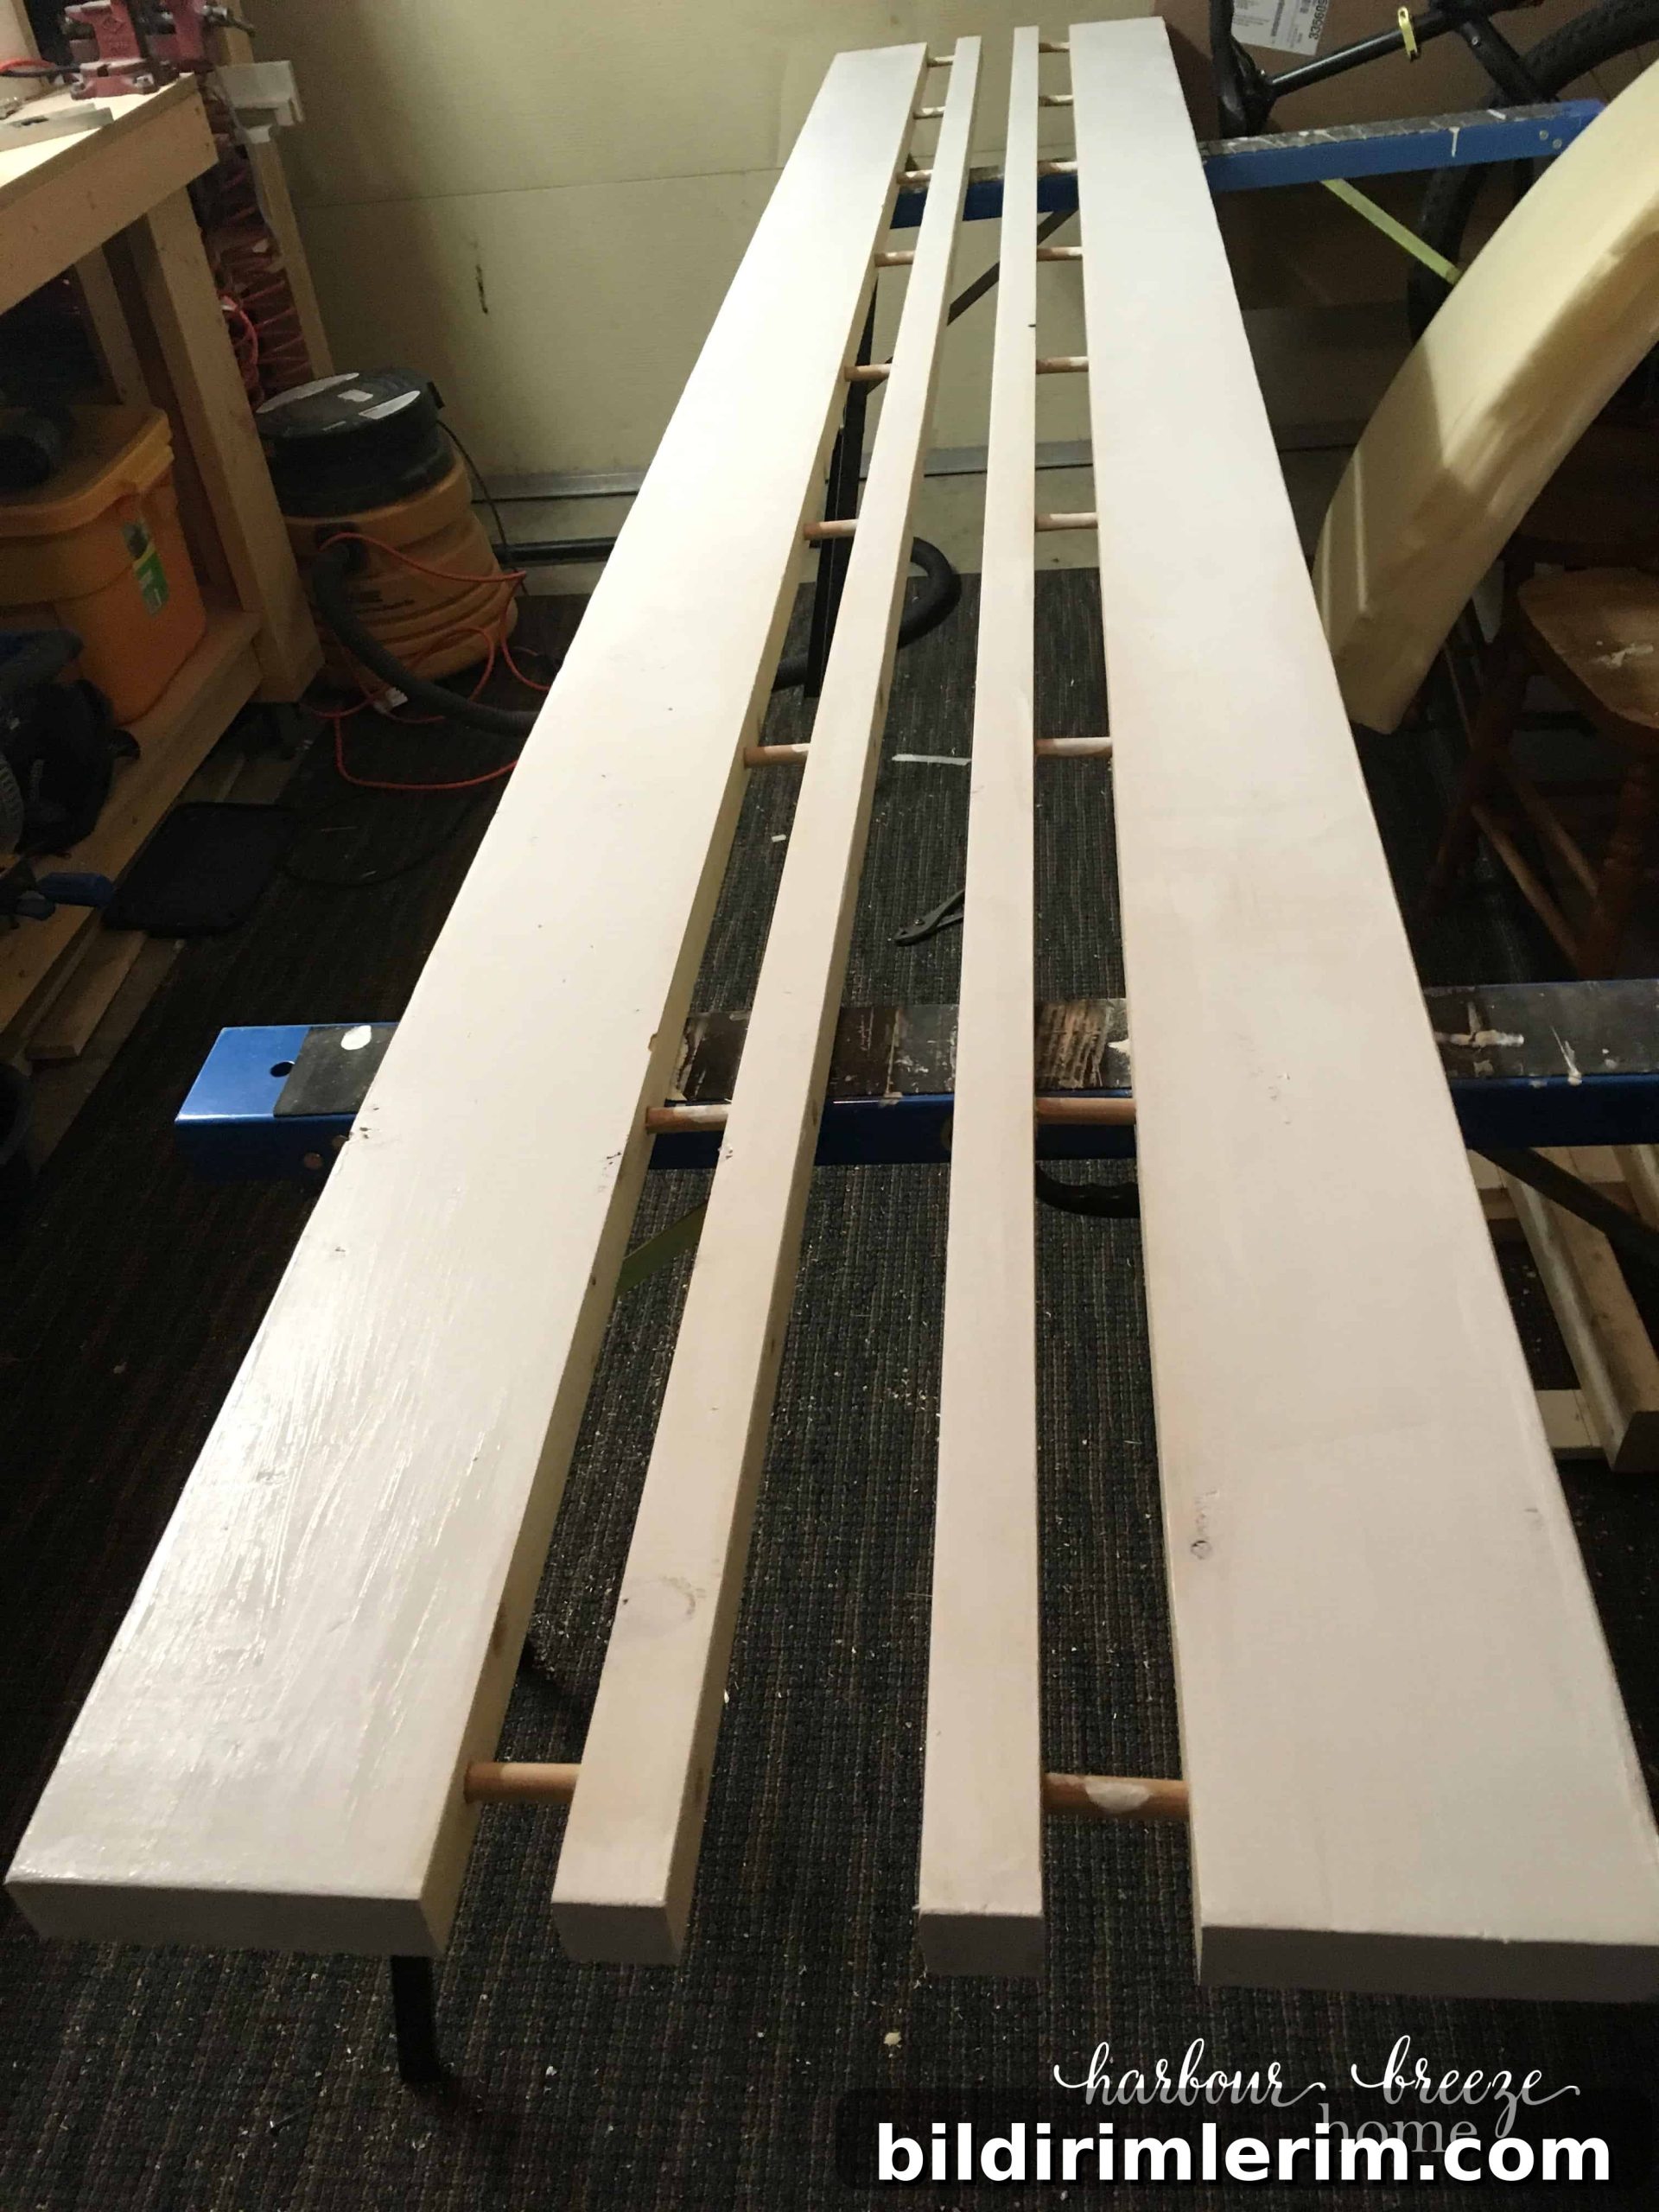
How to hang the floating wall shelves
Use a stud finder to locate studs and mark their positions. Drill pilot holes through the narrow backing strip to match the stud locations. Fasten the backing strip securely to the wall with 3″ wood screws driven into studs.
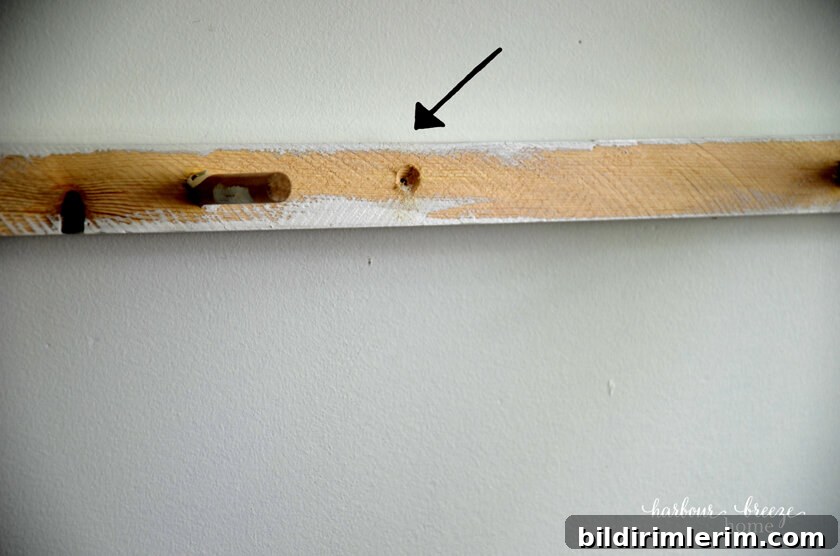
Once the backing strips are secured and level, slide the shelf onto the dowels, aligning each hole. A rubber mallet can help seat the shelf fully onto the dowels. Check for level one last time and touch up paint if needed.
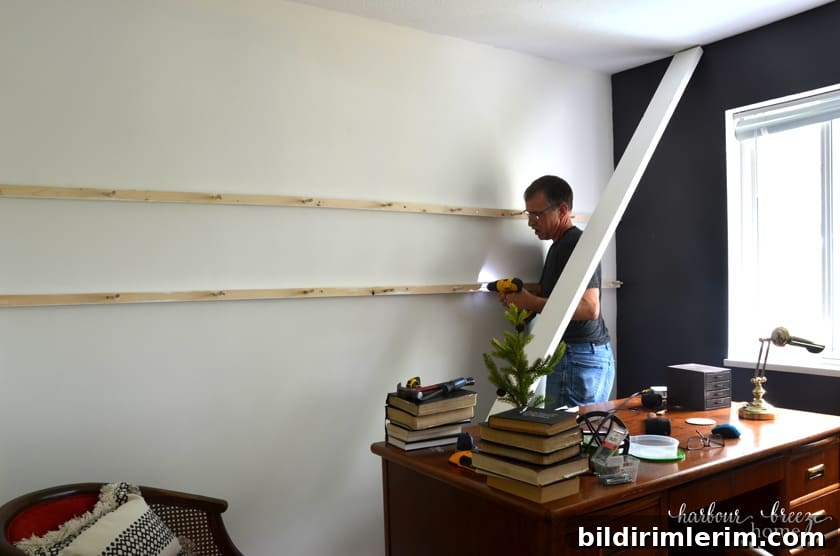
We painted our shelves the same color as the wall (Simply White by Benjamin Moore) in semi-gloss, so they blend smoothly into the room. You can also stain or paint in a contrasting color for a bolder look.
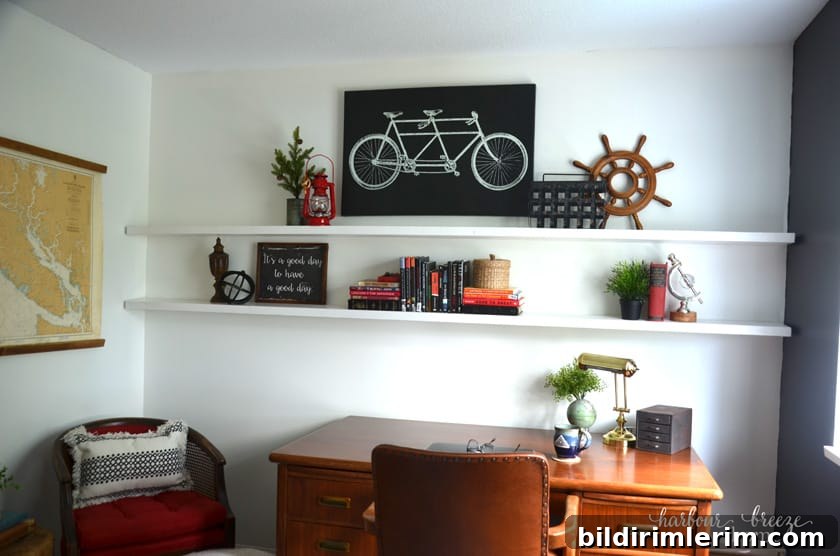
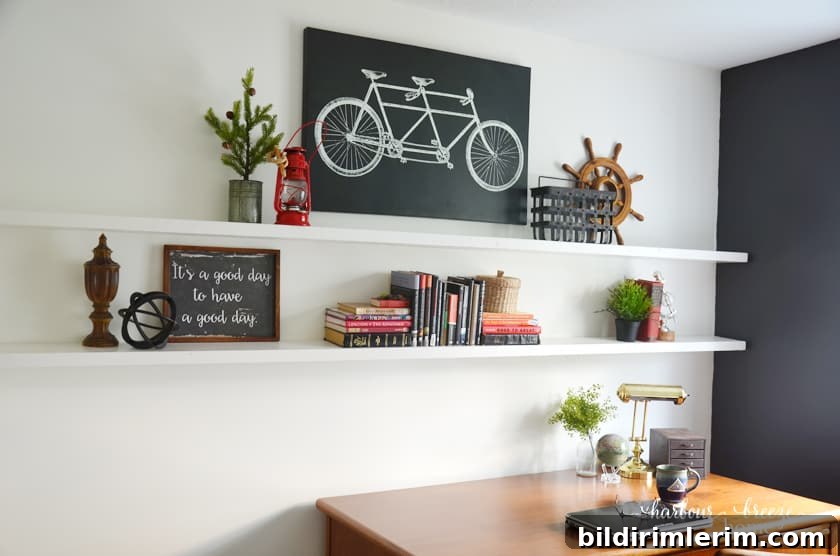
These floating shelves added functional storage and display to the office without crowding the room. They hold books, decorative objects, and photos while keeping the floor clear and the design streamlined.
If you want more shelving ideas, explore other DIY shelf styles such as farmhouse plank shelves, boxed floating shelves, or shelves with decorative brackets. Choose the method that best fits your tools, budget, and the look you want to achieve.