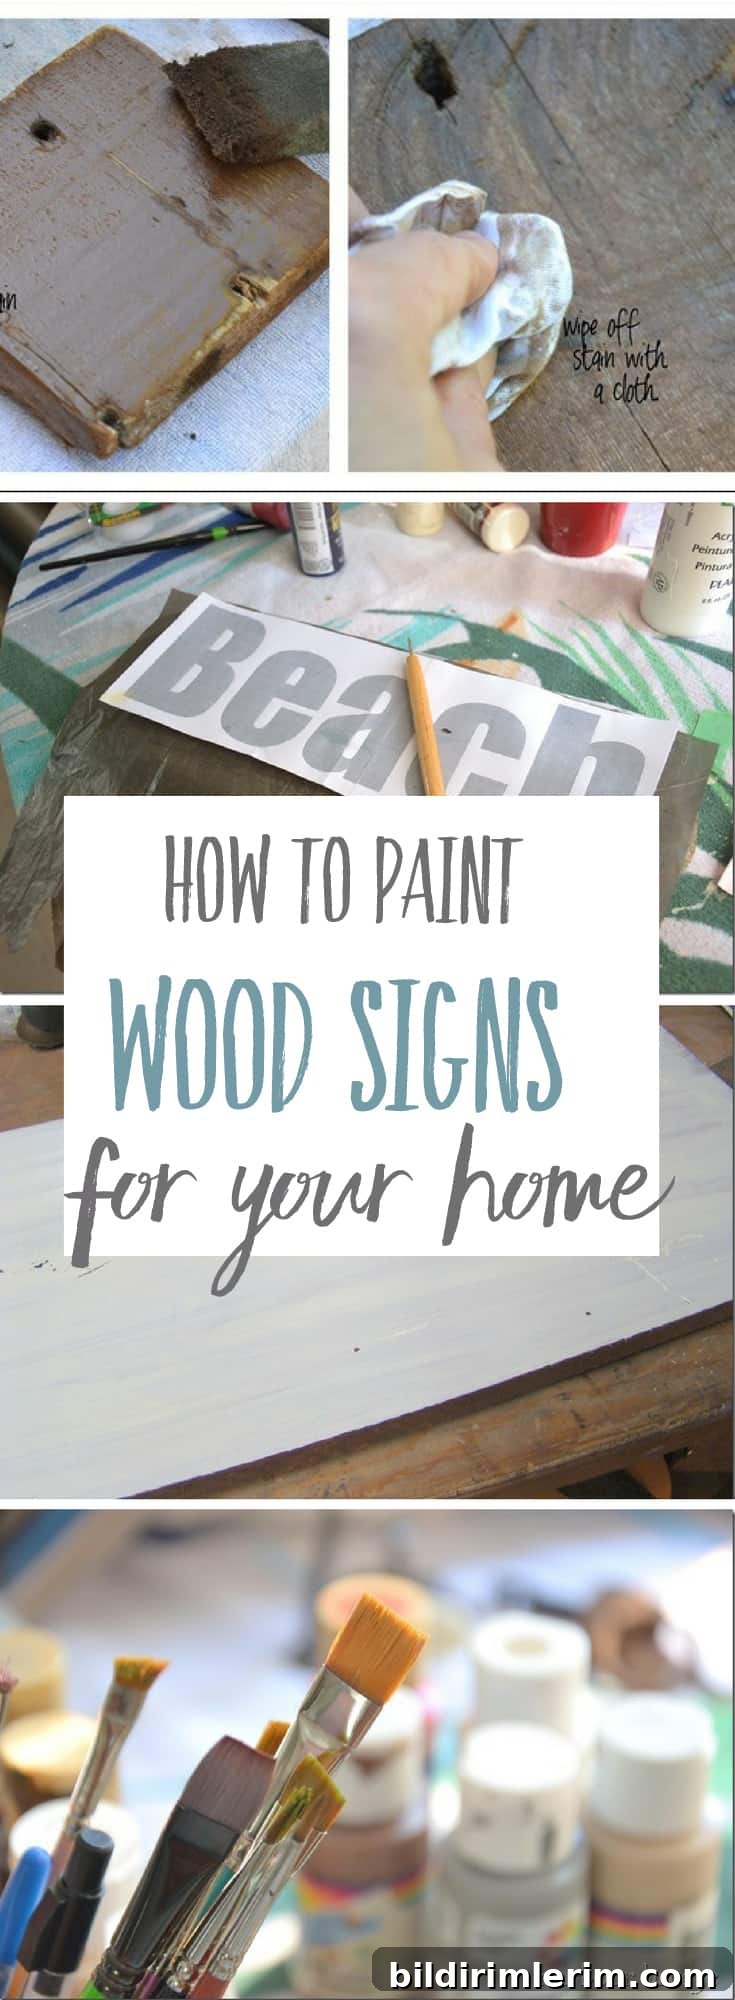
How to Paint Decorative Wood Signs: A DIY Guide
Create custom signs for your home using this straightforward decorative painting technique for wood.
Many of my craft fair pieces start with a simple wood sign. Instead of writing a separate tutorial for every single project, this guide covers the essential steps I use every time I paint on wood. Follow these steps for consistent, professional-looking results whether you work with driftwood, reclaimed boards, or fresh lumber.
Prepare the Wood
Start by cleaning and sanding the piece to remove dirt, loose fibers, and rough spots. I usually sand it just enough to remove grime and give the surface some tooth so finishes will adhere. After sanding, I apply an oil-based stain to all sides of the board. The stain seals the wood, stabilizes color, and acts like a primer for paint. I generally avoid very oily woods like cedar for painted signs, because natural oils can sometimes affect paint color and adhesion.
Create a Template
I design the layout on my computer, which makes it easy to size lettering and graphics exactly to the sign dimensions. Using a desktop publishing program, set your page to the width and height of the wood sign, choose a font or arrangement you like, and print the design. I print in Draft mode to save ink—draft is usually dark enough to trace from and preserves printer supplies. Trim and tape printed sheets together if the design spans multiple pages so the alignment stays accurate.
Apply a Base Coat
The first step in painting is a solid base coat. I use acrylic craft paint and apply it straight from the bottle with a foam brush or roller, smoothing it across the grain. You will often need two or more thin coats rather than one heavy coat. For a weathered or layered look, put down a darker color first and then a lighter topcoat; sanding later will reveal the underlying color for a distressed finish.
Transfer the Design
Once the base coat is completely dry, transfer the printed design onto the wood using graphite transfer paper (transfer paper suitable for wood) and a stylus or ballpoint pen. Lay the transfer paper shiny side down, position your design on top, and trace the outlines. Taping one edge of the printed design as a hinge helps maintain alignment and lets you peek under the paper without shifting it.
Paint the Letters and Details
With the design transferred, use quality acrylic paints and a variety of brush sizes to fill in the lines. Fine detail brushes work well for lettering and small motifs, while flat brushes are better for larger fills. Thin your paint slightly—just enough to resemble the flow of ink—so it lays down smoothly and edges remain crisp. Take your time and keep a steady hand; clean, consistent strokes look best. Proper brush care is important: wash brushes immediately after use and store them bristles-up to maintain their shape.
Finishing Techniques
How you finish the piece is a matter of personal style. To achieve an aged or weathered appearance, wait until all paint is fully dry, then sand areas lightly to reveal the undercoat or natural wood. Dry brushing a contrasting color can add highlights and texture. For wall-mounted signs, attach a saw-tooth hanger or other hardware on the back for easy hanging.
Seal and Protect
The last step is to protect your work with a coat of clear acrylic sealer. A spray sealer provides even coverage and helps guard the paint against moisture and wear. Make sure the paint is completely cured before sealing, and follow the sealer manufacturer’s directions for best results.
With these steps—preparing and staining the wood, creating a template, applying a base coat, transferring the design, painting carefully, finishing to taste, and sealing—you can make attractive, durable decorative wood signs for your home or market. Practice will speed up your lettering and brushwork, so don’t be discouraged if your first few take longer than you expect. Enjoy the process and customize each sign to reflect your personal style.