
How to Make a Large Tattered Fabric Flower: Easy DIY Tutorial
When I started searching for fabric flower tutorials online, I found many options. One particularly extensive collection lists dozens of approaches, but none matched the exact rustic, oversized flower I had envisioned for a cheerful couch project. Rather than force a pattern to fit, I improvised a simple method to create a large, tattered fabric flower with a soft, casual look. The process is forgiving, uses basic supplies, and works well when you want a bold fabric accent for decor like a farmhouse sign or pillow.
Below are step-by-step instructions, tips, and suggestions to help you reproduce this large fabric bloom. The original project used yellow cotton, but you can choose any cotton, linen, or lightweight upholstery fabric for a similar result.
-
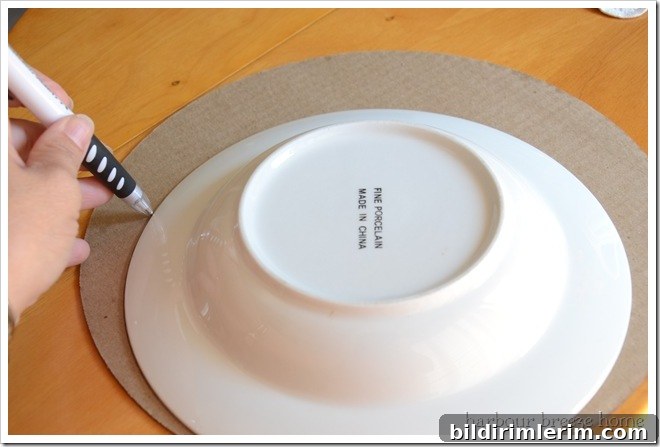
Prepare a circular template. Trace the desired diameter onto medium-weight cardboard. A pizza pan or any round lid makes a quick template. For this example, the circle used was about 9 inches across, which creates a substantial flower base.

- Tear fabric strips. Tear a long strip of fabric roughly 5 inches wide. Tearing rather than cutting gives a softer, frayed edge that contributes to the tattered aesthetic. The project pictured used a fabric length of about 74 inches in total, but you can adjust length based on the size of your circle and how full you want the petals.
-
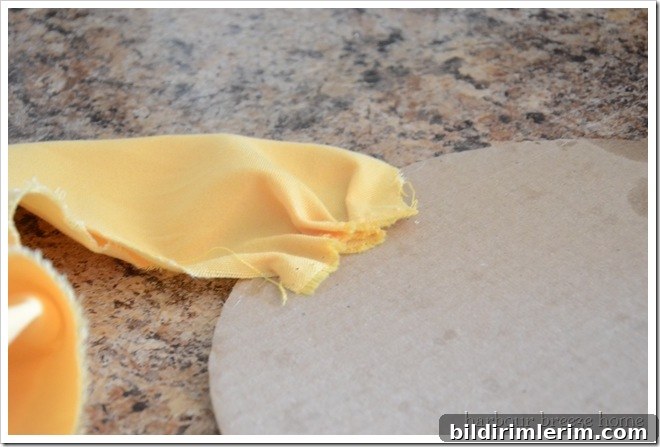
Attach the fabric to the template. On the back side of the cardboard circle, secure the end of the strip with hot glue so it stays in place while you work.
-
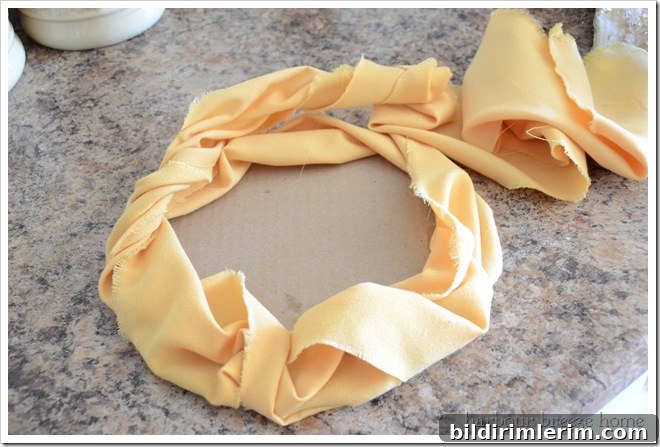
Create the bottom layer of petals. Flip the cardboard over so the glue side is down. Twist the fabric once, then glue a small section onto the back to cover the template edge, and glue on the front to hold the twist. Continue twisting and gluing at even intervals around the circle until you have formed the bottom ring of petals. These initial twists define the overall silhouette of the flower.
-
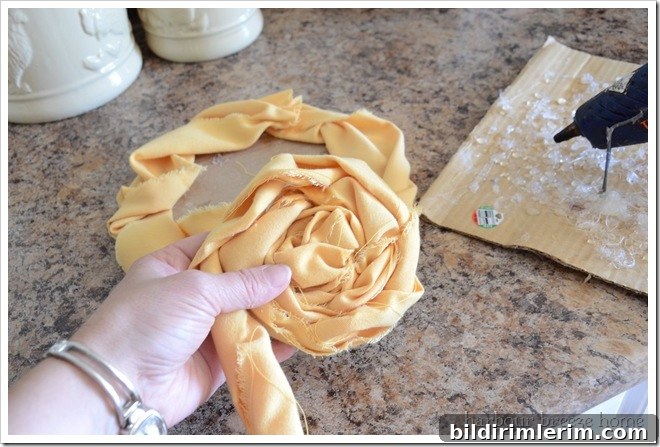
Start the center roll. Tear another strip about 4 inches wide and tie a small knot at one end to add texture. Begin rolling this strip loosely to form the flower’s center, working in a spiral like a rolled fabric rose. When the roll grows too large to comfortably hold, add a generous amount of hot glue to the bottom and press it onto the center of the cardboard circle.
-
Continue rolling and building up petals. Keep rolling and gluing the strip directly onto the cardboard and around the center. Adjust the tightness of your rolls to create variation in petal size and shape. If you run out of fabric, tear another strip, glue its end down discreetly, and continue. When the cardboard is fully covered and the shape looks balanced, tuck the final end underneath some petals and glue it down so the tail is hidden.
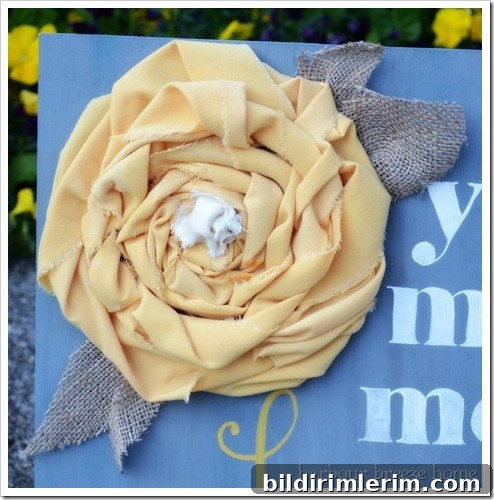
- Finish the center and add leaves. Knot a small strip of coordinating fabric and glue it to the center to add definition. For foliage, freehand-cut several tear-drop-shaped leaves from burlap or another contrasting material and glue them to the back of the flower so they peek out naturally from beneath the petals.
Troubleshooting and tips:
- If the flower feels too sparse, use narrower strips and add more tightly spaced rolls to increase fullness.
- For a softer, more vintage look, use washed linen or frayed cotton; for cleaner edges, use crisp quilting cotton and cut rather than tear the strips.
- Stand back occasionally while you work to check overall balance and adjust petal placement as needed. Imperfections often add to the charm of a tattered, casual design.
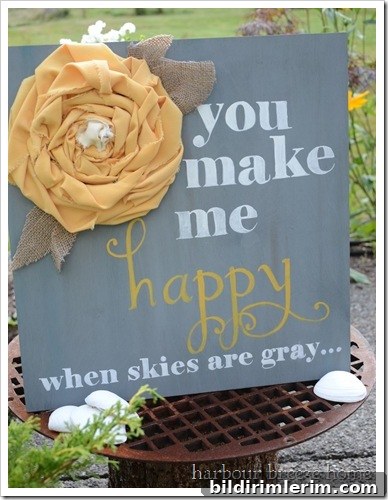
- Secure the finished flower to a sign, pillow, wreath, or canvas with hot glue or a few stitches from the back of the cardboard base.
Making this oversized fabric flower is a forgiving project that allows for creativity and variations. My perfectionist tendencies wanted everything to be precise, but the desired look was deliberately worn and relaxed—so a little messiness works in your favor. If you discover another method for making a large, tattered fabric bloom, try it and adapt the technique to your own aesthetic—each version can become a unique decorative accent.
If you’d like to recreate the sign shown with this flower, look for a tutorial titled “The Happy Sign” or similar farmhouse-style sign projects from craft sources for instructions on building and finishing the wooden base.
