
In this article: A step-by-step guide to a painted dresser makeover. Learn the tools, prep, and techniques that give a polished, lasting result.
It’s no secret—I have a thing for dressers. Of all the pieces of furniture in a home, a sturdy dresser is one of the most useful and flexible. They work hard and can be reused in many rooms over the years.
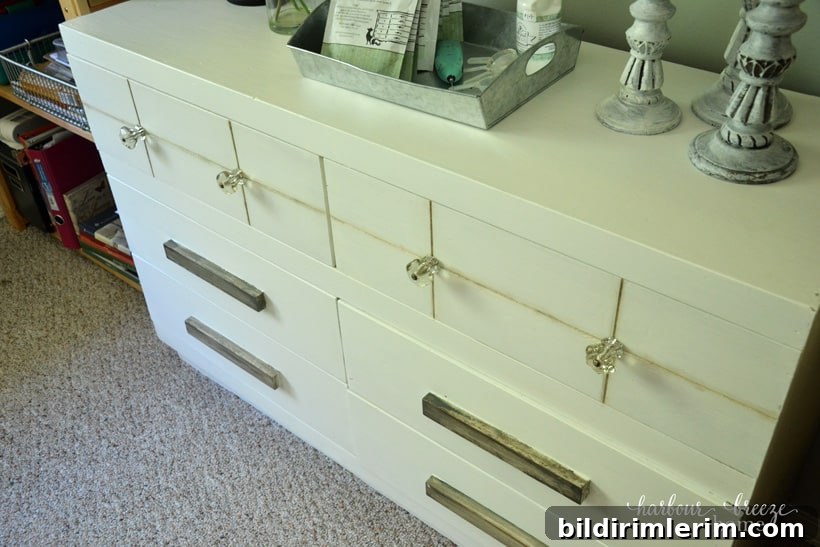
I keep dressers in nearly every room. They offer storage, surface space, and character. Since moving to a smaller house I had to make tough choices and let go of a few favorites, but this one made the cut and stayed. I appreciated the way the drawers were hand-built—solid construction and smooth operation.
Beyond its function, the dresser carries a story: it was handcrafted years ago and once belonged to a couple who meant a lot to us. That sentimental value made it worth updating and preserving.
It didn’t begin life as a white, glass-handled piece. Below is a glimpse of the dresser before I started painting. (I only remembered to photograph it after I had already begun applying primer—lesson learned.)
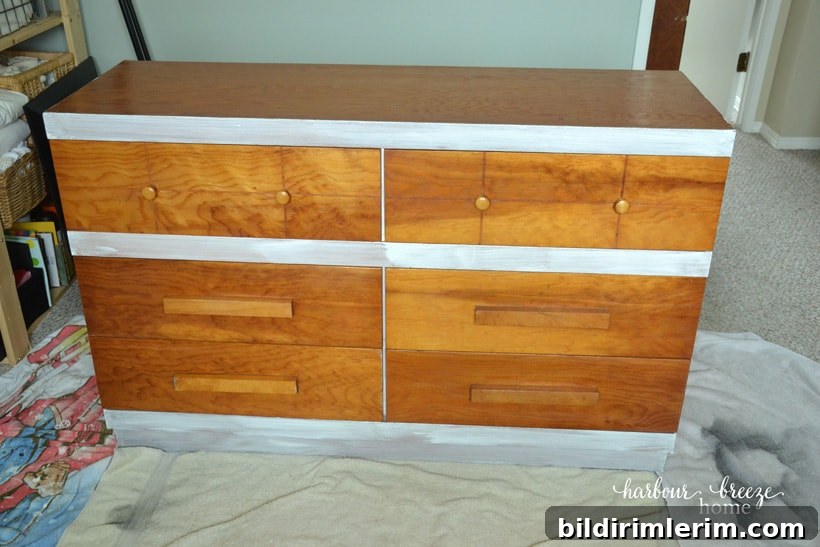
This project unfolded step by step, and I made several design decisions along the way. I also shared parts of the process live on social media while I worked, so if you follow along there you can catch more tips and the storytelling that accompanied each stage.
Steps for a Successful Painted Dresser Makeover
1. Prep and prime the dresser
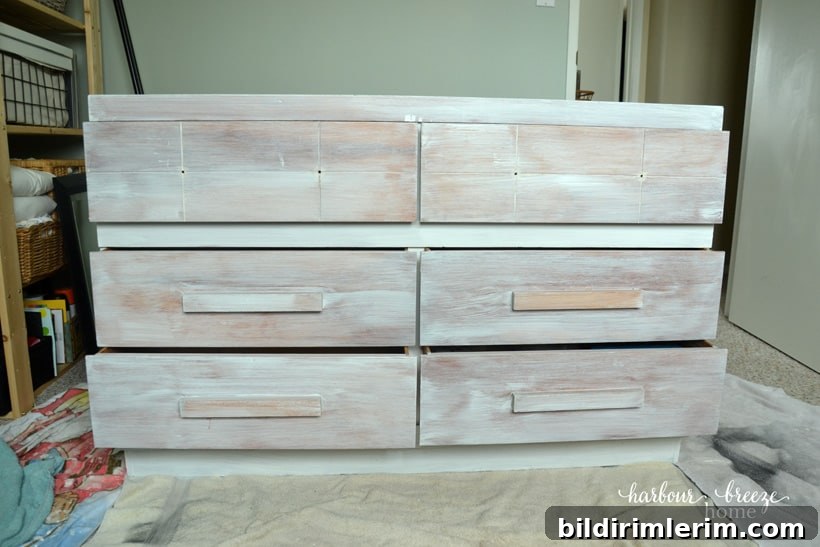
Good prep is the foundation of a durable finish. Start by removing hardware, cleaning the surfaces, and lightly sanding any glossy spots or rough edges. If the piece has stains, grease, or an uneven finish, a quality primer will help create an even base. I used one coat of Zinsser Bullseye primer for this dresser, but choose a high-quality primer suited to your paint type and the substrate.
2. Paint with your chosen color and finish
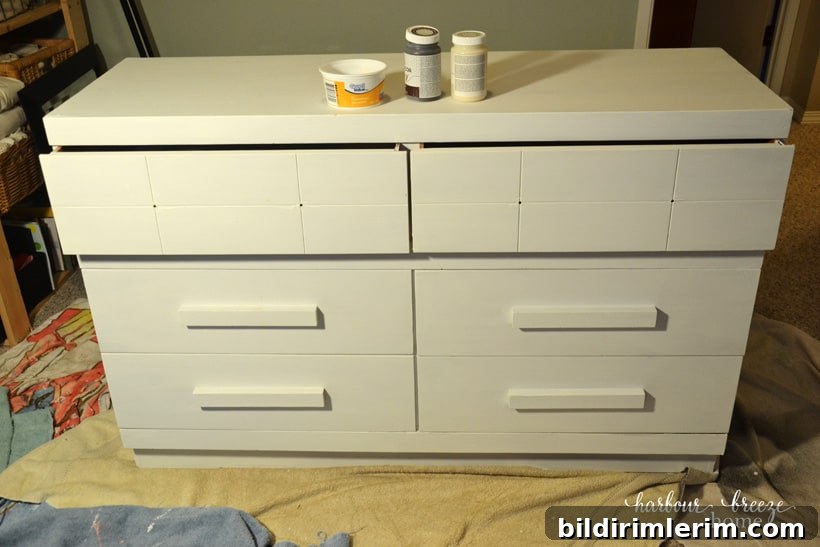
After priming, apply your paint in thin, even coats, allowing proper drying time between layers. For this dresser I used a combination: one coat of Sherwin-Williams Alabaster followed by two coats of Cottage Paint in Cloudy White for depth and coverage. Use a good brush or a mini foam roller for a smooth finish; sanding lightly between coats with fine-grit sandpaper (220 grit) removes brush strokes and imperfections.
3. Add detail to highlight features
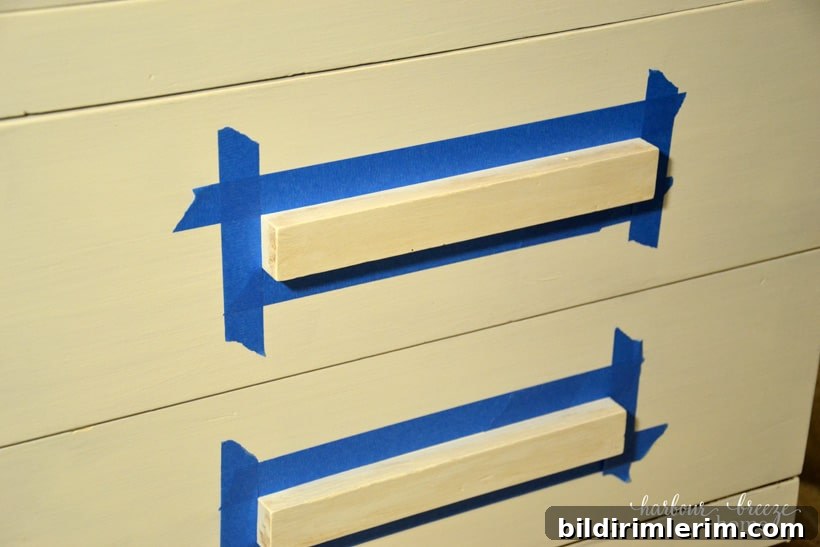
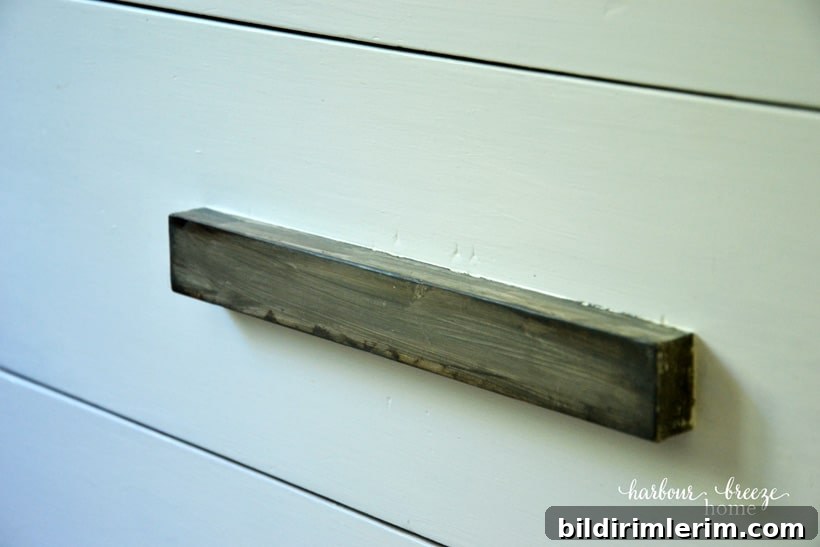
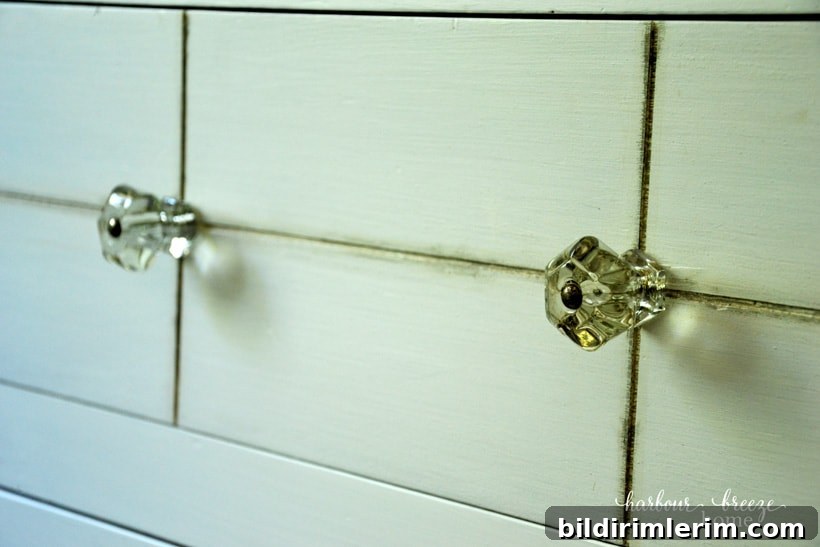
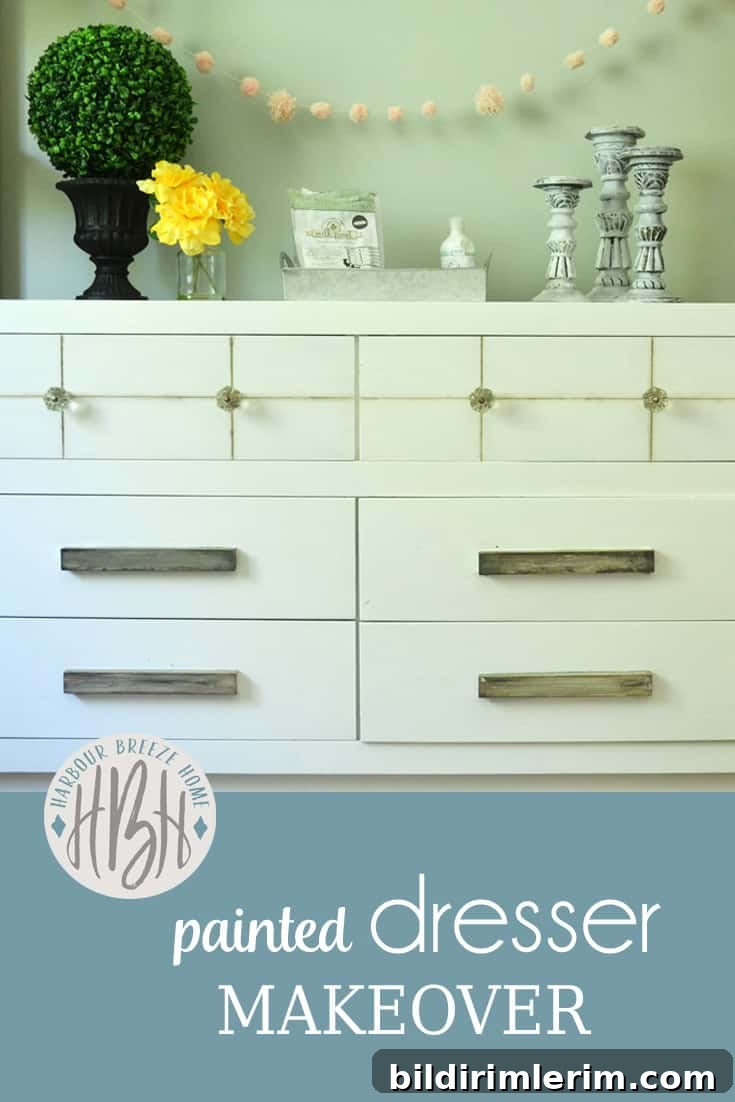
To bring out the dresser’s character, I layered acrylic craft paints to accentuate drawer cutouts and to create a driftwood look on the handles. Subtle shading and dry-brushing techniques emphasize texture and profile lines. Take your time with these finishing touches—small contrasts can transform a plain painted surface into something that reads like authentic, weathered wood.
4. Protect the finish with a sealer
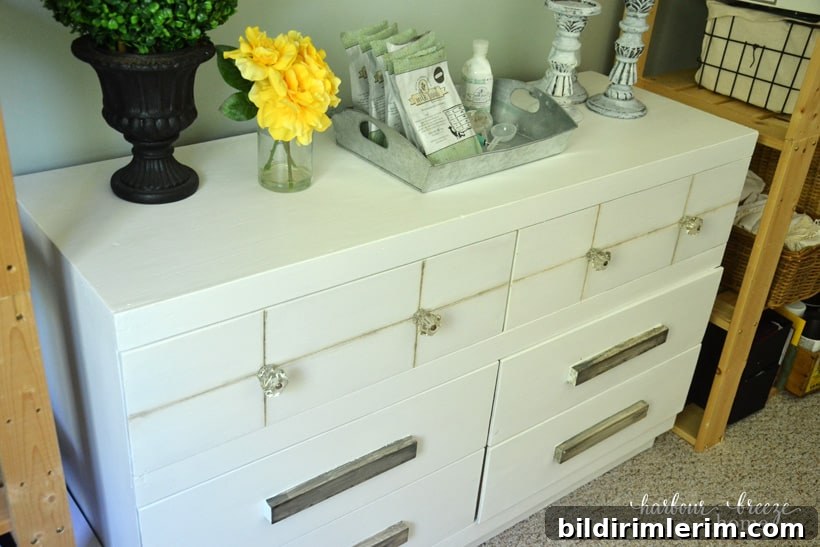
Once the paint is fully dry, seal the dresser to protect the finish from daily wear. I used Cottage Paints Acrylic Sealer for this project. Apply the sealer in light, even coats, and allow adequate drying time. A sealed surface is easier to clean and resists scuffs and stains, extending the life of your makeover.
This dresser was a practical and pleasing addition to my temporary craft room and office while I finished other projects. The combination of solid construction, careful prep, layered painting, and a good sealer made the transformation both beautiful and durable.
Practical tips and quick reminders
- Always clean and de-grease surfaces before priming or painting to ensure adhesion.
- Use thin coats of paint and sand lightly between coats for the smoothest finish.
- Test color samples in the room’s lighting before committing—natural and artificial light change how paint reads.
- Remove hardware before painting; consider swapping knobs or handles for a fresh look.
- Allow sealer to cure fully before heavy use—follow the product’s recommended dry and cure times.
More furniture makeover ideas
- Chalk paint bookcase makeover with step-by-step instructions
- Spray paint techniques for refreshing a kitchen cart
- How to stencil dresser drawers for subtle pattern and interest
- A farmhouse table makeover and tips on refinishing and distressing
- Refinishing and repainting an electric fireplace surround
- Quick tips for repainting a dresser when you want fast, reliable results