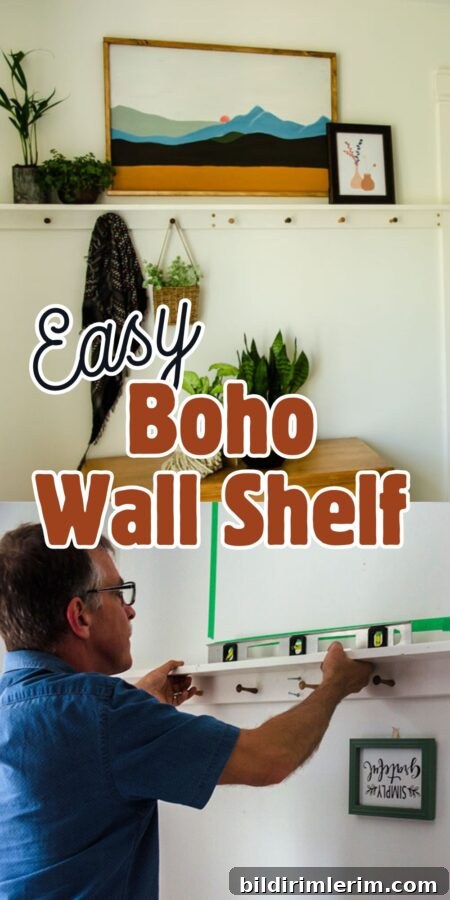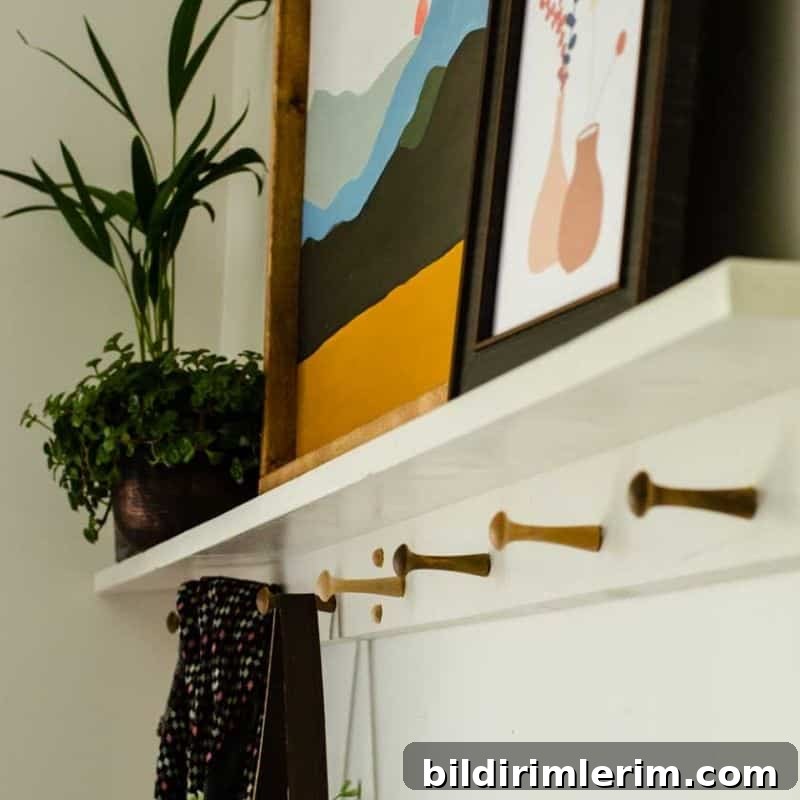
This simple DIY boho shelf brings both style and function to any room. It works beautifully for hats in the entryway, mugs in the kitchen, or hanging tomorrow’s outfit in the bedroom—adding texture, height, and a relaxed boho vibe to your walls.
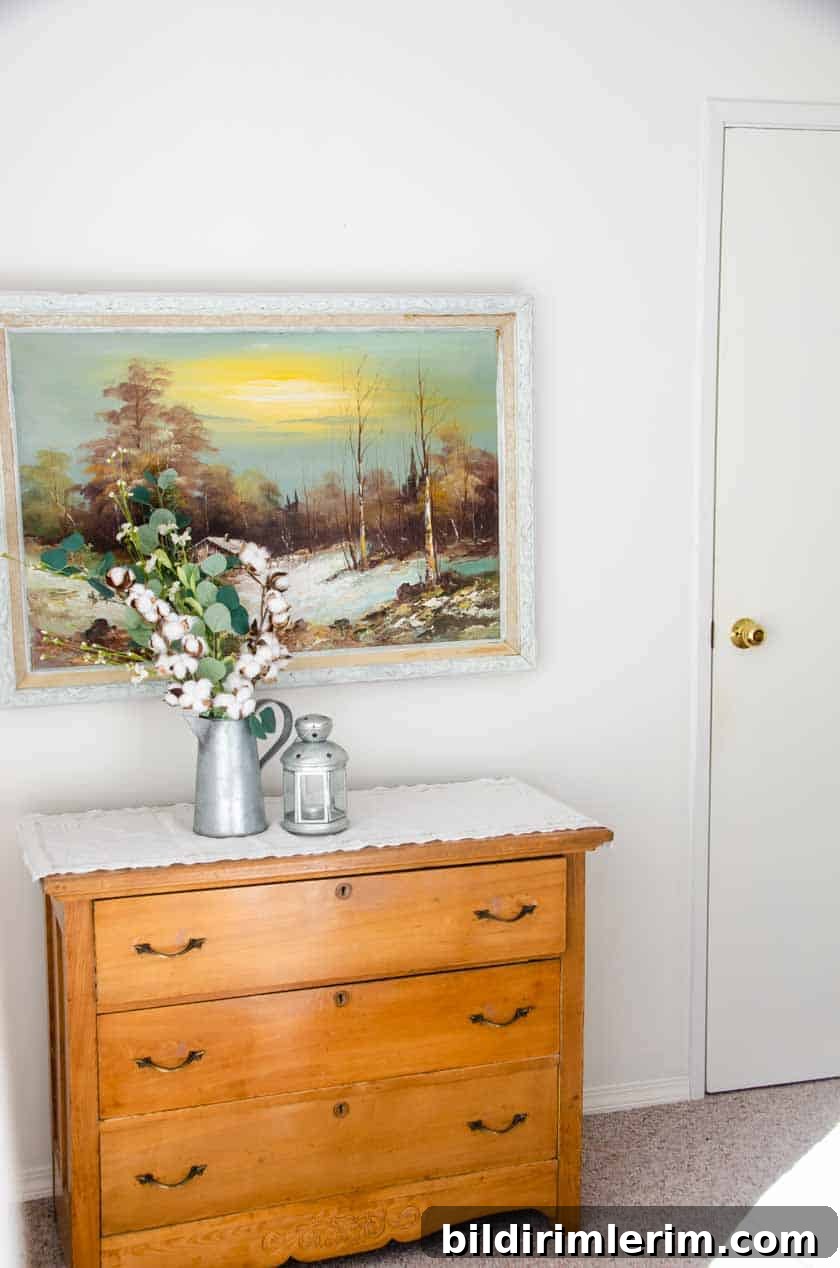
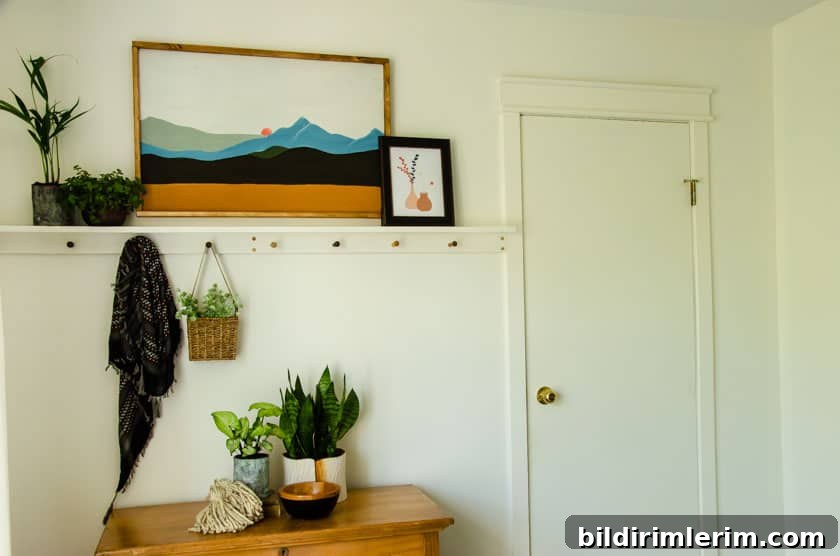
We built this shelf to solve a decorating dilemma above an antique dresser in a small master bedroom. The wall looked empty, and a narrow shelf with pegs filled the space without overwhelming the room, creating visual interest and a practical place to display art and small plants.
Here’s how the wall looked before:
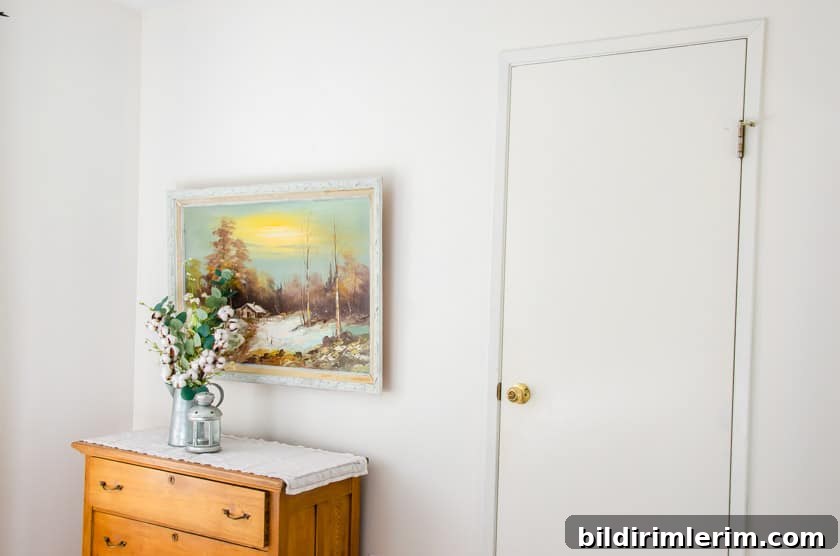
The antique dresser fit perfectly and served its function, but the wall needed something to tie the space together and add vertical interest.
Why You’ll Love This Boho Shelf
- Adds height and focal interest to empty walls—perfect for displaying boho artwork and plants.
- Simple DIY with a high visual payoff; ideal for quick weekend projects.
- Pegs increase function for decor, baskets, hats, mugs, or towels.
- Perfect for small rooms where a full piece of furniture won’t fit.
- Budget-friendly—use scrap wood or inexpensive materials for a beautiful result.
How to Make a Simple Boho Shelf with Pegs
This shelf is a straightforward woodworking project that can be completed in a few hours. Below are the supplies and step-by-step instructions to build a sturdy, attractive peg shelf that fits a variety of rooms and styles.
Supplies You’ll Need
- 2 x 1×4 boards, cut to the length you want for the shelf and backboard
- 3-inch wood pegs or shaker-style pegs
- Wood screws (long enough to secure through the shelf into the backboard and into studs)
- Wood glue
- Drill and drill bits sized for screws and peg holes
- Sander or sandpaper (medium and fine grits)
- Wood filler (optional, for filling screw holes)
- Paint or stain of your choice and a brush or rag
- Wall anchors if you can’t mount into studs
- Level and measuring tape
- Wooden plugs to cover screw heads for a polished finish
Step-by-Step Instructions
Step 1: Cut and Prepare Your Boards
- Cut one 1×4 to the length you want for the backboard and a second 1×4 to the same length for the shelf.
- Sand all surfaces and edges smooth, removing splinters and rough spots for a clean finish.
Step 2: Attach the Shelf to the Backboard
- Place the shelf board perpendicular to the backboard at your preferred height.
- Pre-drill pilot holes from the underside or top of the shelf into the backboard to prevent splitting.
- Apply wood glue and secure with wood screws so the shelf sits flat and sturdy against the backboard.
Step 3: Drill Holes for Pegs
- Mark evenly spaced points along the front of the backboard for your pegs—five is a balanced number for many shelves, but adjust to your length.
- Drill holes to the correct depth and diameter to snugly accept your pegs.
Step 4: Paint or Stain
- Paint or stain the assembled shelf. Painting before inserting pegs makes it easier to cover tight corners and get an even coat.
- Allow finishes to dry completely according to product instructions.
Step 5: Insert Pegs
- Put a small amount of wood glue on each peg end and press them into the holes. Wipe away excess glue and allow it to cure fully.
Step 6: Mount the Shelf
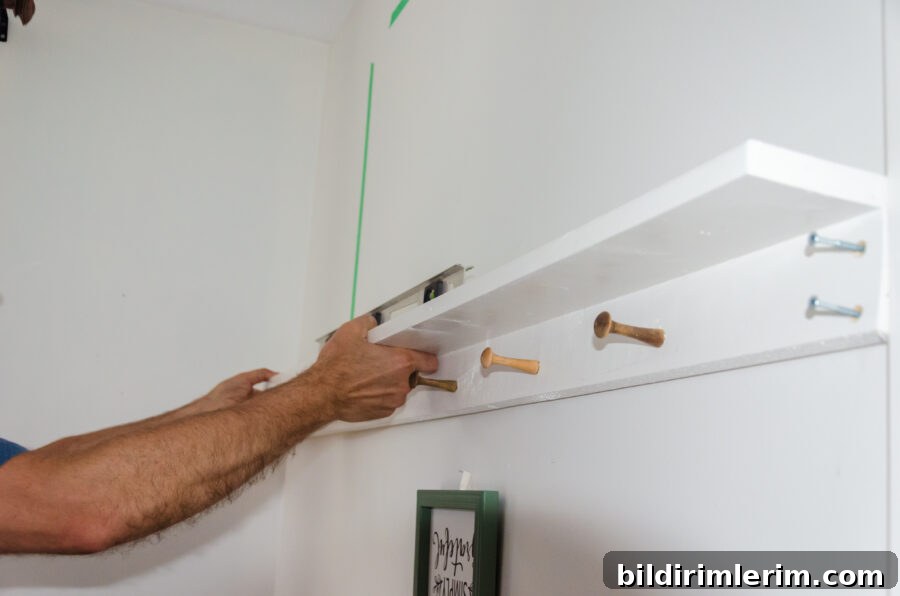
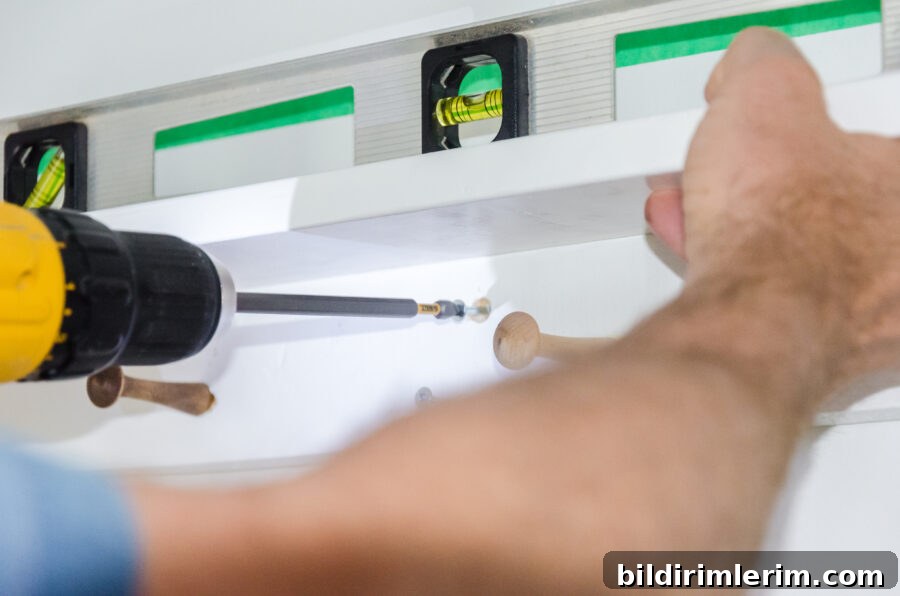
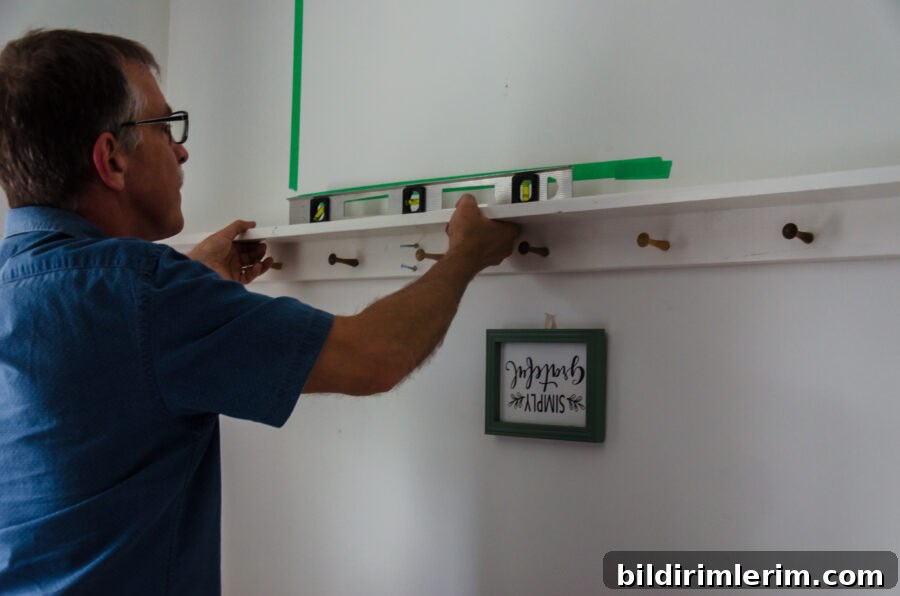
- Use a level to position the shelf on the wall and mark stud locations. Pre-drill holes into studs or install appropriate anchors.
- Attach the shelf with long screws driven through the backboard into studs for maximum strength.
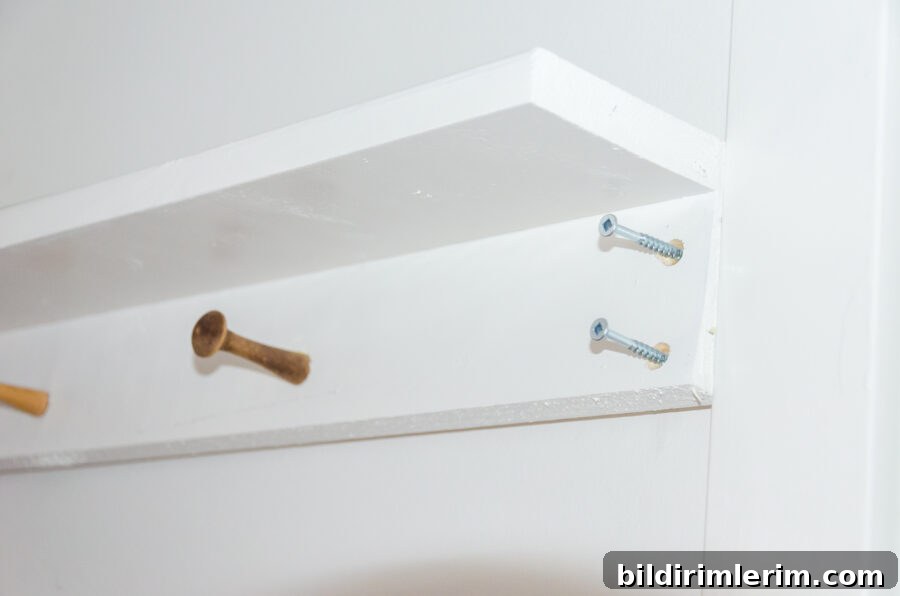
- Finish by covering visible screw holes with wood plugs or filler and touch up paint if needed.
-

Assemble and paint the shelf before hanging it on the wall. -
Predrill holes to make attaching to the wall easier. -
Use a level to ensure proper placement on the wall.
Where This Shelf Works Best
- Master Bedroom – Hang your outfit for the next day, scarves, or a lightweight robe.
- Entryway – Store hats, bags, and seasonal decor while keeping the floor clear.
- Kitchen – Use pegs for mugs, towels, or small baskets of herbs and utensils.
- Bathroom – Hang hand towels and display small jars or perfumes on the shelf.
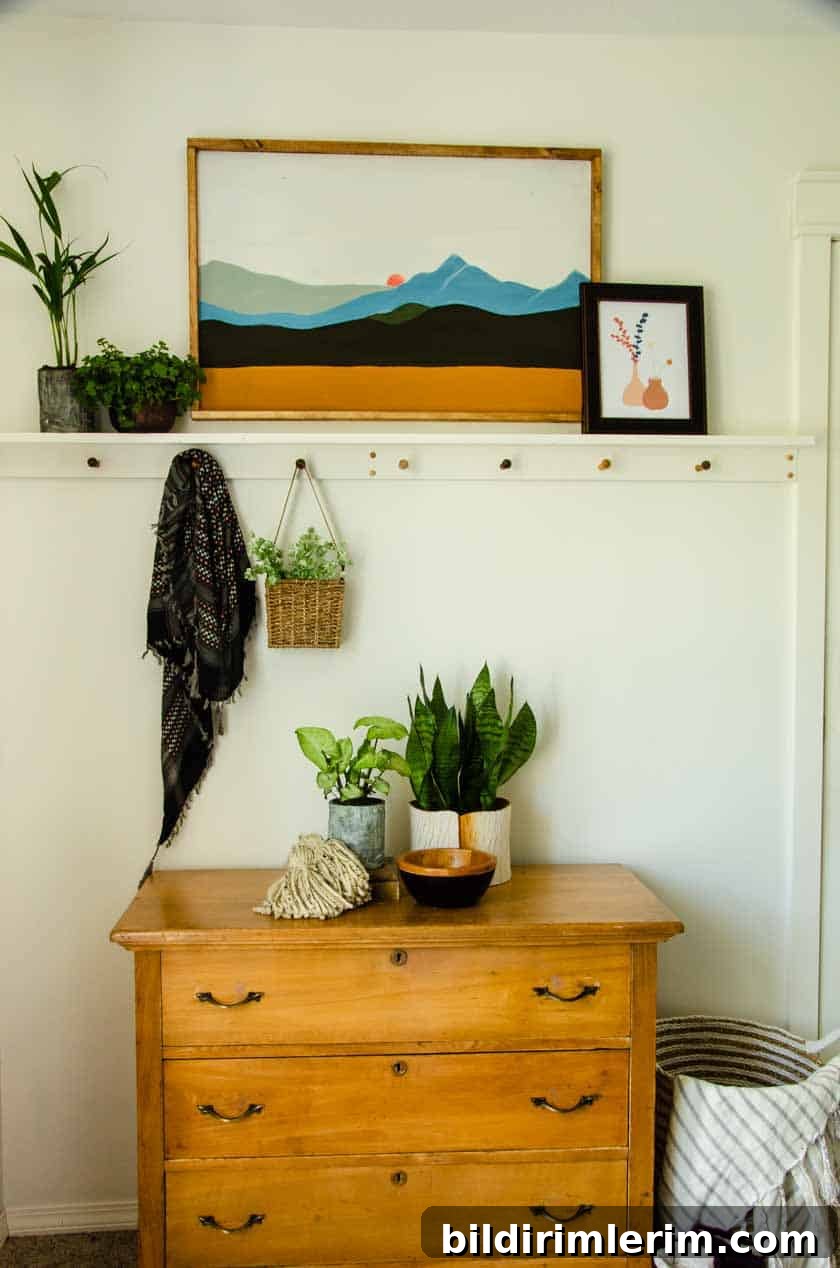
This narrow shelf adds vertical rhythm and texture without making a small room feel crowded. The pegs create flexible styling options—hang baskets, greenery, or textiles to complement your decor.
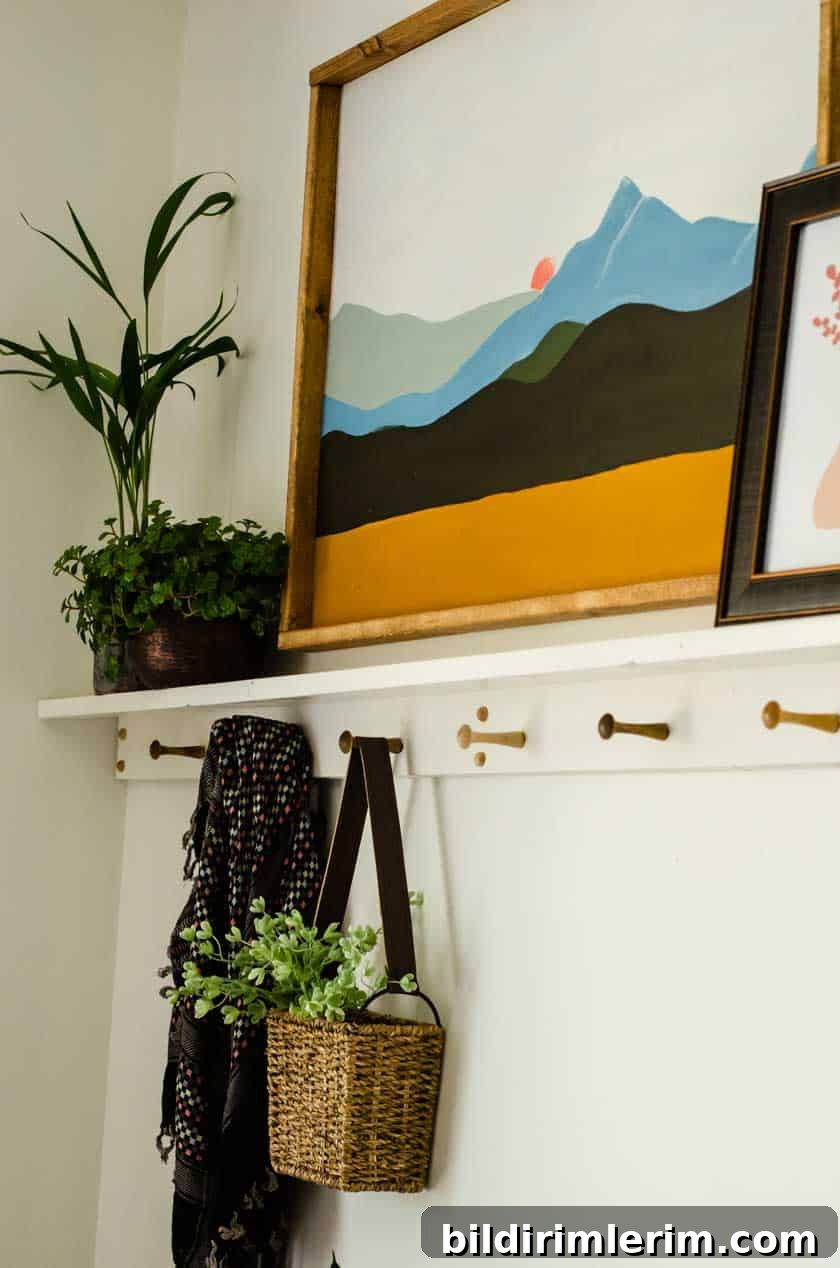
For our space we added a basket with faux greenery and a tasseled scarf, leaning into a Modern Farmhouse Boho look that feels cozy and curated.
More Simple Shelf Ideas
- Fixer Upper–style farmhouse shelves — a rustic, chunky option for display and storage.
- Floating shelves built with boards and dowels for a clean, minimalist look.
- Turnbuckle shelves—industrial-inspired hanging shelves using turnbuckle hardware.
- Other easy DIY wall shelf ideas that work in small spaces and on a budget.
Subscribe for More Budget-Friendly DIYs and Home Ideas
If you enjoy simple, affordable home projects, consider signing up for a newsletter to receive more DIY shelf plans, styling tips, and seasonal decorating ideas.

Pin This Project to Save It for Later