
I recently took a customer’s request as an invitation to rethink baby nursery decor and create a charming bird mobile. After researching “bird mobiles” I felt inspired to make a no-sew version so anyone without a sewing machine could try it. The result is a simple, shabby-chic fabric bird mobile that hangs beautifully in a nursery, living room, or anywhere you want a delicate, handmade accent.
Materials (Supplies Needed)
- Sturdy, thick fabric (tapestry, damask, or a heavy embroidered cotton works well). I used a small piece of beautiful embroidered cotton; it’s stiff and holds shape without washing first.
- Burlap (choose a tighter weave; washing and tumble-drying burlap can tighten the weave and make it easier to work with)
- Heat n Bond or similar fusible adhesive
- Cream-colored canvas or fabric for tail feathers
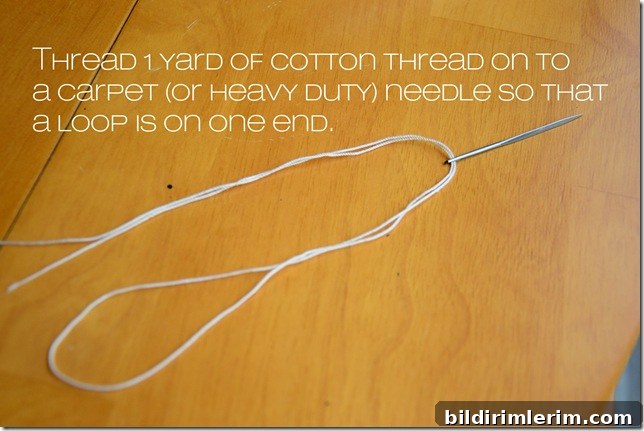
- Cotton thread (for hanging and balancing)
- Heavy-duty hand-sewing needle
- Hot glue gun and glue sticks
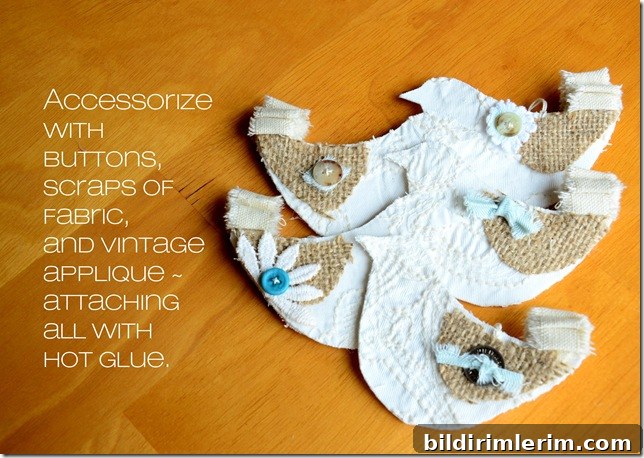
- Small embellishments if desired (buttons, tiny felt pieces, or trim)
- A small straight twig from your yard
- Fishing line or clear nylon thread to hang the mobile
- Small ceiling hook to suspend the mobile
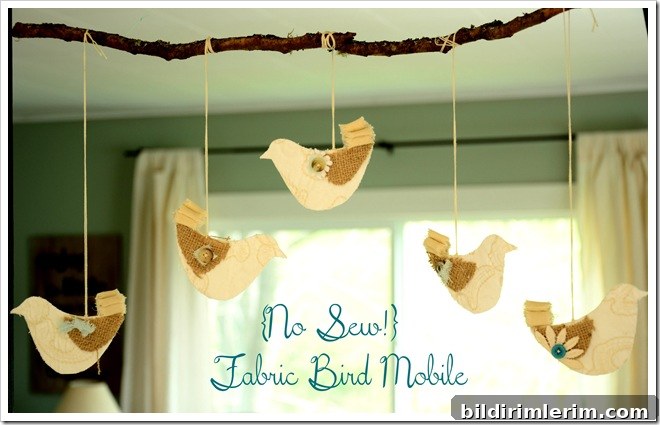
To Make the Birds
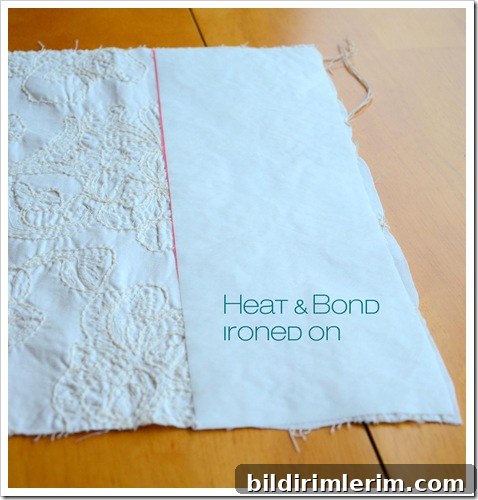
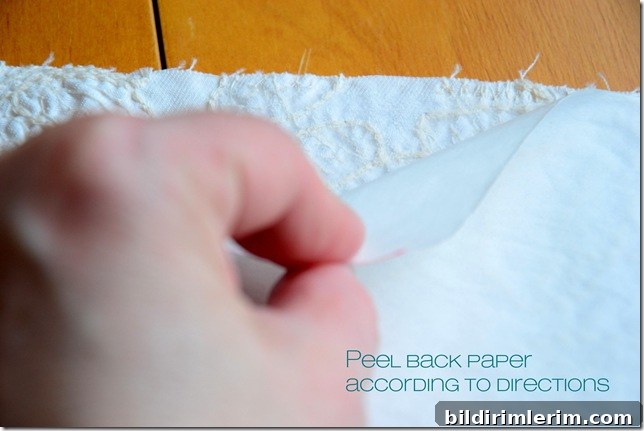
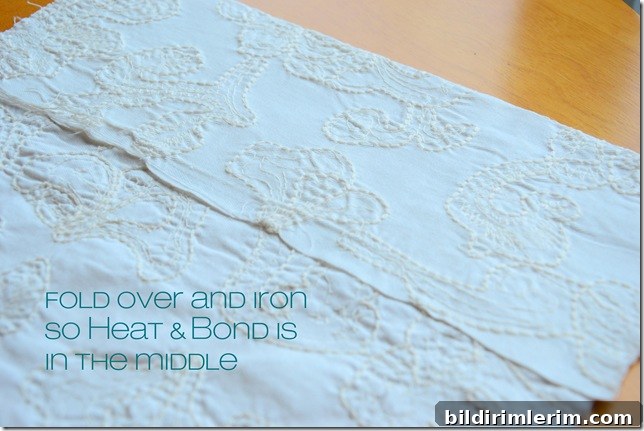
Start by ironing a 4-inch-wide strip of Heat n Bond to the underside edge of your fabric. Follow product instructions carefully. Once fused, peel away the paper backing and fold the fabric so the Heat n Bond becomes the center layer; press again so the edges are securely bonded and the piece becomes sturdier for cutting.
Pin your bird pattern to the fabric and carefully cut out the shape. If you don’t have a printed pattern, draw a simple bird silhouette on cardstock first and use it as your template. Repeat to make five bird bodies for a balanced mobile.
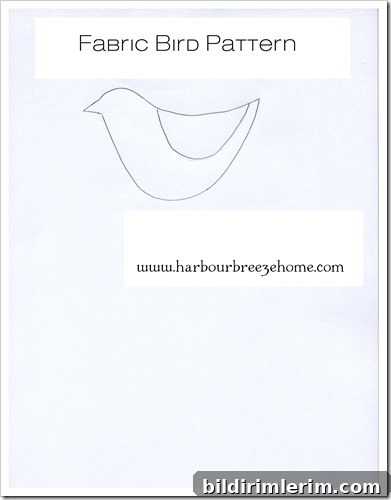
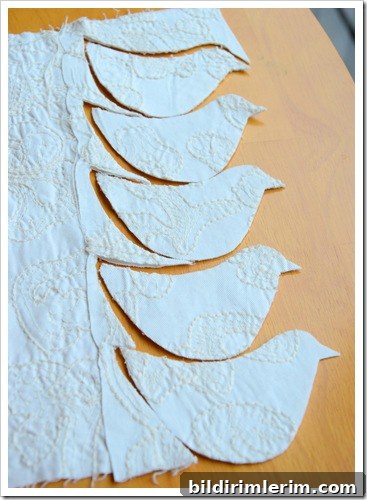
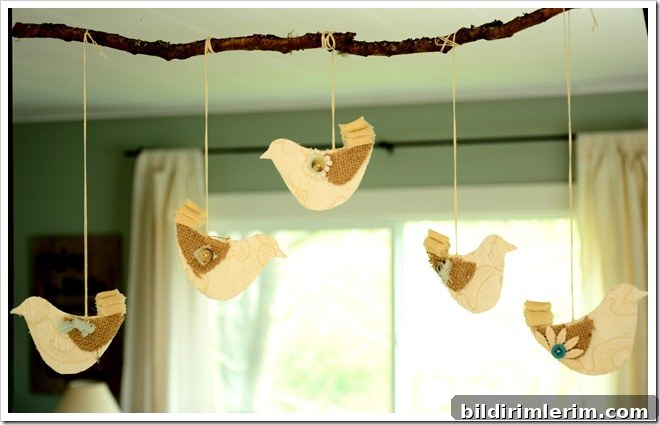
For each bird, cut two small wings from burlap. Tear a long 1/2-inch-wide strip of cream canvas—about 36 inches long is generous and will provide enough for two birds’ tail loops. Fold small loops from the canvas strip to create layered tail feathers.
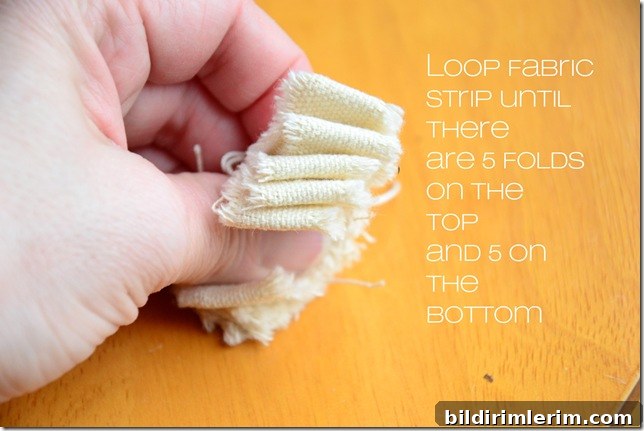
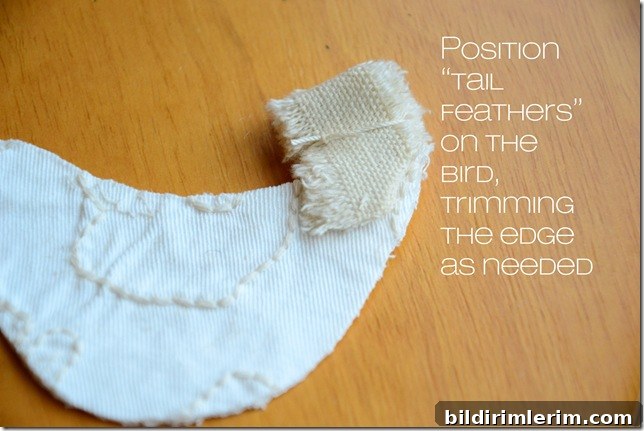
Use a hot glue gun to secure the tail feather loops to the bottom rear of the bird body, placing a dab of glue at each layer to hold them in place. Position the burlap wing over the glued tail ends and glue it down so the tail and wing appear integrated. Add any small accessories now—buttons for eyes or tiny felt beaks add personality.
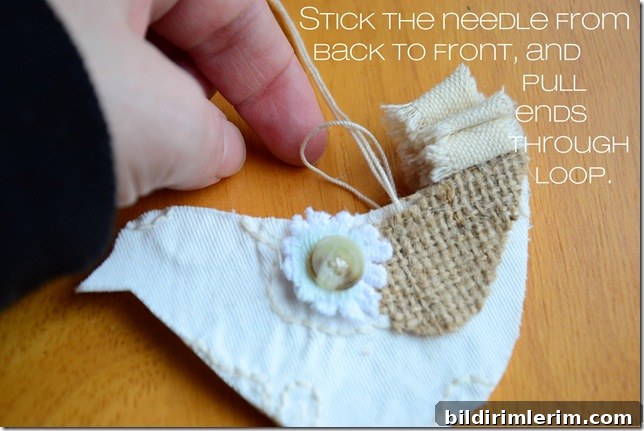
Attach cotton thread to the top of each bird where it will balance. Loop or stitch the thread into the bird and test by lifting; adjust the thread placement until the bird hangs level. Repeat this for all five birds so each one balances on its own thread.
To Make the Mobile
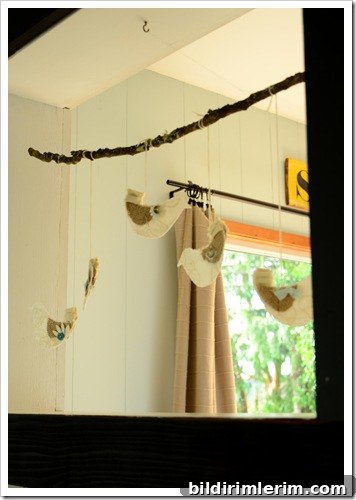
Arrange your twig as the mobile arm. Tie or wrap each bird’s hanging thread around the twig at varying distances and lengths to create visual interest and balance. You can group birds in pairs or space them evenly depending on your preferred look.
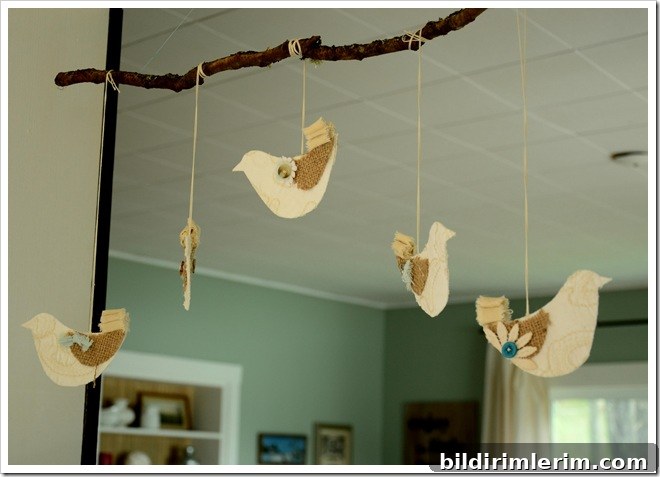
Secure fishing line or clear nylon thread to each end of the twig and attach the other ends to a small ceiling hook so the twig hangs level. Trim any excess line for a neat finish. Hang the completed mobile over a crib, in a doorway, or in a cozy corner—its soft movement creates a calming focal point.
Variations and Uses
This easy no-sew bird mobile is versatile: change fabrics and colors for different styles—denim and burlap can make a rustic version for a baby boy, while bright paisley or florals suit a teen’s room. These small fabric birds also make charming Christmas ornaments, gift-top decorations, or a shelf of hanging accents in a gallery wall. The project is quick, inexpensive, and customizable.
With minimal tools and no sewing machine required, this shabby-chic bird mobile is a satisfying DIY project that adds handmade warmth to any room.