
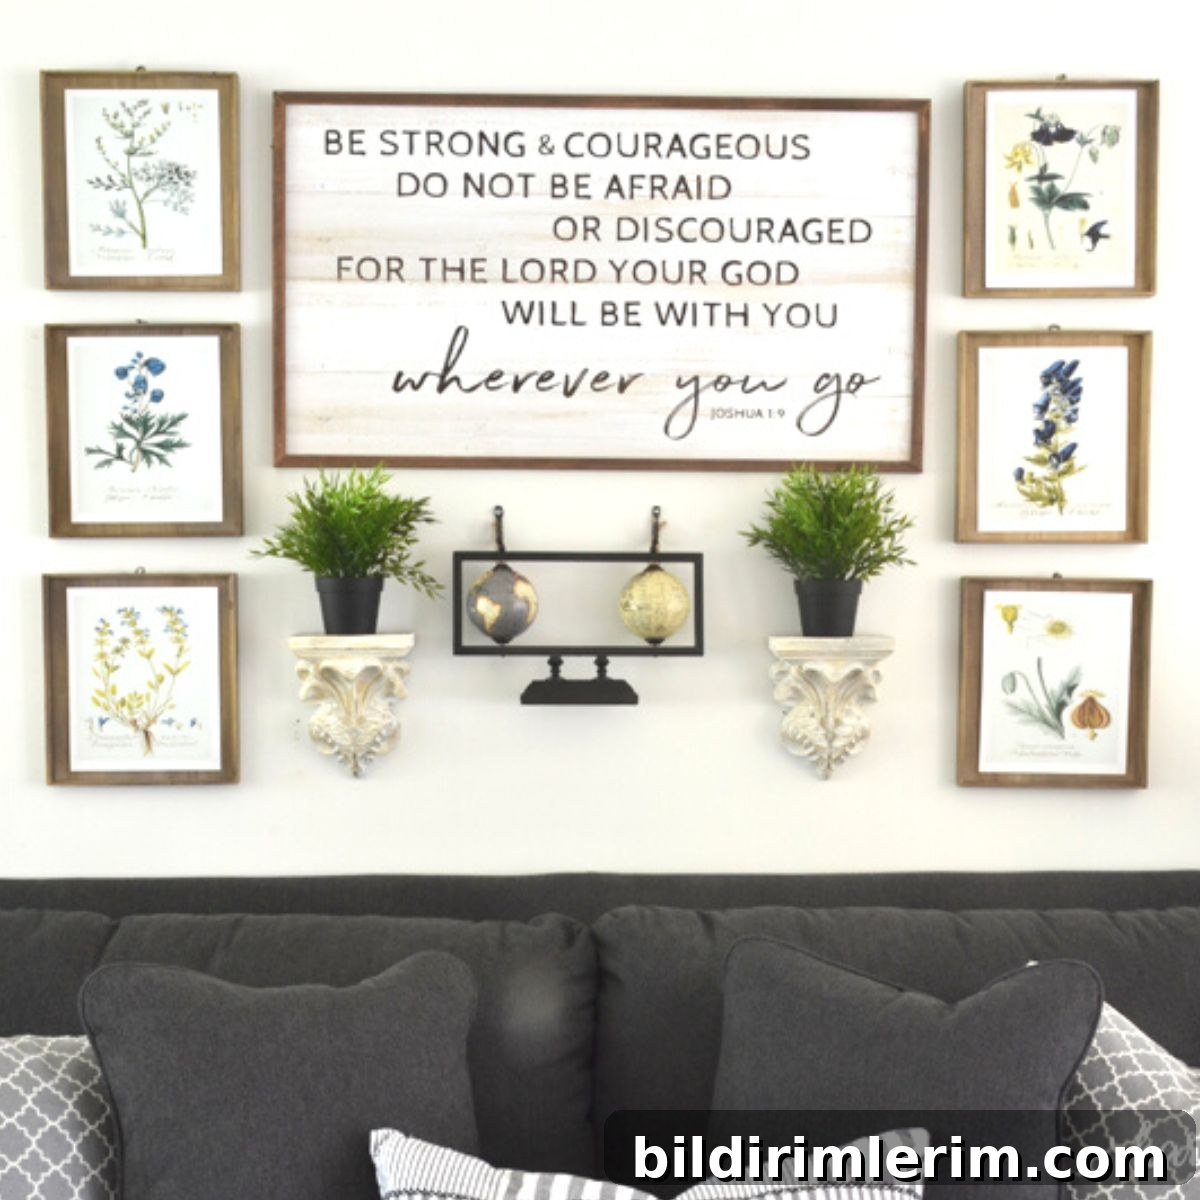
Hanging artwork above a sofa can feel intimidating, but it doesn’t have to be. Learn a simple, foolproof method to hang a gallery wall above a couch by creating a paper template—you’ll avoid misplaced nail holes and get a perfectly balanced arrangement every time.
I’ll admit I usually hang things on the wall without much fuss. In older homes where walls were less delicate, I got used to experimenting—any mistake could be patched or covered. When I can, I prefer teamwork: one person holds the frame while the other adjusts placement until it’s right. But recently I needed to hang a gallery wall above our couch while I was home alone, and the placement had to be exact.
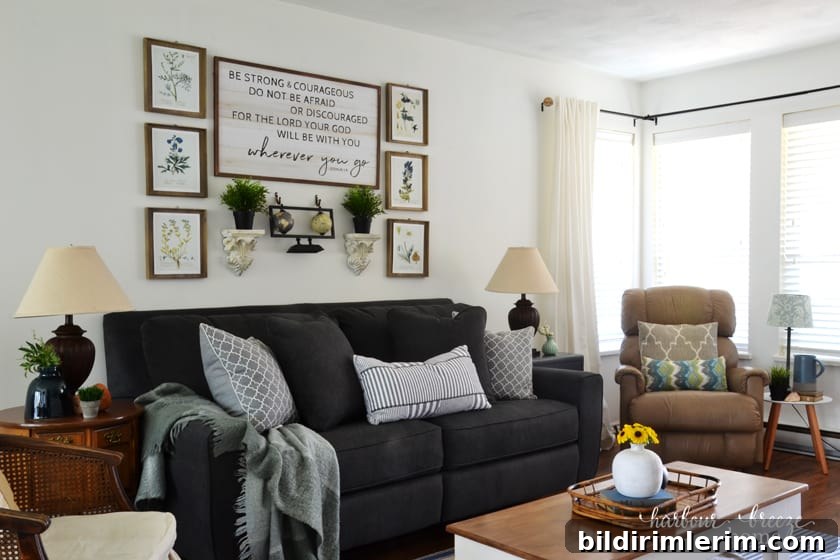
I pulled a reliable trick from my toolbox: make a full-size paper template of the gallery area and use it to plan and mark the exact nail locations. It worked perfectly and left me with a professional-looking result and no guesswork.
How to Make Your Own Gallery Wall Template
Supplies needed:
- Large roll of paper (wrapping paper, kraft paper, or brown packing paper)
- Tape (painter’s tape is ideal)
- Measuring tape
- Pen or pencil
- Hammer
- Nails, picture hangers, or wall anchors as appropriate
1. Measure the area above your couch you want to fill.
Decide how much wall space you want the gallery to cover. For a statement look, measure a wide, centered area above the sofa. In my project the target area measured 70 inches wide by 45 inches tall—large enough to create a focal point without overwhelming the room.
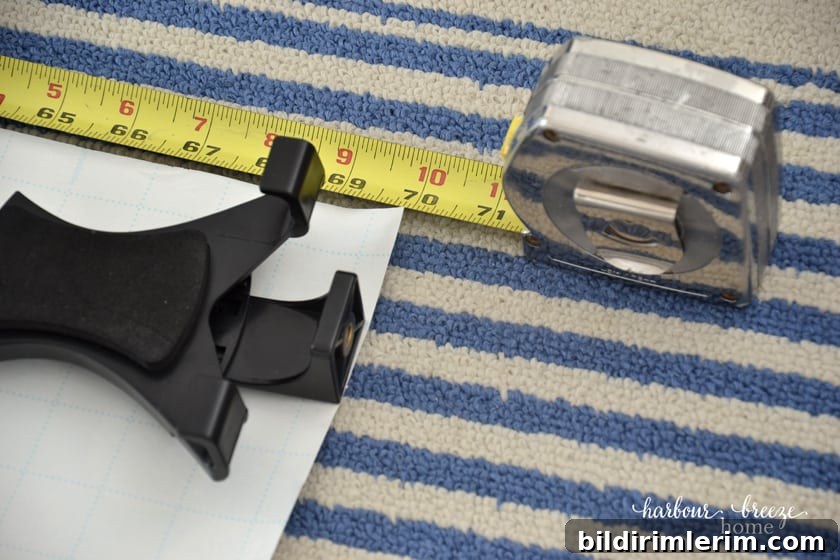
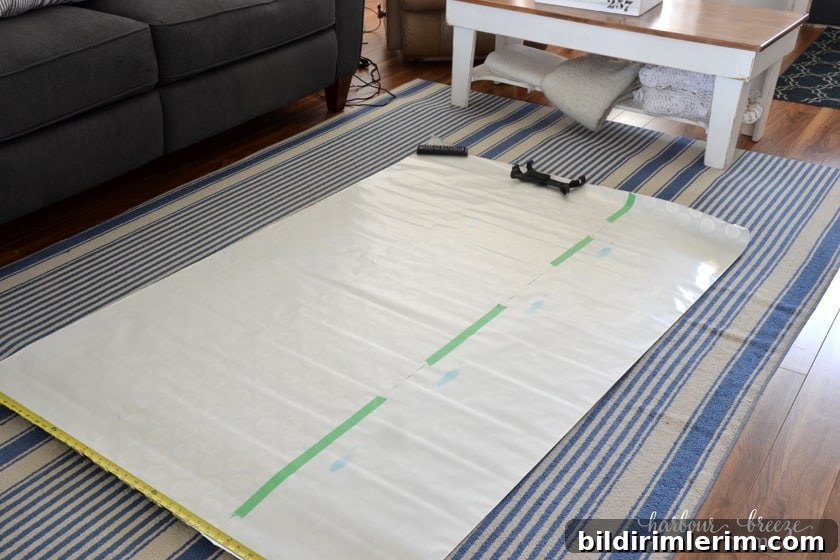
2. Cut a paper template to match those measurements.
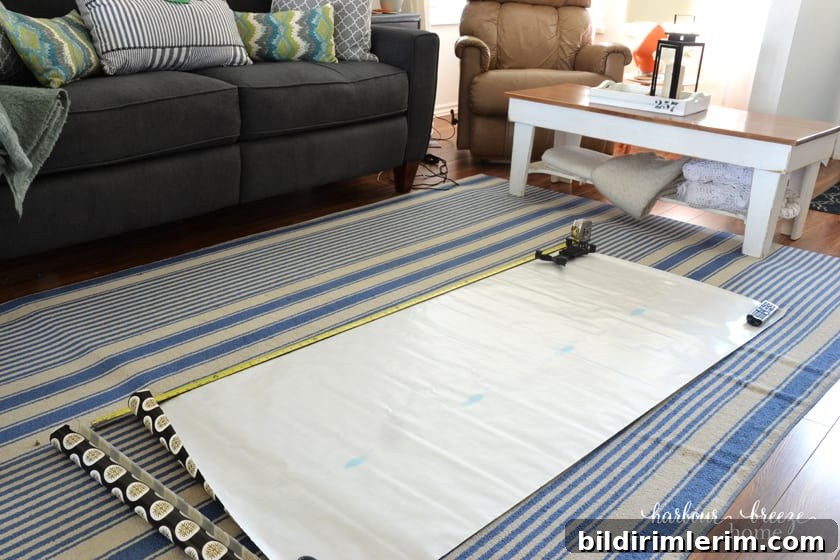
Use any large roll of paper. If the roll isn’t tall enough, tape pieces together to reach the required height. The goal is a full-size mockup of the final arrangement so you can experiment freely without making holes in the wall.
3. Temporarily tape the template to the wall to confirm the size and position.
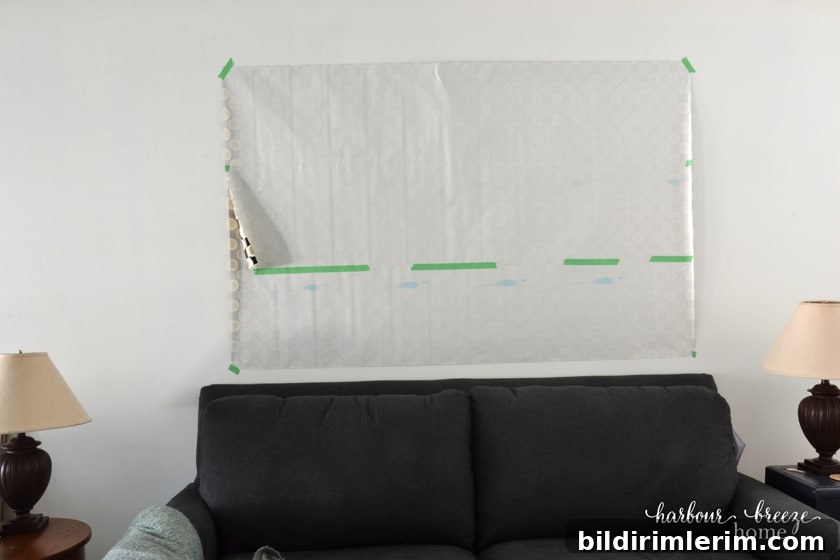
This step is optional but useful. Taping the template in place lets you see how the scale and placement look in the room and make any adjustments before you commit to nail locations.
4. Arrange your frames and decor on the paper until you like the composition.
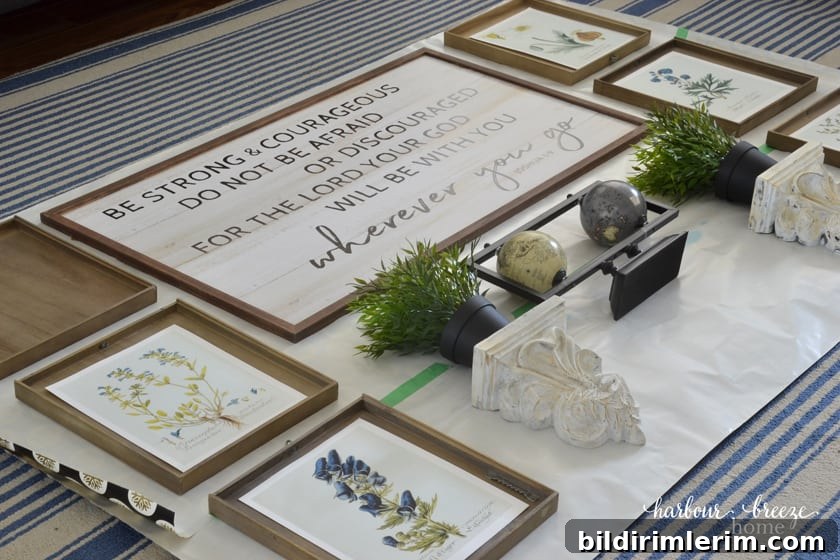
This is the creative part. Lay out all the artwork, signs, and accent pieces on the template placed on the floor or taped to the wall. Move items freely to test spacing, balance, and visual flow. If your paper has a faint grid, use it to keep things straight and evenly spaced.
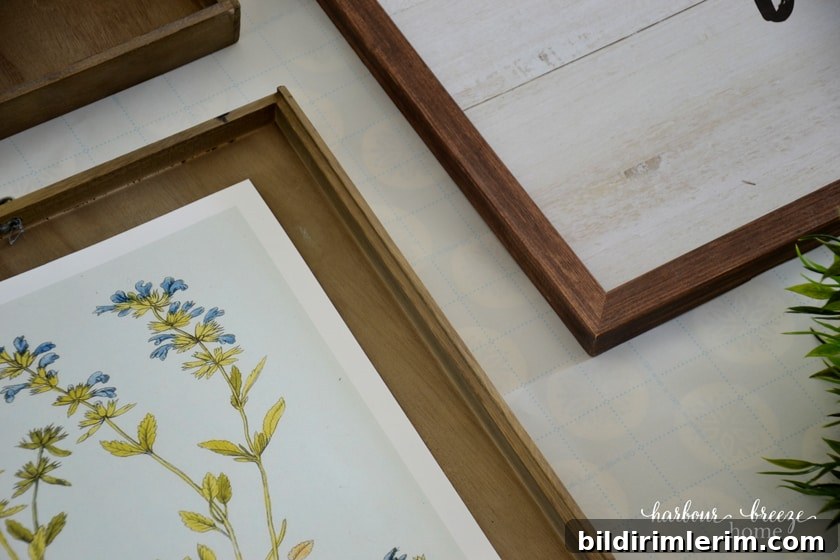
5. Mark each picture’s position and the exact hanger location on the template.
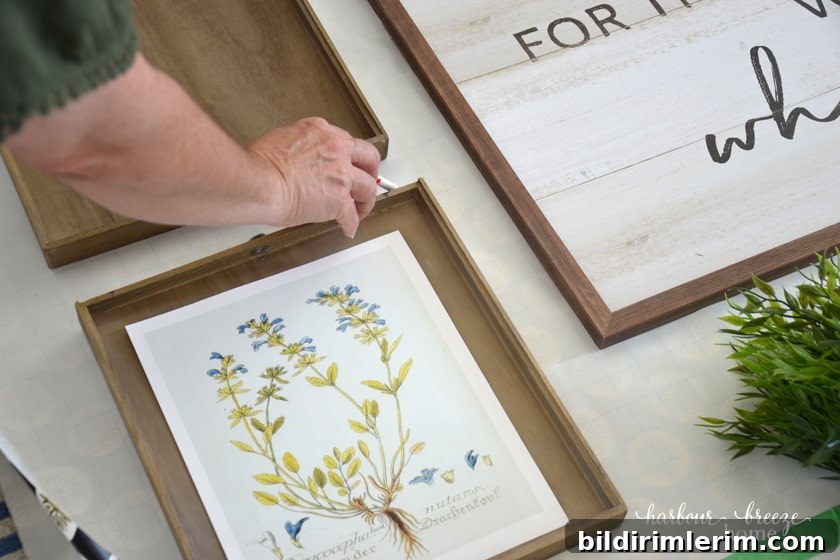
Mark the top edge of each frame and then pinpoint where the nail or hanger needs to go. Because hanger positions vary between frames, mark an “X” on the template exactly where each hanger sits. A ruler or straightedge helps make precise marks.
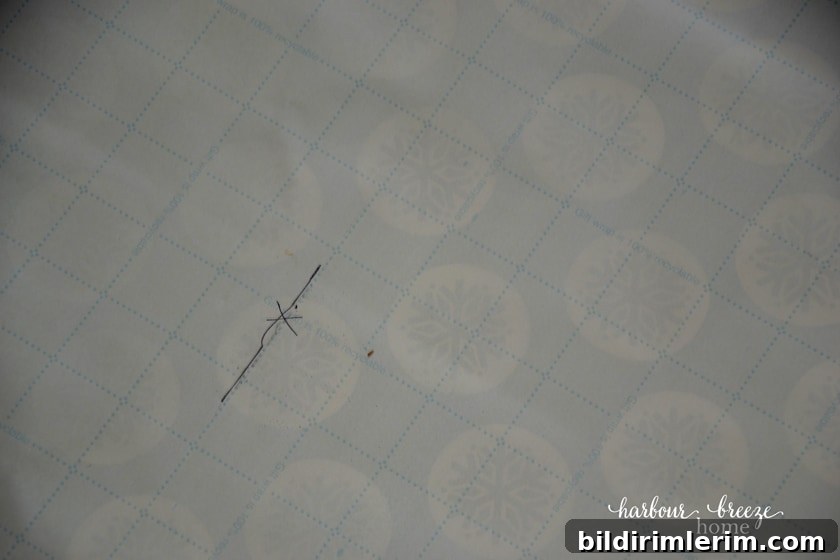
6. Tape the marked template to the wall and drive nails at each marked spot.
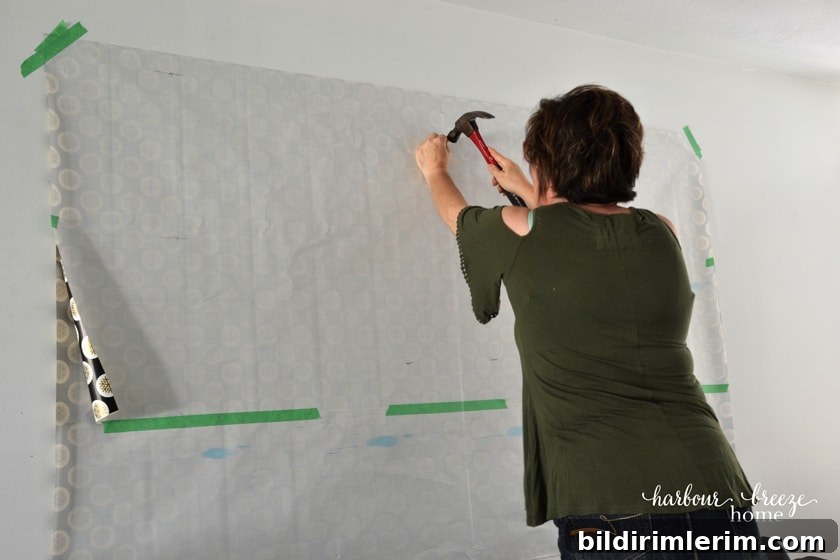
With the template securely taped, hammer nails or install hangers at each “X.” Many people start with the central, largest piece and work outward, which helps maintain balance as you proceed. As you add nails, step back occasionally to confirm overall alignment.
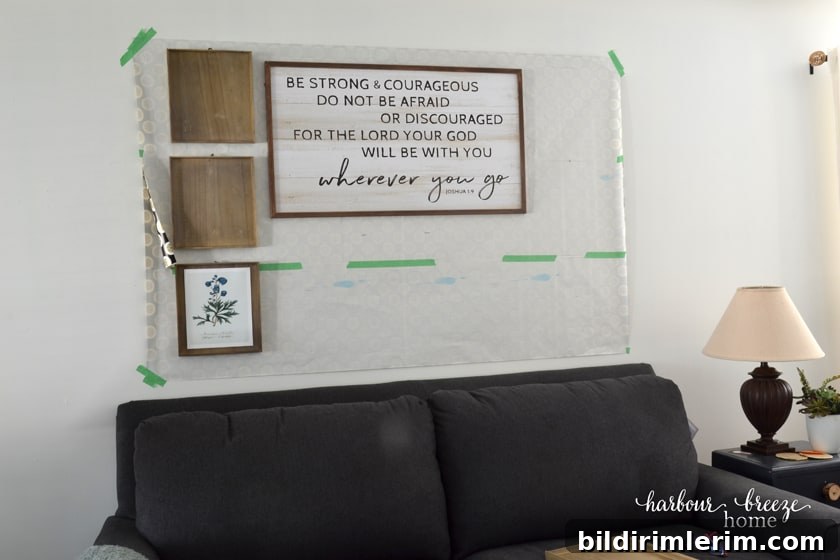
Watching the layout appear on the wall is satisfying—and it removes the uncertainty of measuring each frame individually.
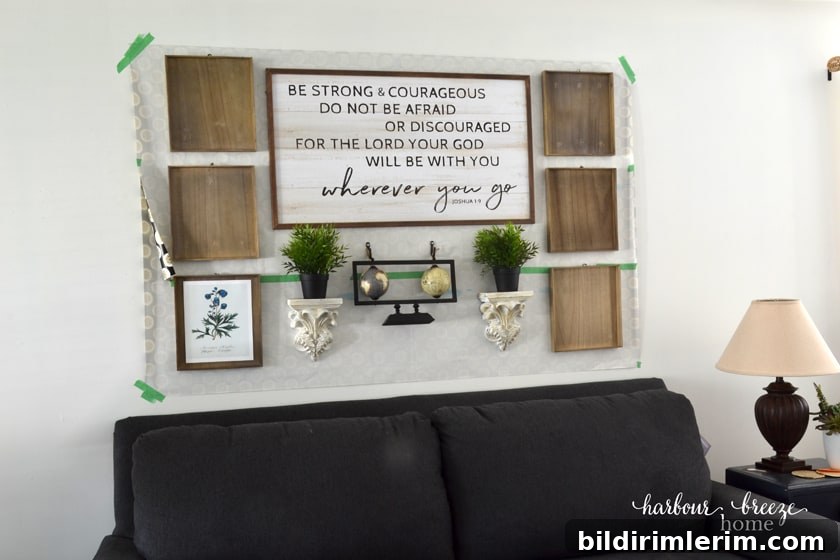
7. Remove the template, then hang your frames on the preplaced nails.
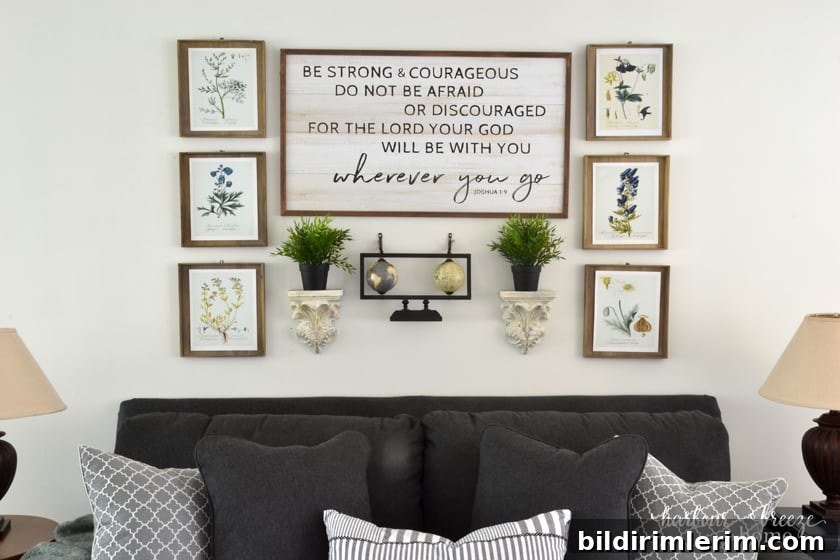
Take down the paper, remove any temporary tape, and hang each piece on its corresponding nail. Small adjustments can be made by slightly shifting frames on their hangers, but the heavy lifting of placement is already done.
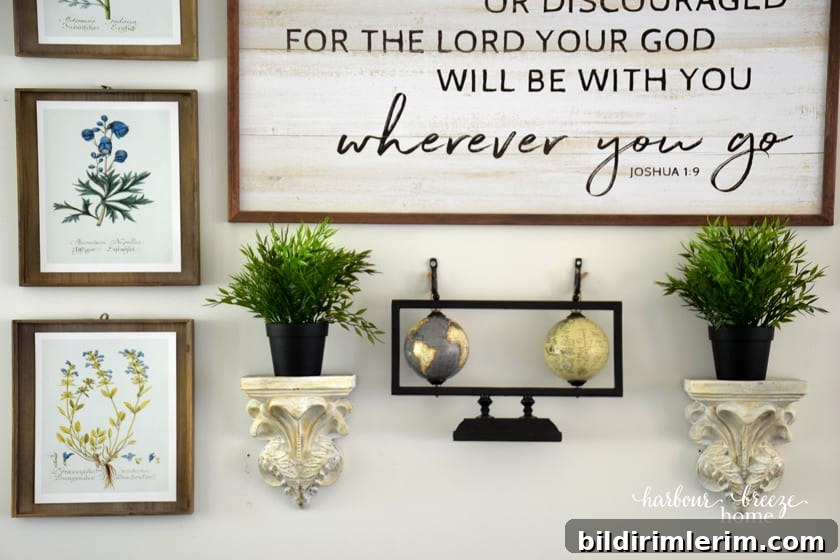
The result is a clean, cohesive gallery wall with even spacing and accurate placement—no guesswork, no unnecessary holes. This method works for any combination of frames, artwork, mirrors, and decorative objects and scales easily for smaller or larger arrangements.
Sources and materials used in this project included a verse print sign purchased on sale, free printable botanical art prints used to create the botanical group, globe decor and shelves from craft or home stores, and faux plants. Specific retailers vary by project and availability.
More ideas for above-sofa wall art
- Try a canvas with a DIY floating frame for a modern, polished look.
- Create seasonal canvas art that lights up or features festive designs for holidays.
- Use printable art to easily change styles and colors with the seasons.
- Mix framed prints with three-dimensional decor—shelves, small mirrors, or sculptural pieces—for added depth.
- For symmetry, start with a central anchor piece and arrange smaller items around it at equal spacing.
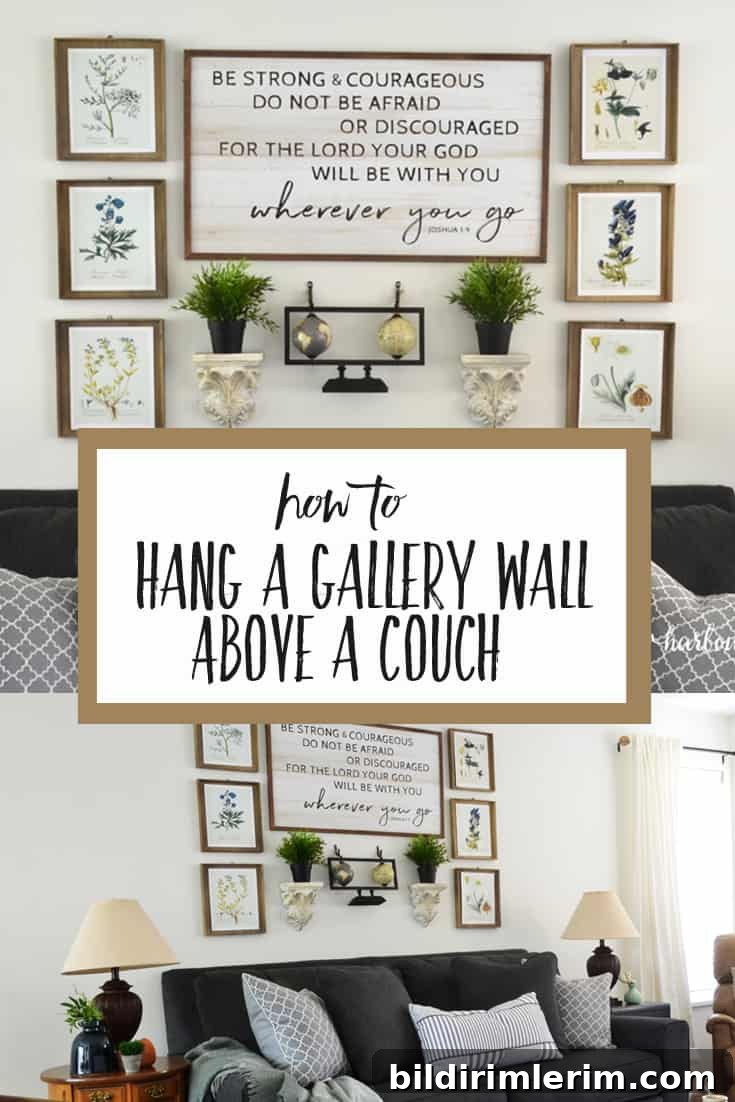
Save this method for your next project—the full-size paper template makes hanging a gallery wall quick, accurate, and stress-free.