
Having recently started Shoot Fly Shoot’s photography course, I was thrilled to rediscover a helpful article I found on Pinterest about taking self-portraits. The original post by Karen at Chookooloonks offered practical, reassuring tips that made the whole idea feel achievable—if not exactly easy.
Source: chookooloonks.com via Rita on Pinterest
I’ve been meaning to update the portrait I’ve used for the past two years, so I decided to try being my own portrait subject. Karen’s “top 10 tips for taking a decent self-portrait” felt sensible, so I followed them step by step.
1. Pay attention to your appearance. I was lucky to have a good hair day and I chose clothes I liked—mainly because I wanted to wear my new boots. Feeling comfortable and confident in what you wear makes a big difference.
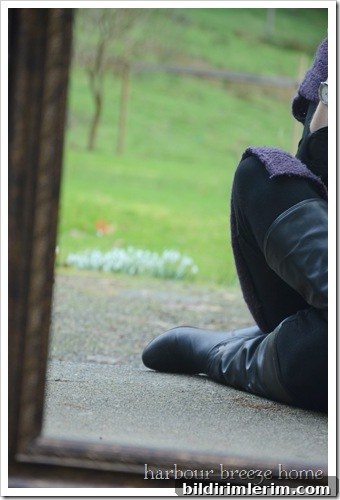
2. Find a large, clean mirror. I have one large mirror at home, and cleaning it first was important. It’s surprising how much dust and smudges show up when you’re using a mirror for a photo shoot.
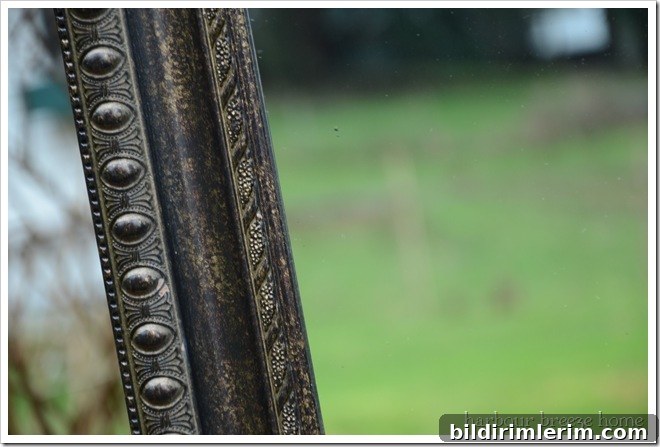
3. Use a normal lens. Karen recommends a “normal” lens—something around a 50mm for a full-frame camera—but I used the only lens I own. Even with limited gear you can get good results if you pay attention to composition and distance.
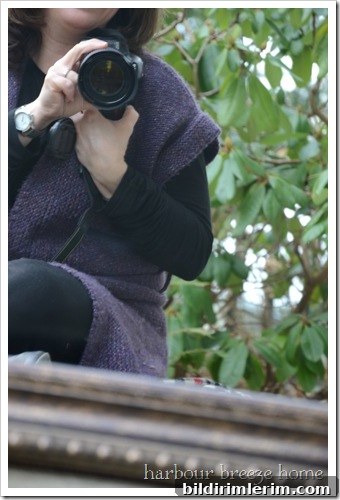
4. Find flattering light. I decided to go outside despite a gray winter sky. Late afternoon light filtered through the clouds, which can give soft, flattering illumination. Be mindful of the time of day—the light changes quickly.
5. Sit three to four feet from the mirror and check the background. It felt odd to perch outside my front door with a mirror on the sidewalk, but checking the reflection and the scene behind me was essential. Background clutter can distract from the portrait, so simplify what the mirror shows.
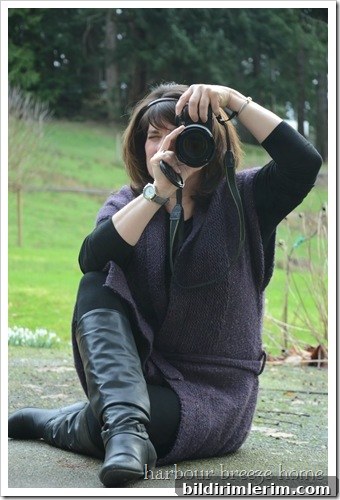
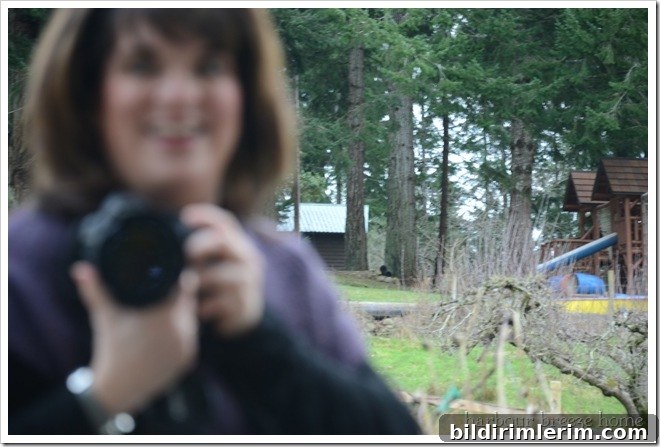
6. Keep your camera lens in the same plane as your face. One of the biggest challenges is ensuring your face is in focus. I used autofocus as Karen suggested—autofocus can be your friend, though it may need some help deciding what to lock on to.
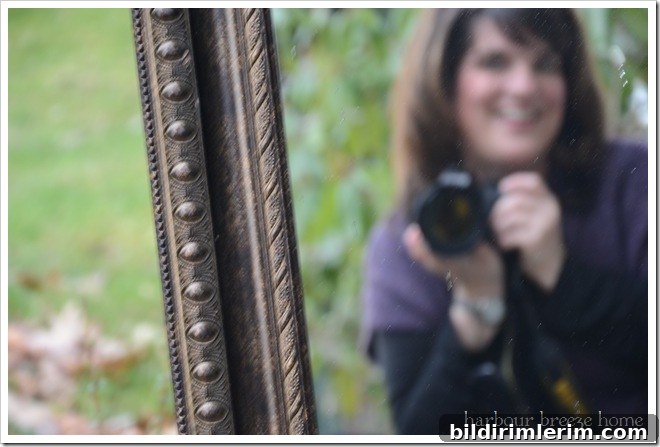
7. Smile naturally. Smiling at yourself in a mirror can feel strange at first. Try to relax, think of something that makes you genuinely happy, and let the expression come naturally rather than forcing it.
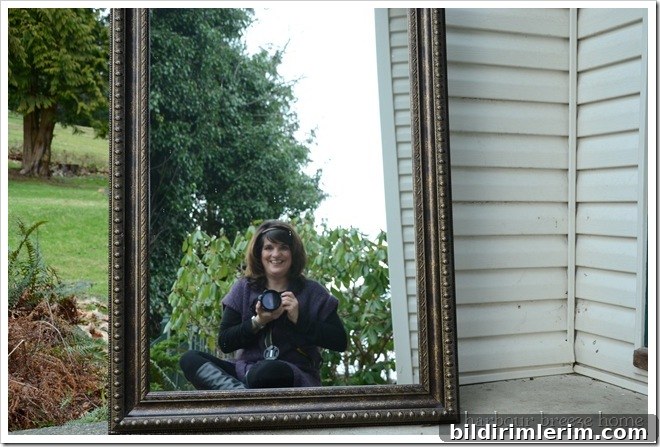
8. Shoot a lot. Karen warned that you’ll need many shots to get one you like—she mentioned hundreds. I discovered she was right. Framing, focus, head position and timing all vary from shot to shot. It’s perfectly normal to take dozens or even hundreds of frames to capture a handful that work.
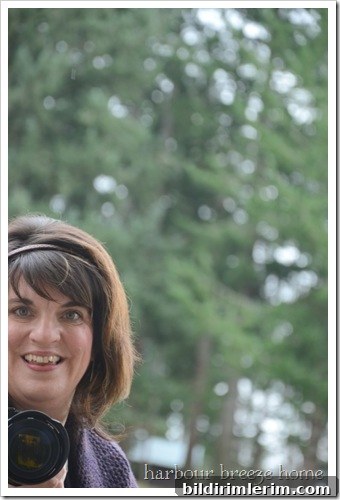
I encountered the usual small disasters—cropped heads, slightly off-focus faces, awkward angles—but those are part of the process. Being patient and experimenting with small adjustments helped. Some attempts looked great except for a little detail, like a cropped forehead or an off-center pose, so I kept shooting.
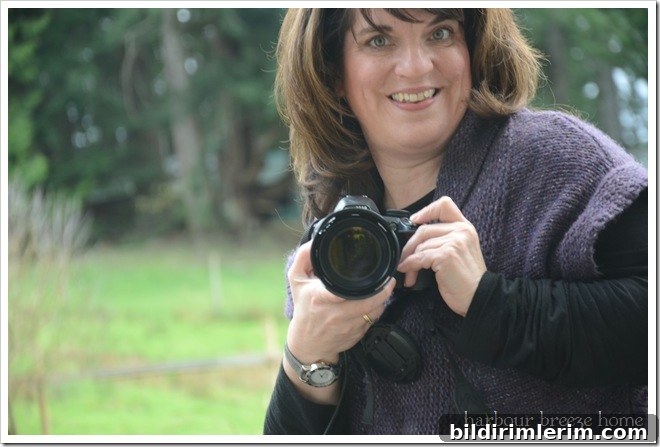
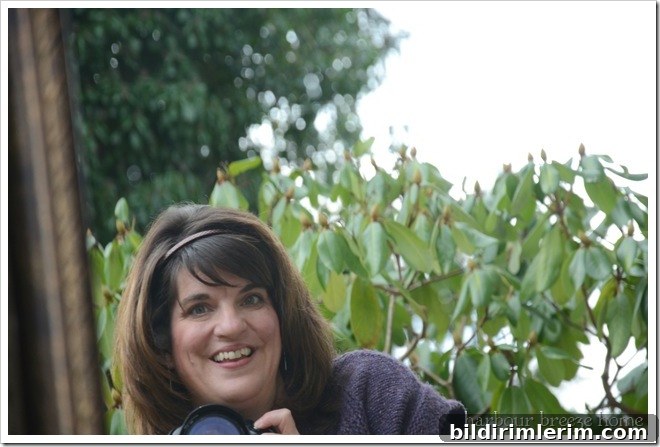
By the time I wrapped up the experiment, the sun had nearly set and a few raindrops had started to fall. I had shot over 150 frames and narrowed them down to a few promising images.
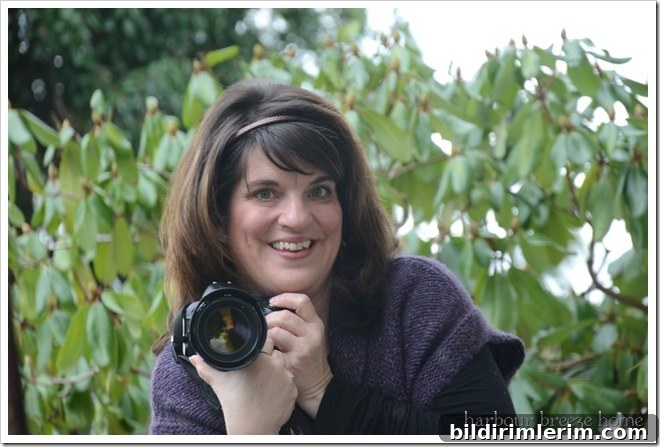
This was the one I liked best. Karen’s advice to “process as usual” made me realize I don’t have a fixed editing routine, so I experimented. I used a preset I like to enhance color and contrast, adjusted light and saturation, then cropped and added a gentle edge burn to focus attention on the face. Small, thoughtful edits can turn a good capture into a stronger portrait.
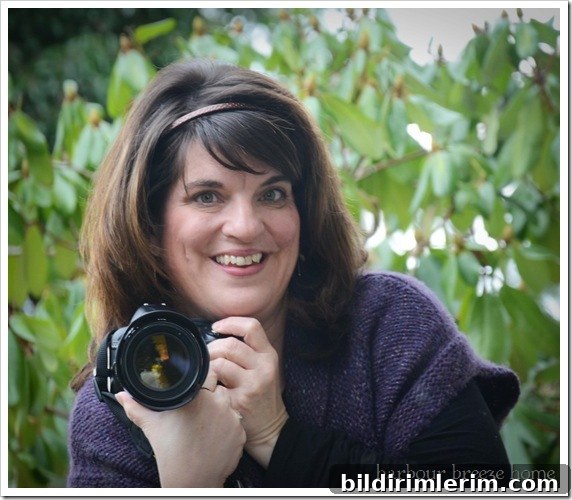
Overall, following Karen’s steps made the process manageable and even enjoyable. If you want to try a self-portrait, prepare your appearance, clean your mirror, choose flattering light, keep the lens aligned with your face, smile naturally, and don’t be afraid to take a lot of photos. With some patience and a bit of editing, you can create a self-portrait you’re happy to use.
Thanks to Karen for the helpful tips that walked me through the whole process.