
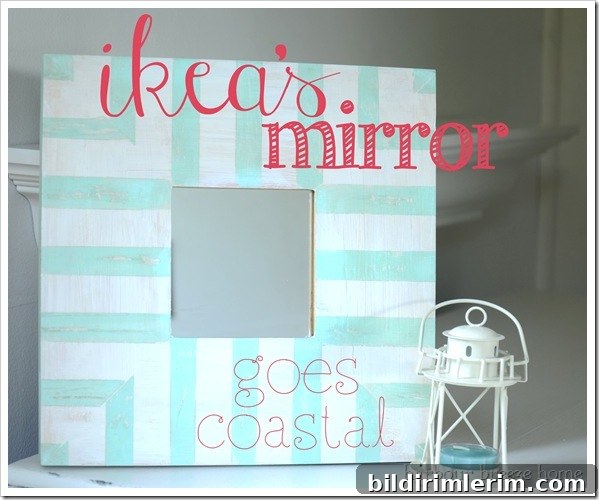
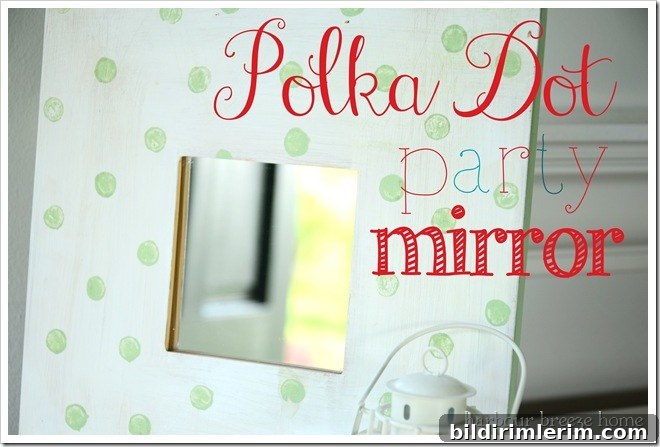
I love Ikea’s small mirrors with wide wooden frames — they’re a simple, affordable base for quick makeovers. I used one of these mirrors before for a Beach Rock Mosaic Mirror project and recently revived a couple more thrift-store finds to fill empty space on a gallery wall. The results were an easy coastal update: one frame painted with soft blue stripes and another decorated with cheerful polka dots.
Materials and basic approach
These mirror frames are perfect for a fast DIY because the wood takes paint well and the frames are already ready to hang. For these projects I used painter’s tape for clean stripes, a soft paintbrush and acrylic craft paint for the base colors, and the rounded end of a thick brush to stamp polka dots. A light sanding and a quick wipe to remove dust will help the paint adhere, and a clear topcoat will protect the finish for years of display.
For the striped frame, I measured and marked even lines, applied painter’s tape, and painted the exposed wood with two coats of blue paint. Painter’s tape keeps the edges crisp — a key tip is to remove the tape while the paint is still slightly tacky, not fully dry, to avoid lifting or peeling along the edge. For the polka-dot frame, I dipped the end of a fat brush into the paint and pressed it onto the dried, primed surface to create uniform dots. This stamping method is quick and forgiving, ideal for adding pattern without complicated tools.
Preparation and painting tips
- Prep the surface: sand lightly with fine-grit sandpaper and remove dust with a tack cloth or damp rag.
- Prime if necessary: if the frame has a glossy finish or uneven color, use a quick coat of primer so the paint will stick consistently.
- Use painter’s tape for straight lines: press the edges down firmly to prevent bleed-under, and peel while the paint is still slightly wet for the cleanest edge.
- Stamping polka dots: use the rounded end of a brush, a pencil eraser, or a foam dabber. Dip lightly to control the paint amount and practice on scrap wood first.
- Finish with protection: a satin or matte clear coat will keep the paint from scuffing and make the piece easier to clean.
Arranging on the gallery wall
Mirrors on a gallery wall do more than fill space — they reflect light and create depth, making a room feel brighter and larger. When arranging your gallery wall, mix these painted mirrors with framed photos, signs, and textured pieces to balance color and scale. Try placing mirrors near windows or lamps to maximize reflected light. For a cohesive look, repeat one or two accent colors across different pieces.
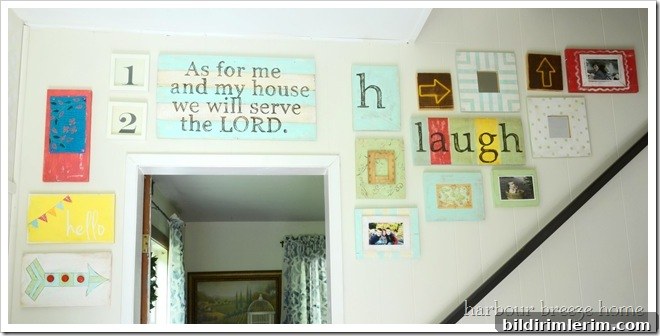
The painted mirror frames I used added just the right amount of playfulness and brightness to the layout. Because these mirrors were thrift-store finds, refurbishing them was a budget-friendly way to refresh the wall without buying new frames.
More gallery wall ideas
Here are some of the other gallery wall elements that complement these mirrors:
- Light reflector arrow sign and basic sign-making techniques
- Beach cottage-inspired faux picture frames
- Striped and layered photo frames for added dimension
- Monogram family letter sign and playful word signs
- Pattern play display frames to mix textures and motifs
Final notes: thrift-store mirrors with wide wooden frames are an ideal base for small, creative updates. With minimal supplies — painter’s tape, a bit of paint, and a few simple tools — you can make custom accents that brighten a wall and reflect light around a room. These quick makeovers are forgiving, affordable, and a satisfying way to personalize a gallery wall.