
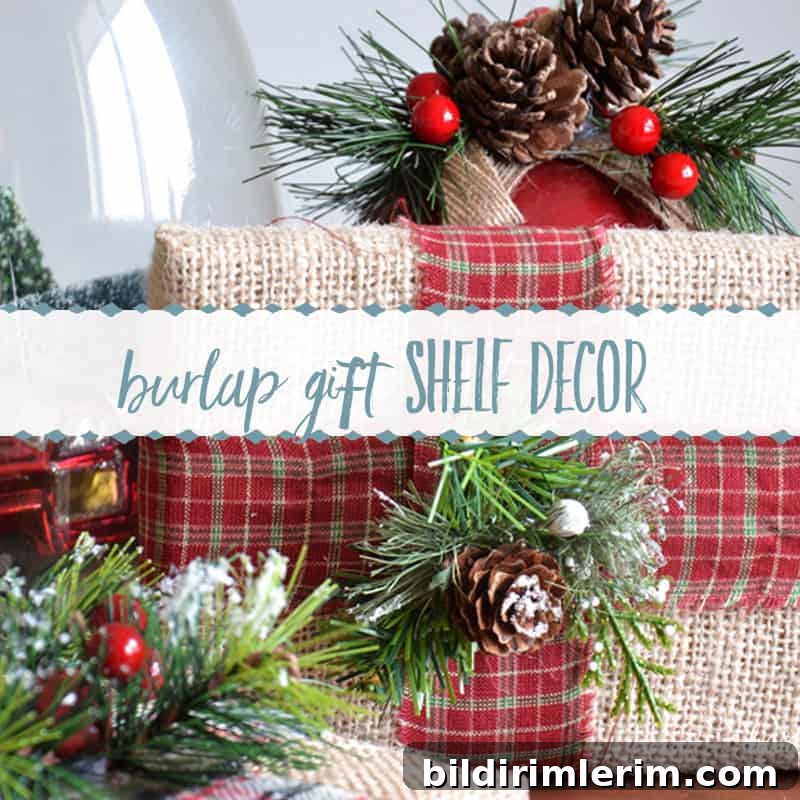
In this article: Learn an easy DIY Christmas decor craft. This burlap-wrapped gift project is inspired by items seen at Hobby Lobby and brings a rustic farmhouse charm to your holiday decorations.
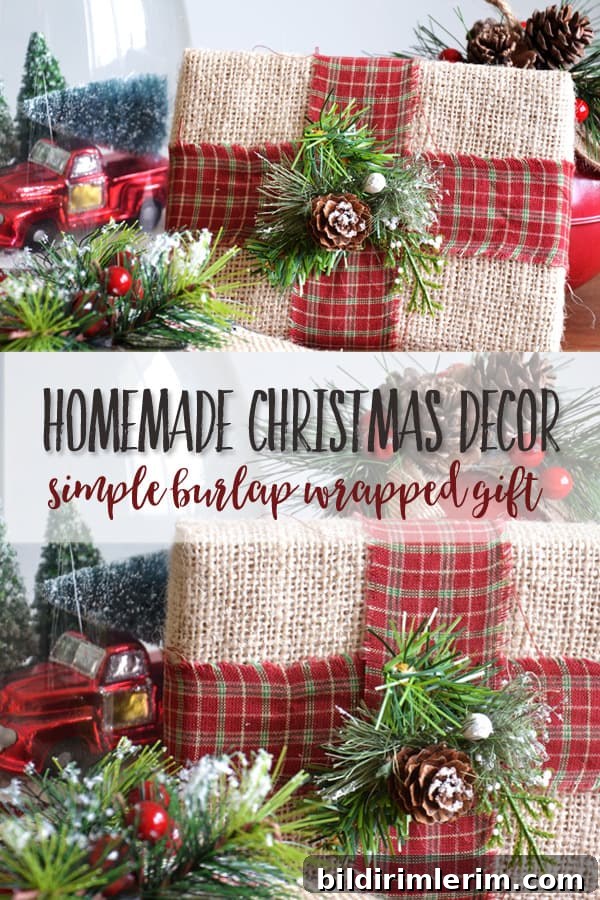
Related Articles: Burlap and Flour Sack Tree Topper; Burlap & Flannel Christmas Stockings; Burlap Pillow
Last month I found myself happily walking through the sliding doors of Hobby Lobby — a rare treat for me as a Canadian. I had a shopping plan for my dining room farmhouse shelves, and a cart full of carefully chosen items. But the real temptation was the Christmas aisle: full of cozy textures and festive displays that sparked ideas for easy, budget-friendly DIY projects.
Instead of buying everything I liked, I took notes and photos with the intention of recreating a few pieces at home using supplies I already had. The result is a simple, stylish burlap-wrapped gift craft that gives a farmhouse touch to mantels, shelves, tabletops, or even under the tree.
DIY Christmas Decor | Burlap Wrapped Gifts
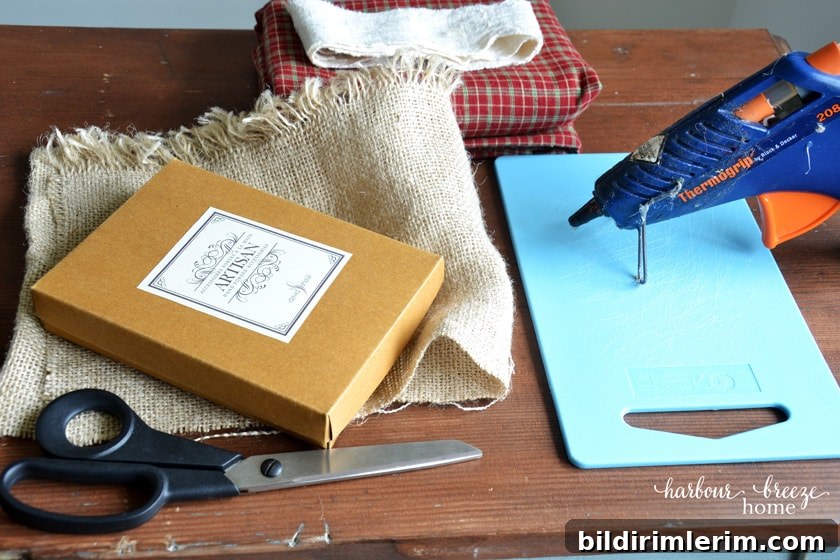
Supplies Needed:
- A box, wooden block, or piece of Styrofoam to wrap (any shape works)
- Burlap fabric — enough to cover the item
- Scissors or a rotary cutter
- Hot glue gun and glue sticks
- Plaid fabric (cotton or flannel) for the faux ribbon
- Faux Christmas greenery, mini pine cones, or other embellishments
Step 1 — Wrap the burlap around the longest edge
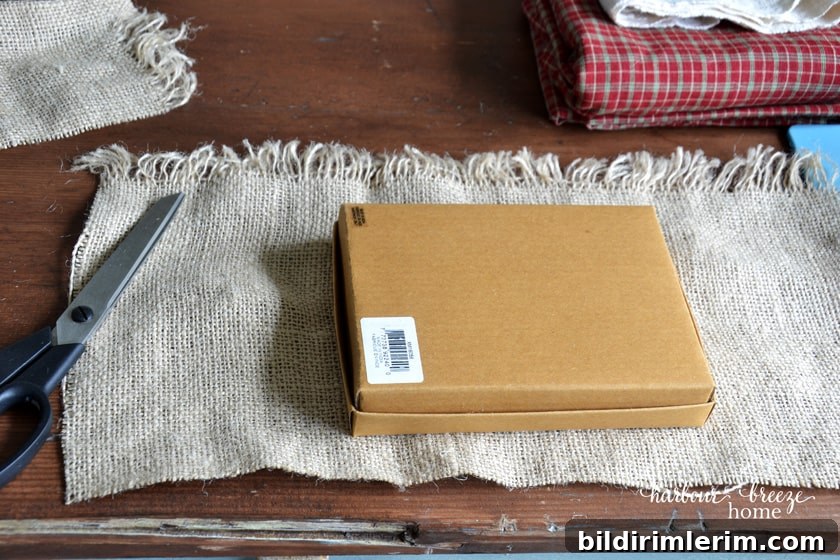
Measure and wrap the burlap lengthwise around the item so the edges meet without overlapping. Unlike paper wrapping, avoid overlap because burlap is thick and overlapping creates bulky seams. Trim the burlap so the two ends meet neatly.
Apply a thin bead of hot glue along the center of the bottom edge and secure the burlap ends together. Don’t worry about perfection — the fabric “ribbon” you add later will conceal the seam.
Step 2 — Trim corners and secure sides
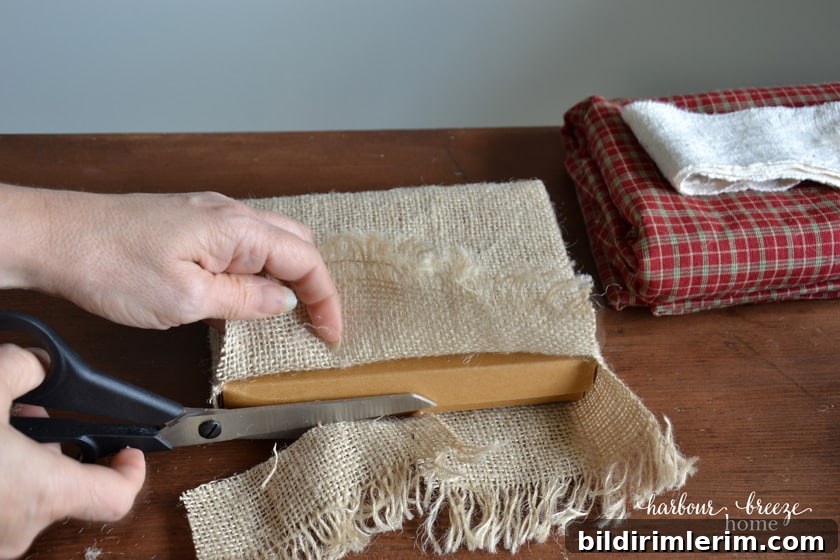
Trim away excess burlap on the sides and bottom so the wrapped piece lies flat. Cut small notches at corners to reduce bulk, then fold the side flaps in and glue them down smoothly. Removing as much extra fabric as possible keeps the finished gift neat and farmhouse-chic.
Step 3 — Create a fabric “ribbon”
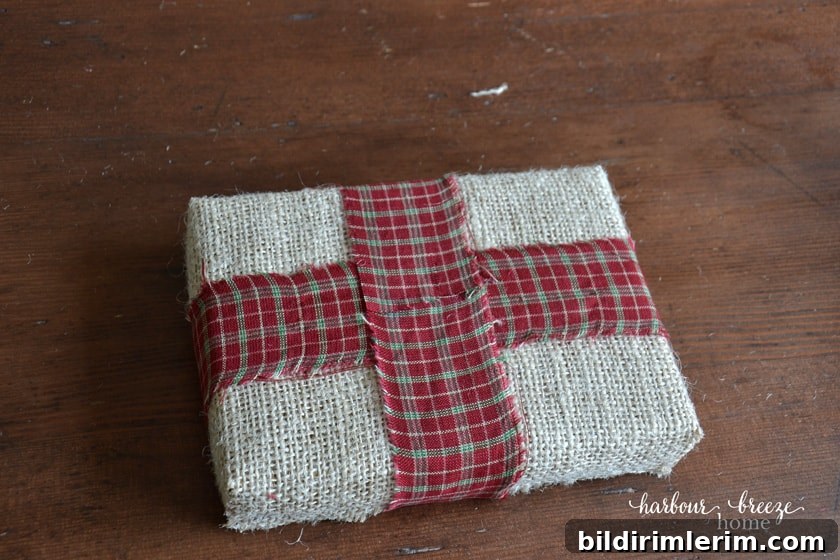
Rip or cut strips of plaid cotton or flannel for a rustic ribbon look. I like ripping the fabric for a frayed edge that complements burlap. Measure and cut two strips — one to wrap lengthwise and one widthwise — and glue each in place on the top and underside of the piece. Glue slowly and press firmly so the strips lay flat.
Step 4 — Add greenery and finishing touches
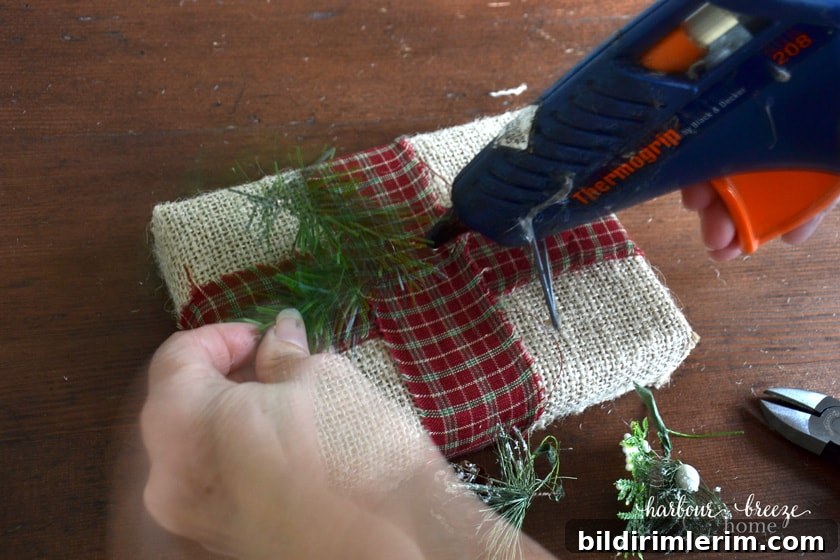
Hide any remaining seams by gluing small sprigs of faux greenery and a mini pine cone or two where the ribbon meets. You can also tuck in cinnamon sticks, dried orange slices, or a small jingle bell for extra holiday scent and charm. The added textures make the piece feel handcrafted and festive.
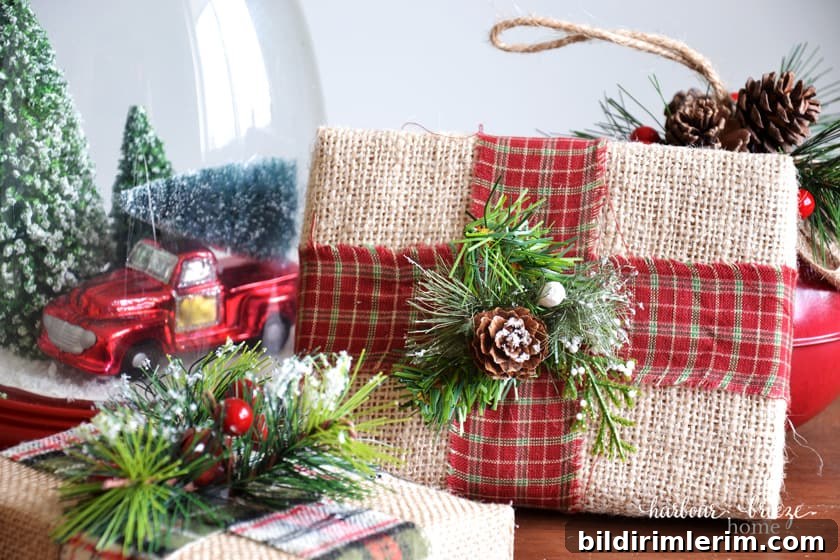
Once finished, these burlap-wrapped gifts look great tucked into corners of farmhouse shelves, grouped on a mantel, or stacked as a centerpiece.
Additional ideas and variations
- Create a table centerpiece by arranging different-sized burlap-wrapped gifts on a wooden tray with candles and greenery.
- Make miniature versions to use as place card holders at your holiday table — write names on small tags and attach them to the ribbon.
- Stack large burlap-wrapped pieces under a tree or in a cozy corner for an inexpensive, rustic present display without real packages.
- Personalize fabrics and embellishments to match your color palette: swap plaid for gingham, or use cream muslin for a softer look.
- For outdoor-friendly decor, use weatherproof faux greenery and secure everything with stronger craft glue or hot glue designed for outdoor use.
This burlap-wrapped gift project is an easy, affordable way to add farmhouse Christmas decor to your home. It requires only a few basic supplies, can be finished in under an hour, and offers many opportunities for personalization. Will you be trying this DIY this season? I’d love to hear about your favorite homemade holiday projects.