I’m heading out today to help a friend organize and refresh her basement, and I’m genuinely excited about it. Spending the day with a friend while doing a project I love is about as good as it gets.
{Spending the day with a friend + doing something I love = Does it get any better than this?? :)}
This is a repost of a quick tutorial I shared recently. A few posts went missing during a site transition, and I wanted to preserve this simple, practical idea for creating a custom fabric-covered bulletin board. If this is new to you, welcome — here’s an easy, budget-friendly DIY tutorial for a fabric-covered bulletin board that’s perfect for a craft room, home office, laundry room, or basement workspace.
Materials and tools you’ll need: a plain bulletin board, a small piece of decorative fabric large enough to wrap around the board, a staple gun or heavy-duty stapler, small finishing nails (or a single small nail for hanging), and a picture frame (same size as the bulletin board) with the glass and matting removed. Optional: a sawtooth hanger if your frame doesn’t already have a hanging mechanism.
1. Cut the fabric to size. Lay your bulletin board face-down on the wrong side of the fabric, leaving enough fabric around the edges to pull over to the back and staple. Choose fabric with a pattern or texture that complements your craft room or workspace. Cotton or canvas works well because it lies flat and is easy to staple.
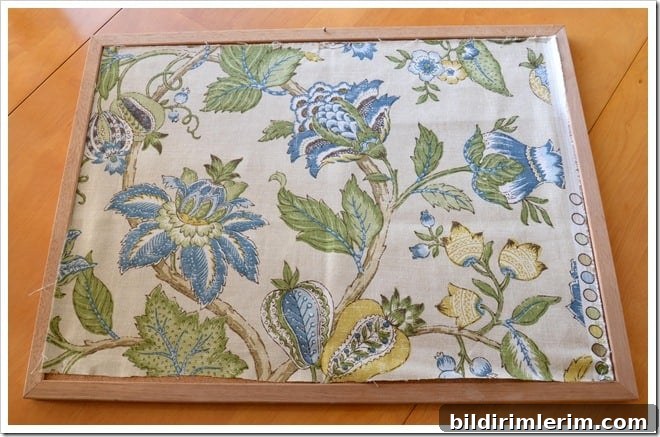
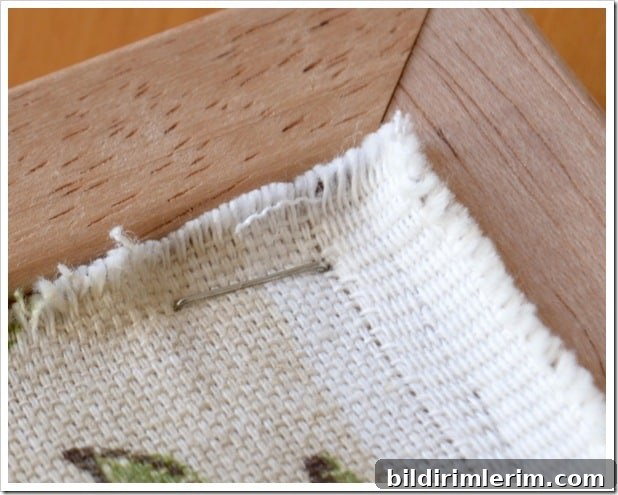
2. Secure the fabric to the board. Pull the fabric smoothly around the edges and staple it to the back of the bulletin board. A heavy-duty staple gun makes this quick and tidy, but a regular paper stapler with flattened staples can work in a pinch. Aim for even spacing and smooth corners; folding the fabric neatly at the corners results in a cleaner finish.
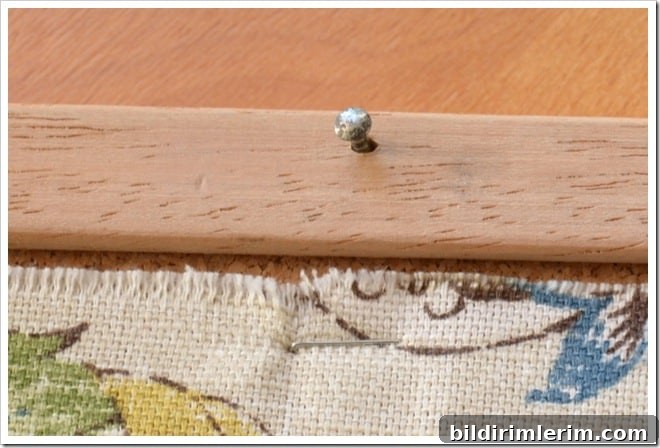
3. Prepare the bulletin board frame for hanging. On the front of the bulletin board frame, find the top center and insert a small nail directly into the frame. This nail will act as the hanging point that the picture frame will hook onto — a clever way to create a framed look while still using the bulletin board surface.
4. Repurpose a matching picture frame. Remove the glass and matting from a picture frame that matches the size of your bulletin board. If the back of the frame doesn’t have a hanger already, add a sawtooth hanger centered along the top edge of the frame. The sawtooth hanger will hook onto the small nail you placed in the bulletin board frame.
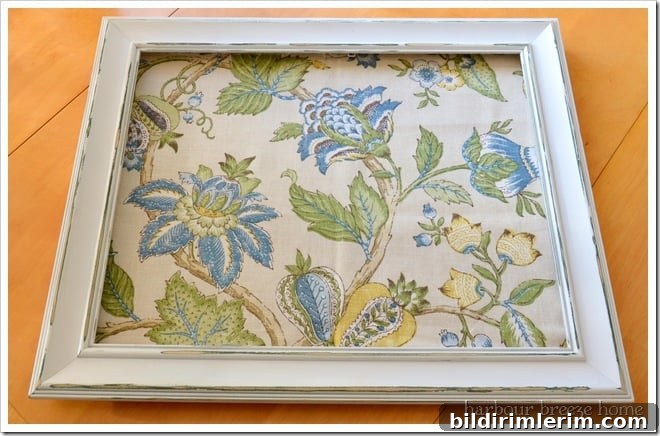
5. Assemble and hang. Hook the sawtooth hanger on the small nail in the front of the bulletin board. The picture frame will sit flush over the fabric-covered surface, framing the board and giving the finished project a polished, custom look. The framed fabric surface creates a decorative and functional display for notes, photos, schedules, or inspiration in your craft room or home workspace.
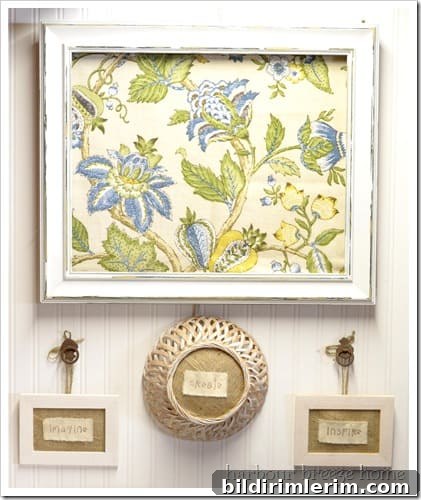
This DIY fabric-covered bulletin board is versatile and easy to update. When you want a fresh look, simply remove the frame, unstaple the fabric from the back, and replace it with a new pattern or color. Because the frame hides the raw edges and the hanging nail is on the front, swapping fabrics is quick and keeps the finished appearance neat.
Tips for a long-lasting result: choose a tight-weave fabric so pushpins and tacks hold well, press or iron the fabric before stapling to avoid wrinkles, and consider adding a thin layer of batting between the fabric and board for a slightly padded look that’s easier to pin. If you prefer a more permanent mount, you can use spray adhesive between the fabric and the board before stapling the edges.
This inexpensive, customizable bulletin board makes a great accent in a basement craft room, laundry room, or any organized workspace — practical, decorative, and simple to change as your style evolves.
Linking to: Thrifty Decorating