In this article: With simple materials and a little patience, these stenciled dining room curtains are an ideal beginner project for learning how to paint on fabric.
I love fabric. When I have a few spare minutes in town, I often wander through the decorator fabric section at the local store, hunting for something special. Beautiful fabrics can be expensive, and when I find a pattern I truly love it’s often a new collection with a high price tag.
For several years I searched for curtain fabric for our dining room, hoping to find a blue patterned design that fit the space. I drew inspiration from a living room I admired by Miss Mustard Seed and kept thinking there had to be an affordable way to achieve a similar look without spending a fortune on yardage.

After searching options and comparing prices, I realized custom fabric would blow my budget: comparable fabrics were often around $40.00 a meter. With two large windows to cover, the cost quickly added up, so I started thinking of creative alternatives.
Last year I picked up four oversized cream-colored tablecloths on sale for about $6.00 each. They were generously sized enough to become curtains, and that low price made the idea realistic. Around the same time, Royal Design Studio offered to send me a stencil for review. That gave me the push I needed to try stenciling fabric instead of buying expensive yardage.

I chose the Chez Sheik Moroccan stencil because its large, repeating motif matched the scale I wanted for dining room curtains. Even with a stencil in hand, I admit I was nervous to begin — painting on fabric felt permanent. I read tutorials, weighed techniques, and hesitated. The hardest part was simply starting.
When I finally began, the process was more satisfying than I expected. Stenciling fabric is accessible: with basic supplies such as fabric paint, a stencil brush or sponge, painter’s tape to hold the stencil in place, and some patience, you can create professional-looking results. Working on the tablecloths allowed me to practice pattern alignment and paint application without the pressure of expensive fabric.
I’ll share a detailed step-by-step tutorial separately, but the essentials are straightforward: prewash the fabric, plan the pattern layout, secure the stencil, apply paint in thin layers to avoid bleed, and allow thorough drying before hanging. Repeating the motif across each panel produces a cohesive, custom look that reads like printed fabric when finished.
Here is the finished result I’m excited to show. I was nervous about how the pattern and color would look in the room until I hung the panels and stepped back. The blue pattern I chose works beautifully with the room’s existing trim and furnishings, and the stenciled curtains give the dining room a refreshed, custom appearance at a fraction of the cost of new fabric.
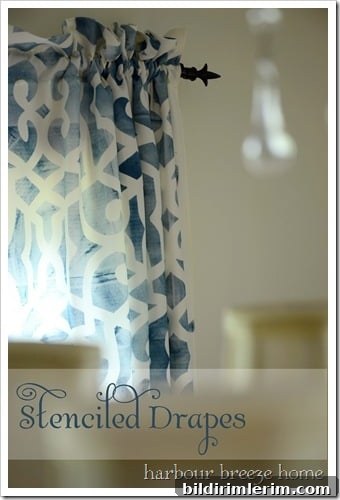
I truly love how they turned out. The pattern adds interest without overwhelming the space, and the hand-painted quality gives the curtains subtle variation that looks intentional and artisanal.
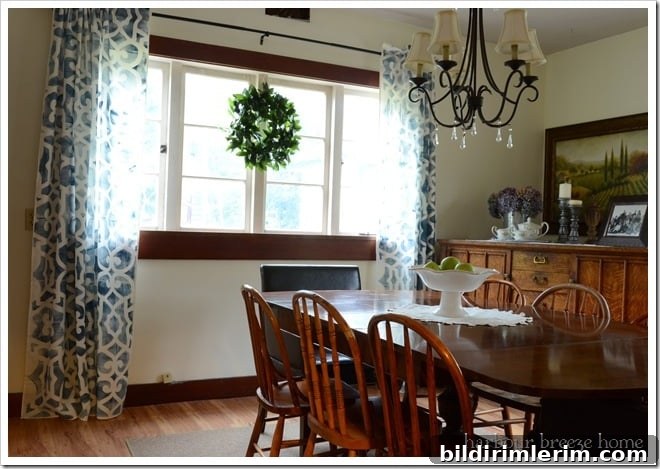
These stenciled curtains are just the beginning of my plans for the dining room. This method—stenciling inexpensive, oversized textiles—can be adapted for drapes, pillow covers, table linens, and more. It’s an economical and creative way to introduce pattern, color, and custom design into your home without the high cost of designer fabric.
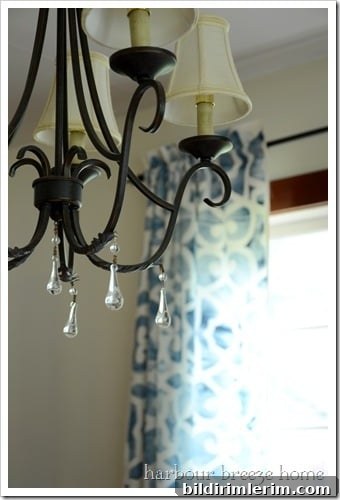
Many thanks to Royal Design Studio for providing the stencil and encouraging me to try this technique. Their stencil made it easy to create a repeating Moroccan-inspired motif suitable for large-scale curtains.
I’ll follow up with a full how-to guide on materials, prep, painting technique, alignment tips, and a short video demonstration to help anyone who wants to recreate stenciled dining room curtains at home. Updated: I have since posted a detailed tutorial and video demonstrating exactly how I stenciled my curtains.
Linking to: Crafty, Scrappy, Happy; My Uncommon Slice of Suburbia