In this article: A clear, step-by-step guide to creating farmhouse-style door trim that transforms plain doors into a charming, craftsman-inspired feature.
If you missed our hallway makeover reveal, see the full reveal on our site under “Farmhouse Style Hallway Makeover Reveal” to view the before and after and the overall design context.
One of the most dramatic changes in our previously dark, uninspired hallway was adding farmhouse-style trim around each door. The original trim was functional but thin and lacked character. Replacing it with wider, primed MDF trim and a simple craftsman top made a big visual impact.
A quick trip to the hardware store and a few straightforward steps later, the results felt custom and cohesive with our farmhouse hallway. Below is a clear breakdown of supplies, method, and additional tips so you can reproduce this look in your own home.
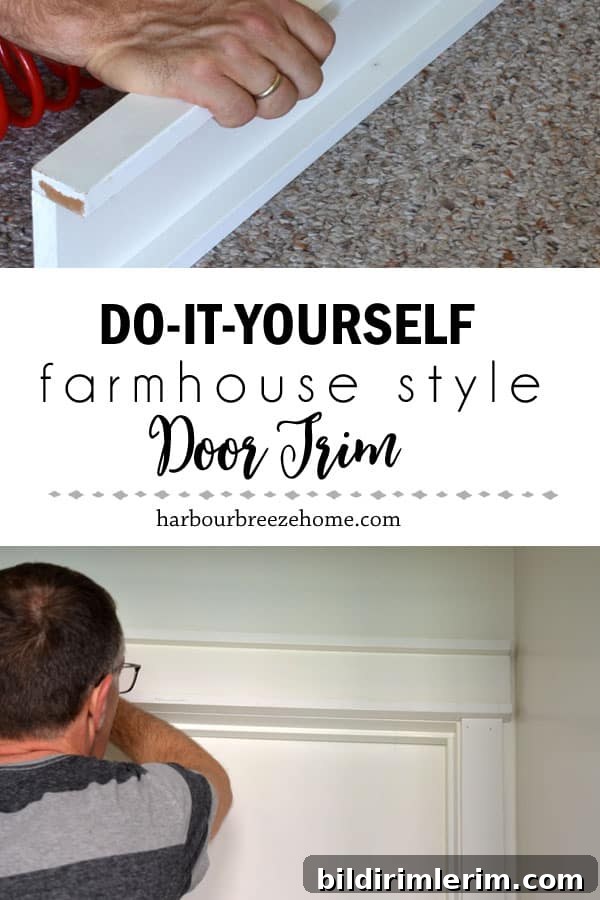
How to Make Farmhouse Style Door Trim
Note: This post mentions commonly used materials and tools to help with planning and shopping.
Supplies and Tools Needed
- Primed MDF boards: 1×3 for the side jambs (vertical pieces)
- Primed MDF boards: 1×4 for the top header (horizontal piece)
- Primed MDF strips: 1×2 for the decorative craftsman detail on the header
- Brad nailer (air or cordless) and 18-gauge brad nails
- Construction adhesive (wood glue compatible with MDF)
- Measuring tape, pencil, and a square or level
- Miter saw or reliable hand saw for accurate cuts
- Wood filler or MDF-specific patch, caulk for seams, 120–220 grit sandpaper
- Primer/paint (we used Benjamin Moore Simply White, applied in a semi-gloss finish)
- Safety gear: eye protection, dust mask (MDF dust is fine particulate and should be avoided)
Measure each door frame carefully before buying lumber. We used primed MDF to reduce prep time and achieve a smooth, professional finish. MDF is cost-effective and paints beautifully, but avoid using it in areas with high moisture.
Step-by-Step Method
-
1. Prepare and install the side jambs
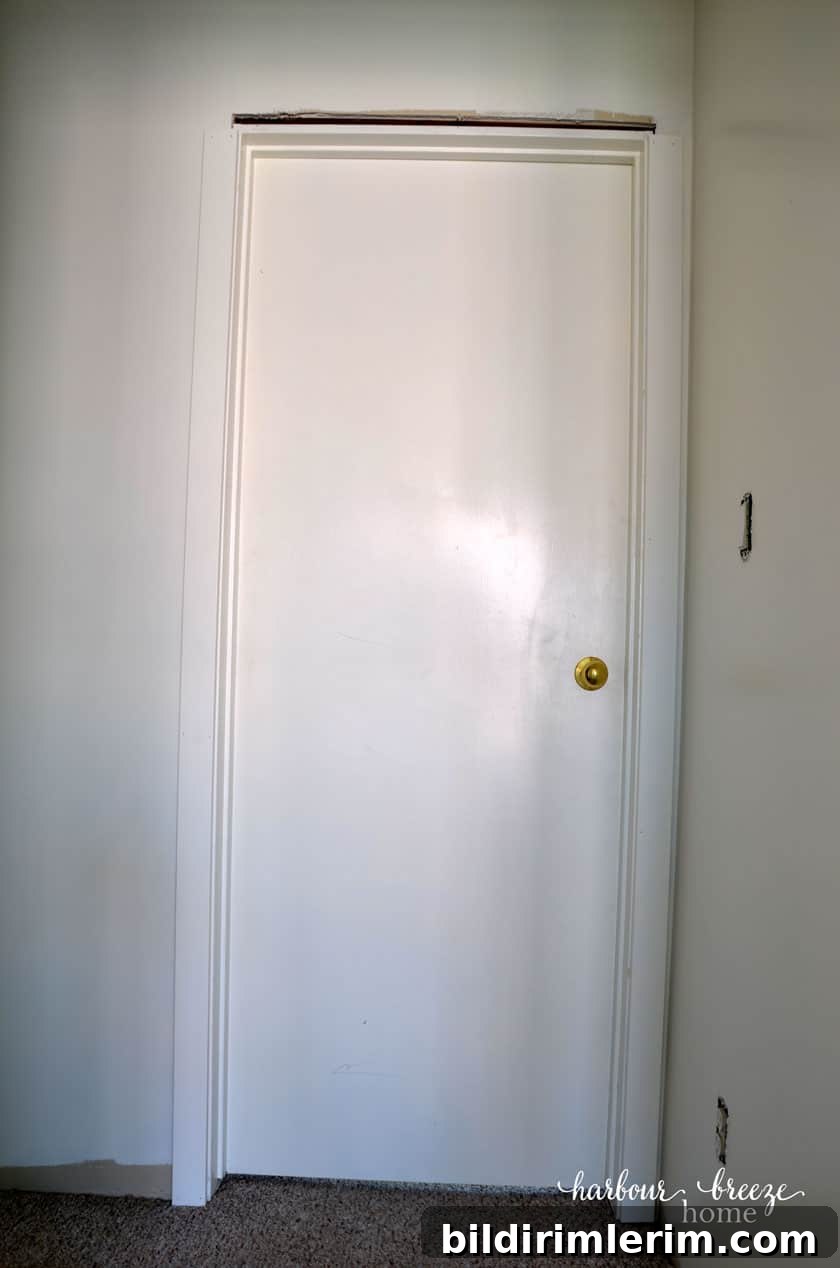
Measure from the finished floor to the top edge of the doorway opening for both sides. Cut two 1×3 primed MDF pieces to those lengths and dry-fit them to confirm fit. Apply a thin bead of construction adhesive to the backside of each piece, position them squarely against the jamb, then secure with brad nails spaced every 8–10 inches. Countersink nails slightly and wipe away excess adhesive as you work.
-
2. Build the craftsman-style header
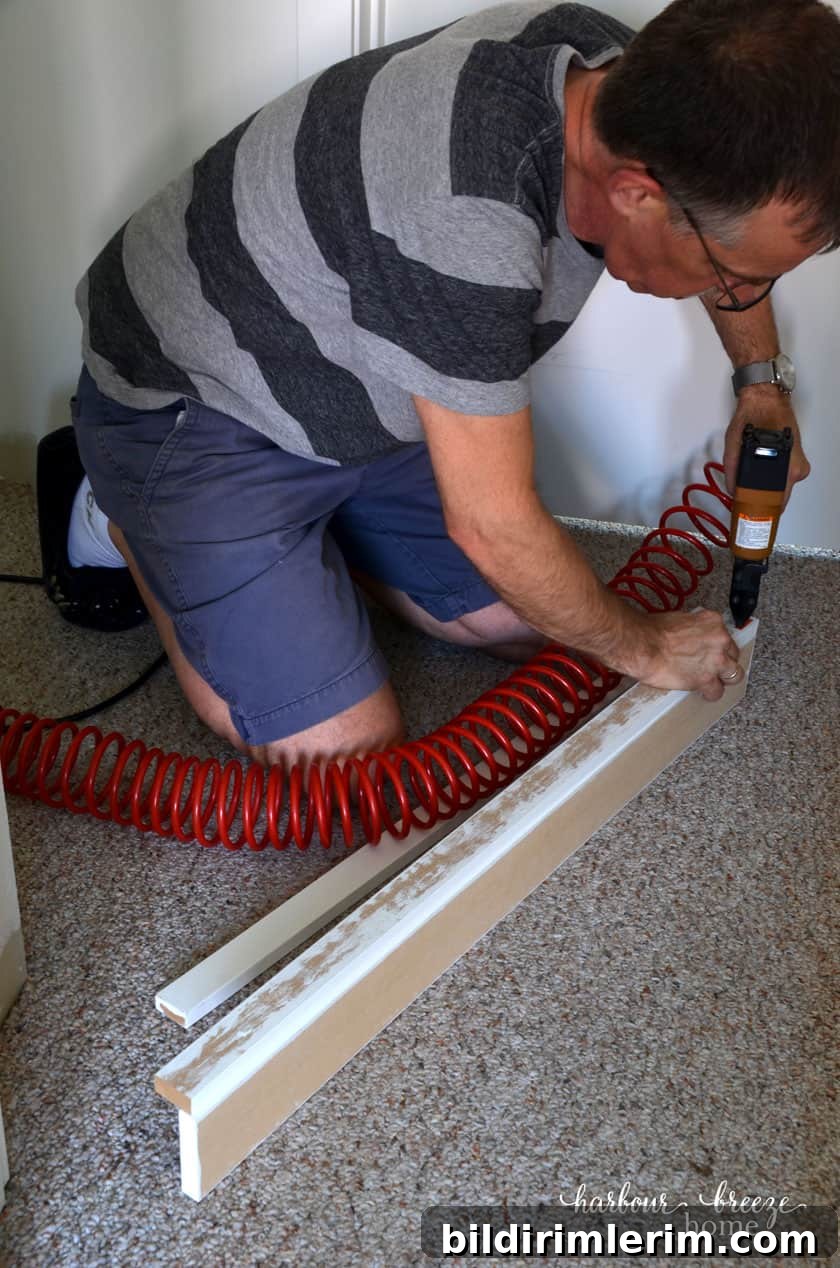
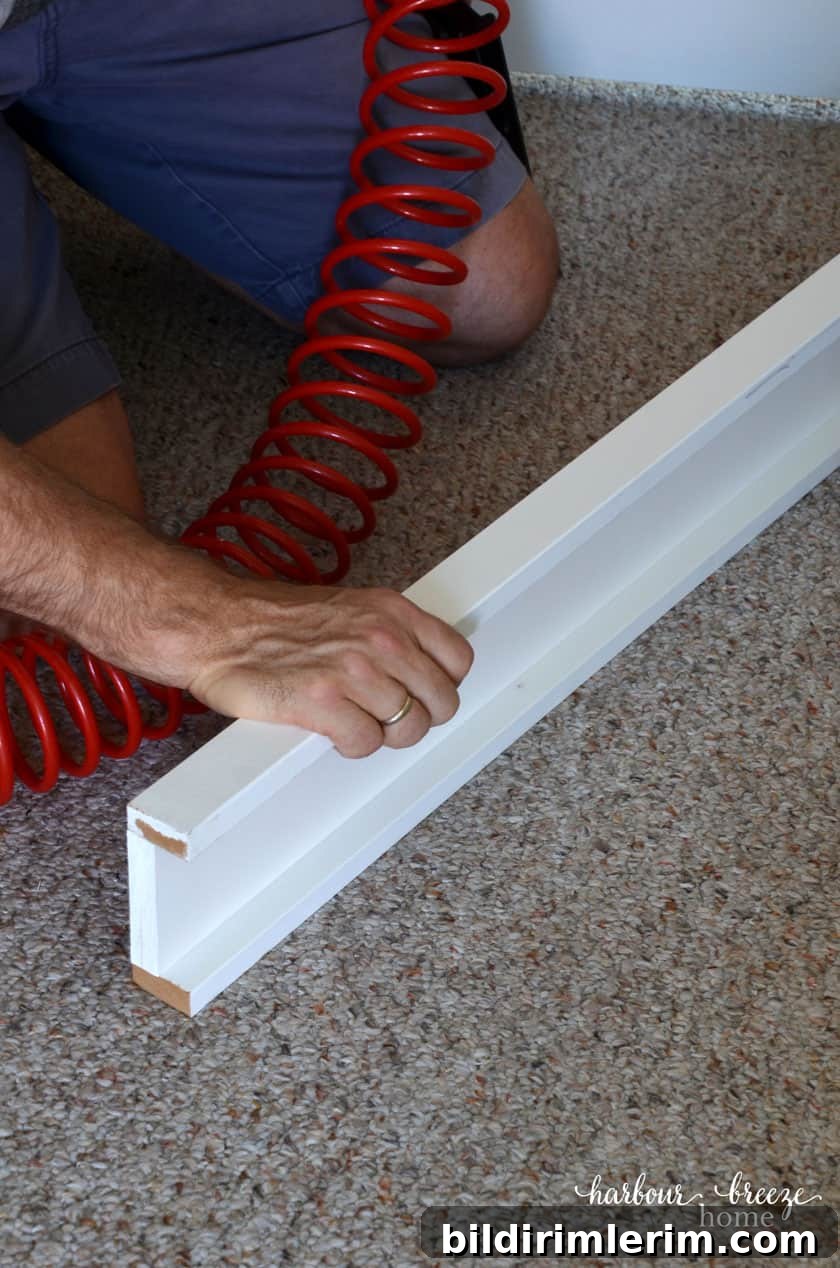
Cut a 1×4 piece to span the width of the door opening plus the widths of the two side jambs so it sits flush across the top. To create the craftsman “U” detail, attach two 1×2 strips to the 1×4: one along the top edge and one along the bottom edge of the 1×4 face, forming a subtle framed profile. It’s easiest to assemble this small sub-assembly on a workbench using adhesive and brads, so assembly and alignment are precise before installation.
-
3. Attach the header to the doorway
Dry-fit the header over the side jambs and make any minor adjustments for a tight, even reveal. Once satisfied, apply adhesive to the back and fasten the header with brad nails into the jamb and framing. Use a level to ensure it’s perfectly horizontal. Fill any nail holes with wood filler and gaps between trim and wall with paintable caulk for a seamless appearance.
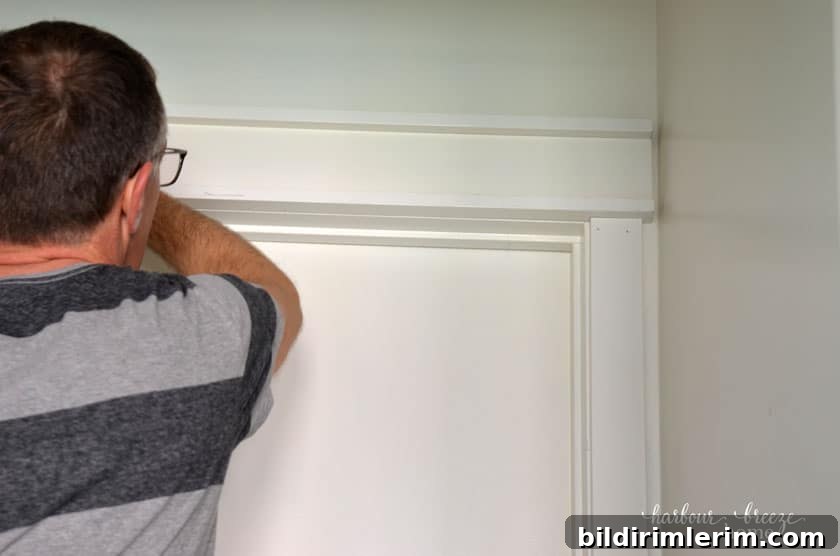
After trimming all doors, we installed baseboards and returned to touch up paint for a finished, cohesive result.
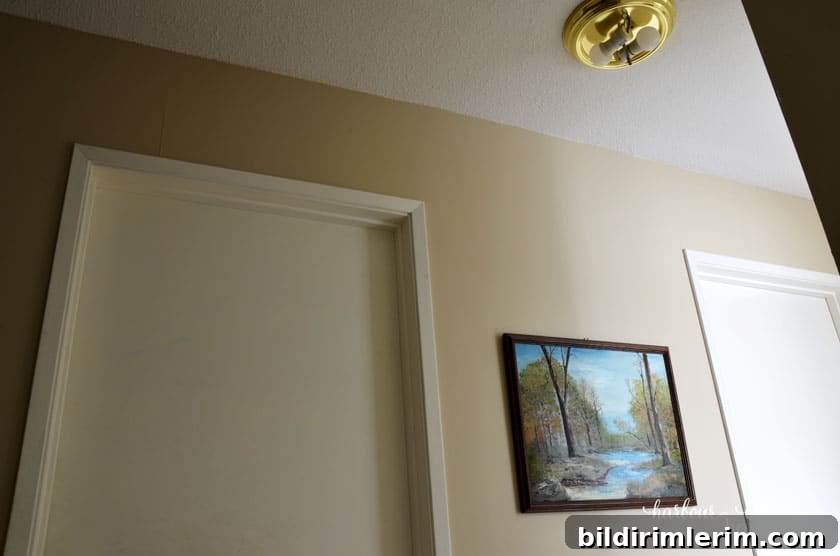
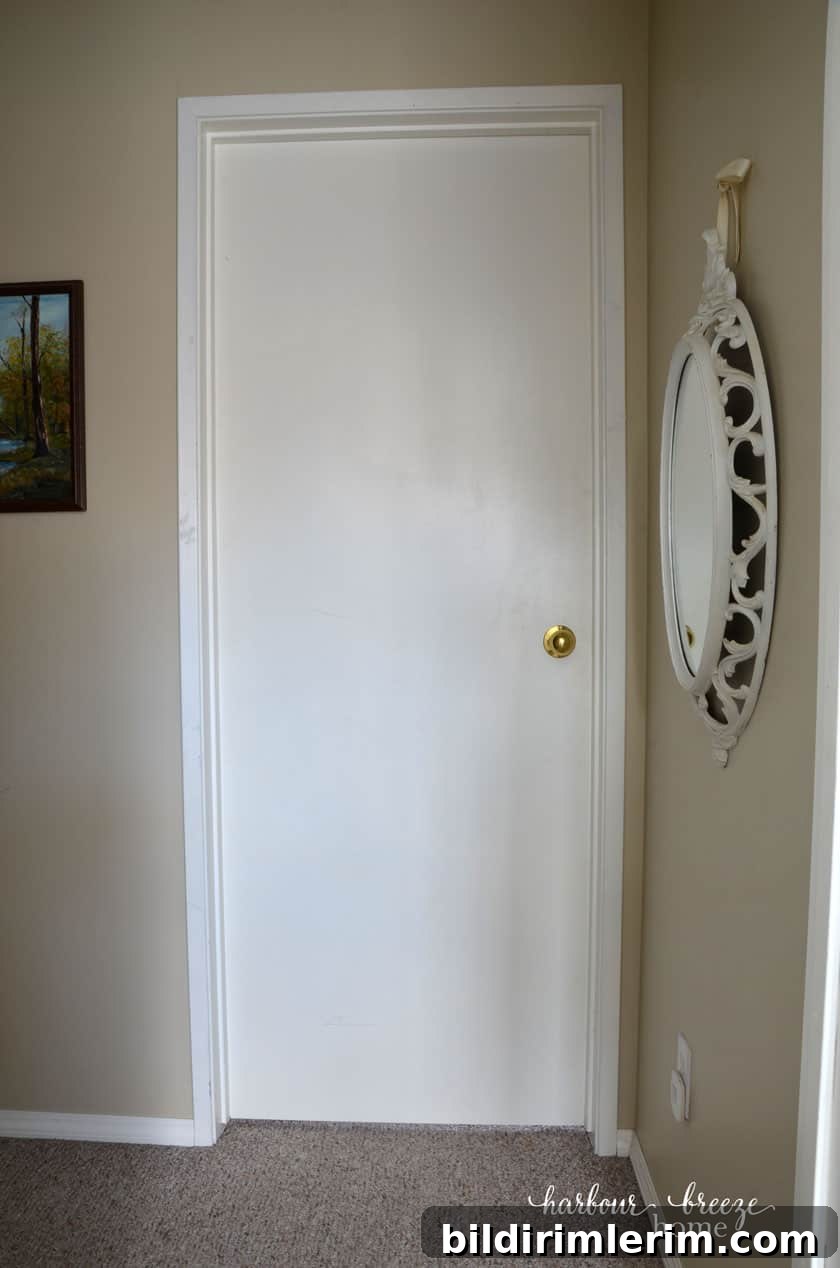
Before the update, the doorway looked basic:
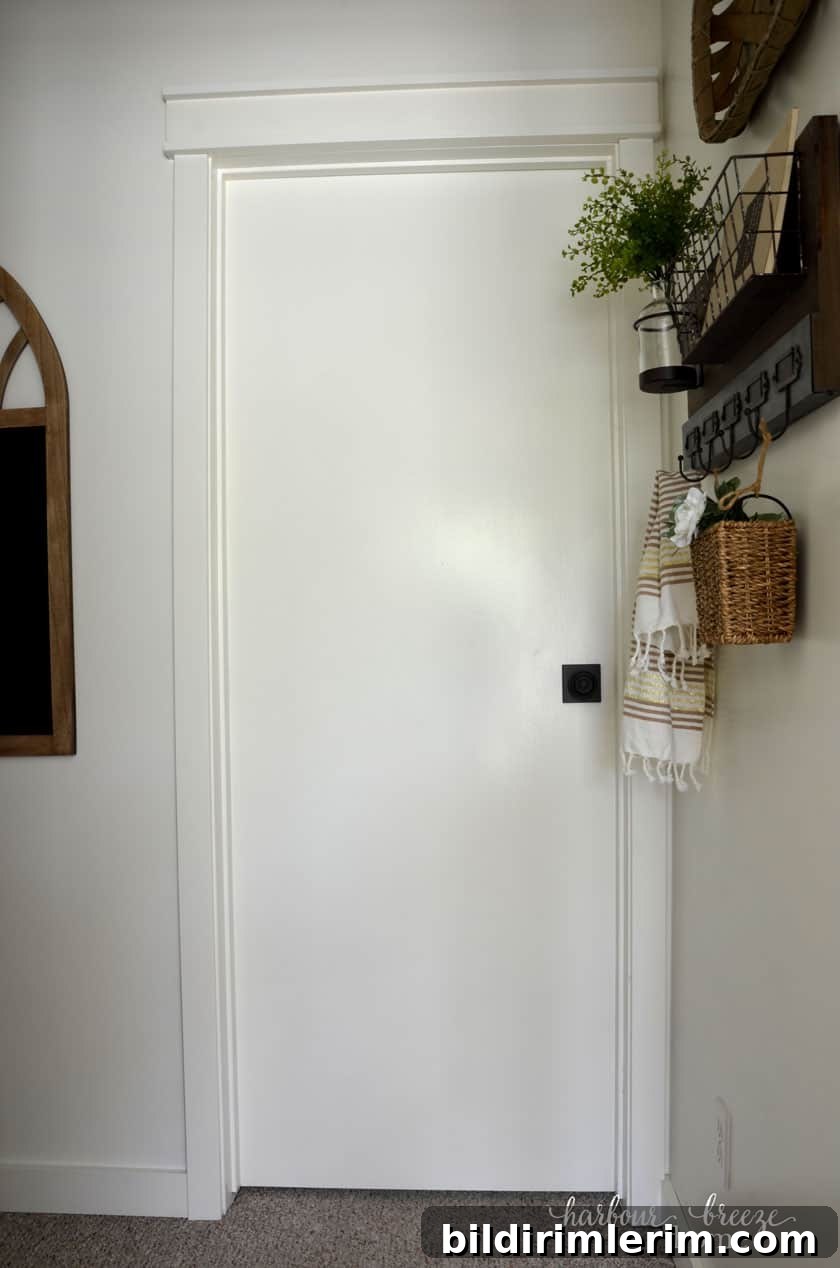
After adding the farmhouse-style trim, the same doorway gained presence and character:
Additional Tips for a Durable, Professional Finish
- Painting: We painted the trim pieces with Benjamin Moore’s Simply White (mixed in Behr, semi-gloss) before installing. Painting beforehand lets you get into the edges and backs of profiles; after installation, do a final touch-up coat for uniform coverage.
- Filling and caulking: Use an MDF-appropriate filler for nail holes and a high-quality paintable caulk on seams. Lightly sand filled areas and wipe clean before painting.
- MDF handling: Wear a dust mask and eye protection when cutting MDF. Seal cut edges with primer to prevent swelling from humidity.
- Scale and proportion: If your doorway and wall space allow, use wider boards for a more dramatic, custom look. We chose narrower profiles to suit the space constraints of our hallway.
- Assembly: Assemble decorative sub-pieces on a flat surface to ensure square, consistent results before fastening them to the wall.
This straightforward farmhouse door trim project is beginner-friendly and delivers a high-impact update for any hallway or room. With careful measuring, clean cuts, and proper finishing, you can achieve a polished, built-in look that elevates your entire space.