
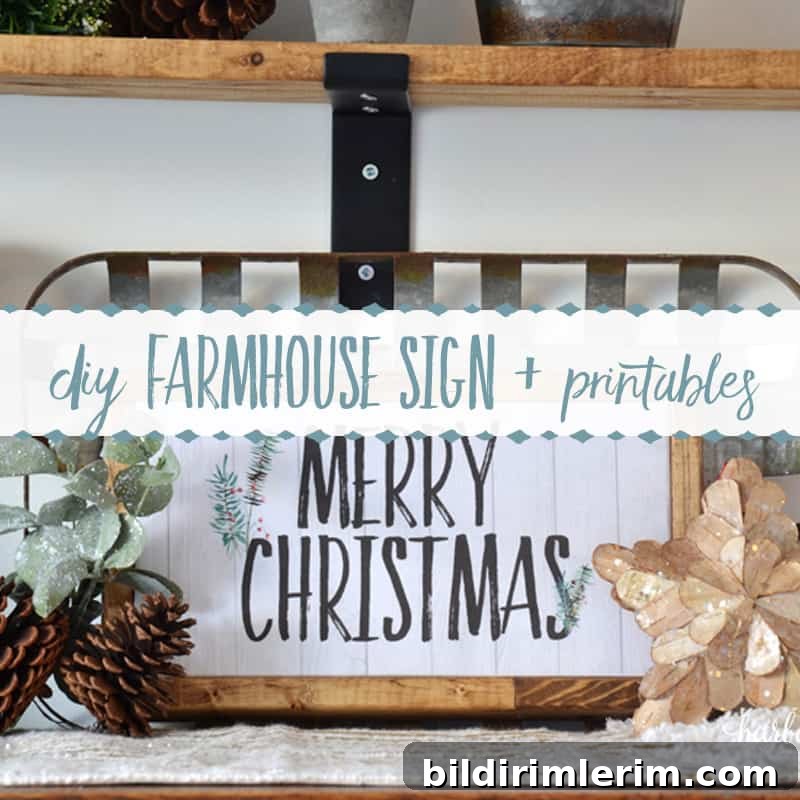
Learn how to make a no-paint DIY farmhouse sign using free Christmas printables. This quick, simple project creates a charming, switchable piece of seasonal decor.
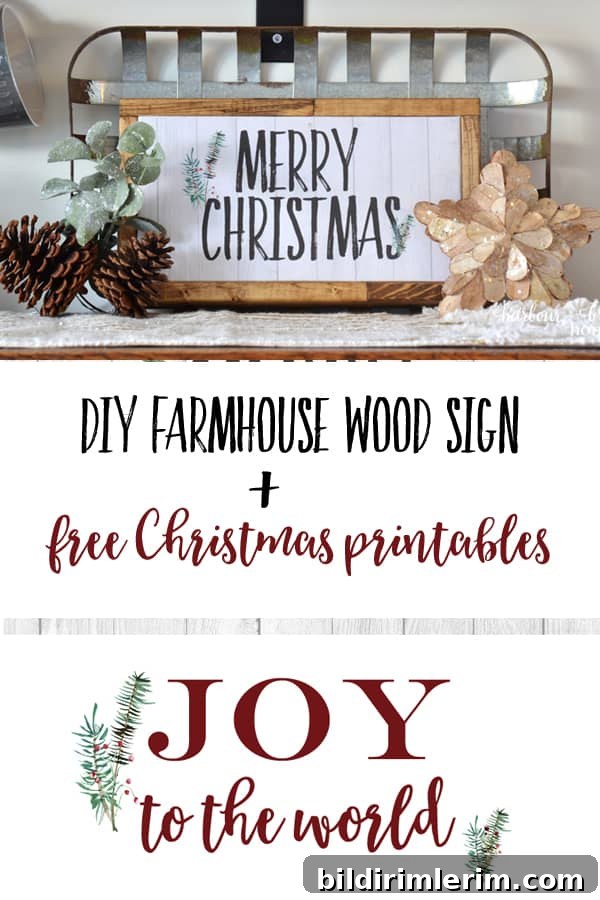
Farmhouse signs are one of my favorite decor pieces—the typography, the cozy feel, and the way a single sign can warm up a room. After years of hand-painting signs and working with pallet wood and brushes, I wanted an easier method that still delivers a handcrafted look. The result is a no-paint, changeable farmhouse sign that uses printed artwork on cardstock and a simple stained frame. It’s fast, looks professional, and lets you swap designs for different seasons.
DIY Farmhouse Sign + Free Christmas Printables
Supplies needed for this DIY Christmas sign
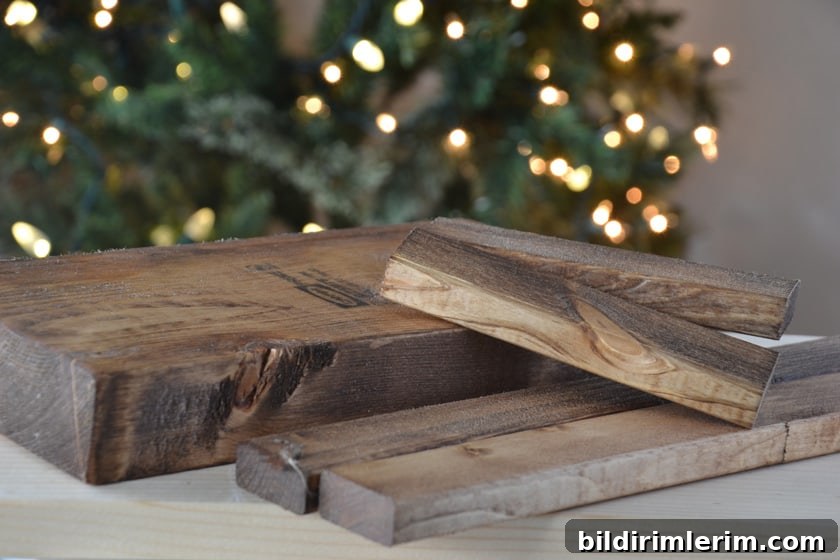
- One 2 x 6 board cut to 10 1/2 inches long (face panel)
- Two 1 x 2 boards cut to 5 1/2 inches long (side trim pieces)
- Two 1 x 2 boards cut to 11 3/4 inches (top and bottom trim pieces)
- Wood stain, foam brush, and a rag
- White cardstock sized to cover the face of the 2 x 6
- Spray adhesive (for securing cardstock to the board)
- Printed Christmas printable sized 10 1/2″ x 5 1/2″ on cardstock
- Scotch tape for tacking the printable in place
- Wood screws (for top and bottom trim) and nails or a nail gun for the sides
- Basic tools: saw (to cut boards), drill or screwdriver, measuring tape
1. Stain all sides of the frame pieces
Use a foam brush to apply stain to every side of the 1 x 2 trim pieces and the 2 x 6 face board. Wipe off excess stain with a rag and allow everything to dry fully before continuing. Staining all sides ensures the finished sign looks finished from every angle.
2. Adhere white cardstock to the face board
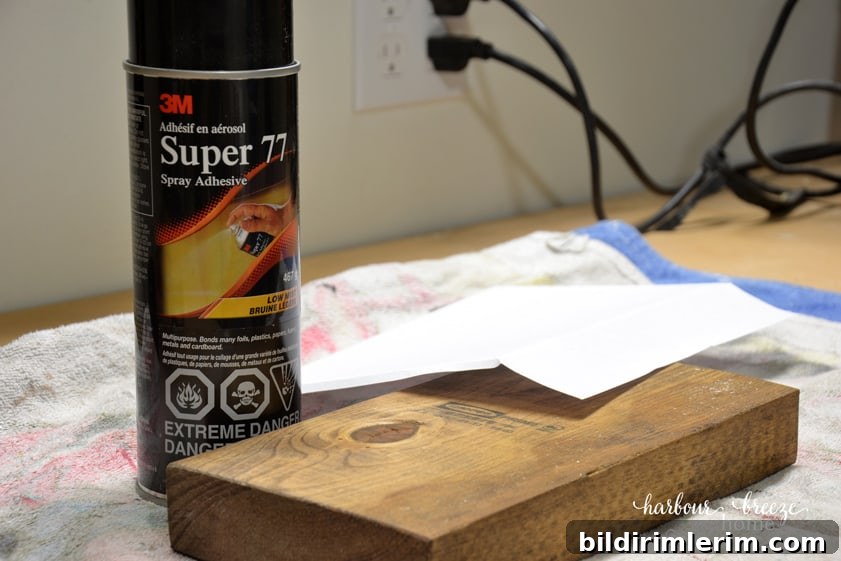
To prevent the wood grain from showing through your printable, cover the face of the 2 x 6 with white cardstock. Spray the adhesive onto the board, press the cardstock down smoothly, and make sure there are no wrinkles. This creates a crisp backdrop for the printable artwork.
3. Print a printable sized for this project
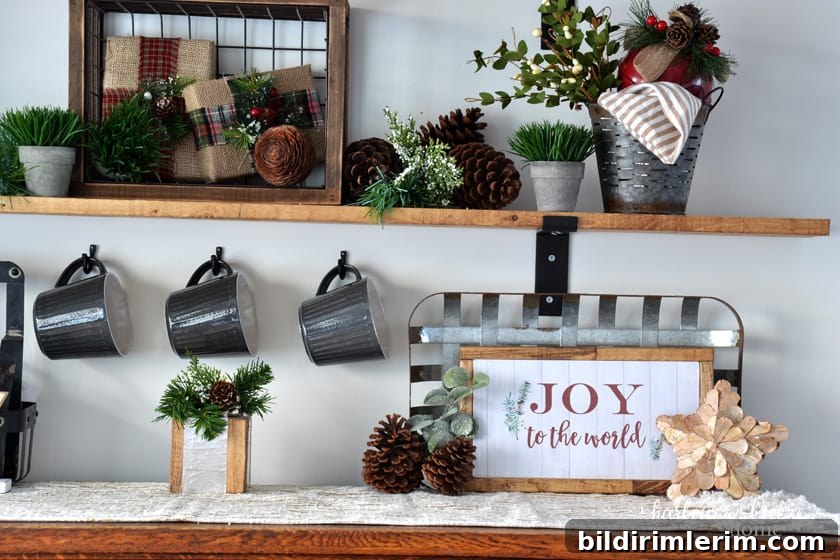
For this sign I created three printable options designed to fit the board face (10 1/2″ x 5 1/2″). These include a plain “Joy to the World” design and two shiplap-background variations. Each printable is formatted specifically for the dimensions of this project so it wraps neatly around the board edges.
Related printable collections (titles only): Farmhouse Printables for Fall; Free Christmas Printables; 100+ Botanical Printables; Modern Farmhouse Printables.

Printable option: “Joy to the World” (plain background), formatted for this sign size.

Printable option: “Merry Christmas” on a subtle shiplap background.

Printable option: “Joy to the World” on a shiplap background.
4. Fold and trim the printable to wrap the board
After printing on cardstock, fold the edges of the printable around the sides of the 2 x 6 and trim any excess cardstock for a neat fit. Folding the printable around the board gives a finished, professional look once the trim is attached.
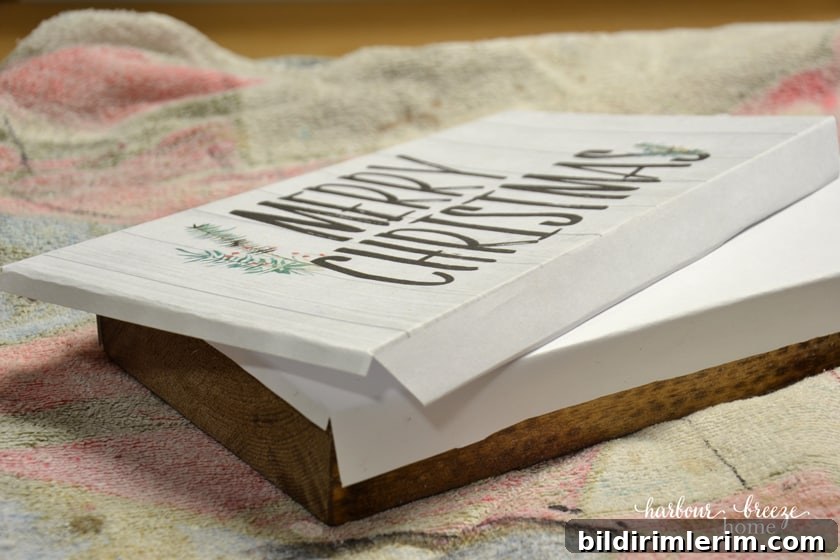
5. Temporarily secure the printable with tape
Use small pieces of scotch tape to tack the printable at the top and bottom edges so it stays in place while you add the frame. I left the sides untaped intentionally so the printable can be removed later without damaging it.
6. Attach the side trim pieces
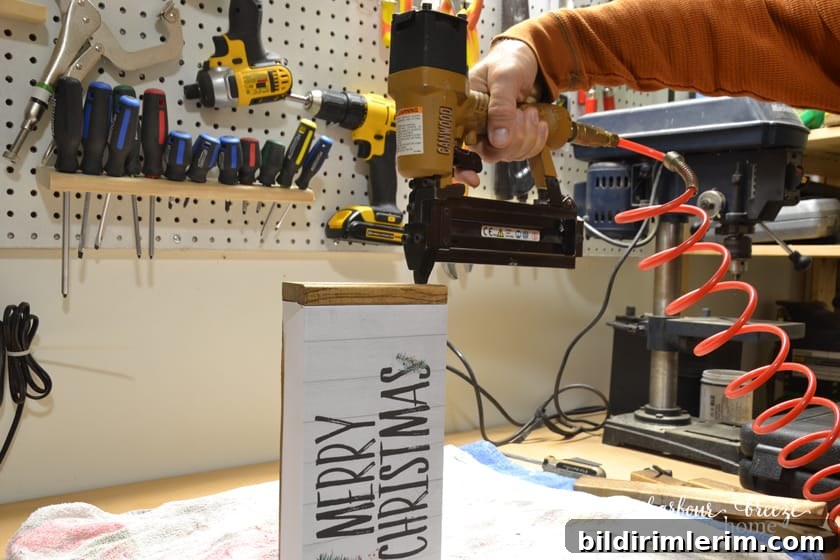
Line up the 1 x 2 side trim pieces so the edges are flush with the face board. Use a pneumatic nail gun or a hammer and nails to fasten the side trim securely. Confirm everything is square before nailing to keep a clean finished edge.
7. Screw on the top and bottom trim pieces to allow changing the printable
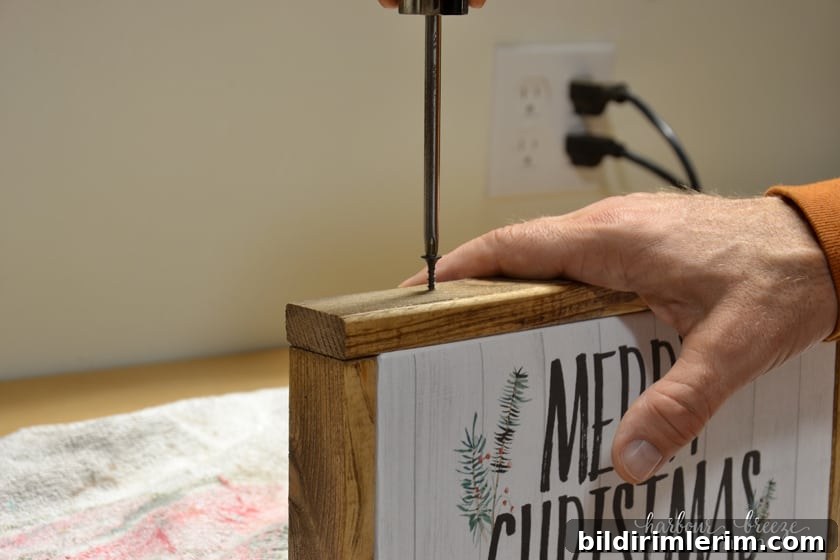
I used screws for the top and bottom trim so the printable can be changed out seasonally. Unscrew the top and bottom pieces, slide a new printable in, and reattach the trim—an easy way to refresh your decor for holidays or year-round themes.
Project results and styling ideas
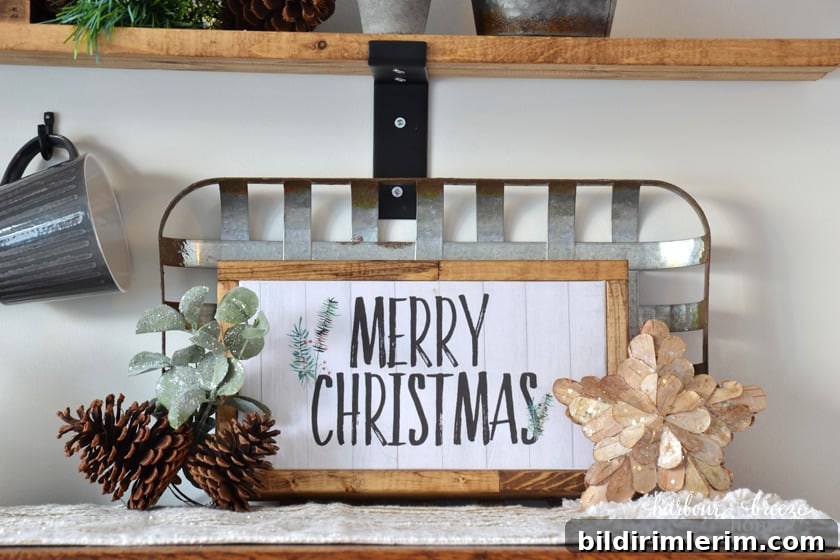
This is the first look I created using the plain background printable. It offers a crisp, simple farmhouse aesthetic that pairs well with greenery, candles, and textured shelves.
Here’s an alternative look with a shiplap-style printable for a more rustic vibe. Both versions are easy to switch so you can tailor your sign to each season—Christmas, winter, spring, or even a simple everyday message.
About this project and collaboration
This sign finished out my homemade Christmas shelf decor for the season. It’s a quick, budget-friendly DIY that gives a polished result without hand-lettering or extensive woodworking. I enjoyed creating the printables for this specific sign size and hope it inspires you to make your own switchable farmhouse signs.
Project by Rita from Harbour Breeze Home
Also featured in this Homemade Christmas blog hop: Michelle from Thistlekey Lane; Lauren from Mom Home Guide; Crissy from First Day of Home; Kim from Serving Up Southern