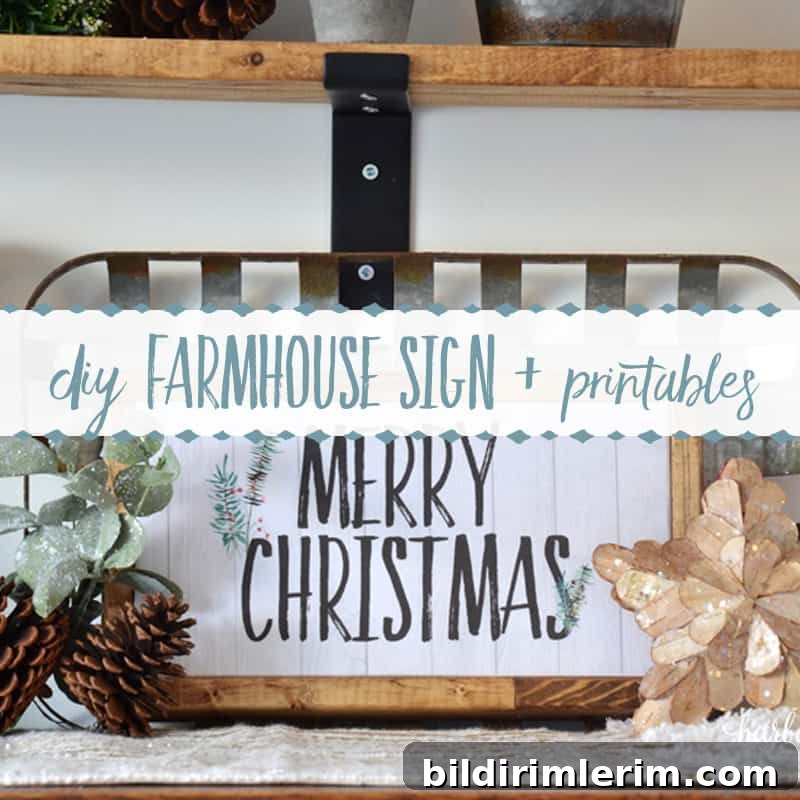
Learn how to create a no-paint DIY farmhouse sign using free Christmas printables. This quick, simple project is easy to swap out for different seasons.
I love farmhouse signs—the sayings, the fonts, and the warm character they add to a room. After years of painting and stenciling, I wanted an easier method that didn’t require hand-lettering. The result is a clean, no-paint approach that makes it simple to change designs for holidays and seasons.
DIY Farmhouse Sign + Free Christmas Printables
Supplies needed for this Christmas signs DIY:
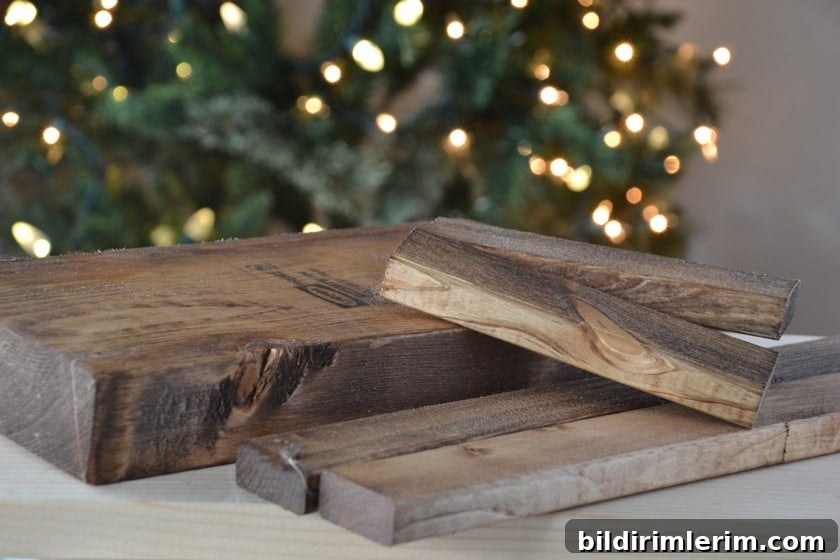
- One 2 x 6 board, cut to 10 1/2 inches
- Two 1 x 2 boards, cut to 5 1/2 inches (side frame pieces)
- Two 1 x 2 boards, cut to 11 3/4 inches (top and bottom frame pieces)
- Wood stain, foam brush, and rag
- White cardstock (to cover the board face)
- Spray adhesive
- Printed Christmas design on cardstock
- Scotch tape
- Wood screws (for removable top and bottom trim)
- Nails or a pneumatic nail gun (optional, for side trim)
Stain all sides of the frame pieces
Apply stain with a foam brush to all sides of the wood pieces, then wipe off the excess with a rag. Allow the wood to dry completely before continuing.
Adhere white cardstock to the 2×6 board
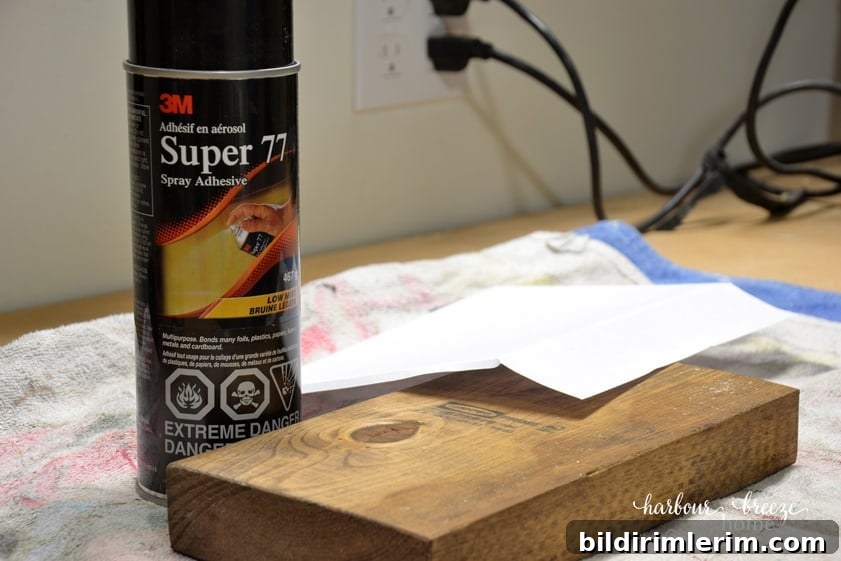
To prevent the wood grain from showing through the printable, spray adhesive onto one face of the 2 x 6 and press a sheet of white cardstock firmly in place. Smooth out any bubbles and let it set.
Print a printable sized for this board
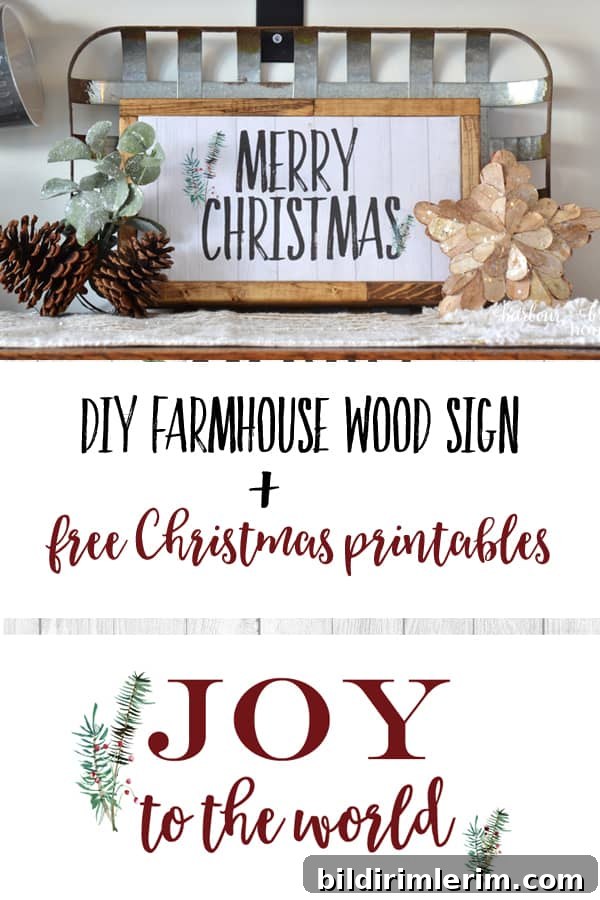
For this project I created three designs formatted to print at 10 1/2 by 5 1/2 inches so they fit the board face perfectly. You can also use your own printables or other designs sized to match these dimensions. If you collect printables, this method makes swapping designs effortless.

Examples include “Joy to the World” and “Merry Christmas” versions with or without a shiplap background. Print on good-quality cardstock for best results.
Trim and wrap the printable around the board
Center and align the printed sheet on the white-covered board. Fold the excess printable around the sides of the board and trim any extra cardstock so the paper tucks neatly under the frame pieces.
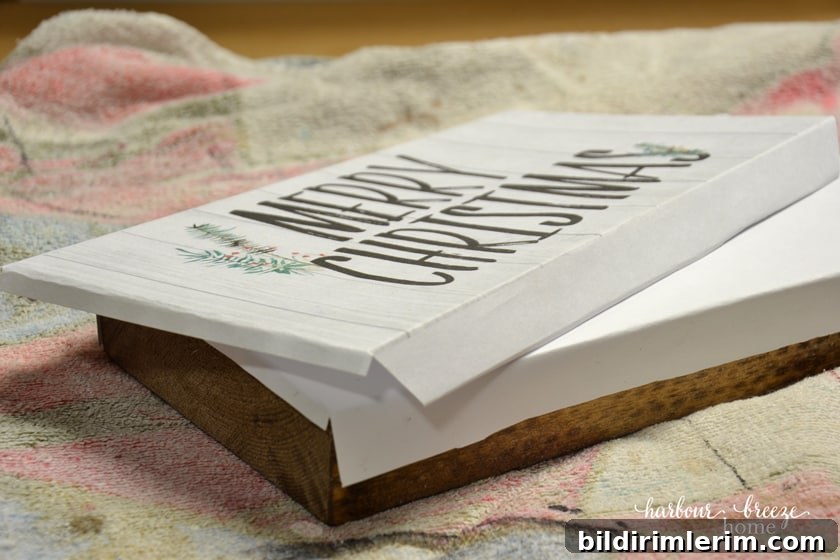
Tack the printable to the top and bottom edges
Use scotch tape on the top and bottom edges to hold the printable securely. Tape only as much as needed—this makes it easy to remove or replace the printable later.
Attach the side trim pieces
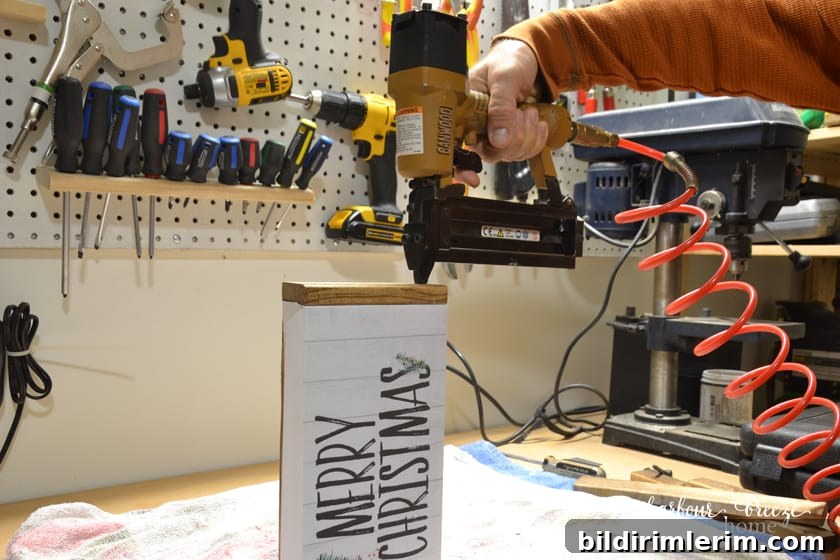
Nail the side trim pieces flush to the board. A pneumatic nail gun speeds the job, but a hammer and nails work fine. Double-check that the edges are aligned before fastening.
Screw on the top and bottom frame pieces so the printable is replaceable
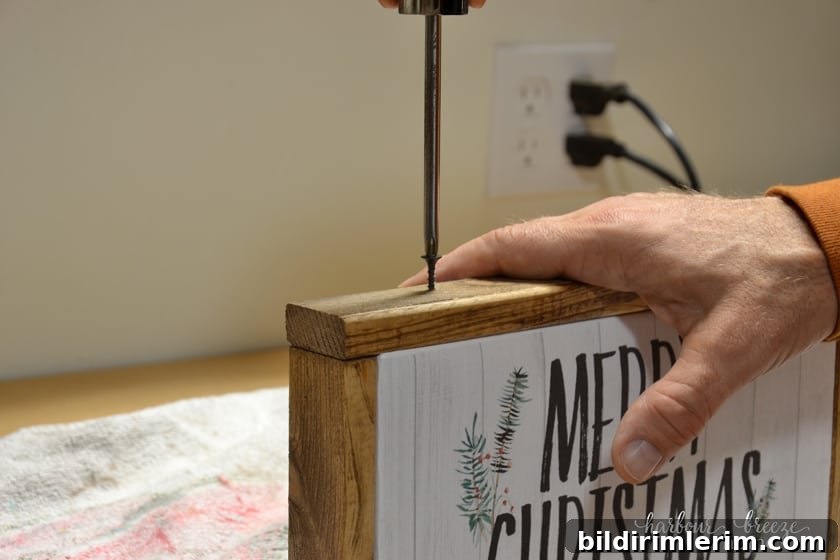
Fasten the top and bottom pieces with screws rather than nails. This allows you to remove the top and bottom, swap the printable, and install a new seasonal design quickly.
Here are two finished looks from this project:
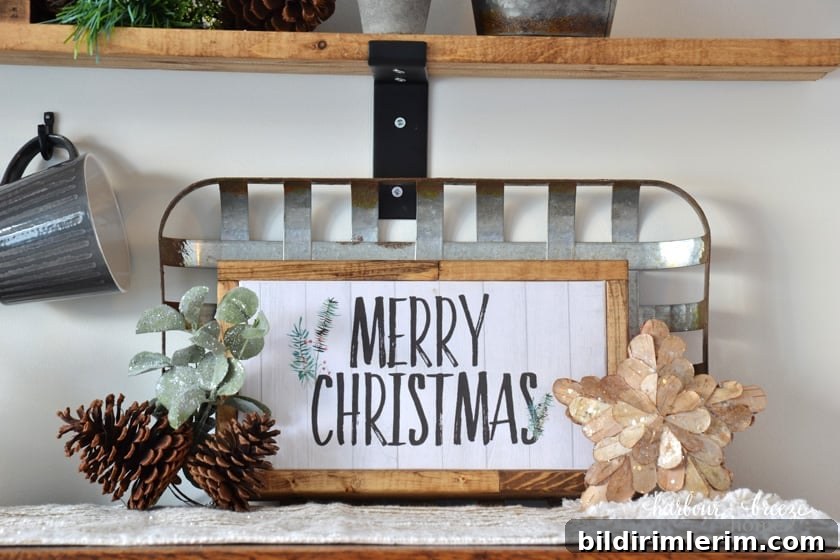
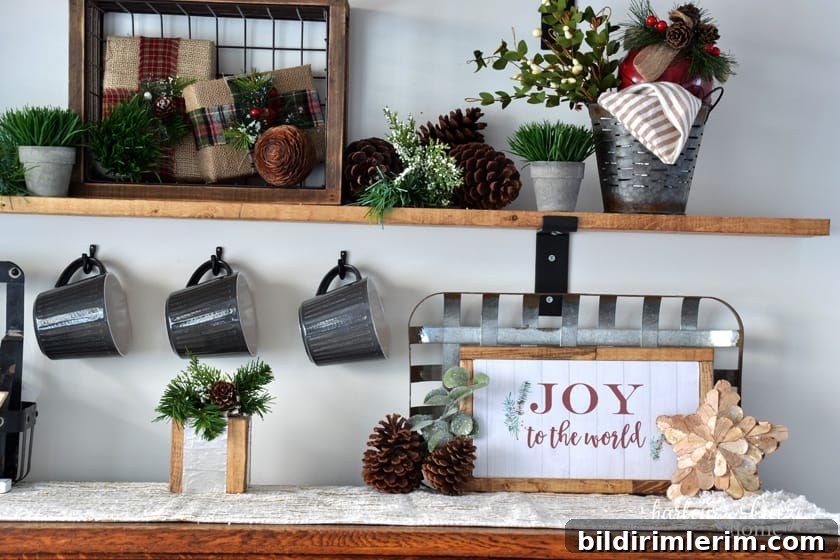
This sign was the final handmade piece for my Christmas shelf display this year. Because the printable can be changed quickly, the same frame works for every season—just swap the design.

Rita from Harbour Breeze Home
Michelle from Thistlekey Lane
Lauren from Mom Home Guide
Crissy from First Day of Home
Kim from Serving Up Southern
This project is ideal for crafters who love the farmhouse aesthetic but want a low-effort, high-impact solution. With a few simple supplies and printable designs, you can make interchangeable holiday signs that look professional without the need for hand-painted letters. Happy crafting!