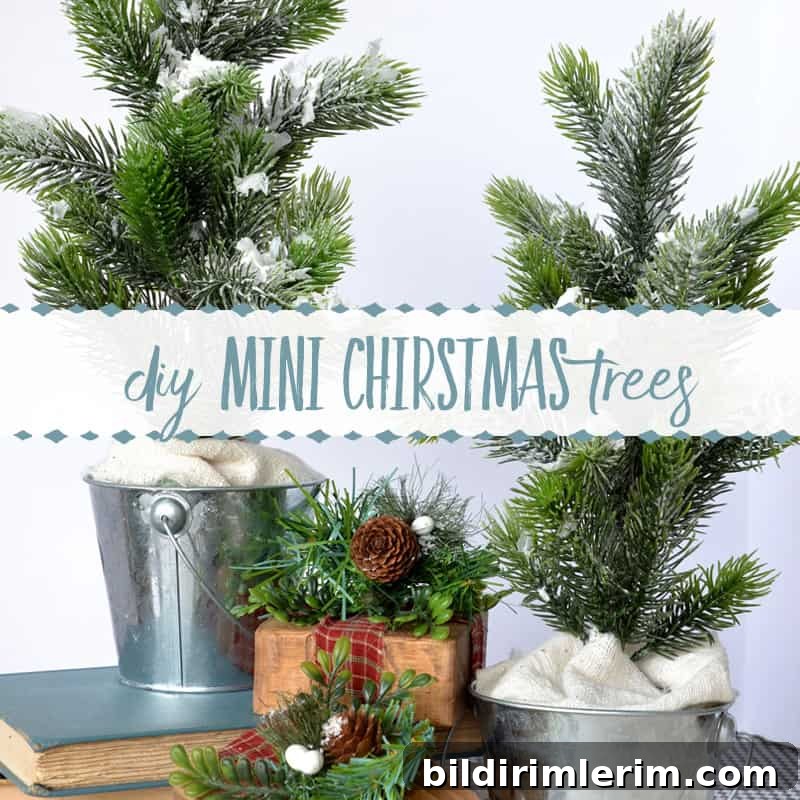
In this article: Learn how to make a mini flocked Christmas tree using inexpensive greenery from the Dollar Store.
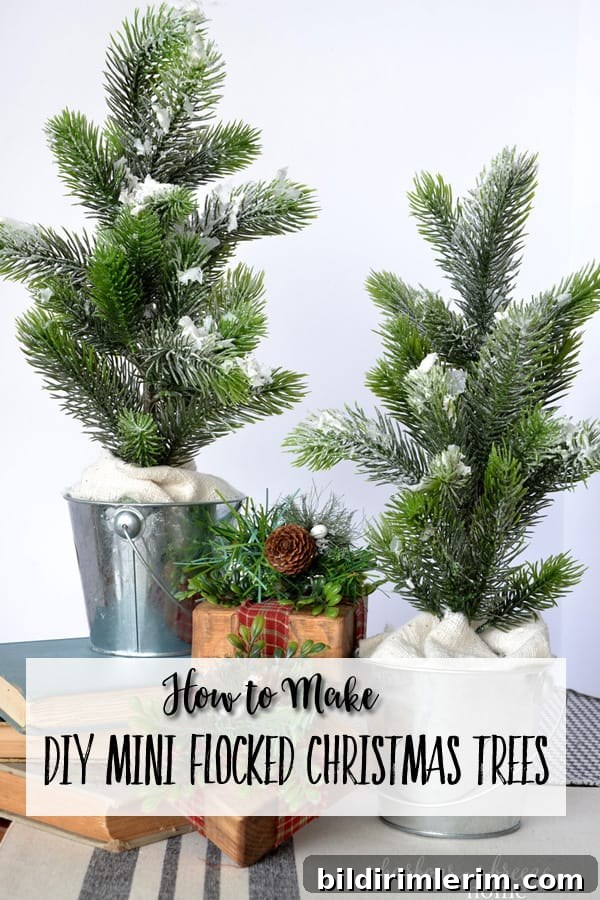
On a recent visit to my local Dollar Store I found the perfect faux greenery for making miniature Christmas trees. I decided to gather a few inexpensive supplies and try my hand at creating some small, flocked trees for seasonal accents around the house. The project turned out to be quick, affordable, and enjoyable—perfect for adding winter charm to shelves, mantel displays, or bedside tables.
These little trees are a great weekend craft: they require only a few tools, a small amount of time, and they’re very forgiving if you want to tweak shapes or sizes. Below are step-by-step instructions, helpful tips, and simple decorating ideas so you can make your own mini flocked Christmas trees.
How to Make Mini Flocked Christmas Trees
Disclosure: This post previously mentioned affiliate products. The instructions below will work with common craft supplies available at many stores or online retailers.
Supplies:
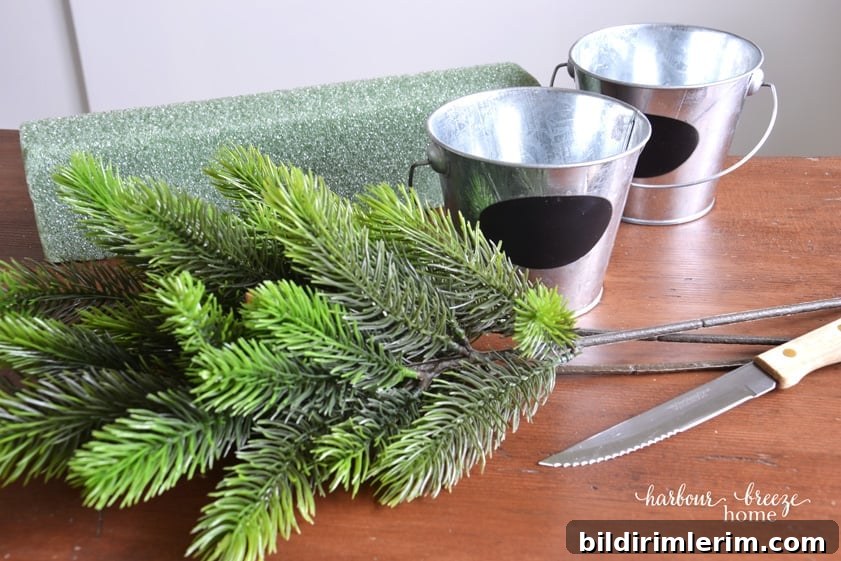
You will need:
- Floral foam (a small block sized for artificial arrangements)
- Small decorative buckets, pots, or containers
- A sharp knife suitable for cutting foam (a steak knife works well)
- Faux greenery sprigs or small garland pieces
- Wire cutters or strong scissors
- Floral wire or thin craft wire
- Spray snow or flocking spray
- Small decorative snow flakes or glitter flakes for added texture
Step 1: Trim the floral foam to fit your container
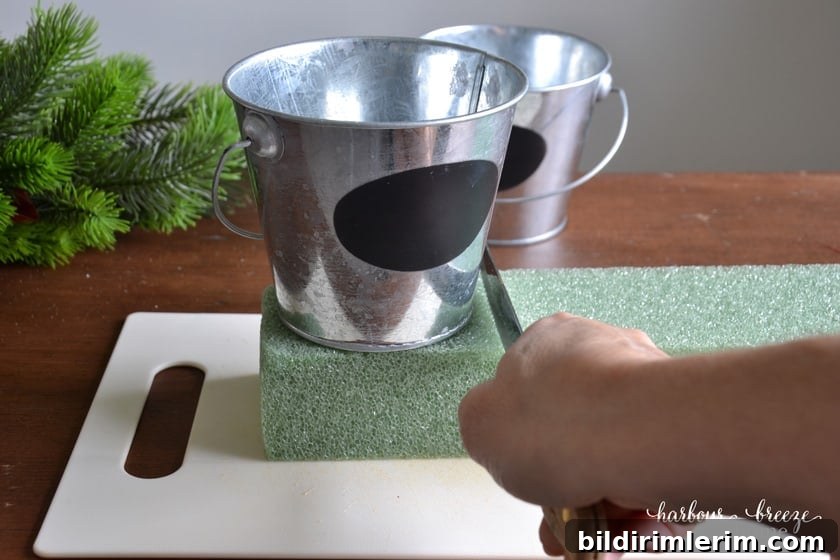
Measure the floral foam against the inside of your chosen bucket or container. If your container is wider at the top, cut the foam slightly wider at the top so it sits snugly. Press the trimmed foam firmly into the container so it forms a stable base for the greenery.
Step 2: Cut the greenery to size
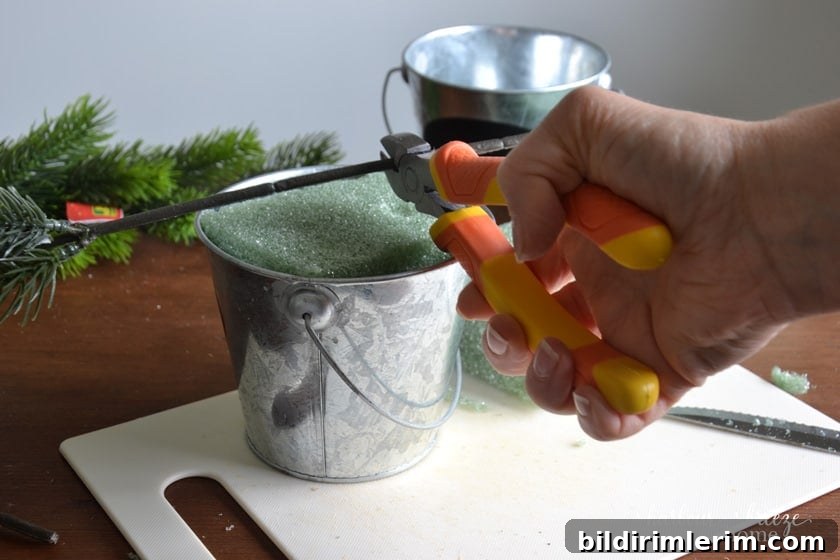
Decide how tall you want each mini tree to be and trim the faux greenery with wire cutters. If your greenery is flat-backed, use two matching pieces for a fuller, symmetrical look. Cut pairs to identical lengths for a tidy, conical shape.
Hold the two pieces together and press their stems firmly into the center of the floral foam. If the hole becomes too large and the greenery feels loose, stuff a bit of paper towel or more foam scraps into the gap to stabilize the stem.
Step 3: Secure the stems with floral wire
Wrap a short length of floral wire around the stem area to bind the two greenery pieces together. Twist tightly so the stems hold their shape and won’t separate when you adjust the branches into a tree form.
Step 4: Add a tree skirt or cover the base
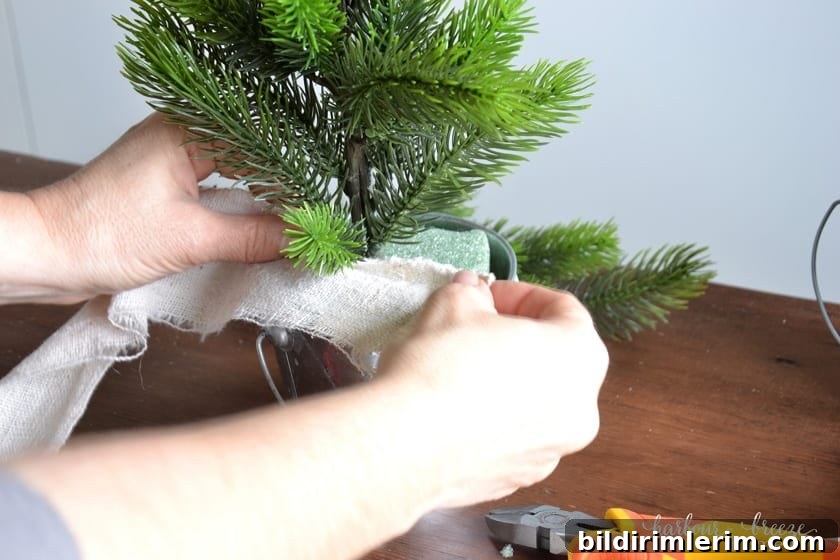
Hide the floral foam by wrapping a narrow strip of fabric—linen, canvas, or burlap—around the rim inside the bucket. Tuck and glue if needed to create a simple tree skirt that looks finished and hides the mechanics underneath.
Step 5: Flock the branches
Apply spray snow or flocking spray evenly over the branches to create a frosty, wintery appearance. While the spray is still wet, press a few small snow flakes or chunky flakes into the damp flock for texture. Finish with another light spray if desired and allow the trees to dry thoroughly before moving them.
A few safety and finish tips: work in a well-ventilated area when using spray products, protect surfaces with paper or a drop cloth, and wear gloves if you prefer. If you want a more subtle look, lightly dust the tips only instead of coating the whole branch.
These tiny flocked trees add an instant winter mood wherever they’re placed. They’re also easy to customize with small ornaments, string lights, or painted bases to match your holiday palette.
If you enjoy watching craft demos, look for short videos of this project on social media under a creator’s mini tree highlights to see the technique in real time and a few common mishaps that are easy to fix.
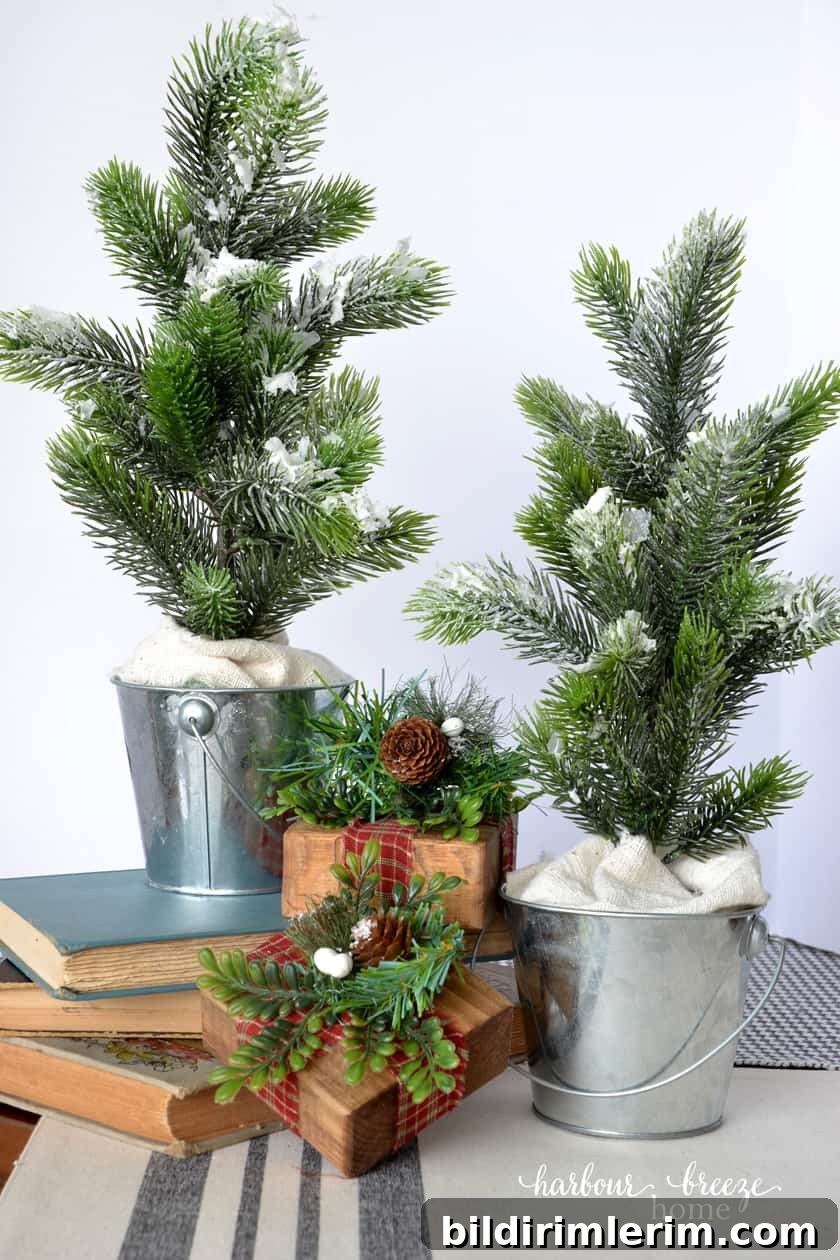
Decor Ideas for these Trees:
- Arrange several sizes on a shelf or bookcase for seasonal interest on a gallery wall.
- Cluster them at varying heights beneath your main Christmas tree to add texture and depth.
- Place a pair on a bedside dresser or entry table and accent with a few small vintage or handmade ornaments.
- Use them as place settings or centerpiece accents for a casual holiday table—just anchor the base so they stay upright.

More DIY Christmas Decor Ideas
- Easy DIY Wood Slice Christmas Tree Sign
- Fabric No Sew Christmas Tree Pillow
- Scandinavian-Inspired Fabric Christmas Ornaments
- DIY Christmas Place Card Holders
- DIY Canvas Wall Art that Lights Up for Christmas
Want more Christmas ideas?
Sign up for seasonal updates and receive a free printable gift tag set to help with your holiday wrapping and decorating. A few simple projects like these mini trees can refresh your décor and add cozy charm throughout the season. Merry Christmas and happy crafting!