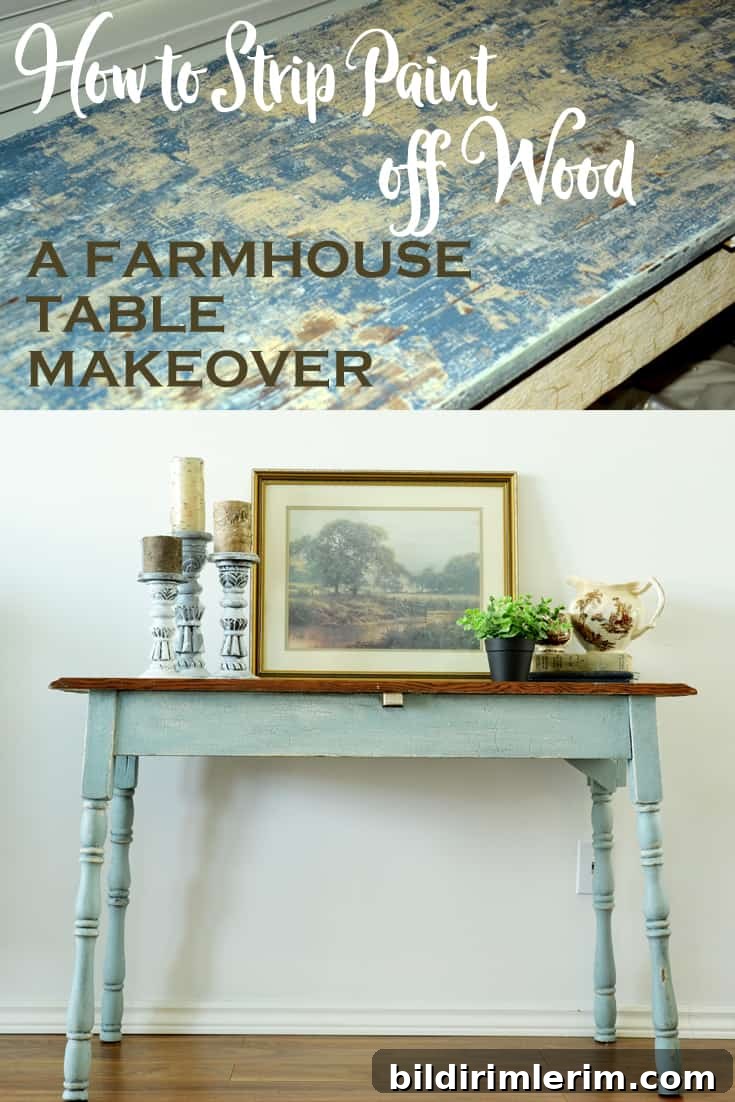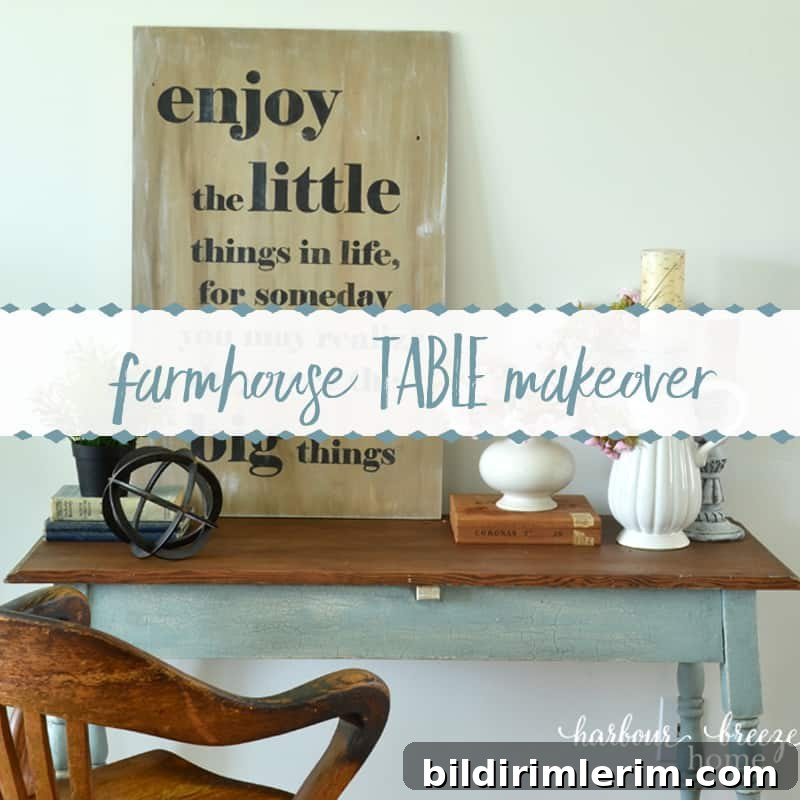
I love furniture that carries a story. This little farmhouse table is a perfect example.
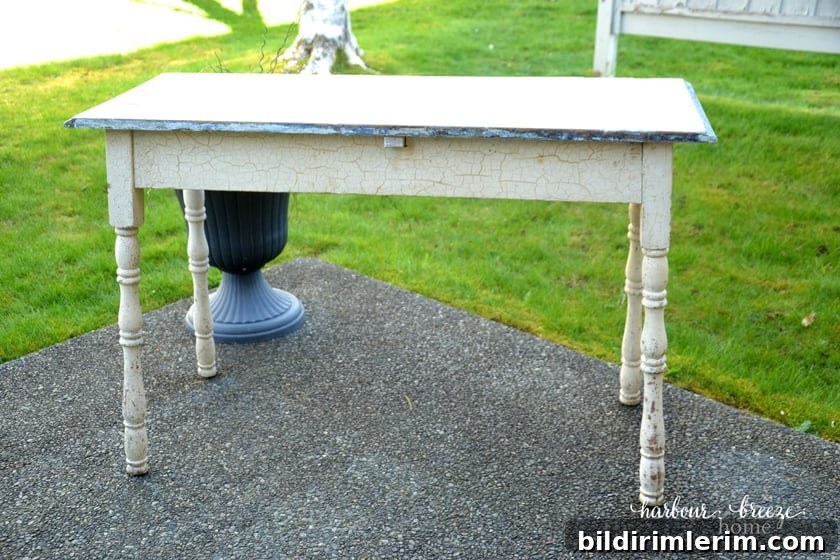
I found it abandoned on a deck, and the owners told me I could have it. I accepted immediately; I loved that it had belonged to someone’s grandmother, the worn crackle finish, evidence of long-gone drop leaves, and its petite size with graceful legs.
Over the years this table has solved many spatial problems in our homes. It has served as an entryway table, a telephone desk, and even earned its own custom tablecloth once. Most recently it sat beneath the windows in our townhouse living room, where I sit daily to work on my blog.
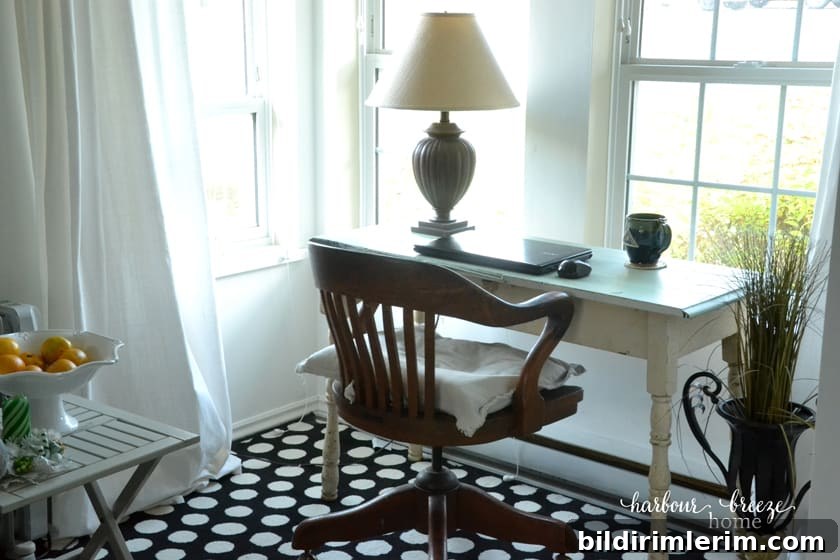
It was time to give this pretty piece a careful refresh.
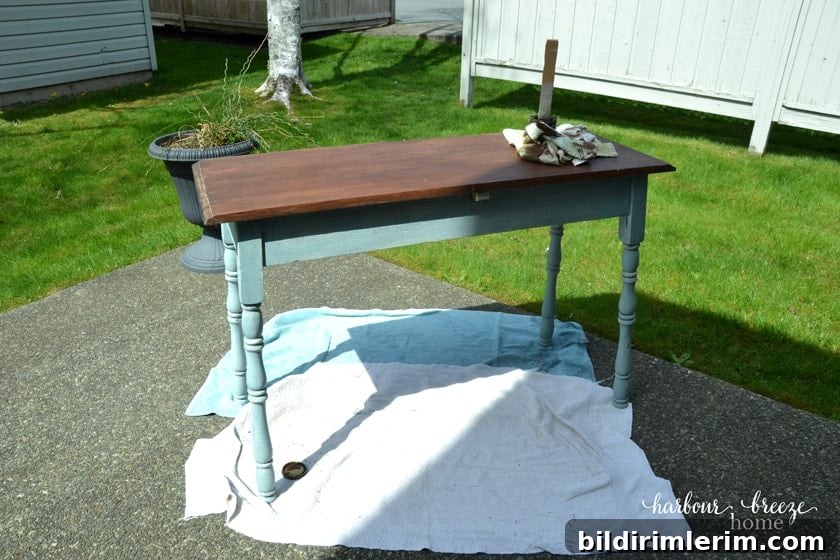
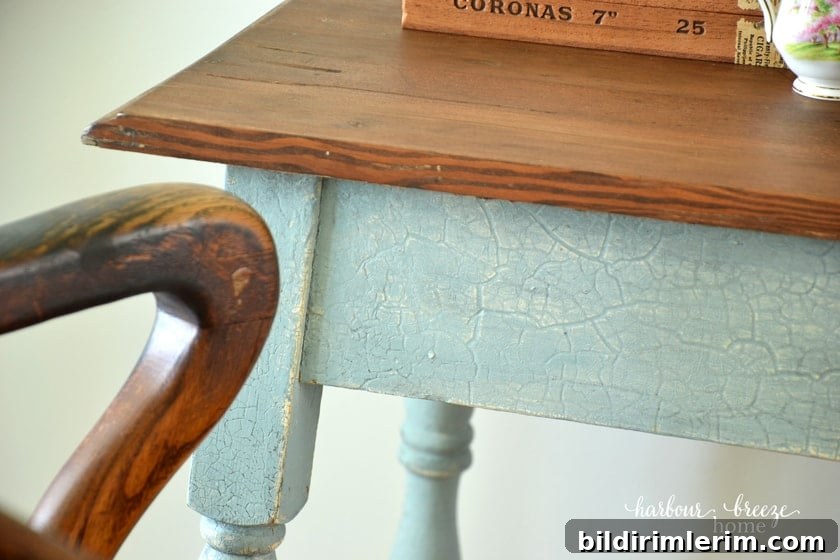
After a full makeover of the top, apron, and legs, here is how she looks now — repaired, refreshed, and still full of history.
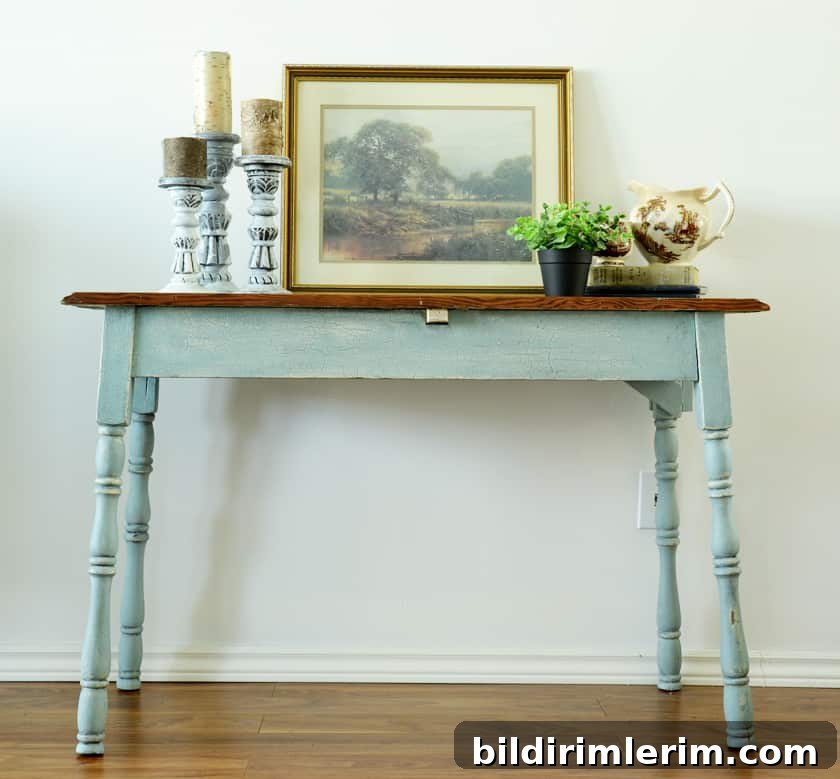
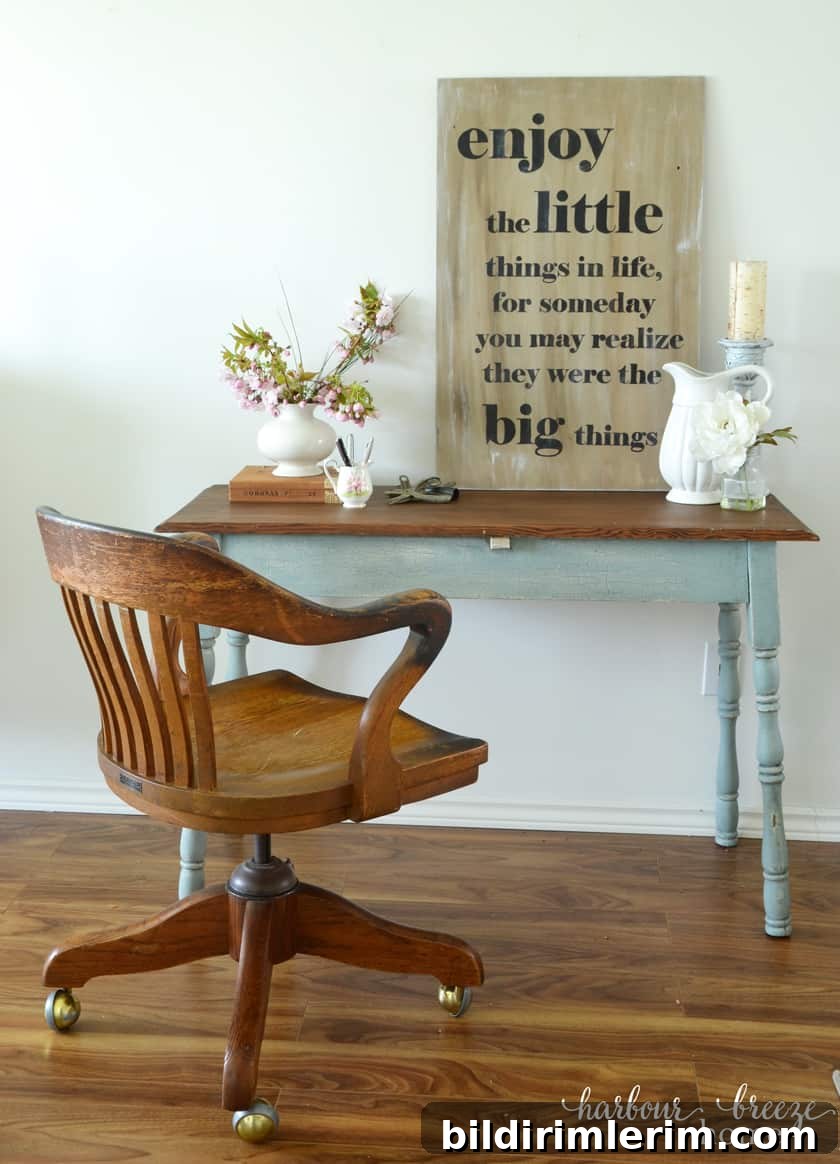
The makeover followed two different approaches: the tabletop was stripped, stained, and sealed; the apron and legs were painted, distressed, glazed, and waxed to preserve the original crackle finish.

To keep this post focused, below I’ll cover the tabletop process: how to strip paint from wood, then sand, stain, and seal it. I’ll share the apron and legs painting steps in a separate post.
Edited: Part 2, “Painting the Farmhouse Table,” is available on the blog.
How to Strip Paint off Wood Tabletop
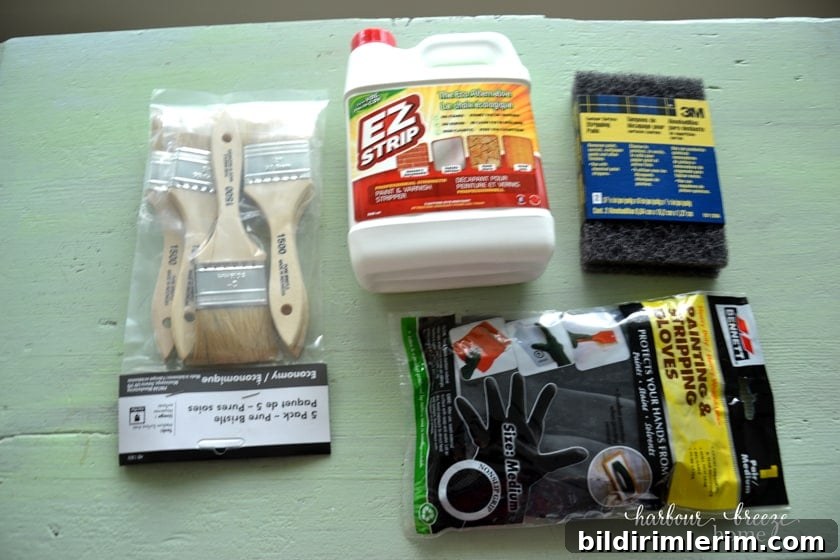
Supplies needed for stripping wood
- Rubber gloves
- Paint stripper (I used an eco-friendly, water clean-up product)
- Disposable chip brush
- Metal scrubbing pads
- Paint scraper tool
- Drop cloths
- Clean rags
- Old container for paint waste
Step-by-step: how to strip paint off wood using a paint stripper
- Apply a thick coat of furniture stripper using rubber gloves. Read the product instructions carefully and work in a well-ventilated area. If recommended, do this outdoors or in a garage with the door open.
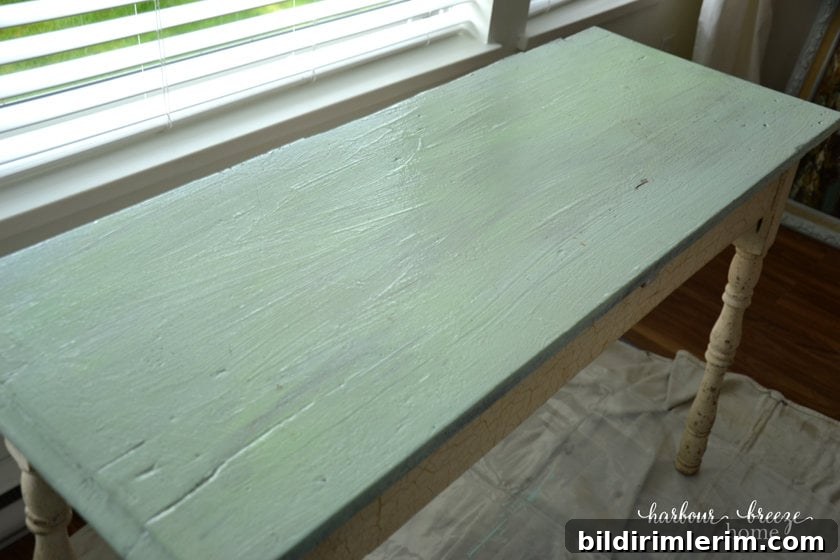
For this project I used an eco-friendly stripper that claimed water cleanup and indoor use; I still left doors wide open for airflow. Unlike strong caustic strippers, it didn’t bubble dramatically. I followed the instructions and left it on for about an hour before scraping. This table had at least four paint layers, so the stripper needed time to work.
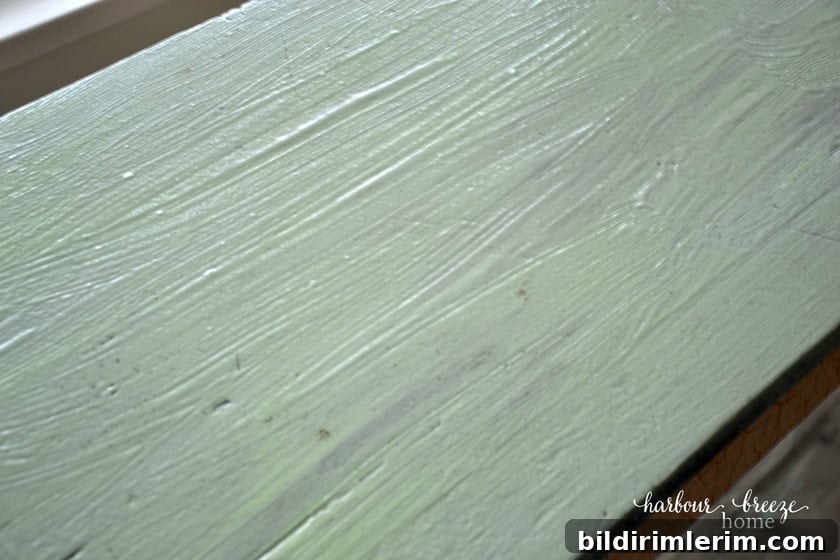
- Scrape away the softened paint working with the grain. Use a paint scraper and deposit the paint remnants into your waste container. Angle the scraper to lift the most material — it takes elbow grease, especially on older pieces.
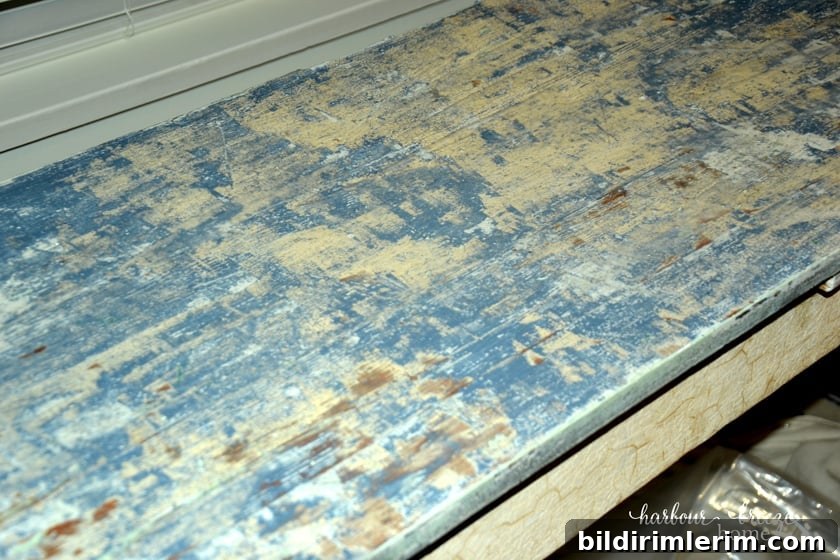
After the first pass you’ll see original paint colors and the wood beginning to appear. I repeated application and scraping two more times to remove as much paint as possible.
- Repeat the stripper and scrape cycle as needed.
- Clean the surface after stripping. If your stripper is water-soluble, wipe the surface with a wet rag, then dry with a clean cloth. If it requires solvent cleanup, follow the manufacturer’s recommendation (for example, mineral spirits), then dry thoroughly.
Short live demonstration
I also shared a short live demo showing the final stripping before sanding to help visualize the technique.
Sand the wood to finish paint removal
Once the stripper has done its job and the surface is clean and dry, sand the tabletop to remove remaining paint traces and smooth the wood.
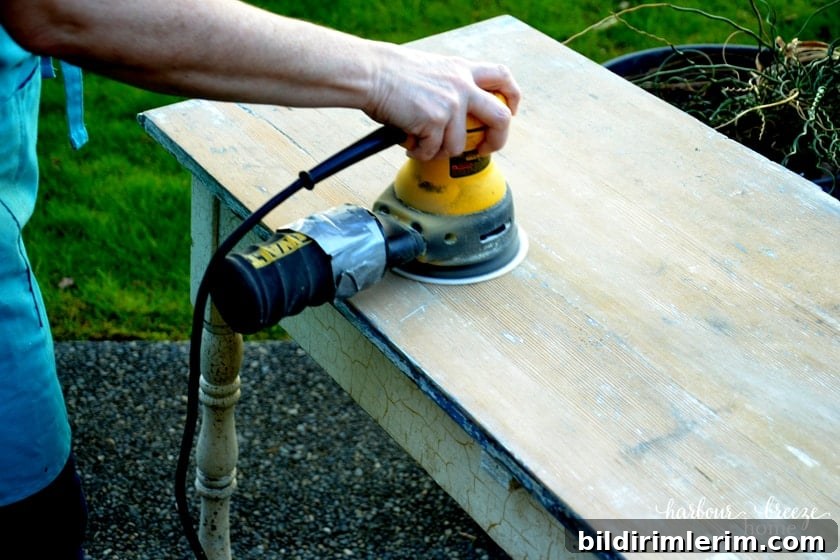
We took the table outside and used a random orbital sander starting with 220-grit paper, working the top and edges. Sanding removes remaining paint bits and helps blend the surface. On very old, dinged pieces you won’t remove every single trace — and those imperfections contribute to the piece’s character.
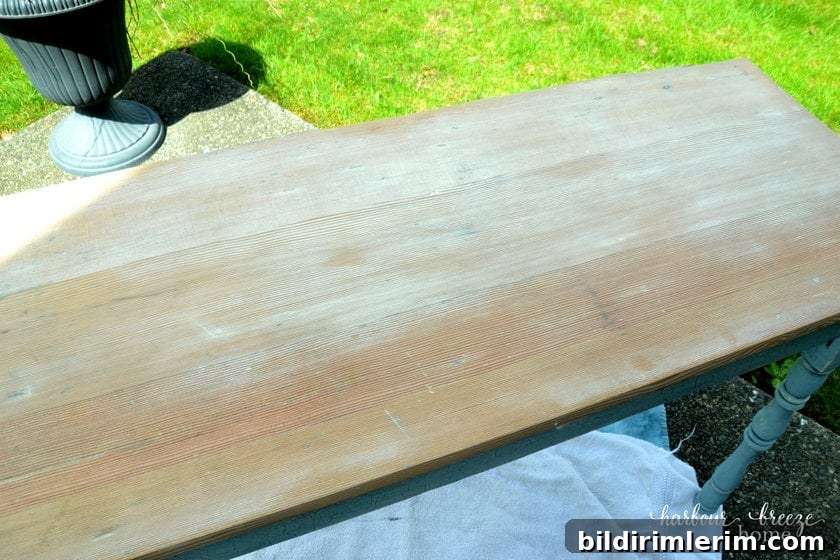
I decided to keep some of the table’s wear — the dings and small drop marks tell its story and add charm.
Stain the top
Before staining, test stain colors on scrap wood or a sample board made from the same species. The table top is fir, so I tested stains on a fir board to see true color results.
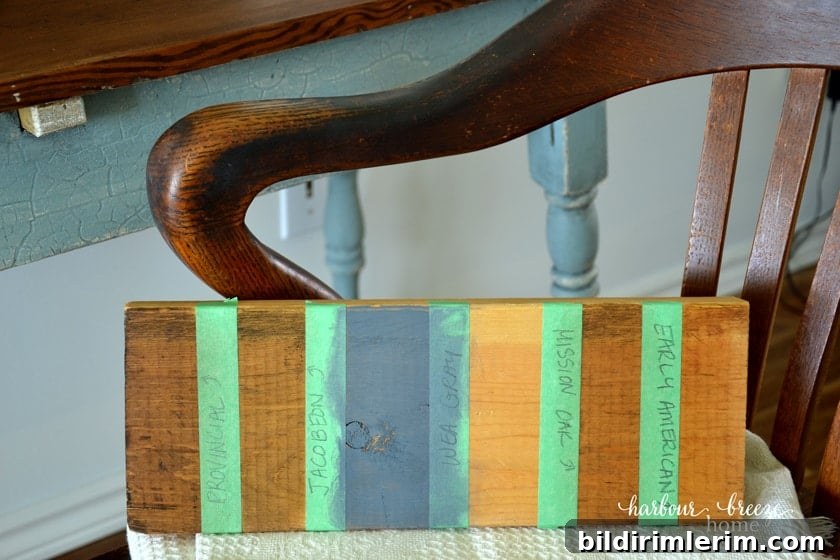
Viewing actual stain samples on wood helped me choose a color that matched an old oak office chair. I settled on Mission Oak.
Apply stain
On a clean, dry surface, apply stain with a brush and immediately wipe off with a lint-free rag. Work quickly and rub in to reveal the wood grain. Wiping sooner gives a lighter tone; leaving the stain to penetrate longer produces a deeper color.
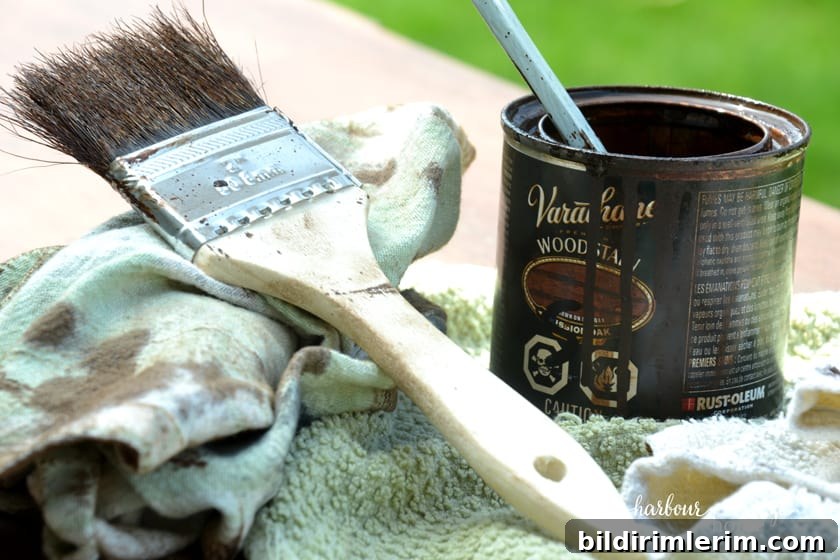
I wiped the stain off quickly to keep it subtle and let the grain show through.
Seal the top
After staining, protect the top with a clear sealer. I chose a matte finish to keep the look low-sheen; alternatives include satin, semi-gloss, and gloss if you prefer more shine.
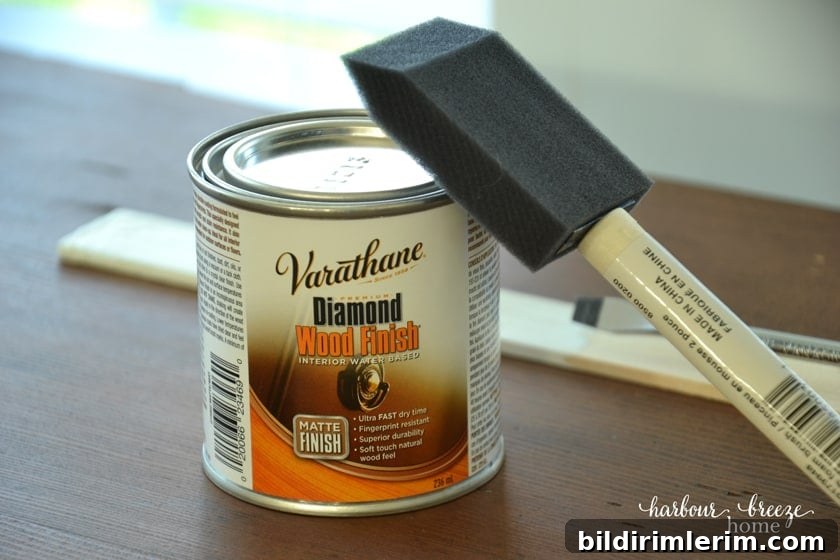
Stir the finish gently (avoid shaking) to prevent bubbles, then apply one coat with a sponge brush. For heavy-use surfaces, multiple coats are recommended; for my table one coat provided the protection I wanted and preserved the aged look.
I’ll share the step-by-step approach I used to paint and glaze the apron and legs in the next post so the table keeps its historic crackle finish while looking refreshed.
More DIY painting and refinishing projects
- Painted electric fireplace project
- Refinished ceramic lamp
- Quick dresser-painting techniques
- How to paint metal doors with plastic trim
- Tips for painting a room