DIY No-Sew Fabric Bird Mobile for a Baby Nursery or Home Decor
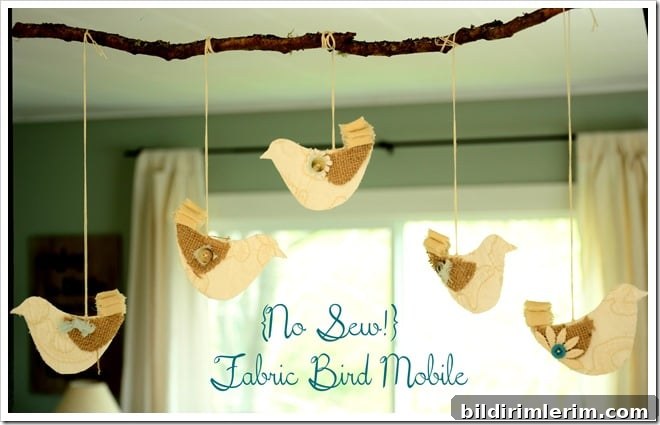
I was inspired to make a fabric bird mobile after a customer request and some browsing of bird mobiles online. If you don’t have a sewing machine, you can still create charming, sturdy birds using a no-sew method. This step-by-step guide describes how I made a shabby-chic bird mobile using simple materials, finished with burlap wings and hand-glued tail feathers.
Supplies Needed
- Sturdy fabric — I used a damask tapestry-style fabric for one set and a thick embroidered cotton for another. Stiffer fabric helps the birds hold their shape.
- Burlap (a tighter weave is easier to work with; washing and tumble-drying burlap can tighten the weave)
- Heat-and-Bond or similar iron-on adhesive
- Cream-colored canvas for tail feather loops
- Cotton thread and a heavy-duty needle
- Hot glue gun and glue sticks
- Small accessories for eyes or embellishment (optional)
- A twig or small branch to serve as the mobile arm
- Clear fishing line for hanging
- A small ceiling hook
Make the Birds (No-Sew Method)
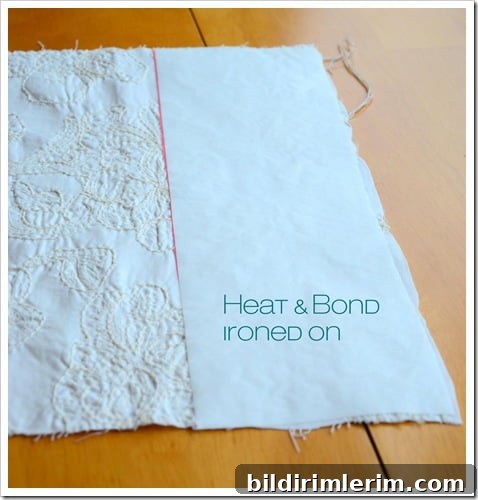
Start by ironing a 4-inch wide strip of Heat-and-Bond to the underside edge of your fabric. Follow the product instructions carefully.
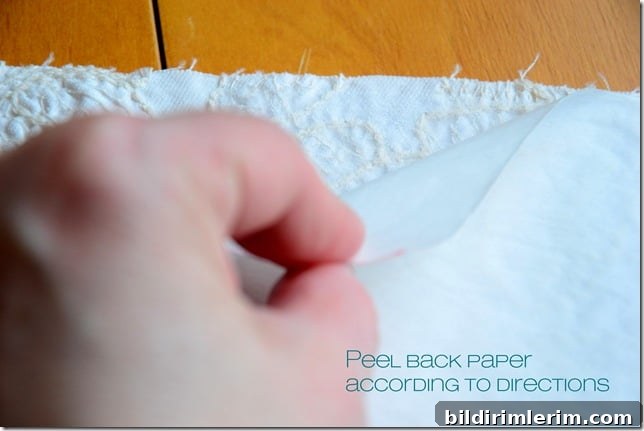
Once the adhesive has been applied and cooled as directed, peel off the paper backing. Fold the fabric over so the adhesive becomes the middle layer of the bird piece, then press again with the iron to secure the fold.
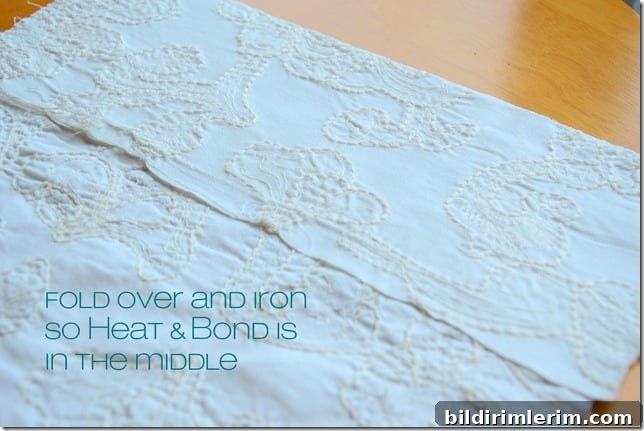
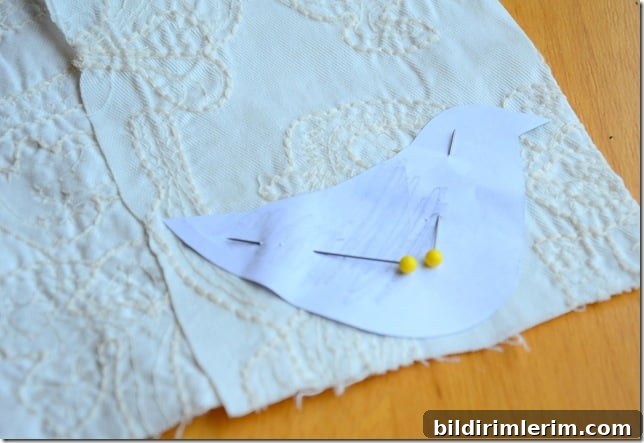
Pin a bird pattern to the prepared fabric, then cut around the outline. I made five birds for my mobile and cut each one from the folded fabric so the Heat-and-Bond formed the internal seam. (If you want to use a pattern, trace or draw your preferred bird shape to suit the scale of your mobile.)
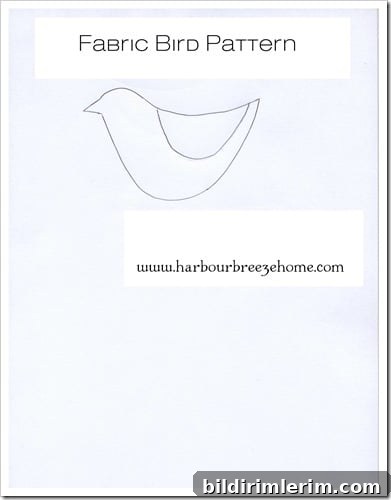
Repeat until all birds are cut. I used five birds in my mobile, but you can make more or fewer depending on the size of your twig and the look you want.
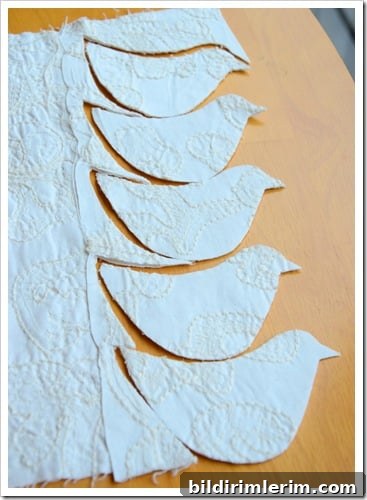
Cut two burlap wings for each bird. For the tail feathers, tear a cream-colored canvas into 1/2-inch-wide strips about 36 inches long — one length of canvas will usually be enough for two birds’ tails, so this is a generous allowance.
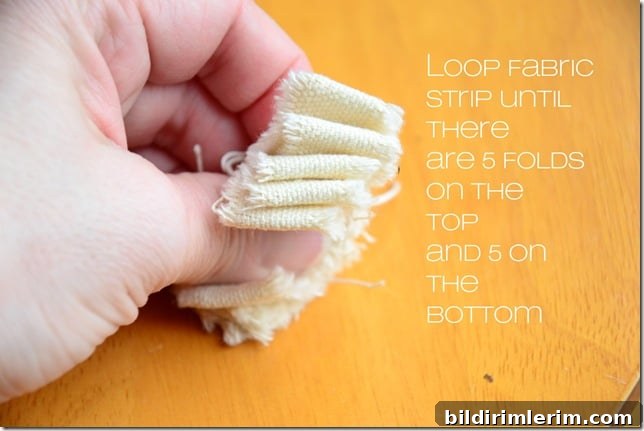
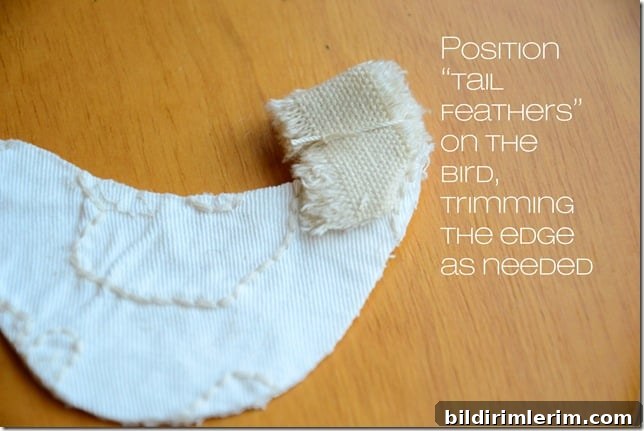
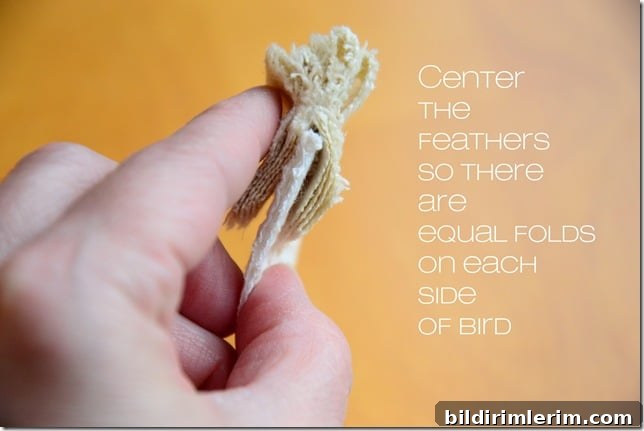
Cut and bundle the canvas strips into small looped feather groups. Trim the ends to create a layered tail effect. Use small dots of hot glue to secure each layer in place. Position the tail feather loops on the back end of the bird body, then glue a burlap wing over the glued ends to hide the raw edges and add texture.
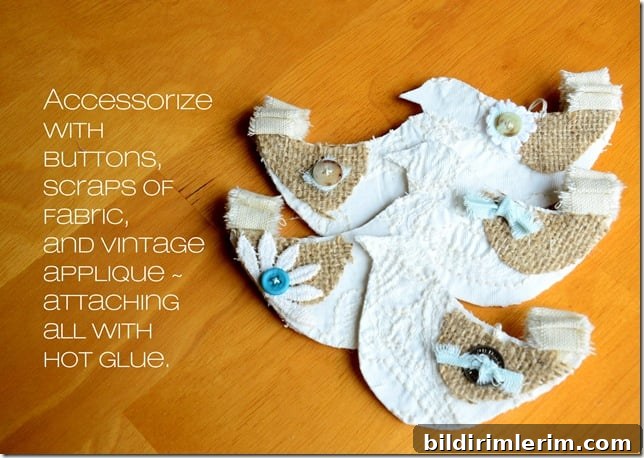
Add any small accessories or embellishments you like, such as tiny buttons or felt beaks. A hot glue gun makes this step quick and secure.
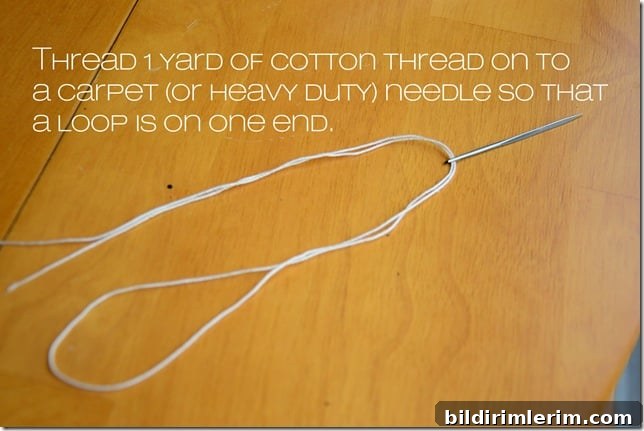
To hang each bird, thread cotton thread through the bird’s top, tie a loop, and test the balance. Lift the bird by the loop to see if it hangs straight; adjust the thread placement until the bird sits level.
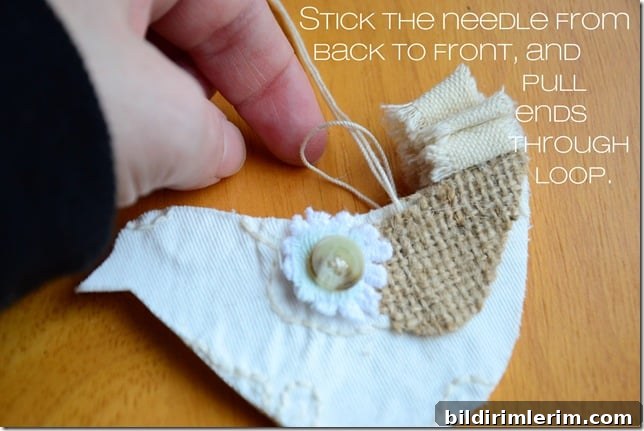
Assemble the Mobile
Wrap each bird’s hanging thread around your chosen twig at varying points and lengths to create visual balance. Experiment with placement until the arrangement looks even and pleasing from all sides.
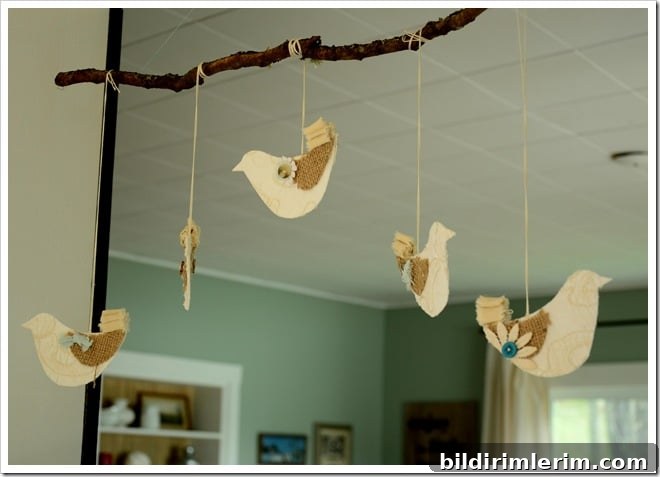
Secure fishing line to each end of the twig and tie to a small ceiling hook. Use a hook appropriate for the ceiling material and weight of the mobile. Adjust line lengths so the twig hangs level.
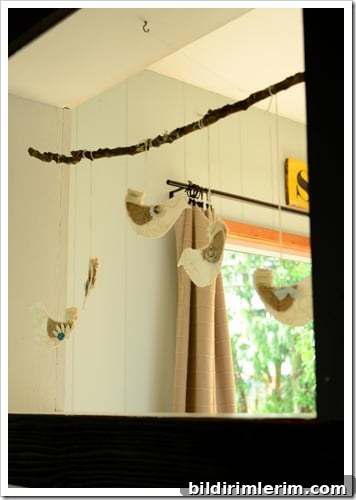
I displayed this little mobile in the open pass-through between our kitchen and living room, but it would also make a delightful addition to a baby nursery or a cozy corner of any room.
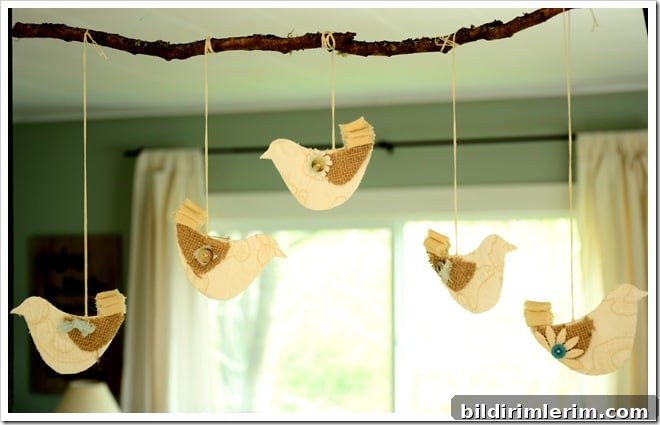
These tiny fabric birds also work well as Christmas ornaments or gift-top decorations. Change the fabric choices for different styles — denim with burlap for a rustic baby-boy look or bright paisley for a teenage bedroom. The possibilities are endless when you mix textures and colors.
So there you have it: an easy, no-sew shabby-chic bird mobile you can make at home with basic supplies and a hot glue gun.
Linking Up: Funky Junk (blog party)