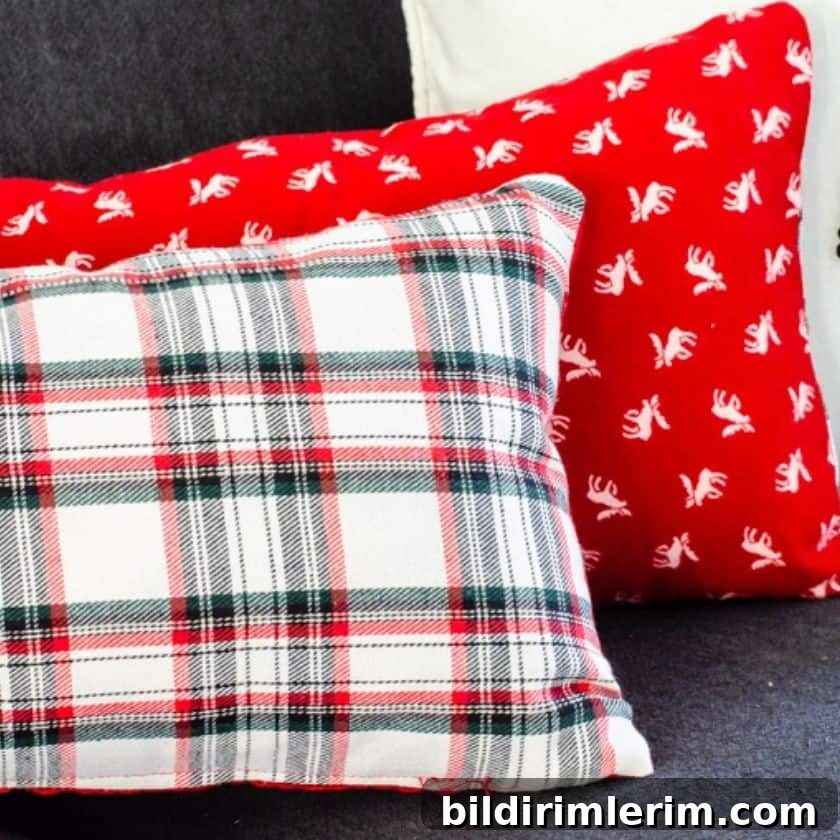
Learn how to make reversible DIY accent pillow covers for Christmas (or any occasion!) with this easy sewing project.
Earlier this year a local fabric shop closed and I picked up several pieces of seasonal flannel at great prices. I stored them away until recently, and within an afternoon they became a set of reversible accent pillow covers that brighten our living room for winter and Christmas.
These reversible covers are simple to sew, practical, and a lovely way to change your decor with just a flip of the pillow. The steps below walk you through the materials, measurements, and sewing sequence so you can make covers to fit any pillow form.

How to Make Reversible Accent Pillow Covers
Simple zipper-closure pillow covers that are reversible — great for winter and holiday decorating.
Supplies Needed
- Two coordinating fabrics of your choice (one for each side). Flannel or quilting cotton work well for seasonal pillows.
- A zipper a few inches shorter than the finished width of the pillow in a matching color (for example, use an 18-inch closed-end zipper for an 20-inch pillow).
- Sewing machine and a zipper foot.
- Sharp fabric scissors or rotary cutter and ruler for accurate cutting.
- Seam ripper.
- Iron and ironing board.
- Pillow form or stuffing to fit the finished cover.
Cutting the Fabric
Cut two fabric pieces to fit the pillow form, one for each side of the reversible cover. To determine the cut size, measure the pillow form and add 1/2 inch to each edge to allow for a 1/2 inch seam allowance on all sides. For example, for a 20-inch square pillow form, cut two 21-inch squares.
Using a self-healing cutting mat and a rotary cutter speeds up the process and improves accuracy, but you can also use a ruler, tape measure, and sharp scissors. Make sure your edges are straight so the finished cover looks neat.
Sew the Base Seam and Attach the Zipper
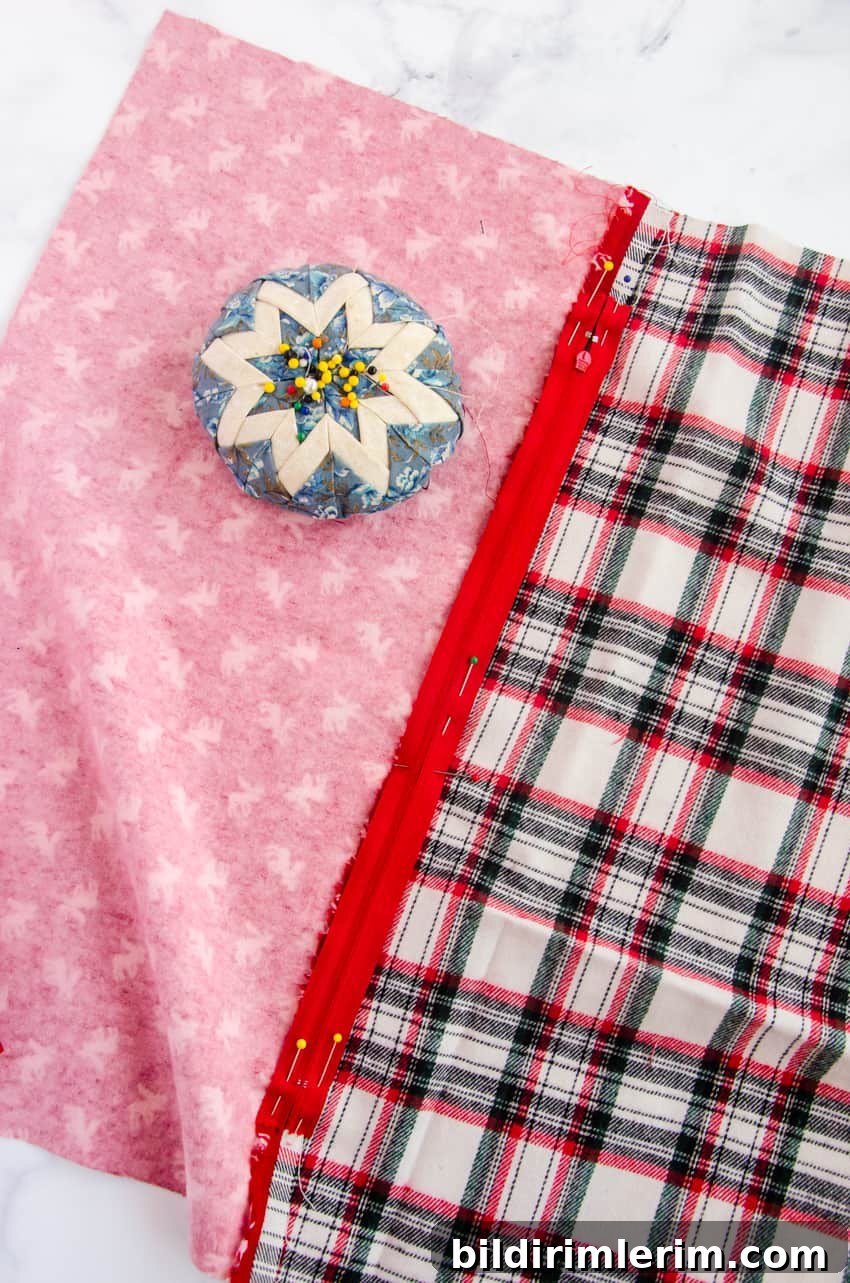
With the right sides of the two fabric pieces together, sew a 1/2 inch seam along one edge — this will be the base seam where you temporarily place the zipper. Press the seam open with an iron so the seam allowance lies flat.
Lay the zipper face down directly on the pressed-open seam and pin it in place, keeping the zipper teeth aligned over the seam line. Switch to a zipper foot on your machine and stitch around the edges of the zipper to secure it to the fabric.
Reveal the Zipper
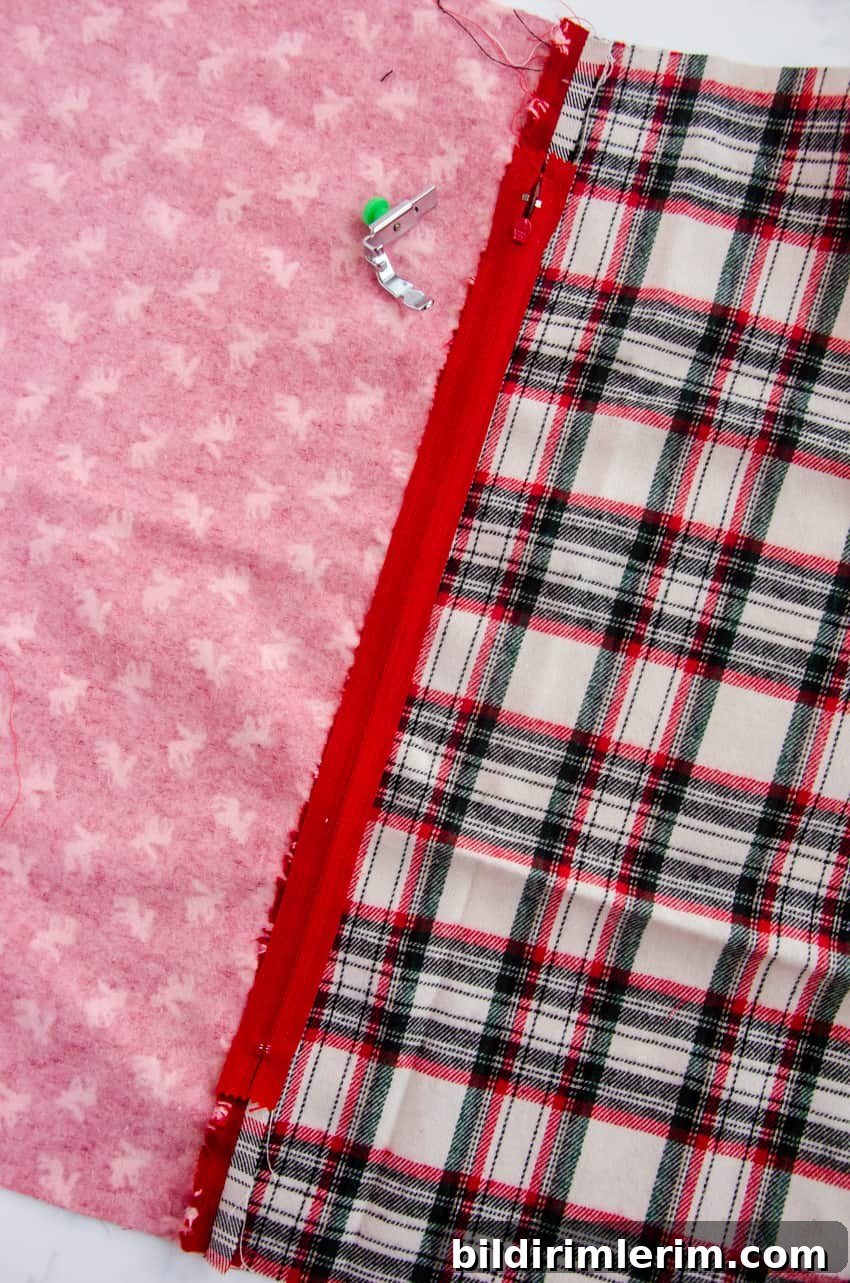
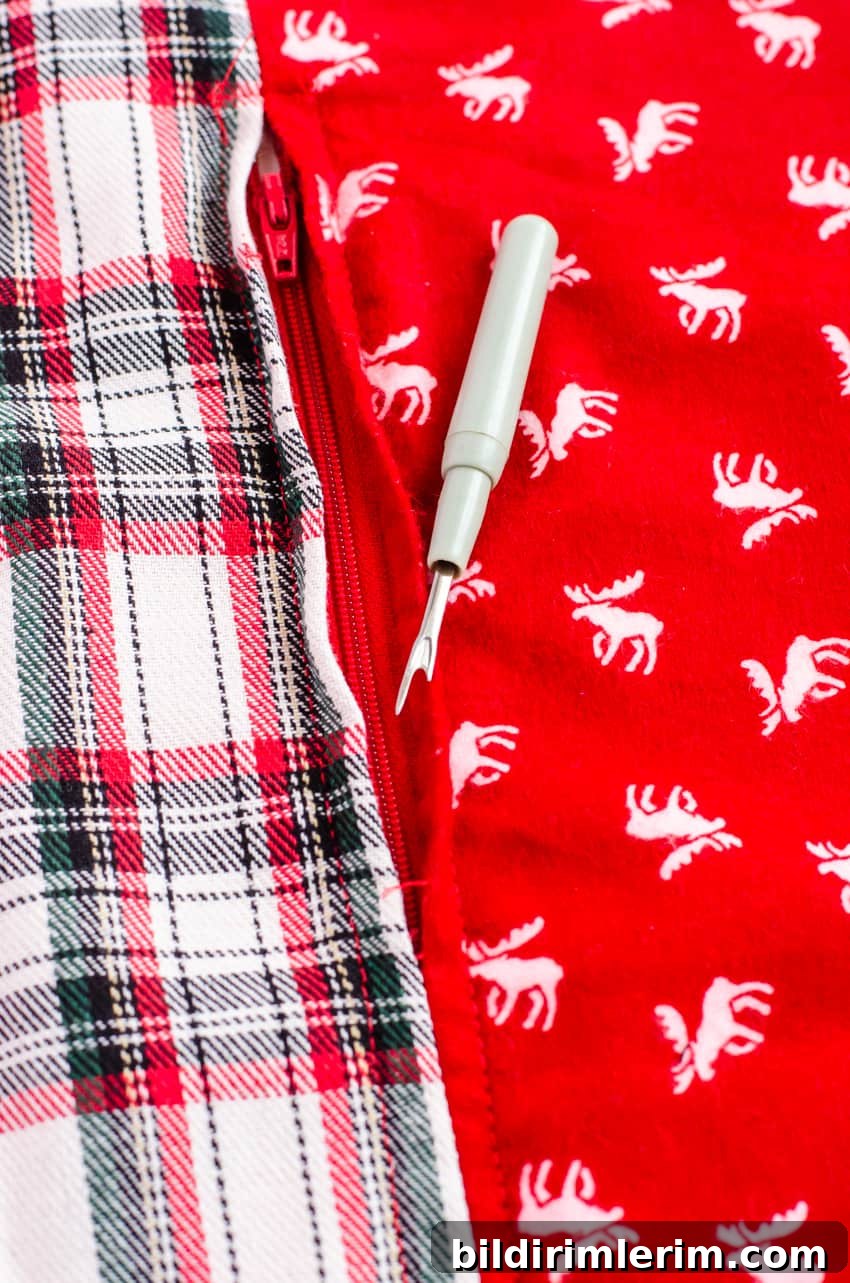
On the right side of the fabric, gently pull apart the seam where the zipper is positioned and use a seam ripper to open that seam through the center, exposing the zipper. This technique hides the zipper inside the seam for a clean finish.
Finish Sewing the Cover
Open the zipper at least partway. With right sides together, sew the remaining three sides of the pillow cover using a 1/2 inch seam allowance. Reinforce the ends of seams with a backstitch so the zipper opening holds up to use. Trim any excess threads and press the seams flat.
Turn, Trim, and Finish
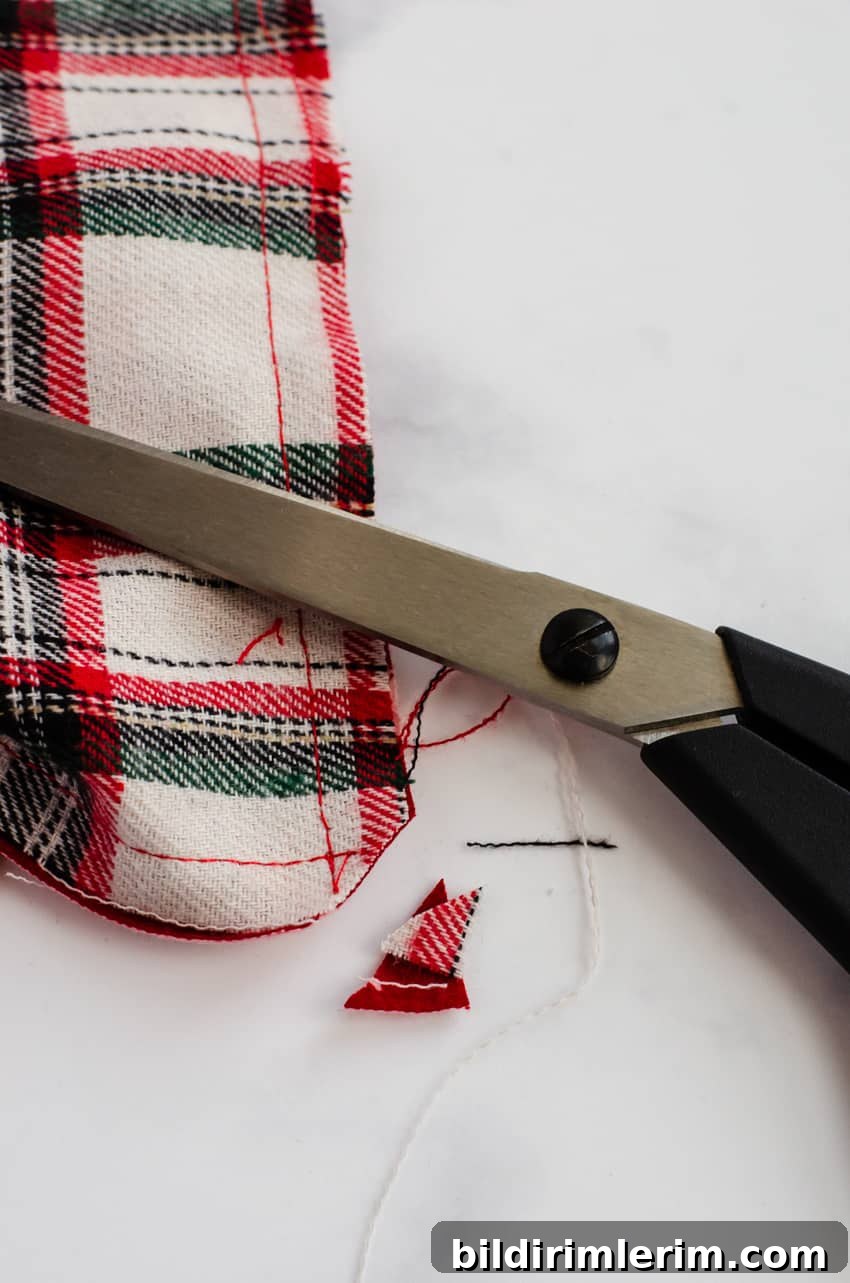
Carefully clip the corners of the pillow cover without cutting into the stitching to reduce bulk, then turn the cover right side out through the zipper opening. Use a blunt tool or a corner turner to gently push out the corners so they are sharp and neat.
Insert Pillow Form and Enjoy
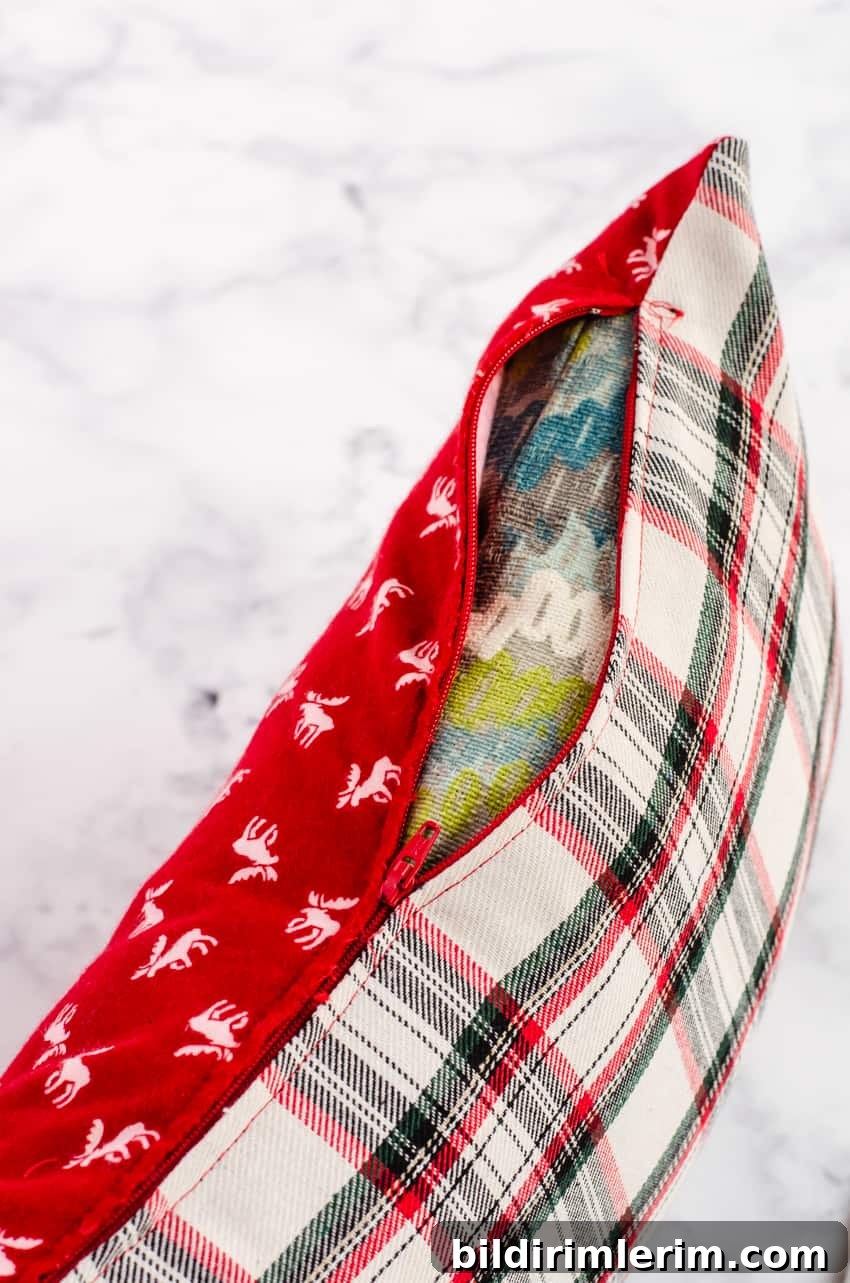
Place the pillow form into the cover and zip it closed. Flip the cushion to show either fabric side depending on the season or mood — one side can be a neutral winter plaid for all-season use and the other a festive pattern for Christmas.
Tips and Finishing Notes
- If your fabrics are very different in weight, use a lightweight interfacing on the heavier fabric to help both sides behave similarly.
- Topstitching around the perimeter after turning can help the seams sit flat and add a professional look.
- To make the zipper subtle, choose a zipper color that matches one of the fabrics and sew it so the zipper is mostly concealed in the seam.
- For easy care, prewash fabrics to avoid shrinking later. Read care instructions for your fabric type; flannel and cotton generally wash well on gentle cycles and tumble dry low.
Project Time and Yield
- Yield: 1 reversible pillow cover
- Approximate time: 30 minutes (varies with experience and preparation)
Making reversible pillow covers is an economical way to update your decor for holidays or seasonal changes. Once you get comfortable with the zipper installation, you can make covers in any size, pattern, or fabric to coordinate with your home. Enjoy the versatility and the sense of accomplishment when your finished pillows add a fresh layer of style to your living space.