
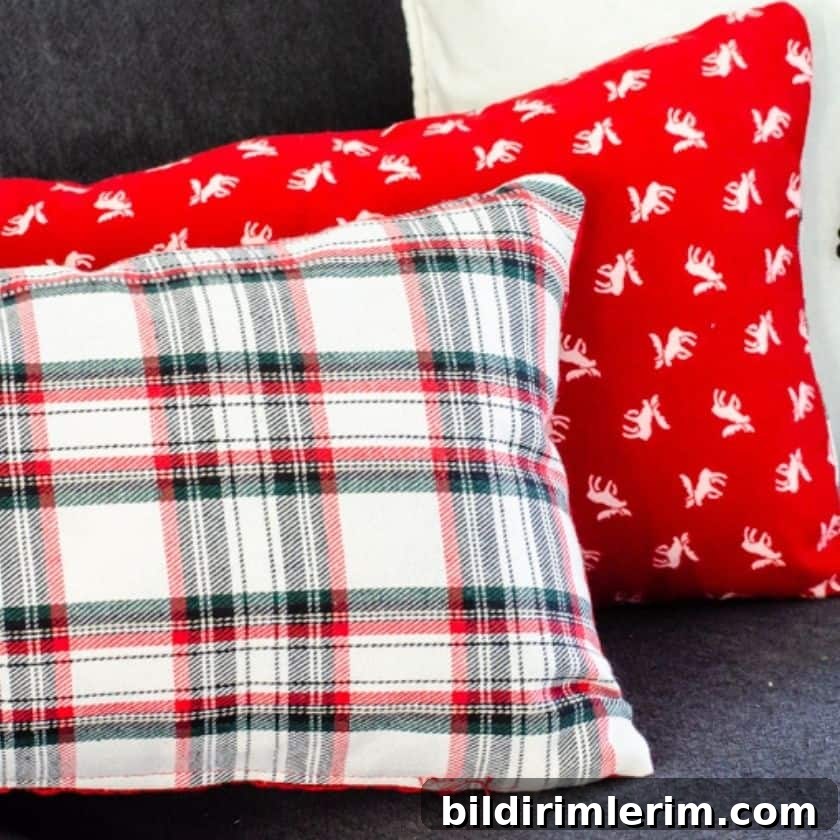
Learn how to make reversible DIY accent pillow covers for Christmas (or any occasion!) with this easy sewing project.
Earlier this year a local fabric shop was closing. As the discounts grew, I found myself stopping by more and more and picked up several Christmas flannels—perfect for seasonal pillows even though it was summer at the time. I finally pulled the fabrics from the closet the other day and in no time they became reversible accent pillow covers for our living room Christmas decor.

How to Make Reversible Accent Pillow Covers
Disclosure: This post originally included shopping suggestions.
Supplies Needed
- Two coordinating fabrics (one for each side) — cotton, flannel, or similar woven fabric
- Zipper a few inches shorter than the pillow width, in a matching color (for example, an 18-inch closed-end zipper for an 18–20″ pillow)
- Sewing machine and zipper foot
- Scissors or rotary cutter and ruler
- Self-healing cutting mat (optional but helpful)
- Seam ripper
- Iron and ironing surface
1. Cut the fabric
Cut two fabric squares to fit your pillow form, using two different but coordinating designs. To determine the size, measure the pillow form and add 1/2 inch to each side for seam allowances. For example, a 20-inch square pillow form needs fabric cut to 21 inches square (this gives a 1/2″ seam allowance on all four sides).
If you have a rotary cutter and self-healing mat, cutting will be faster and more accurate. If not, use a straight ruler, tape measure, and a sharp pair of scissors—accuracy matters so the cover fits the form snugly.
2. Sew the bottom seam and press
Place the two fabric pieces right sides together and stitch a 1/2-inch seam along what will be the bottom edge of the pillow. Press the seam open with an iron so the seam allowance lies flat.
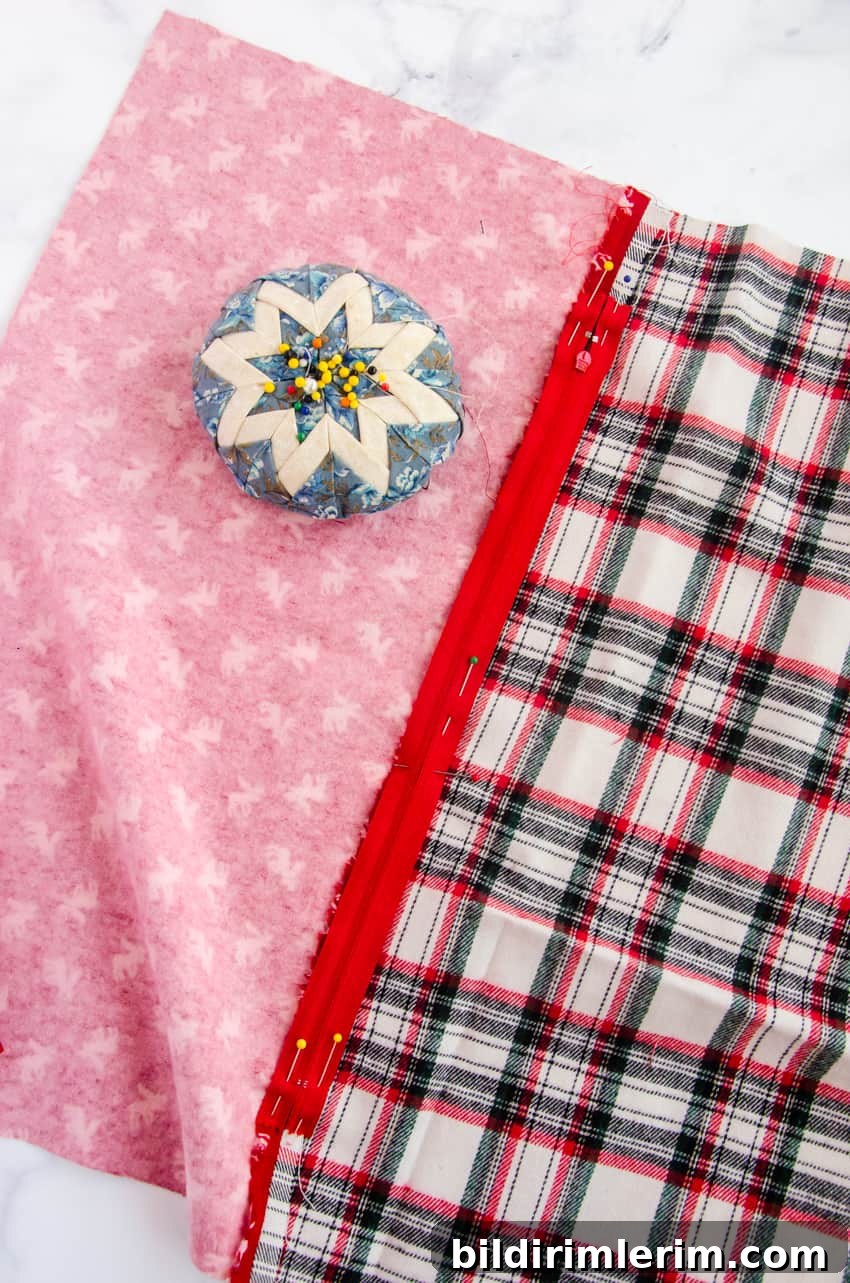
3. Position the zipper
Lay the zipper face down on the opened seam, aligning the zipper teeth directly over the seam line. Pin the zipper in place centered on the seam so it sits evenly across the bottom edge.
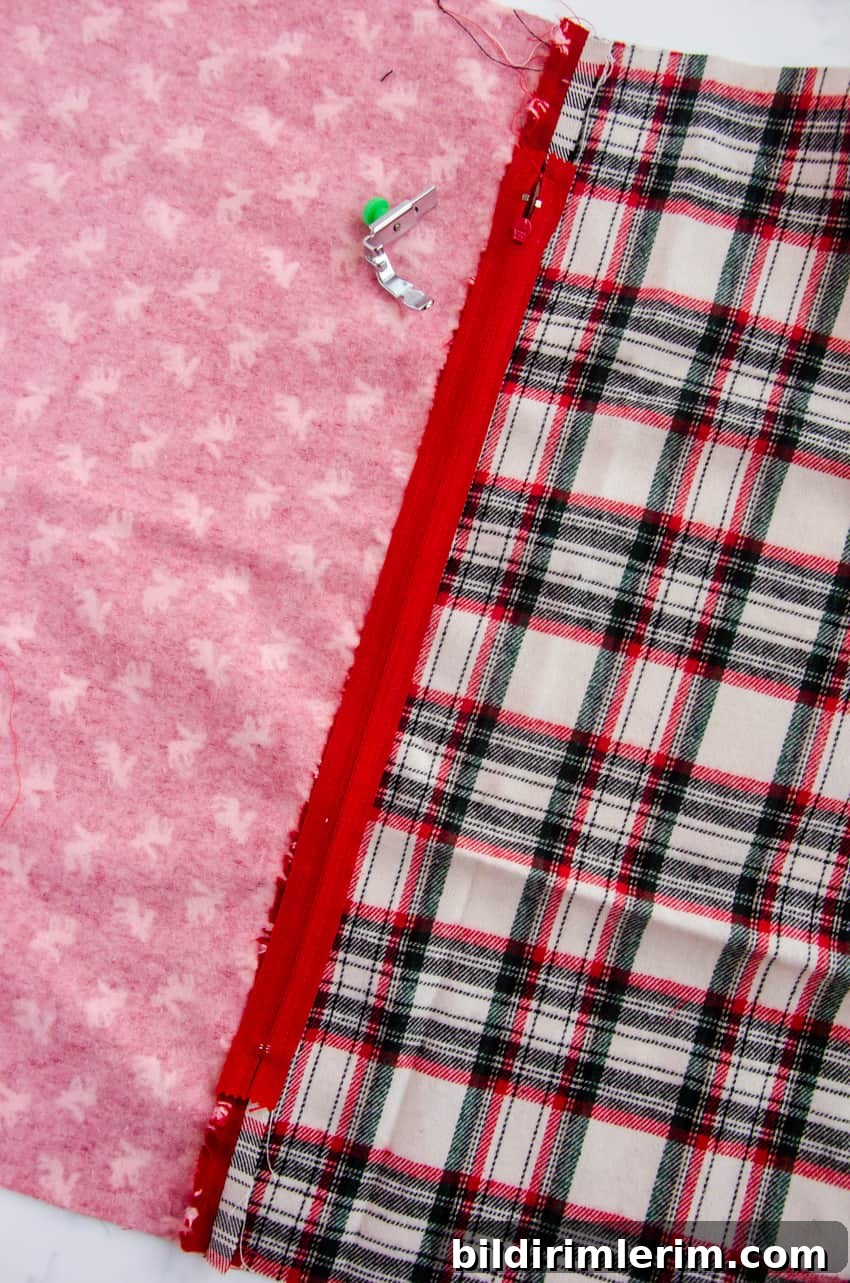
4. Attach the zipper
Switch your sewing machine to a zipper foot and stitch around the zipper edges, securing it to the fabric. Take your time here—sewing close to the zipper teeth gives a tidy finish and makes the zipper easier to open and close.
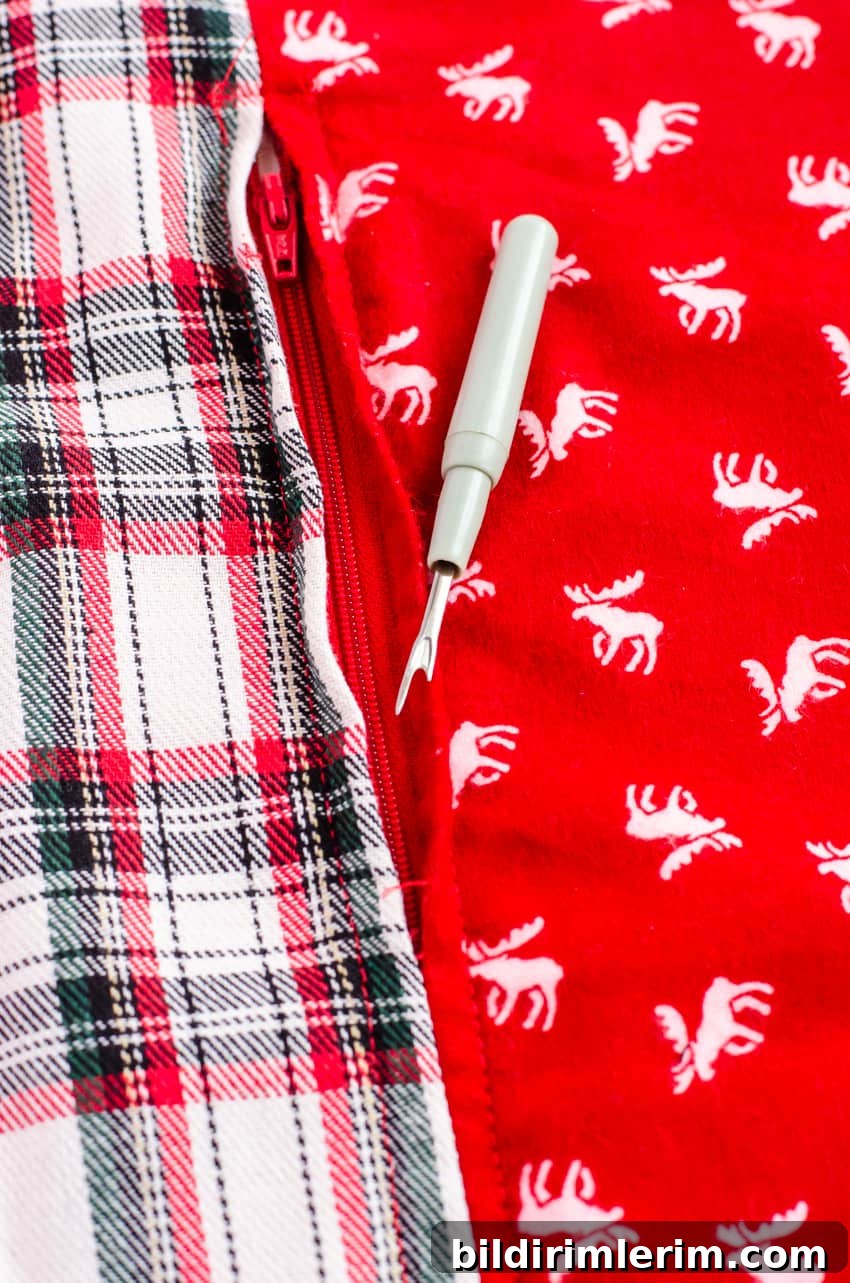
5. Reveal the zipper
On the right side of the pillow, gently pull apart the seam where the zipper is mounted. Use a seam ripper to open that seam—this will expose the zipper on the finished side. When you unzip, you’ll see the zipper in place like magic.
6. Sew the remaining three sides
With the zipper open and right sides together, sew the remaining three edges of the pillow cover using a 1/2-inch seam allowance. Backstitch at the start and end of each seam so seams remain secure when the pillow is in use.
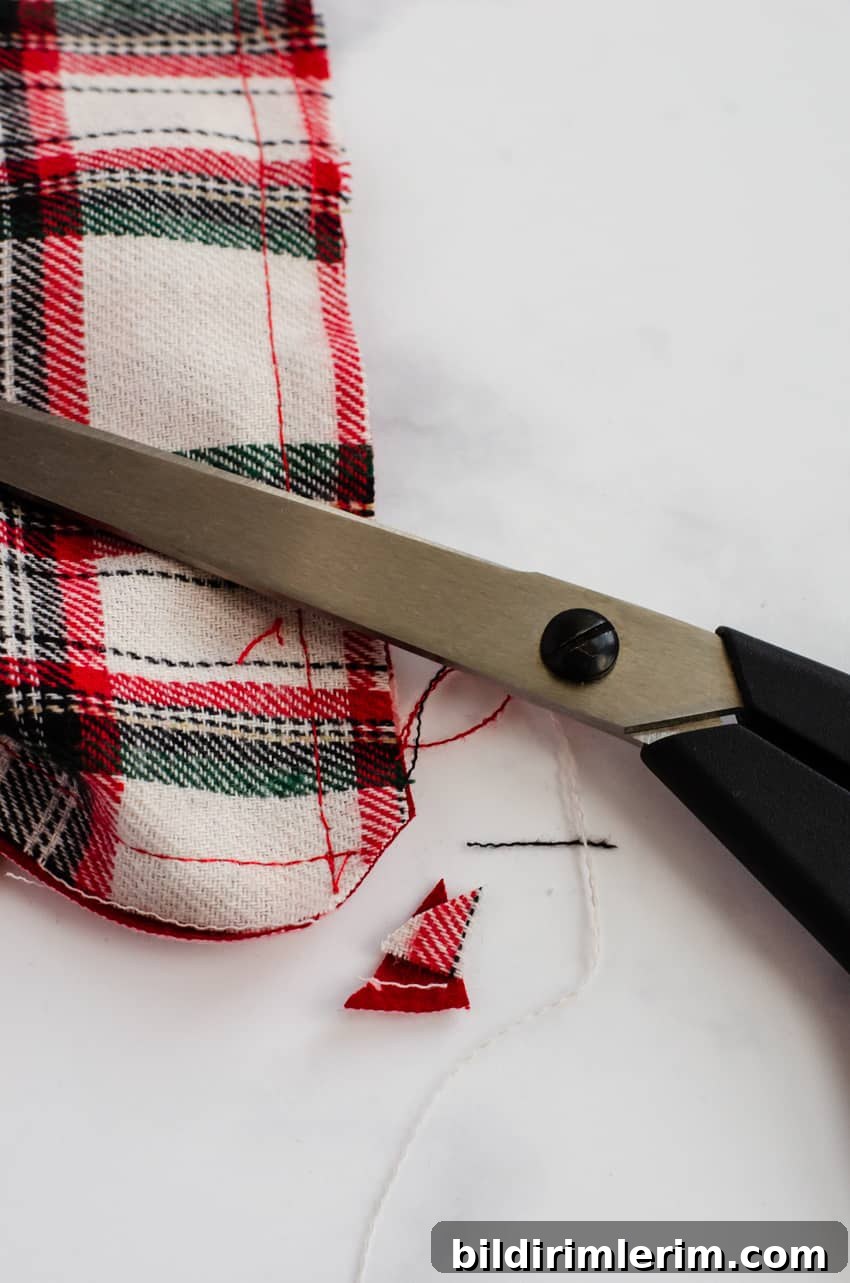
7. Trim corners and turn right side out
Carefully clip the corners close to the seam (but do not cut the stitching). Turn the pillow cover right side out through the opened zipper. Use a blunt tool or your finger to push the corners out for crisp points.
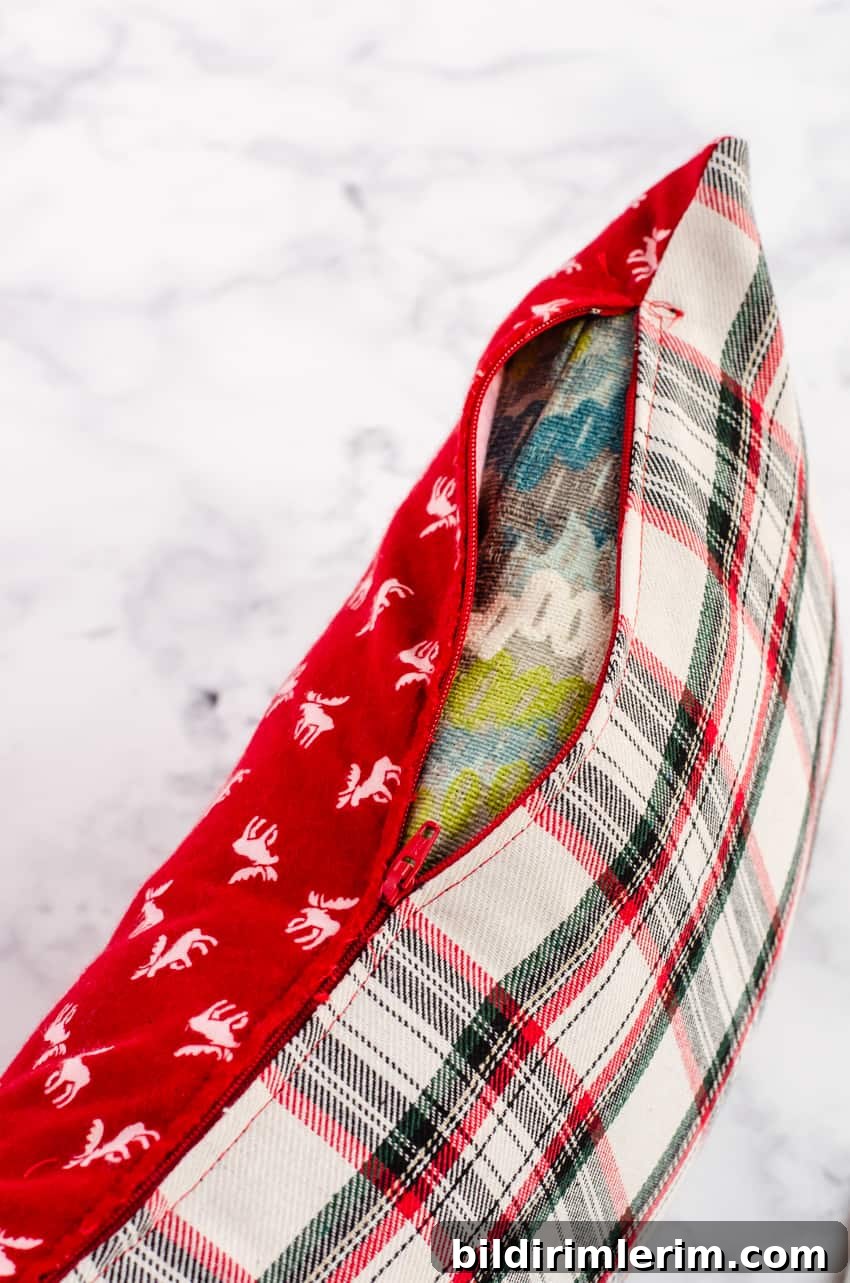
8. Insert the pillow form and finish
Insert the pillow form into the cover, arrange the filling so it sits evenly, and zip the cover closed. Flip the pillow to display either side—one fabric design for a seasonal look, the other for a more neutral or year-round style.

Ta-da—you’ve made a reversible accent pillow cover. These are a quick way to refresh a room for the holidays or switch up a sofa’s look in minutes. For my pillows I used a neutral plaid on one side for winter and a red moose print on the reverse for Christmas; the reversible design means I can swap styles without extra storage.
Tips and care
- Choose fabrics of similar weight so the cover lays smoothly and seams match up.
- Prewash fabrics if you expect shrinkage, then press before cutting.
- For a neater finish, press seams as you sew and trim thread tails.
- Machine wash on a gentle cycle and tumble dry low or air dry, depending on fabric care instructions.
Other DIY accent pillow ideas you might enjoy
- DIY striped throw pillow
- Seasonal print-and-cut throw pillows
- Simple faux-leather pillow cover with zipper

If you enjoyed this project, try making a few different sizes and pair them on your sofa or bed for a layered, homemade look. Happy sewing!