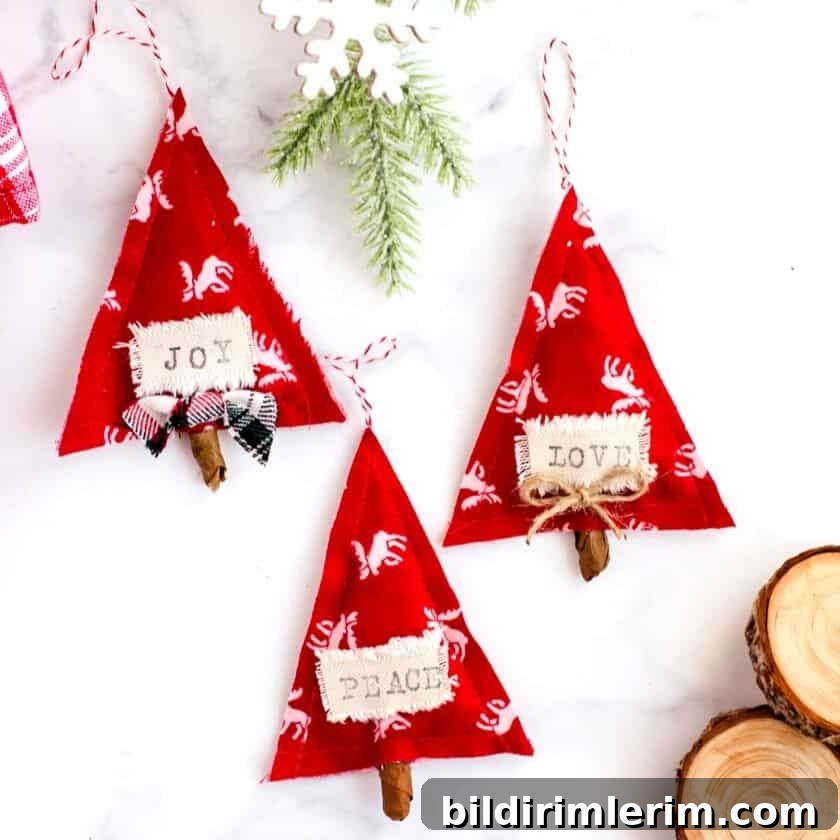
Learn how to make charming DIY Scandinavian Christmas tree ornaments from fabric and letter stamps for a cozy, hygge holiday touch.
I love Christmas decor inspired by Scandinavian hygge — that simple, cozy, relaxed style. While many Scandinavian designs favor white and neutral palettes, a small pop of color can add warmth and personality. Using leftover flannel and simple supplies, these fabric tree ornaments are quick to make and perfectly blend rustic and minimalist styles.
Because I had fabric left over from flannel pillow covers, I decided to turn scraps into easy, handmade ornaments that look great on any tree.
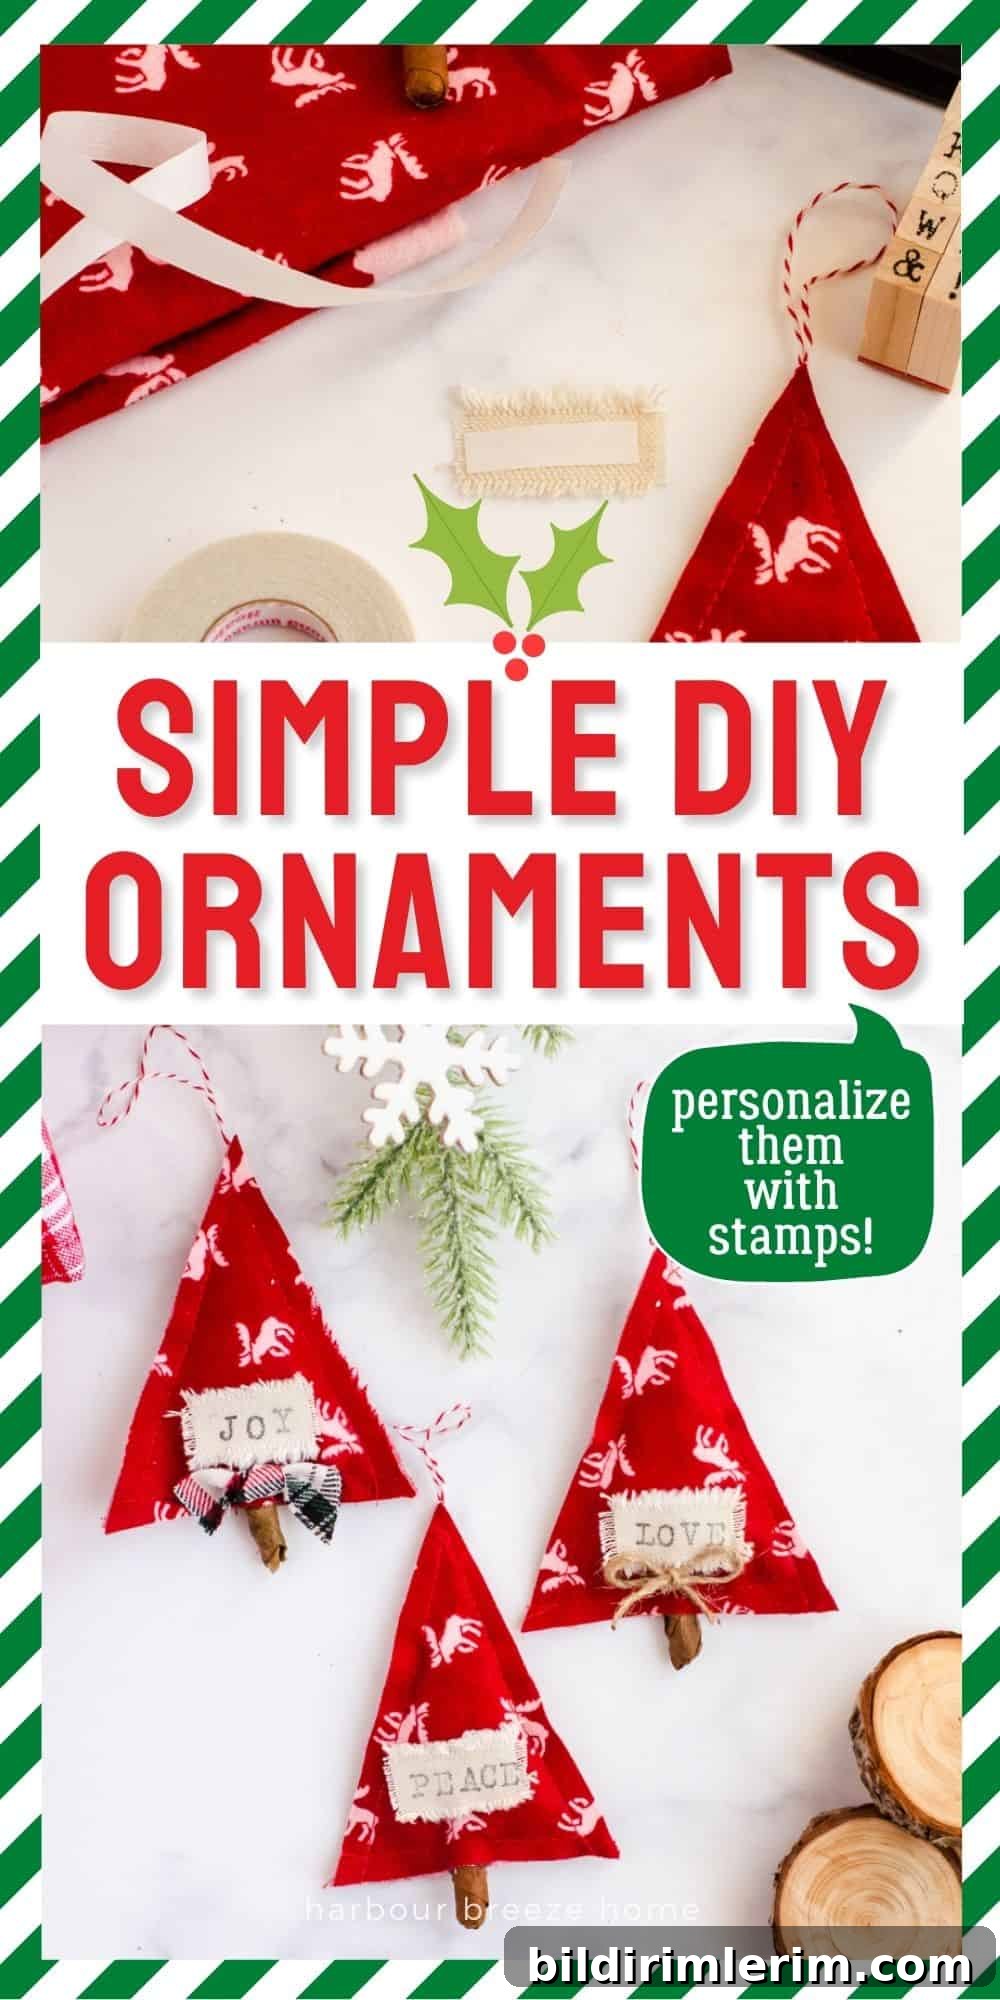
DIY Scandinavian Christmas Tree Ornaments
Disclosure: This post originally referenced shopping links for convenience; materials can be sourced locally or from your craft stash.
Supplies you’ll need for these fabric Christmas ornaments:
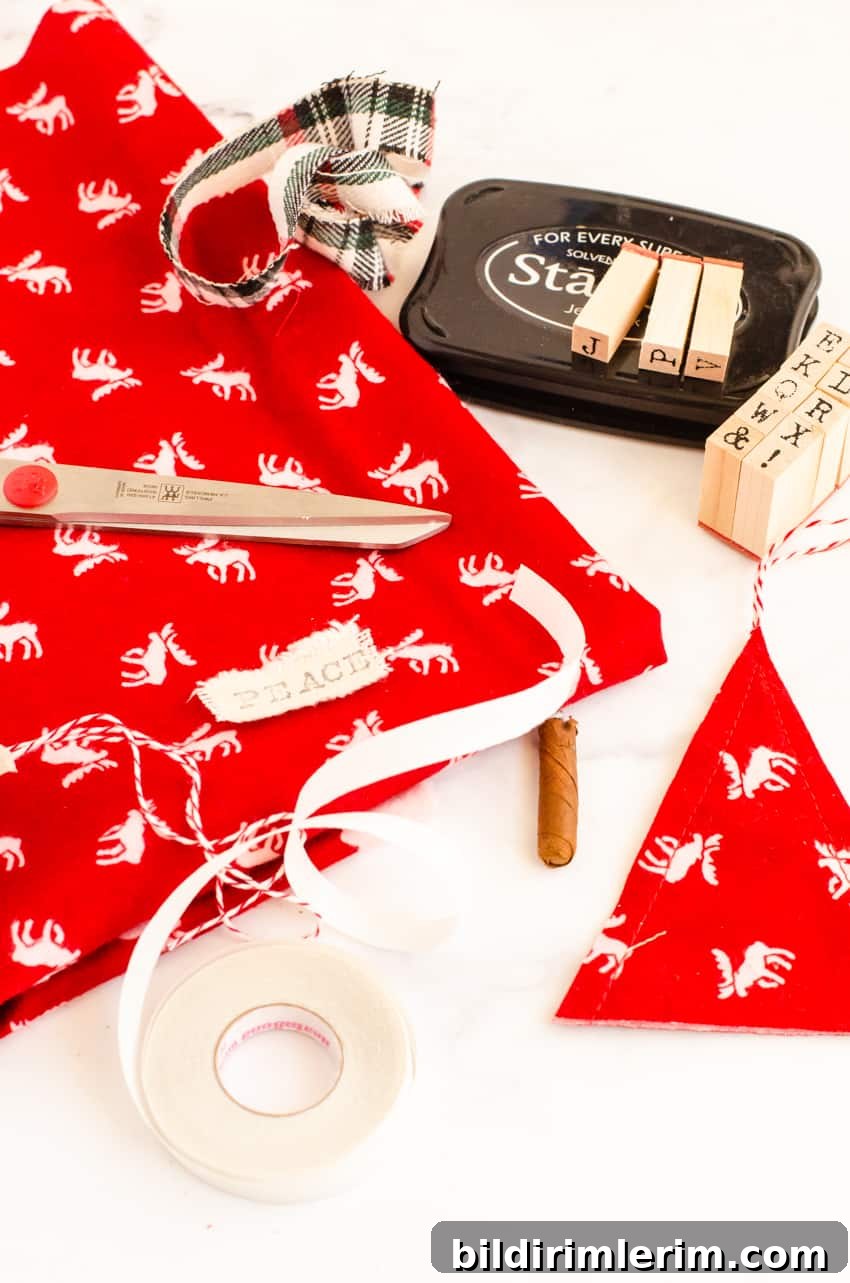
- Fabric scraps (flannel, cotton, or linen work well)
- Sewing machine or needle and thread
- Heat-and-bond seam tape or fabric adhesive
- Twig or small wooden dowel for the trunk
- Iron and ironing surface
- Baker’s twine, ribbon, or jute for hangers
- Letter stamps and permanent ink for personalization
- Cotton batting, polyester stuffing, or shredded paper for filling
Step 1: Create your tree pattern and cut the fabric
Make a simple paper template by deciding the desired width and height of your ornament. Cut a rectangle to those dimensions, fold it in half, and trim the bottom corner from the open edge diagonally up to form a triangle when unfolded. My finished ornament is about 4 inches wide at the base and 5 inches tall. Use the template to cut two matching tree shapes from your fabric.
Step 2: Prepare the hanger
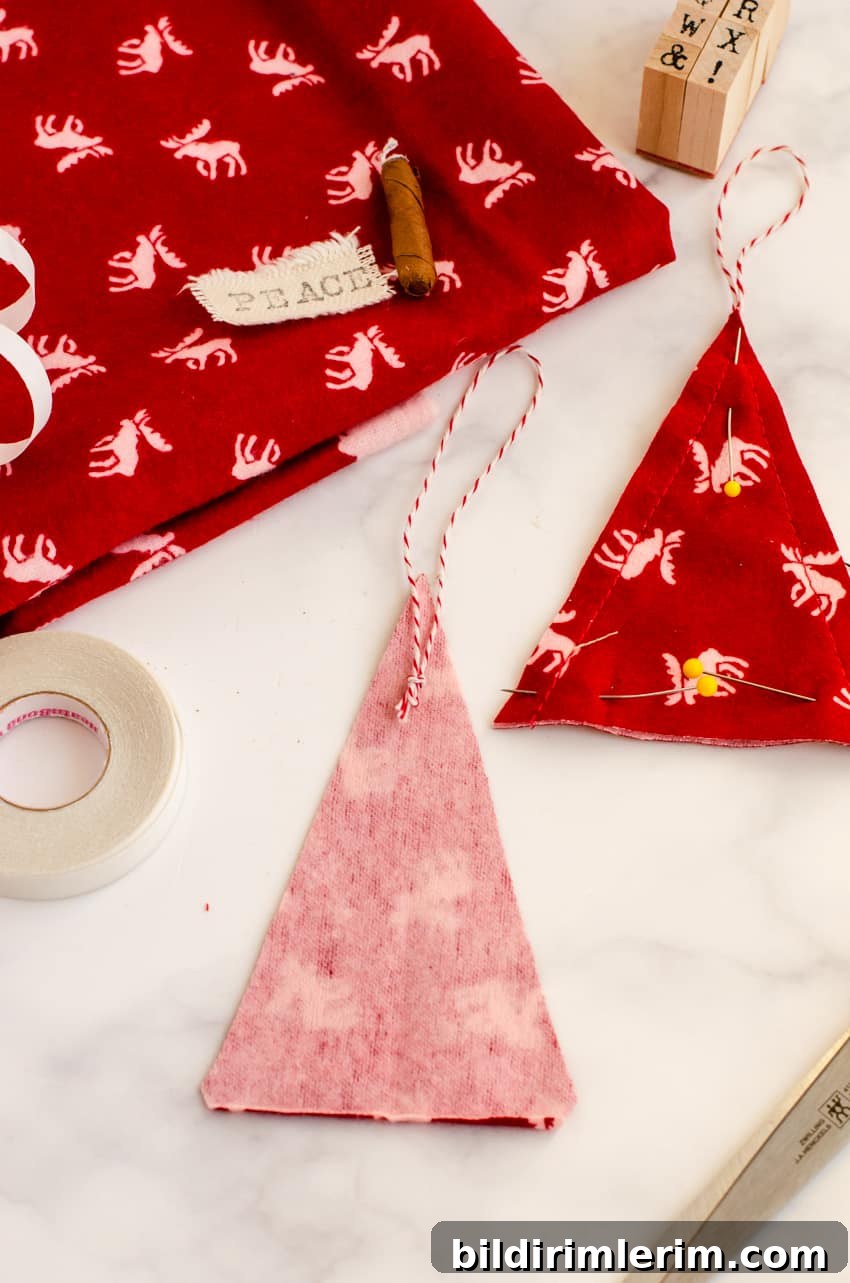
Cut a 12-inch length of baker’s twine, ribbon, or jute. Tie a small knot near one end, then position the loop so the knot sits just below the tree point on the back side of one fabric layer. This places the hanger inside the seam for a neat finish.
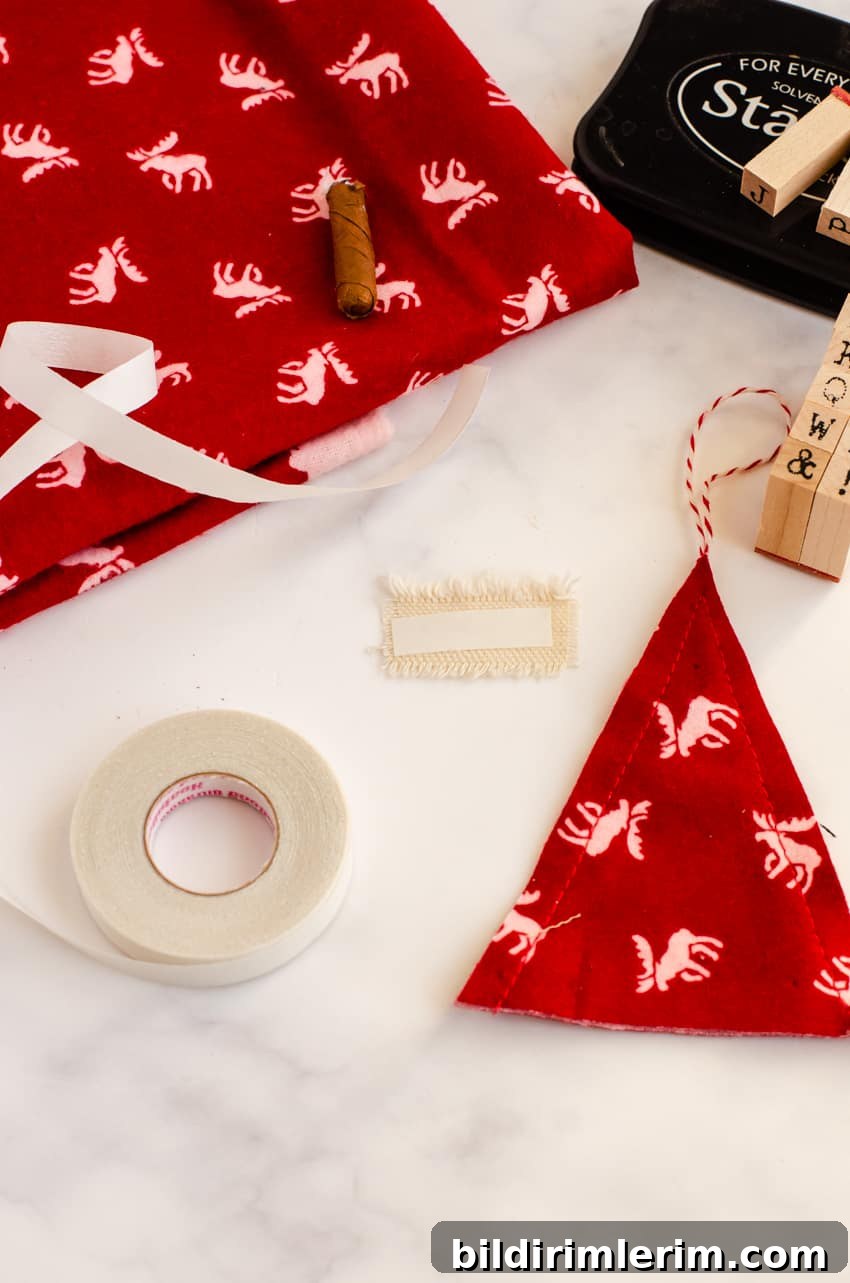
Step 3: Sew the tree and insert the hanger
With right sides together, sew along both edges of the tree using about a 1/2 inch seam allowance, making sure the twine hanger is caught between the layers at the top. Leave the bottom open for stuffing and trunk placement.
Step 4: Make the message strip
Tear or cut a plain cotton fabric strip about 3/4 inch wide and fray the edges for a rustic look. Iron heat-and-bond to the back of the strip for stability and to prevent excess fraying. This small tag becomes a place for a stamped word or name.
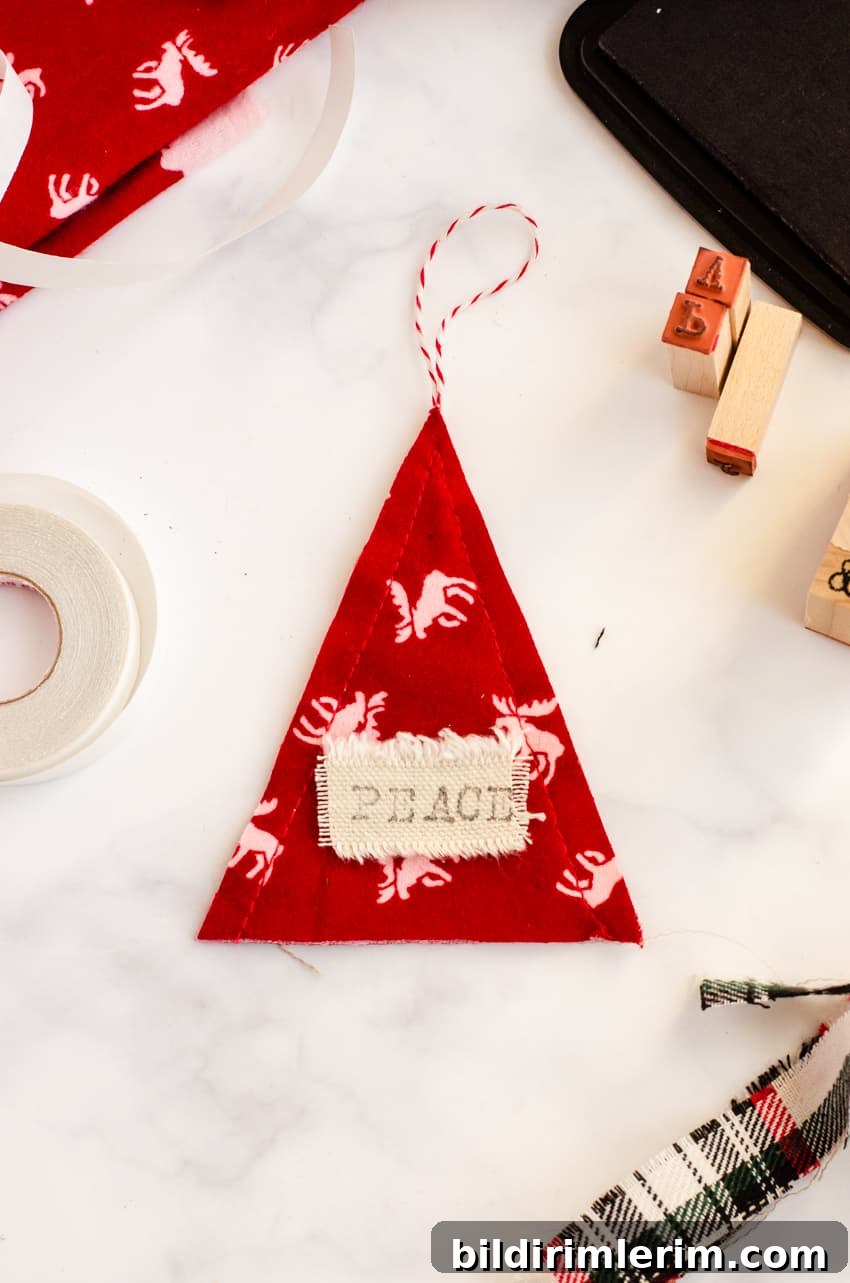
Step 5: Stamp and attach the message
Use letter stamps and permanent ink to add a short word like JOY, PEACE, or a name. Let the ink dry fully, then peel off the heat-and-bond backing and press the tag onto the front of the ornament with your iron according to the tape manufacturer’s instructions.
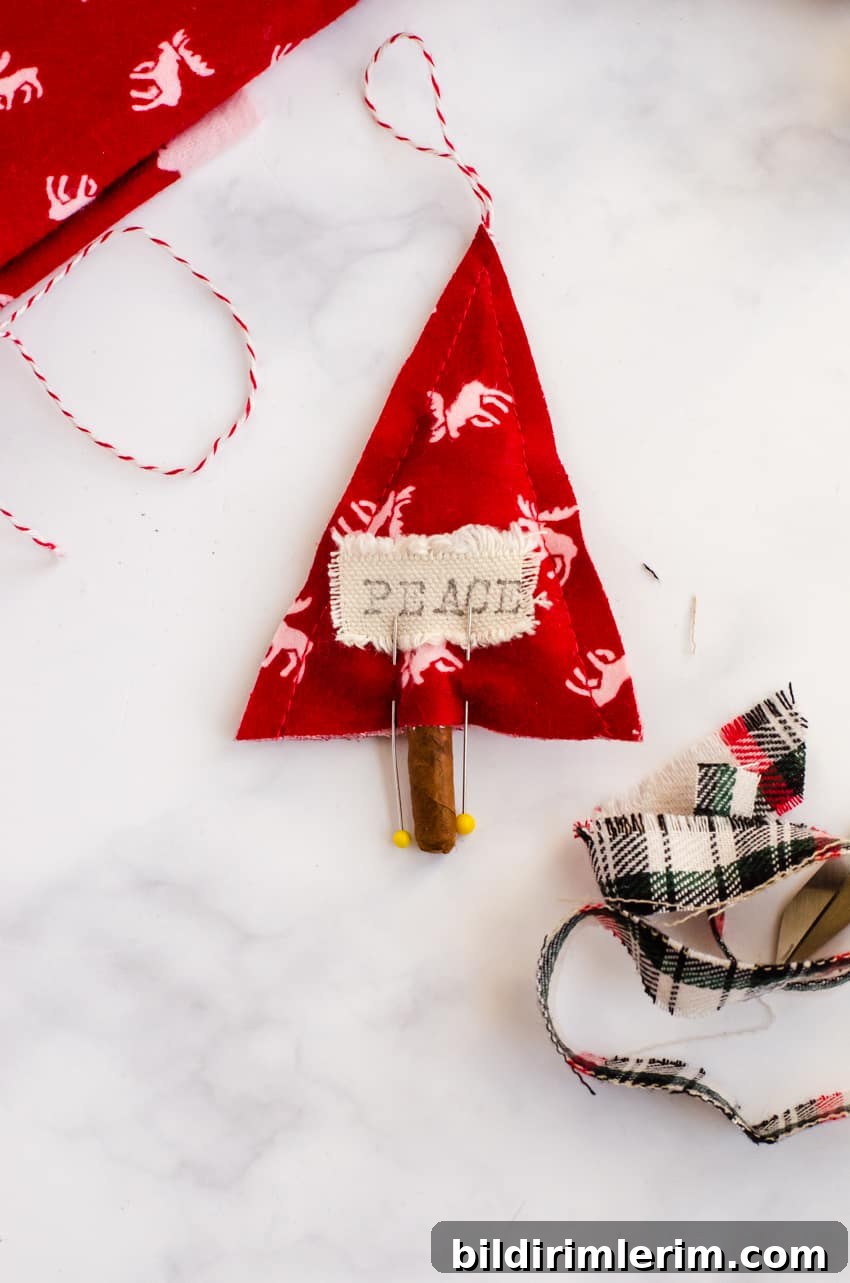
Step 6: Stuff and finish with a trunk
Lightly fill the tree with batting or shredded paper. Place a small twig or wooden dowel in the center of the bottom to form the trunk; mark its position, sew the bottom closed except where the trunk will sit, then secure the twig with a dab of hot glue. Trim any loose threads and gently shape the tree so it hangs nicely.
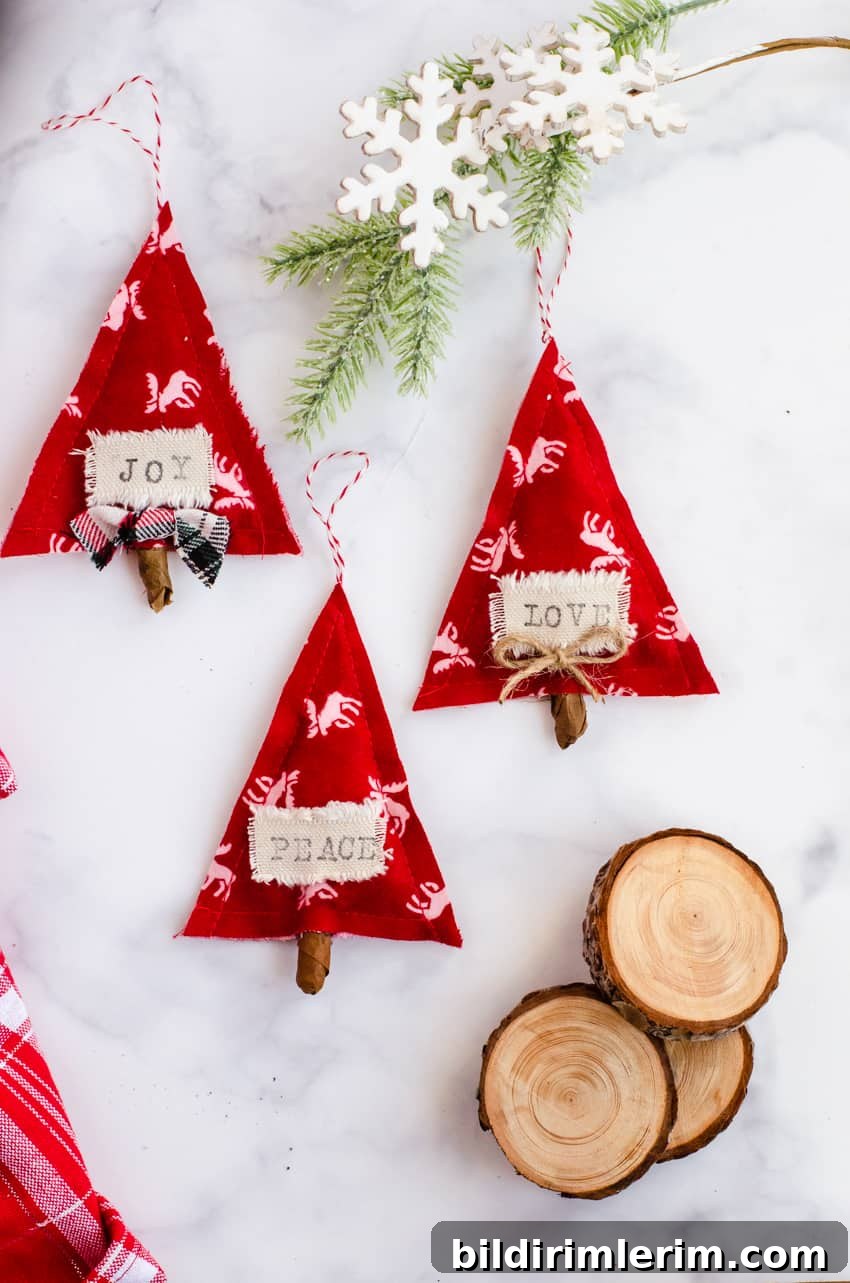
These handmade ornaments look beautiful on both real and artificial trees. They also make thoughtful, personalized gift tags when stamped with a recipient’s name. For a coordinated set, vary fabric patterns, thread colors, and stamped messages.

Tips, variations, and care
- Use lightweight batting so the ornament keeps a flat, Scandinavian silhouette.
- Try neutral linen for an authentic, minimalist look or plaid flannel for a cozy feel.
- Stamp names for place-setting ornaments or use holiday words for a classic set.
- If you expect handling, stitch the edges more securely and avoid wet-cleaning stamped areas; spot clean gently if needed.
- Glue on small embellishments like wooden beads or tiny buttons for extra charm, keeping the design simple to stay true to Scandinavian style.
More ornament ideas to try
- Snow globe-style ornaments made from inexpensive supplies
- Paper star ornaments for a handmade, lightweight option
- Bird-shaped ornaments with simple stitching and stuffing
- Chalkboard-look ornaments for personalized messages
- Simple decorating ideas to style your tree and holiday mantel
Join the community
For more craft projects and seasonal ideas, consider subscribing to a newsletter or joining a craft group to exchange inspiration, free printables, and step-by-step tutorials.