
How I Organize My Blogging with a Simple Binder
I love making lists. I enjoy sitting down with a pen and paper, plotting, planning, dreaming, and sketching out ideas. For me the process always starts the old-fashioned way: a notebook, a pen, and a clear head. Being a bit old-school helps me focus—no screens, just ink and intention.
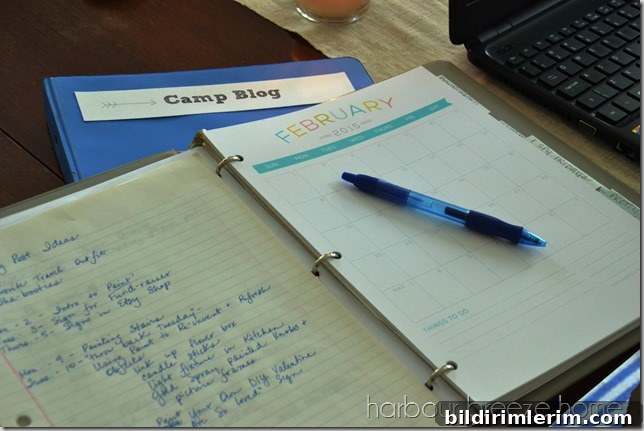
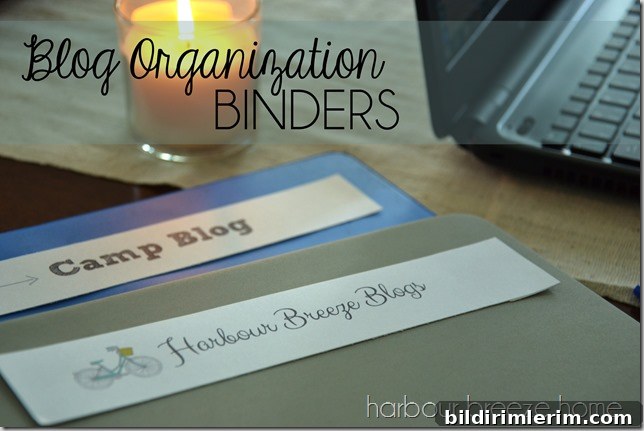
Earlier this year I dug into the business side of blogging because my day job in a busy camp kitchen is demanding, and I wanted a reliable way to keep blogging regularly. Every guide I read emphasized one thing: you need a plan. So I decided to act on that advice and built a simple blog organization binder to keep ideas, schedules, and drafts in one place.
What I Put in My Blog Organization Binder
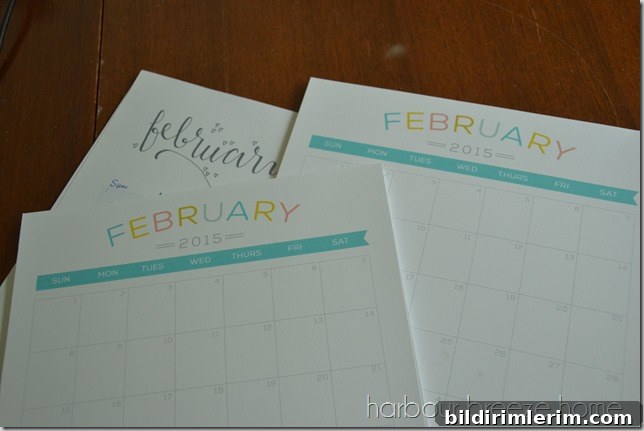
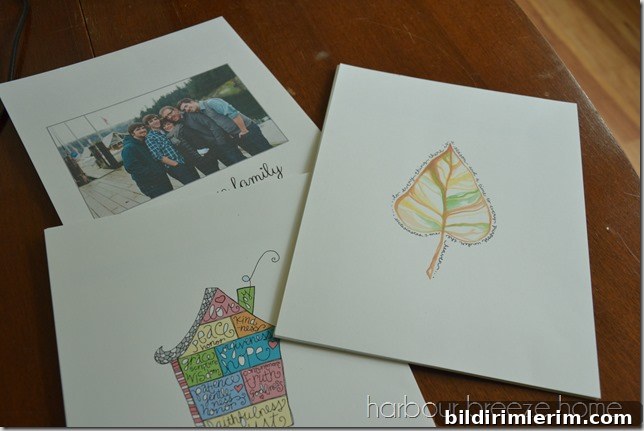
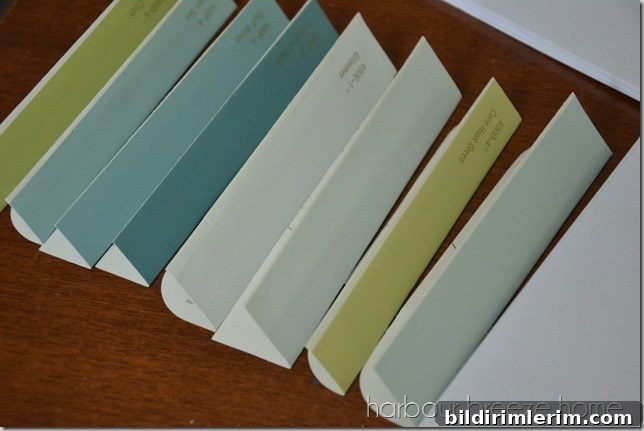
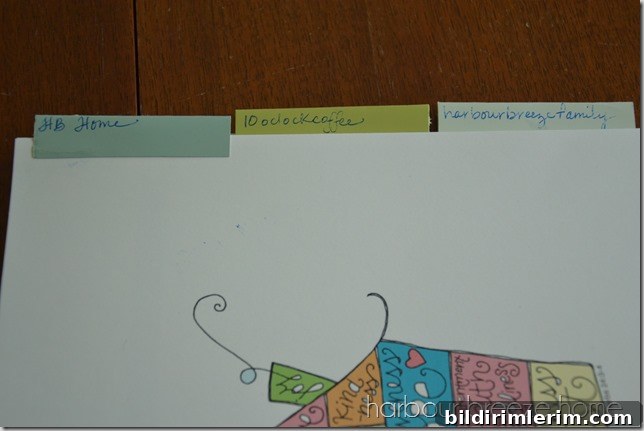
The binder is intentionally low-tech but highly functional. I printed separate yearly calendars—one for each blog I write—so I can visualize long-term themes and seasonal content at a glance. I added three decorative divider pages to separate sections and used paint-chip strips to make colorful, reusable labels for each divider. A little glue and a few hole punches and everything was ready to live in the binder.
How the Binder Helps My Blogging Workflow
My binder serves several practical purposes. First, it houses a content calendar where I map post dates, themes, and promotion plans. When I can’t write for a week or two because of work demands, the calendar prevents ideas from slipping away. Second, it stores inspiration—sketches, clippings, rough outlines, and quick notes—so I always have a starting point when I sit down to draft. Third, it holds checklists: an SEO checklist, an image/prep checklist, and a publishing/social-sharing checklist that streamlines the final steps before a post goes live.
A simple system like this doesn’t automatically guarantee consistent posting—life throws unexpected tasks at you—but it makes resuming work far easier. When I finally get a free moment to plan and create, everything I need is already organized and accessible.
Practical Tips for Using a Blog Binder Effectively
- Create a content calendar and block out topics, deadlines, and promotion windows for the month and quarter.
- Batch similar tasks: draft multiple posts at once, edit in a single session, or schedule all images in one go to save time.
- Color-code sections by blog, content type, or priority so you can find ideas and deadlines quickly.
- Keep a small “ideas” pocket for fleeting thoughts and a separate folder for longer-term projects or series.
- Include checklists for SEO, images, and social media to avoid last-minute oversights.
- Set realistic goals. If your schedule is unpredictable, plan fewer, higher-quality posts rather than overcommitting.
- Review and adapt monthly. Use a page to track which posts performed well, which topics resonated, and what to change next month.
Final Thoughts
Organization tools—whether digital or paper—are only as effective as the time you invest in them. My binder is a compact editorial system that keeps ideas, calendars, and checklists in one place. It doesn’t eliminate interruptions, but it makes picking up where I left off much faster and less stressful.
I have some fun ideas planned for February on this blog, and they’re already marked on my calendar. When you finally get the chance to sit down and plot, plan, and dream, having a simple organizer at hand makes that time more productive and enjoyable.
What are you planning this month? Whether it’s a full editorial calendar or a single idea on a sticky note, put it somewhere you’ll find it when inspiration strikes.