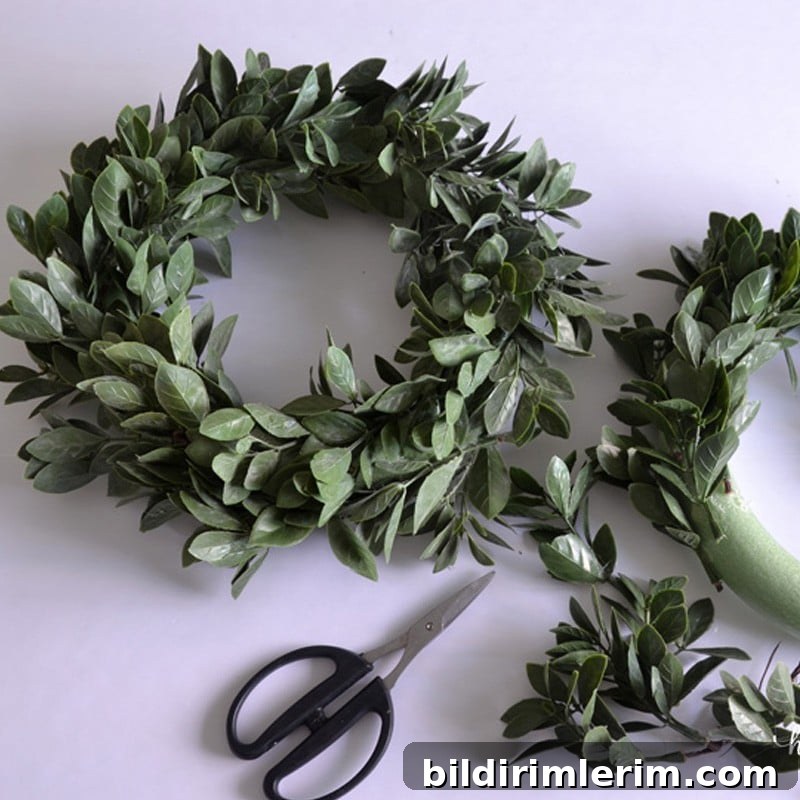
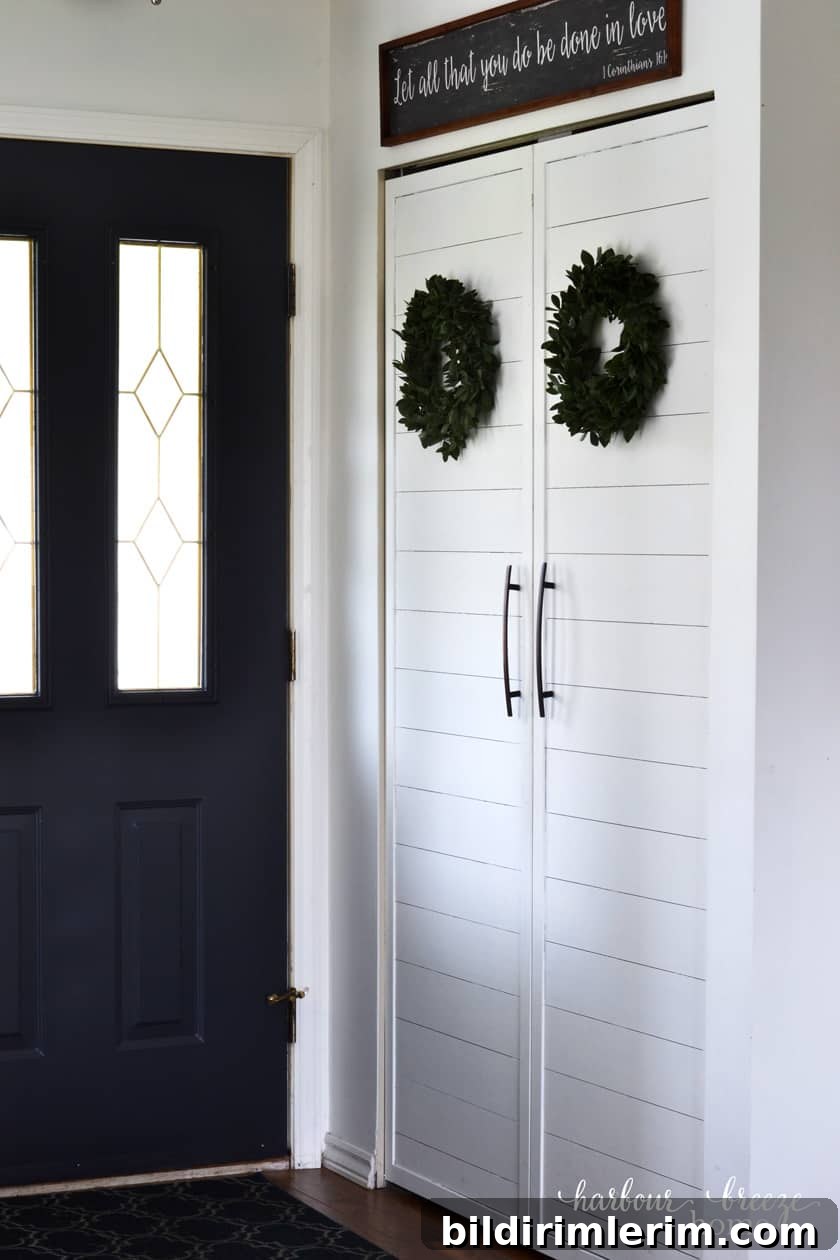
I’ve always loved the look of boxwood wreaths in home décor and had been hunting for small faux boxwood wreaths for the doors of my entryway closet. After a long search that revealed either high prices or a lack of small sizes, I decided to make my own. The result was an easy, affordable DIY project that created two perfect mini boxwood wreaths for my interior doors.
How to Make a Simple and Affordable Small Faux Boxwood Wreath
Supplies needed
- Faux boxwood stems or leaves
- Foam wreath form (Dollar Tree or similar is fine)
- Hot glue gun and glue sticks
- Wire cutters or floral snips
- A long metal skewer, knitting needle, or chopstick (to press glued pieces without burning your fingers)

Step 1: Source and prepare the faux boxwood
After searching for small, inexpensive boxwood greenery, I found a full-sized wreath on a deep after-Christmas clearance for just $6. I removed the bundles of boxwood from that wreath and washed them in warm water with a bit of dish soap and vinegar to remove dust and any residue. Once dry, I separated each bundle into individual stems using wire cutters. Working with single stems makes placement easier and produces a neater, fuller look on a small wreath form.
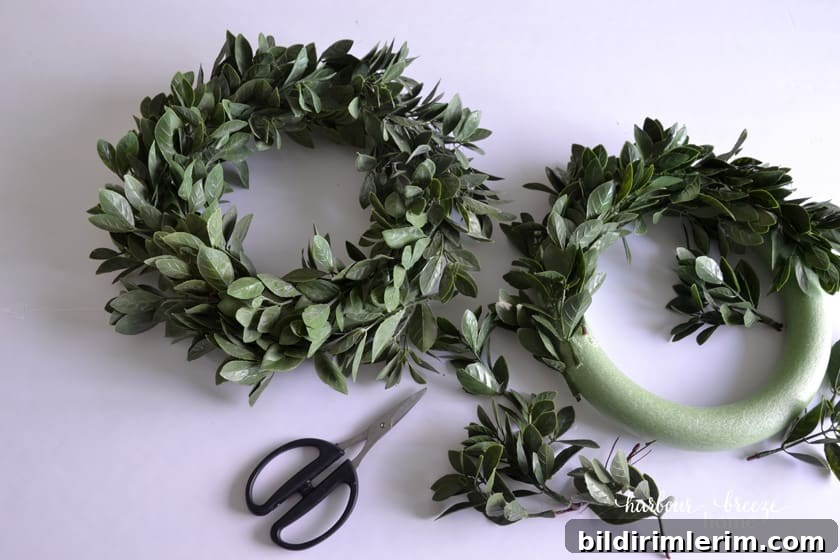
Step 2: Attach the greenery to the foam wreath form
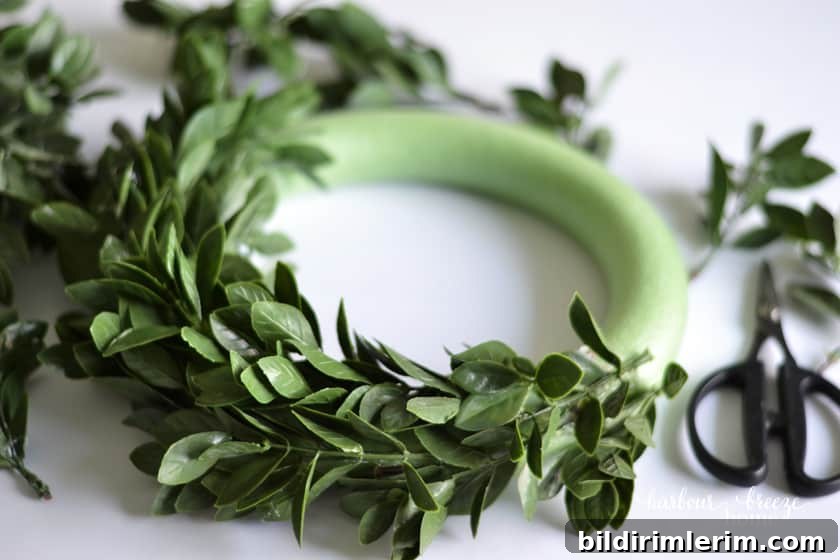
Place the foam wreath form on your work surface and begin along the outer edge. Hold a small stem in place, squeeze a bead of hot glue onto the form, then press the stem down and hold it with the end of a knitting needle or skewer. This technique prevents accidental burns and helps the stems set cleanly. Aim to have all the leaves pointing in the same general direction for a natural, consistent appearance.
Many boxwood wreaths are built on grapevine forms for a rustic feel, but foam forms are lightweight, inexpensive, and easy to work with—especially for small indoor wreaths. I was initially worried the hot glue might melt the foam, but with quick application and small glue beads, it held up fine.
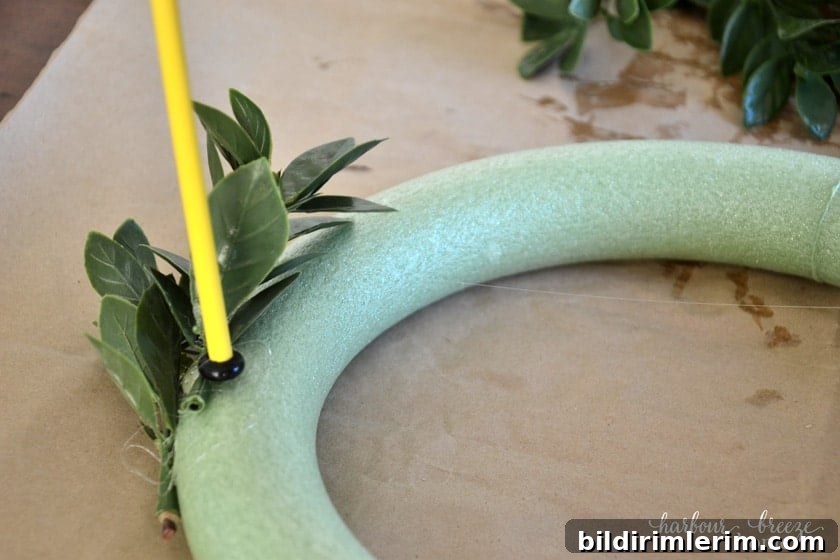
Step 3: Build up coverage and check symmetry
Work your way around the wreath, overlapping stems slightly so the foam base is completely hidden. Periodically lift the wreath and view it from different angles to ensure even coverage and symmetry. If any spots look sparse, add more stems until the wreath reaches the fullness you want. Small stems allow precise placement, which is especially helpful with a mini wreath.
Step 4: Finishing and hanging
Once the front and sides are fully covered and you’re happy with the shape, let the glue cool completely. For hanging on an interior door, I simply hammered a small nail into the closet door and pressed the wreath onto it—the nail punctures the foam and holds the wreath securely. For a front door, loop a burlap or linen ribbon around the wreath and hang it from a hook or door hanger for a polished look.
Optional ideas and variations
- Add a bow of burlap, linen, or ribbon to change the wreath’s style for seasonal decor.
- Mix in a few preserved or faux floral sprigs for a pop of color or texture.
- Use a grapevine form if you prefer a more rustic base and can find one locally or online.
Other wreath tutorials
- 5 minute Fall wreath
- Spring Front Door Wreath
Creating small faux boxwood wreaths is an approachable, budget-friendly DIY that yields a fresh, classic look for interior doors or even a front entrance. With simple supplies and minimal time, you can customize size, fullness, and style to suit your home.