
Can’t find (or afford) the perfect accent pillow for your space? Learn how to make a DIY striped throw pillow cover in under 15 minutes using a simple painted-pillow technique.
I spent months hunting for the ideal yellow throw pillows. When I refreshed my living room for spring, I decided to make my own—and discovered a fast, foolproof way to turn a plain Ikea pillow cover into a large, nautical-style striped pillow in about 15 minutes.
This method requires minimal tools, no measuring, and produces clean, evenly spaced stripes every time. Follow the steps below and you’ll have custom, washable accent pillows that suit your decor and budget.
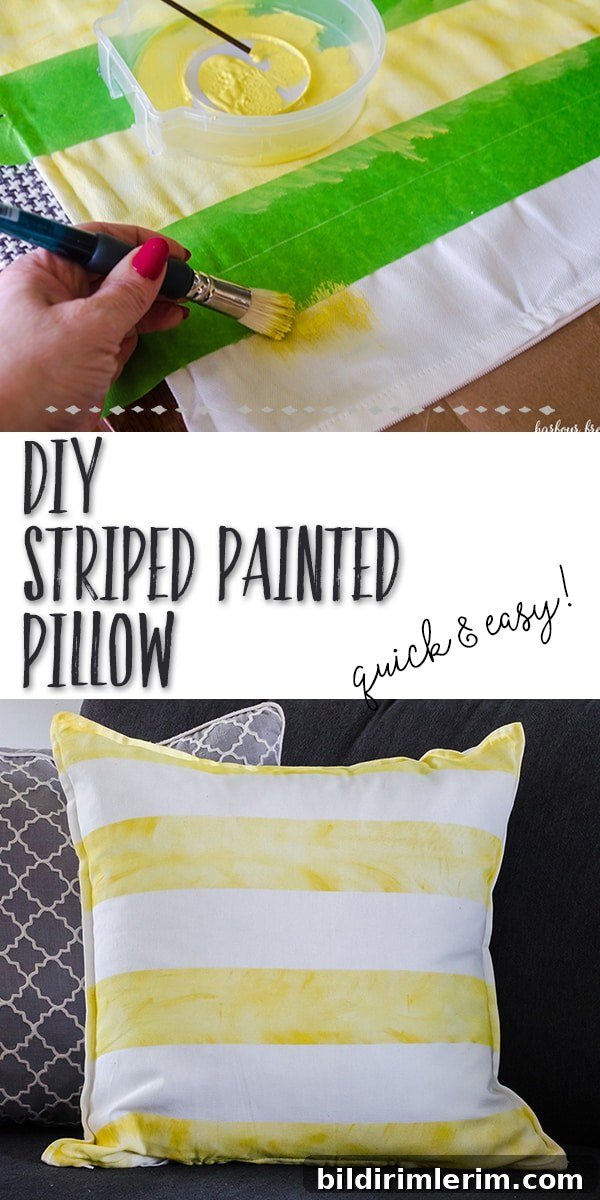
DIY Striped Pillow Using Paint
Quick note: this tutorial uses basic craft supplies and a fabric medium so the paint holds up to washing.
Supplies needed for this striped pillow craft
- White pillow cover (for example, an Ikea GURLI cover)
- Painter’s tape (such as Frogtape or any low-tack masking tape)
- Fabric textile medium
- Yellow fabric or acrylic paint (choose a washable paint or mix with textile medium)
- Stencil brush or round bristle brush
- Scrap paper (a paper grocery bag or cardboard) to insert inside the cover
Step 1: Fold the pillow cover and mark the center
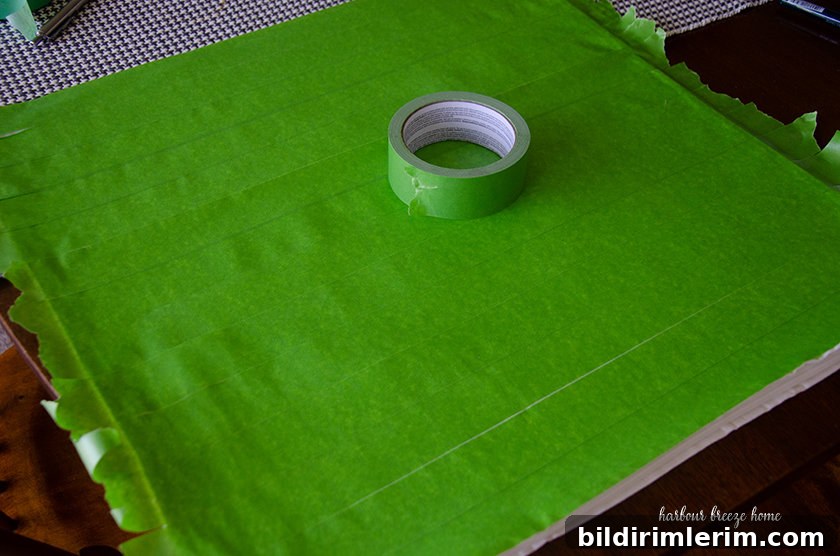
Fold the pillow cover in half to find the center line. Apply one strip of painter’s tape above the center and one strip directly below it. Continue overlapping tape across the entire front of the cover until it is completely covered.
Step 2: Remove tape where you want the stripes
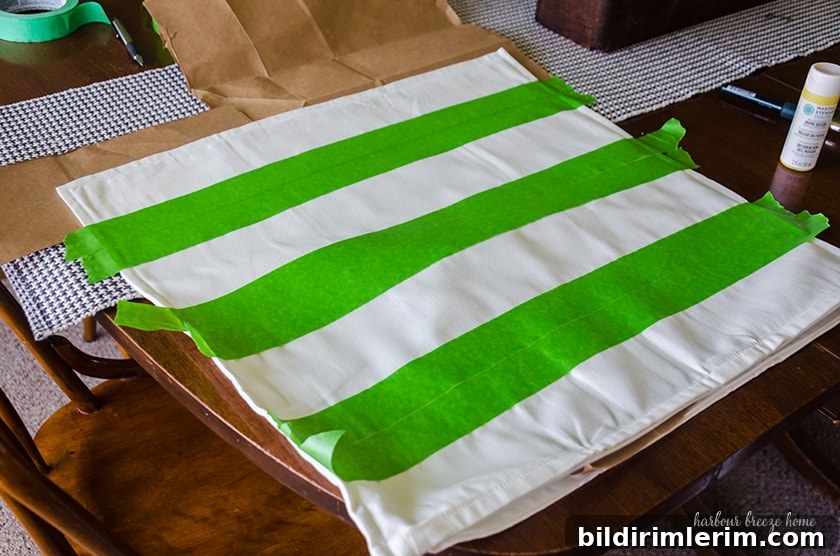
Next, peel off tape segments where you want the painted stripes to appear. This creates evenly spaced, straight stripes without measuring. It may feel odd to tape everything and then remove parts, but this technique gives precise, consistent stripe widths.
Step 3: Protect the inside of the cover
Slide scrap paper or a paper bag inside the pillow cover to protect the back from bleed-through. This also creates a smooth surface to work on and keeps paint off the pillow insert.
Step 4: Prepare the paint with textile medium
Mix your chosen paint color with fabric textile medium according to the medium’s directions. For stenciling/spot painting, you only need a small amount of paint—about a teaspoon or so—mixed with an equal amount of textile medium. Stir to a smooth consistency so the paint adheres to fabric without stiffening too much.
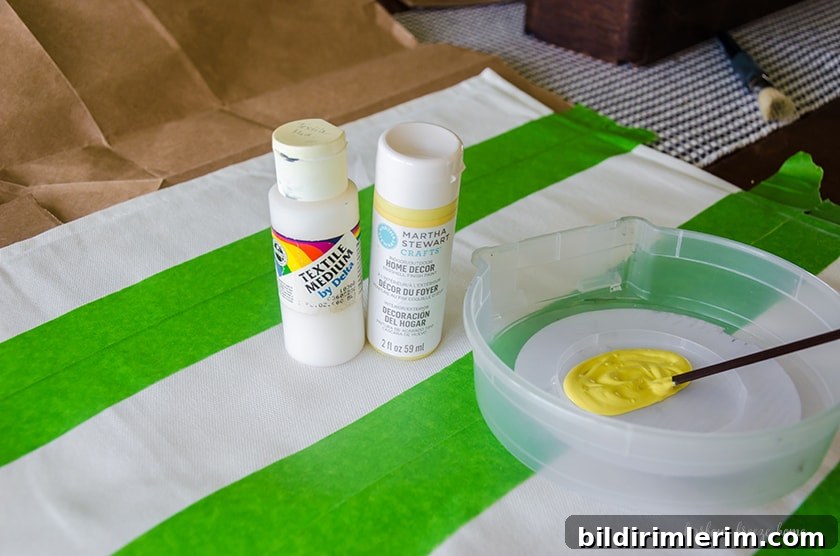
Step 5: Stencil the stripes with a stencil brush
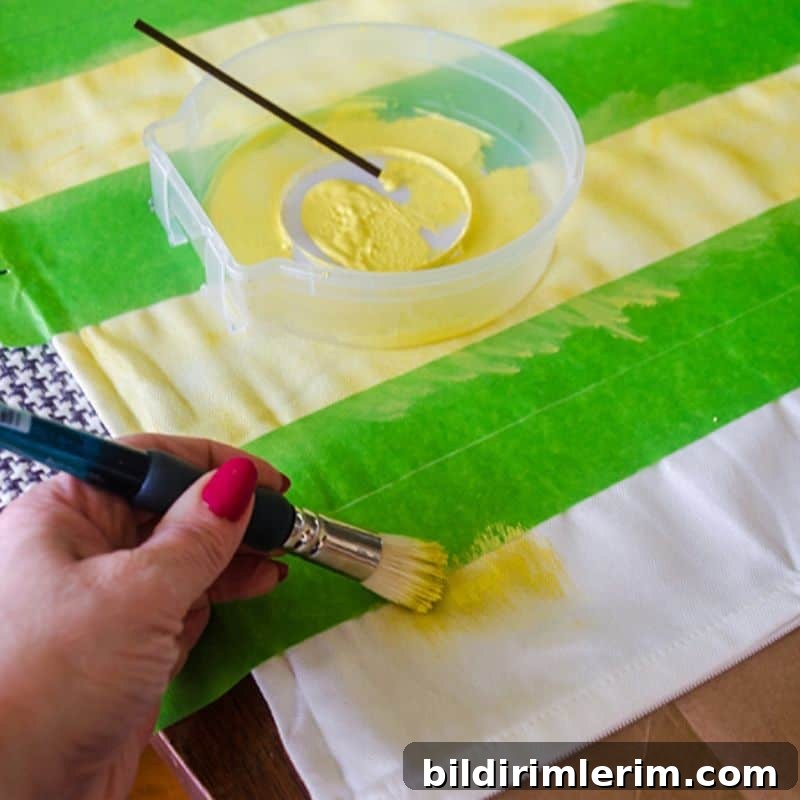
Use a stencil brush and start with very little paint on the bristles. Dab excess paint off on a paper towel or the side of your container—too much paint will bleed under the tape. Begin at the top stripe and work downward, using short, tapping motions or circular strokes to build color gradually. Rub the paint away from the tape edges to keep crisp lines and allow the stripes to build up to the shade you want. This technique produces a slightly soft, watercolor-like finish that looks relaxed and lived-in.
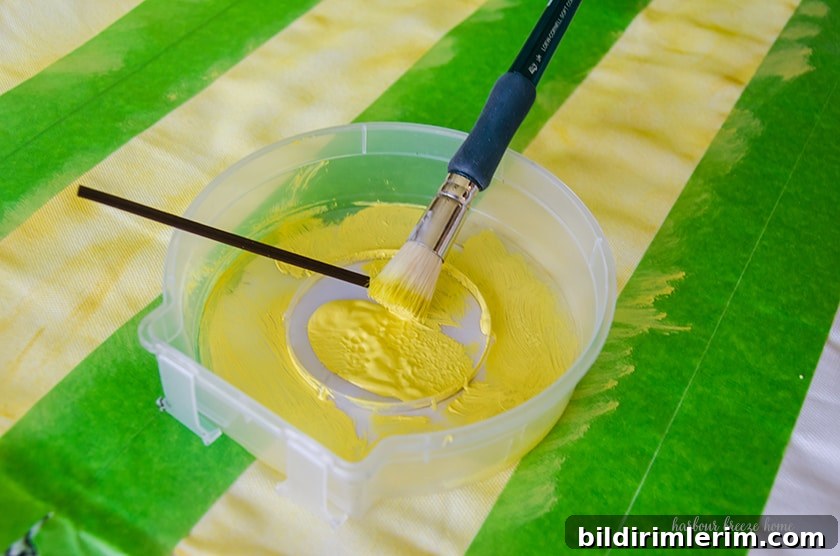
Keep the brush clean between stripes and take your time with the edges for a neat finish. If you do get a little bleed, gently blot while the paint is wet to lift excess color.
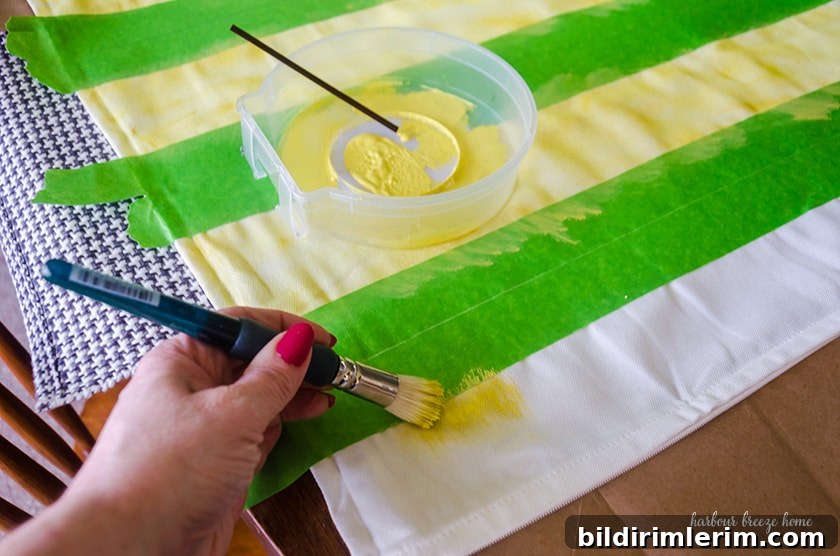
Step 6: Set the paint
Follow the textile medium manufacturer’s instructions to set the paint. In many cases, heat setting with an iron—placing a pressing cloth over the painted area and ironing on the recommended setting—will lock the color and make it machine-washable. Allow the paint to dry fully before heat setting.
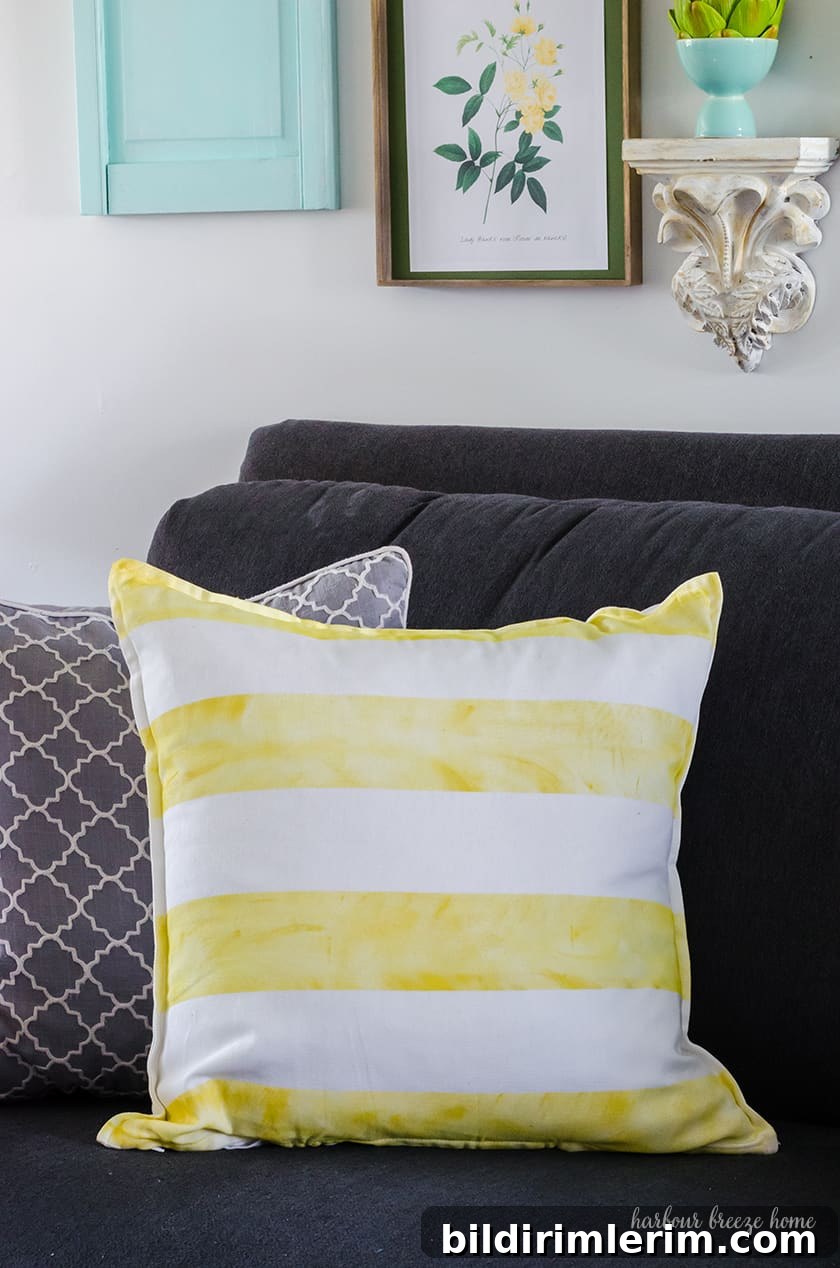
Why this method works well
- No precise measuring: the tape technique creates evenly spaced stripes without rulers.
- Quick: most of the project is taping and stenciling—total hands-on time under 15 minutes for a single cover.
- Customizable: change colors, stripe widths, or use multiple colors for varied looks.
- Durable: mixing paint with textile medium and heat setting helps the design withstand washing.
These cheerful striped pillows are a bright addition to spring decor. If you like reversible or double-sided pillows, try combining this painted stripe technique on one side with an iron-on transfer or hand-painted motif on the other for a versatile, two-look pillow.
More pillow project ideas
- How to paint words and phrases on fabric pillows
- Seven easy DIY throw pillows you can make for your home

Spring craft inspiration
If you’re looking for more spring craft ideas, visit other makers and bloggers for projects ranging from napkin rings and wreaths to planters and upcycled decor. Below are some participating blogs and craft sources for inspiration:
Celebrate & Decorate
At Home With Jemma
Hearth and Vine
My Hubbard Home
My Thrift Store Addiction
Home is Where the Boat Is
The Painted Apron
Chas’ Crazy Creations
Harbour Breeze Home
My Family Thyme
Sustain My Craft Habit
Birdz of a Feather
Decorate and More with Tip
Our Crafty Mom
Design Morsels
White Arrows Home
Create With Cynthia
Debbee’s Buzz
Calypso in the Country
B4 and Afters
Purple Hues and Me
Bluesky at Home
Raggedy Bits
Faeries & Fauna Craft Co.
Elle Marie Home
Zucchini Sisters