
DIY Fabric and Paper Wreath for Your Entryway
I love seeing the clever wreaths people create throughout the year, but until now I hadn’t made one myself. I did try once with real greenery, and let’s just say it didn’t turn out the way I imagined. Recently, while updating my entryway decor, I noticed a blank spot that needed something special. I was working in a new color palette—silvers, grays, whites—and I wanted a piece that fit the scheme without digging through my usual supplies.
That’s when I decided to make a wreath.
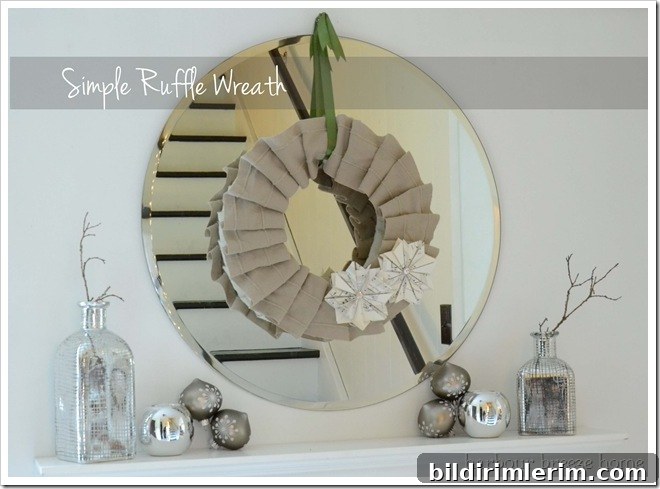
The only problem: I didn’t have a ready-made wreath form and I wasn’t planning a trip to town just to buy one. For me, a quick run out requires a ferry ride and a chunk of time, so I wanted a solution using things I already had on hand.
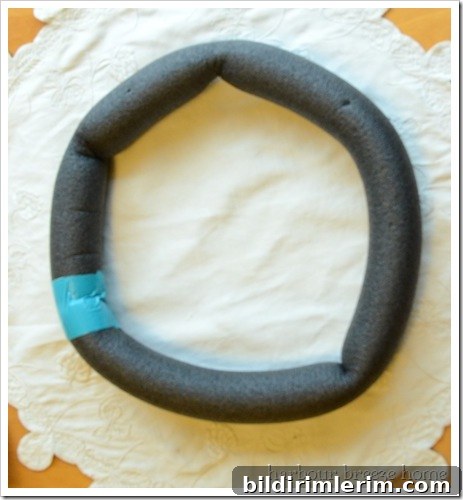
I dug through my supplies and improvised a form from a foam pipe insulation tube. It’s the kind of foam sleeve used to insulate pipes, the sort you can buy in lengths at a hardware store. To give it structure I straightened a wire hanger, threaded it through the foam tube, twisted it to close the circle, and tucked the ends inside. A bit of duct tape from my son’s stash kept things together and helped the wire maintain the circular shape.
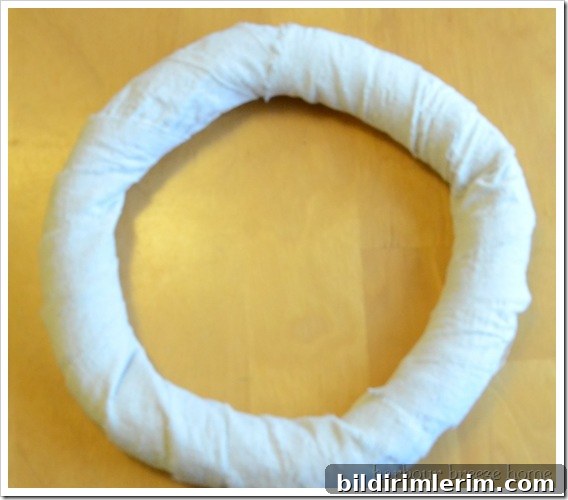
To hide the foam and even out the shape, I wrapped the whole form in a strip of 2-inch canvas drop cloth. The fabric smoothed the imperfections and created a neutral base that worked perfectly with my chosen color palette.
Next I added a ruffled fabric layer. I laid a long strip of fabric over the covered form, pleated it to create a soft, ruffled effect, and secured each pleat in place with a thumbtack. The tacks are easy to hide under the folds and give the wreath texture and depth.
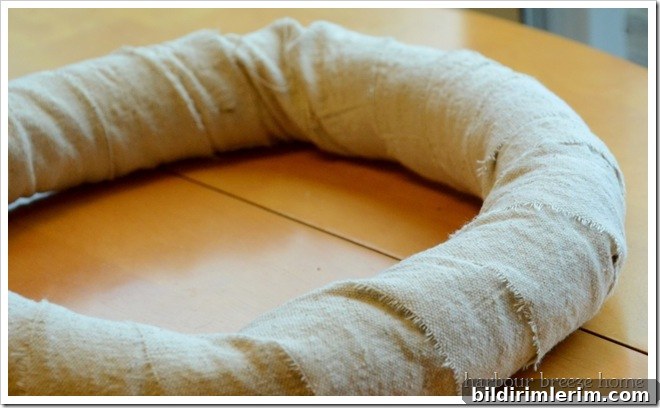
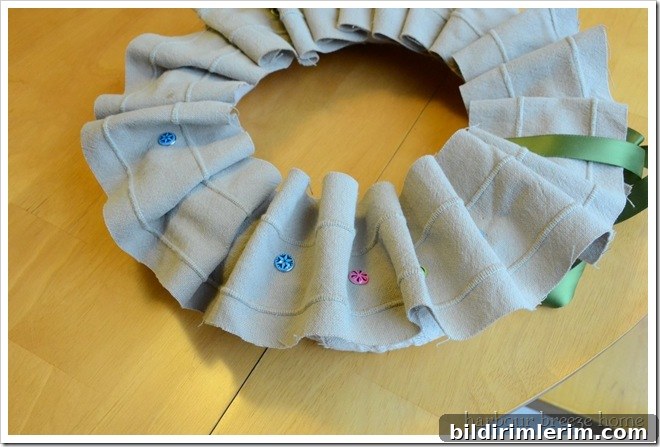
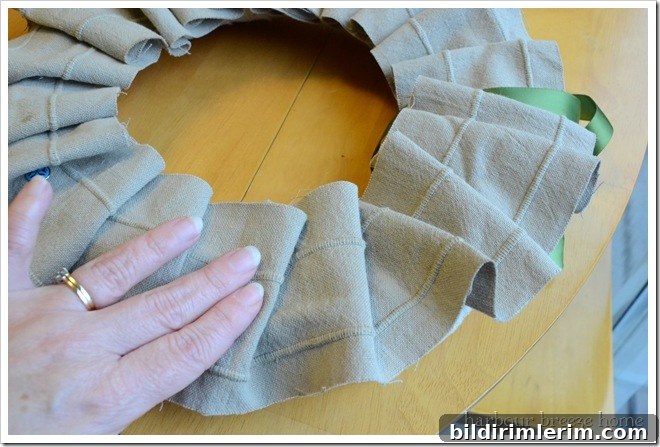
After tacking the pleats, I smoothed the fabric over the tacks so nothing showed. Holding the wreath up and checking it from different angles helped me find a few spots where ruffles wanted to flop. I added extra tacks underneath to keep the shape tidy.
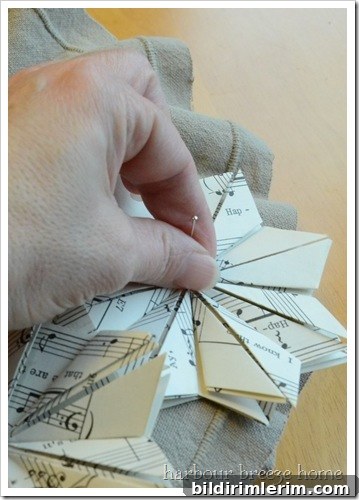
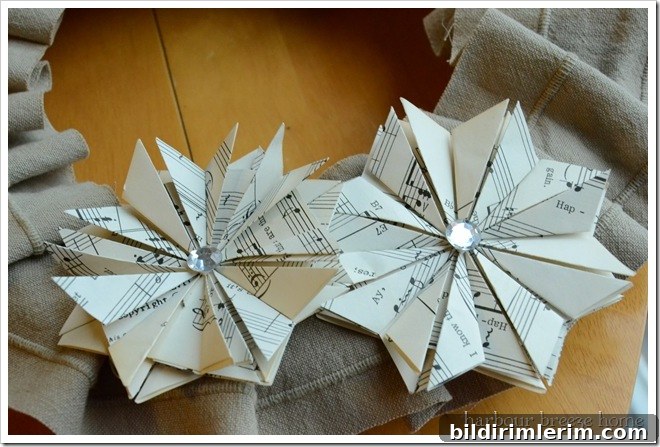
For decoration I used paper ornaments made from sheet music—my sister-in-law showed me how to fold them into neat shapes this summer—and pinned them into the wreath with stick pins. I covered the pinheads with sparkly centers to give a finished, polished look. These paper ornaments create unique focal points and pair well with fabric flowers or other neutral embellishments if you prefer a softer look.
I finished the wreath with a ribbon loop at the top to serve as a hanger. The ribbon ties the whole design together and makes it easy to hang on a door or wall.
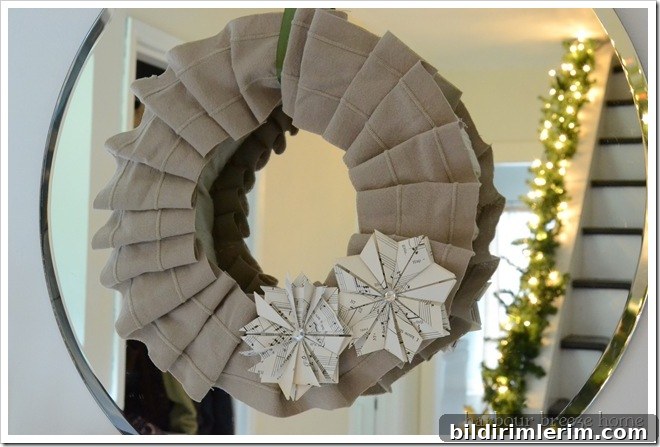
If you don’t have paper ornaments, fabric flowers are a lovely alternative. They add softness and can be created from leftover fabric scraps to match any color scheme. Small clusters of beads, buttons, or metallic accents also work well for a modern, sparkling look.
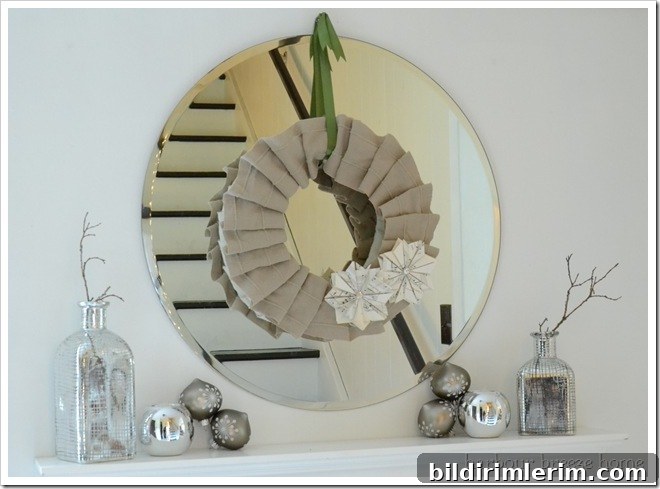
Materials recap and tips:
- Foam pipe insulation tube or another lightweight circular base
- Wire hanger for structure
- Canvas strip or fabric for wrapping
- Thumbtacks and stick pins for securing pleats and ornaments
- Paper ornaments, fabric flowers, sparkly centers, and ribbon for finishing
With a few simple supplies and a bit of creativity you can make a custom wreath that complements your entryway without a special trip to the store. I’m still hunting for a few more silver, gray, and white accents to complete the vignette, but this DIY wreath already brings the look I wanted into the space.
Linking to: The Shabby Creek Cottage, The Creative Spark, Chic on a Shoestring