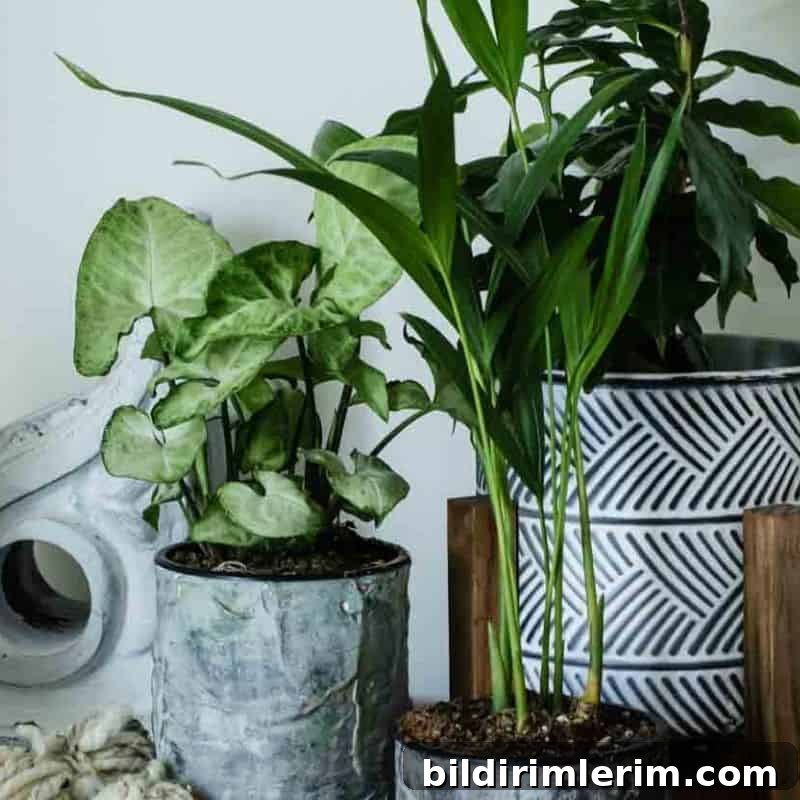
Transform ordinary tin cans into charming DIY flower pots with a few simple steps and basic craft supplies.
I’ve recently embraced being a plant person.
What started as a single houseplant quickly multiplied after I discovered how easy many indoor plants are to grow.
I kept adding little plant babies to my collection — and then realized how uninspiring their plain, green plastic nursery pots look.
A large tin can turned out to be the perfect size to tuck those tiny plants into, and it felt like the ideal opportunity to make a recycled, handmade planter that looks like concrete.
Inspired by faux cement planters I’d seen online, I tried a quick technique using drywall compound and layered acrylic paint to create a textured, aged finish. The project is easy and affordable; most of the time is just waiting for things to dry.
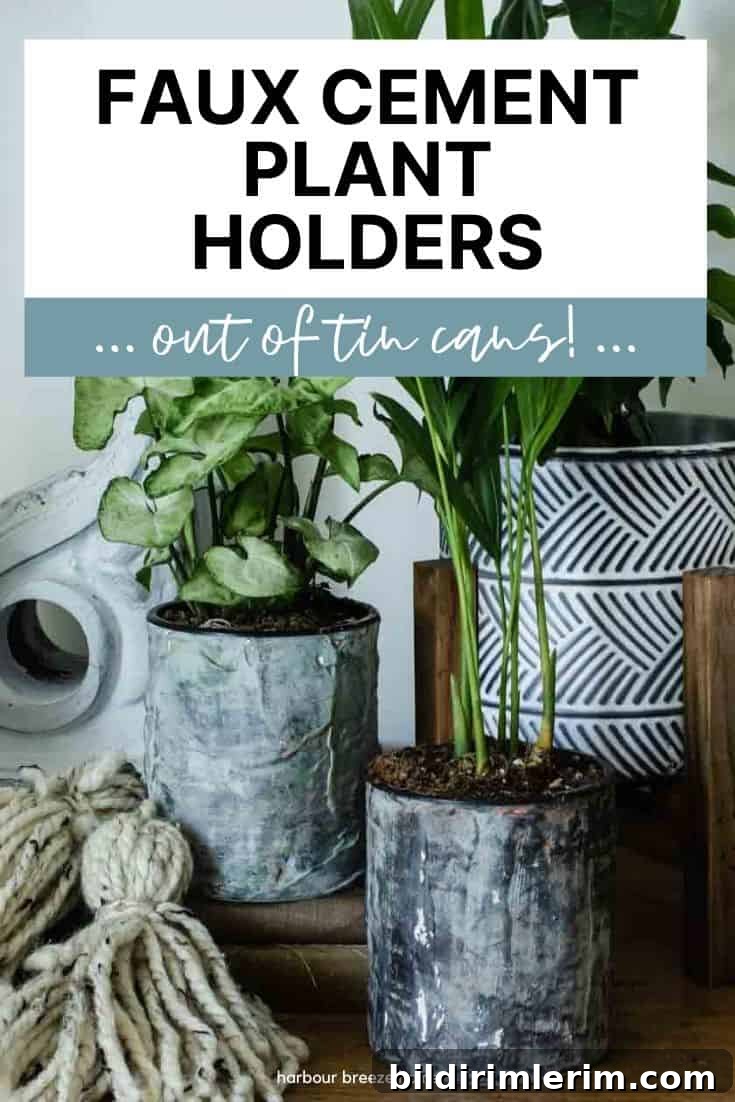
How to Make DIY Flower Pots out of Tin Cans
Note: these are common craft supplies available at most art and home stores.
Supplies you’ll need:
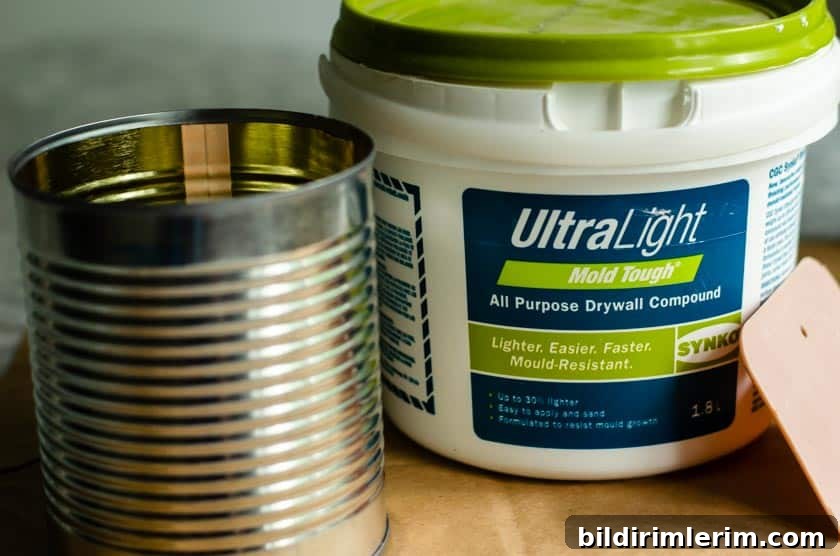
- Large tin can, cleaned and with smooth edges (use pliers or a file if needed)
- Drywall compound (joint compound)
- Acrylic paints in several shades — I used light gray, dark gray, a metallic carbon, rusty red, green, and a very light gray
- Wide craft paintbrush
- Makeup sponge or a piece of magic eraser cut to size
- Paper towels
- Water for wiping and cleaning
- Optional: clear matte sealer to protect the finish; potting soil and a small plant for planting
Step by Step instructions for these DIY flower pots
1. Prepare the tin can and apply a textured layer of drywall compound.
Start by washing and drying the can thoroughly. If the can has any sharp edges, gently smooth them with a file or cover the top edge with a strip of tape. For better drainage, consider drilling a small hole in the bottom if you plan to pot directly into the can. Using a flat plastic spatula or a disposable spoon, apply a thick coat of drywall compound to the outside of the can. I pressed the compound on with my hand and spread it so the surface was intentionally bumpy and textured rather than smooth. Place the can on newspaper or a tray and allow the compound to dry completely — plan on at least 24 hours for a thick layer.
2. Layer paint colors to build a faux-cement look.
How to paint faux cement on a tin can:
This is the creative, hands-on part. Work in layers, allowing each coat to dry before adding the next. Here’s a simple approach that produces a realistic, weathered cement appearance:
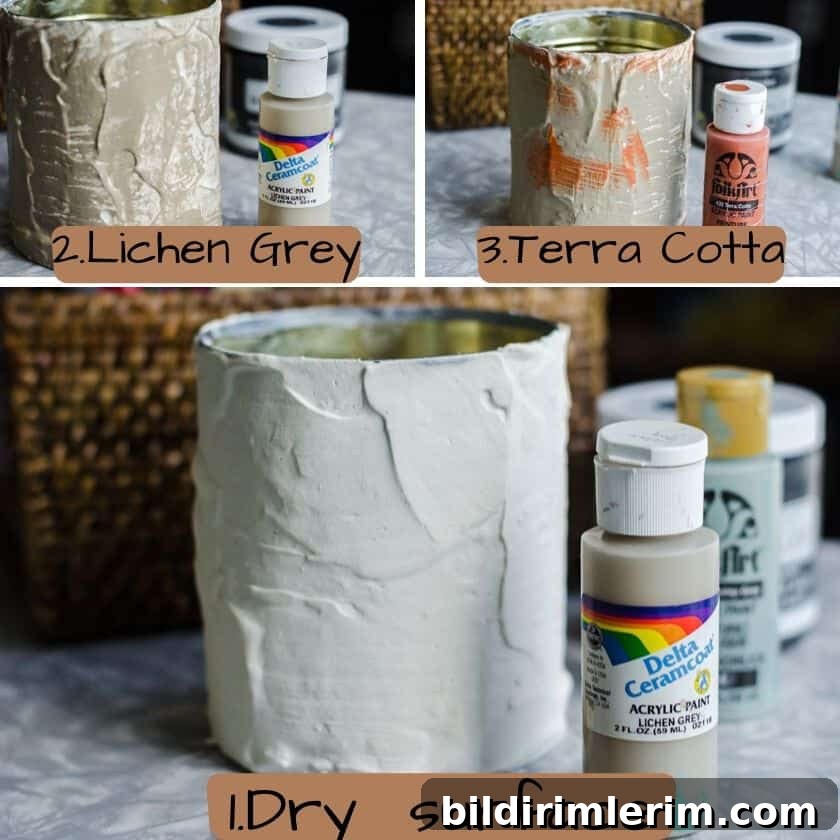
Begin with a base layer of muted tones — I applied lichen gray and a terra cotta color with a wide craft brush and let them dry. Next, use a sponge to “pounce” a battleship gray over the surface so some of the underlying color still shows through. Apply a metallic carbon shade sparingly in the same pouncing manner for subtle depth. While some layers are still slightly damp, gently wipe with a damp paper towel and then blot with a dry one to soften transitions and create natural variation.
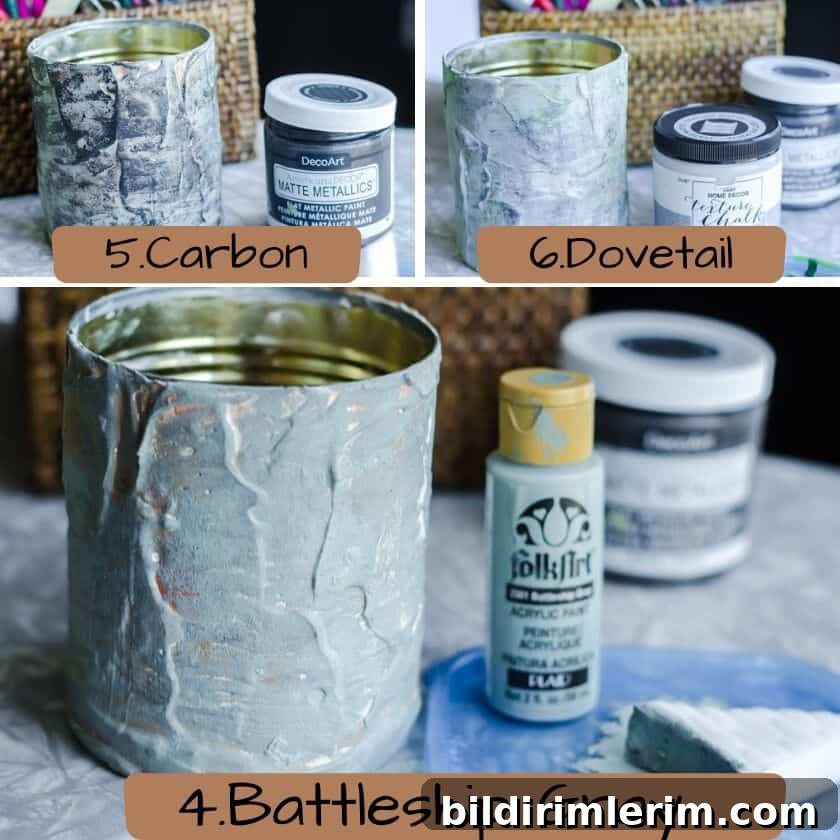
Finish with a light gray top layer (I used a shade called dovetail) applied lightly with a sponge, then softly wiped in places to reveal the colors beneath. The result is an aged, rustic surface — no two cans will look identical because of the texture and paint layering.
I even experimented with a bit of green underlayer to mimic moss or weathering on an old concrete pot, which added character to one of my pieces.
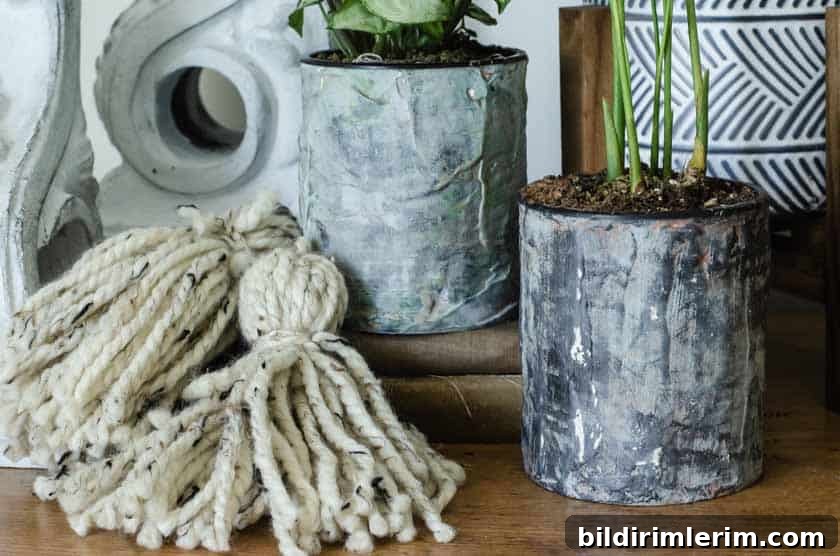
If you want extra protection for the painted surface, apply a clear matte sealer after the paint is fully dry. When you plant, add a layer of small stones or broken pottery at the bottom for drainage, then potting mix and your plant. If you left a drainage hole, plants will do best when allowed to dry slightly between waterings.
This upcycled project is an easy way to add cohesive, stylish planters to your home while repurposing materials you already have. It’s budget-friendly, eco-friendly, and highly customizable — try different color palettes and textures to match your décor.
More project ideas using acrylic craft paint
- Painted Wood Crate — great for storage and decor
- Plaster crafts made with simple moulds
- DIY painted wood signs using chalk-style paints
- Personalized baby name signs and nursery décor
- Budget-friendly thrift flips like painted holiday signs
Subscribe for more home and craft ideas
Want more easy DIY projects and simple decorating tips? Subscribe to receive fresh ideas and tutorials delivered to your inbox.