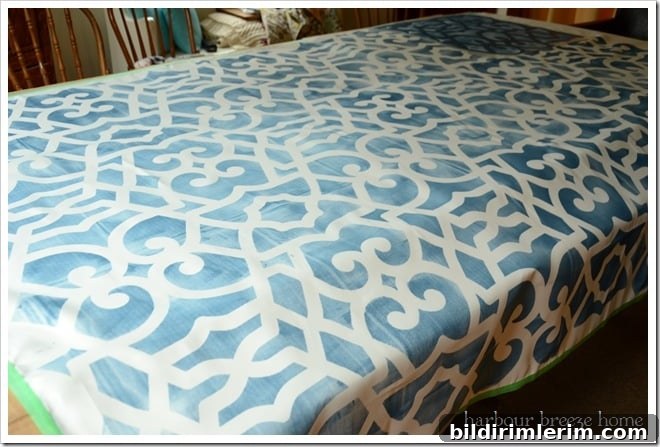
Last week I shared how I stenciled a few cream-colored tablecloths. With a little patience, some careful folds and a few straight seams, those tablecloths were transformed into fresh, custom dining room curtains.
After stenciling and a few simple sewing steps, the panels hung beautifully as new Dining Room Curtains.
If you want to brighten a room with fabric but don’t want to buy yards of curtain material, converting tablecloths into curtains is an affordable and stylish solution. I searched for the right look and, after trying a few options, found that these stenciled tablecloths were perfect.
There are many curtain styles, but for this project I chose simple rod-pocket curtains. A rod-pocket curtain has a top “header” folded over and stitched so the curtain rod slides through the pocket. This creates a tidy top edge and a slight ruffle above the rod for an attractive finish.
One advantage of using a tablecloth is that the edges are already hemmed. The tablecloths I used were 97” long by 59” wide. While the width was ideal for coverage, the length was far too long for my windows. I trimmed 18½ inches from one end, leaving extra length intentionally—better to cut too little than too much, since you can always shorten after hanging.
Once the stenciling and drying were complete, I ironed the painted fabric from the underside to help set the paint and flatten any wrinkles. To prevent fraying at the freshly cut top edge, I folded it over by 1/2 inch and pressed it flat before proceeding.
Next I made two important markings: the measurement from the floor to the top of the curtain rod (this marks the top sewing line of the panel) and a second line 3 inches above that, which indicates the top of the header fold. These marks help keep the header even and ensure the finished curtain hangs at the correct length.
I pressed and pinned along the top-of-header line. My fold ended up quite generous because I had deliberately left extra length earlier—this provides a fuller header and more flexibility when adjusting the final length.
I stitched a seam three inches below the top fold to form the header. For most rod-pocket curtains you would then sew a second seam below the first, creating a pocket wide enough for your rod to slide through. Because I had extra fabric, I added an additional fold to create a neater, more substantial pocket.
I pressed the seam open, folded the fabric down to meet the sewn seam line, and pressed again. Then I folded the fabric once more and pinned it in place where the final seam would go. These careful presses and pins keep the pocket straight and make sewing easier.
After sewing the final seam, I checked the back to be sure the pocket was tidy and the stitching was secure. The rod pocket sits between the two seams, allowing the rod to glide smoothly while creating a soft ruffle from the header above.
The finished back side shows the double seam and the pocket that holds the rod. The forged header adds a gentle ruffle above the rod for a finished, tailored look.
If you’re planning curtains from scratch and want guidance on how much fabric you’ll need or how to calculate fullness and panel widths, this helpful post explains how to measure and plan curtain fabric. Converting ready-made items like tablecloths into curtains is a budget-friendly way to customize window treatments, and with basic sewing skills you can achieve a professional-looking result.