
I bought my first real camera with my high school graduation money, and I’ve been hooked on photography ever since. Photography is a constant learning process: the more I discover, the more I realize there’s still so much to learn. When you’re using photos to sell a product online, each image must communicate clearly and attractively. Below are practical, real-world tips from several makers who photograph their own products for online shops.
Day 4: Presenting Your Product — Product Photography Tips

Gina — Practical and Flexible Setups

Gina photographs most of her items in a barn where she has a barn-wood table against a wall. She adapts to whatever flat surface gives the best contrast — from a chair seat to a washing machine top. The key takeaway from her approach is flexibility: use what you have and move around the house to capture the best natural light at different times of day.
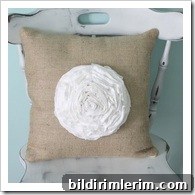
Dahlia Pillow photographed in a simple, natural-light setting
Jami — Keep It Simple and Neutral

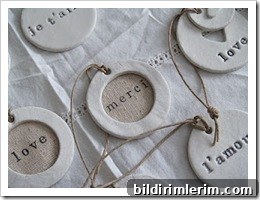
Jami emphasizes two essentials for great shop photos: gorgeous natural sunlight and a simple white or gray background. That combination keeps the product as the focus and avoids distracting patterns or busy prints. She recommends learning when the best light appears in your home and scheduling shoots for those windows of time. For many sellers, inexpensive DIY lightboxes and online tutorials provide additional help when natural light is limited.
Lisa — Consistency and a Dedicated Shooting Spot

Lisa learned to keep photos consistent between her shop and blog by choosing a single, reliable location: a bench on her front porch that receives good light. Using one consistent backdrop helps build a cohesive shop aesthetic and makes it easier for customers to recognize your style. When an item is for home décor, she also photographs it in context so shoppers can imagine how it looks on a sofa or table.
Aimee — Find Simple, Real-World Spaces

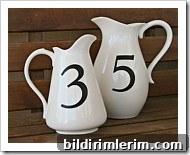
Aimee doesn’t have a studio space; she uses different areas of her home to hang and photograph her signs. That approach highlights a simple truth: a dedicated studio isn’t required for attractive product photos. Thoughtful use of natural home environments can produce inviting, authentic images that help customers visualize products in real life.

Small “Studio” Solutions and an Ah-ha Moment
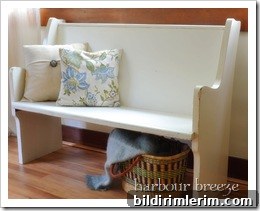
One contributor described an “ah ha” moment after reading others’ answers: a painted pew moved into natural light created an ideal, portable shooting area. Simple props — a bench, a painted pew, a tabletop — placed near a window can become a reliable, attractive photo spot. The resulting images were described as a “wonderful little photo studio,” demonstrating how small changes and inspiration from peers can solve ongoing photography frustrations.

Practical Tips for Better Product Photography
- Use natural light whenever possible; learn the best times of day in each room.
- Choose simple, neutral backgrounds so the product is the star.
- Create a consistent shooting spot to establish a recognizable shop aesthetic.
- Use everyday surfaces and props for contrast and context — benches, tables, or a painted pew work well.
- Consider a DIY lightbox or reflectors for even lighting when natural light is limited.
- Include at least one image showing the product in use to help customers visualize scale and function.
If you photograph your own products, consider creating one reliable setup and learning the natural light in that space. Consistency, simple backgrounds, and real-life context will make your product images more attractive and help customers imagine your items in their homes.
Where do you like to take pictures of your products? Share your tips and ideas — it’s always inspiring to see how other sellers solve the same challenges. Until next time, toodeloo!