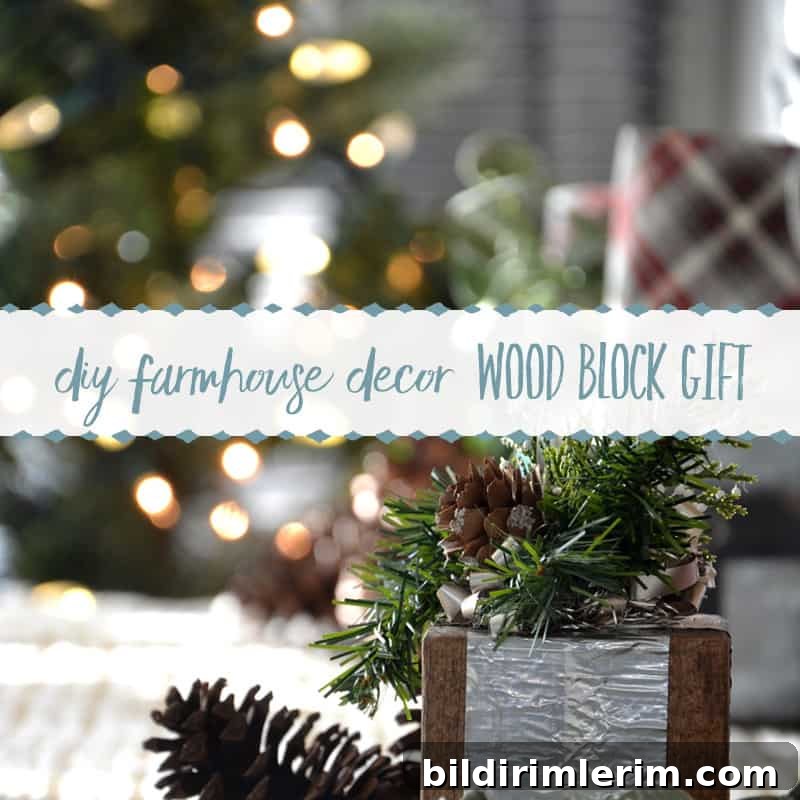
In this article: A quick and easy DIY farmhouse Christmas decor project. Create a rustic wood block gift with a metal-look ribbon to use as a centerpiece or a shelf accent.
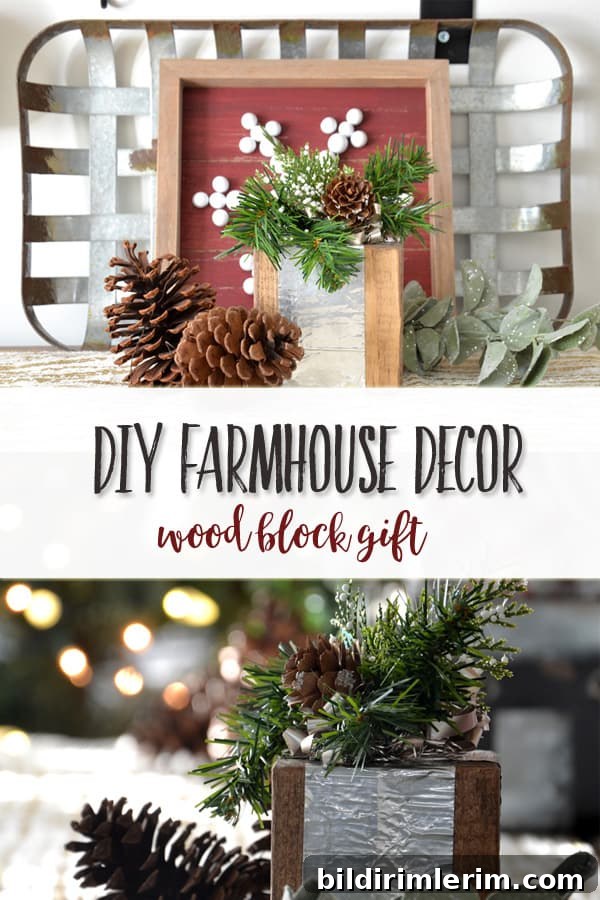
After browsing the holiday aisles for inspiration, I decided to make a few farmhouse-style accents for our shelves. I started with a burlap-wrapped gift and then experimented with a wood block version. A simple wooden “present” finished with a metal-look ribbon felt perfectly farmhouse — and it turned out to be an inexpensive, fast project that adds a warm, rustic touch to any vignette.
This project uses basic materials you may already have in the garage and can be completed in an afternoon (though drying time for glue can extend the timeline). The finished piece works well on a coffee table, mantel, or shelf and can be customized with different greenery and embellishments.
Related DIY decor posts: Stenciled Antler Sign; Painted Noel Wreath; Antique Book Page Garland
DIY Farmhouse Christmas Decor | Wood Block Gift
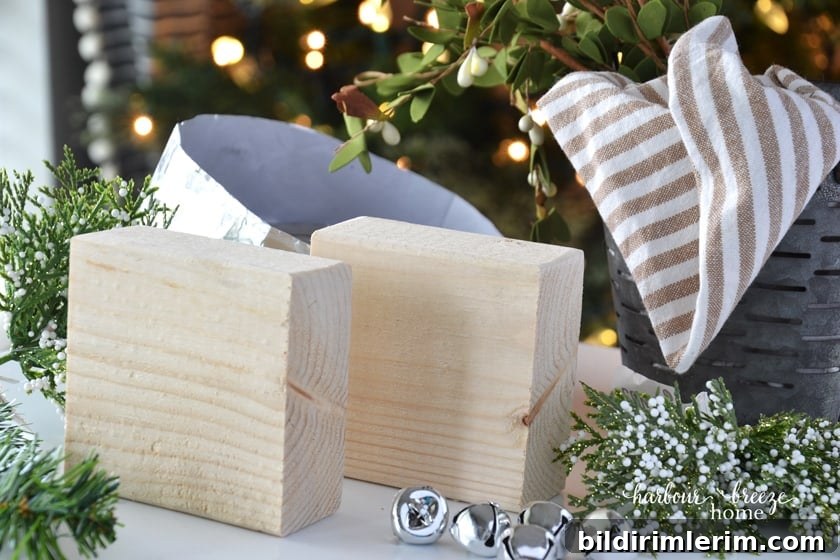
Supplies needed:
- Two pieces of 2 x 4 cut to 3 inches each
- Wood stain (I used Minwax in Early American)
- Foam brush
- Clean rag for wiping excess stain
- Wood glue
- Wood clamp
- Aluminum tape (for a galvanized metal look)
- Faux greenery
- Small accents such as pine cones or jingle bells
Step 1: Stain all sides except one flat face of each block
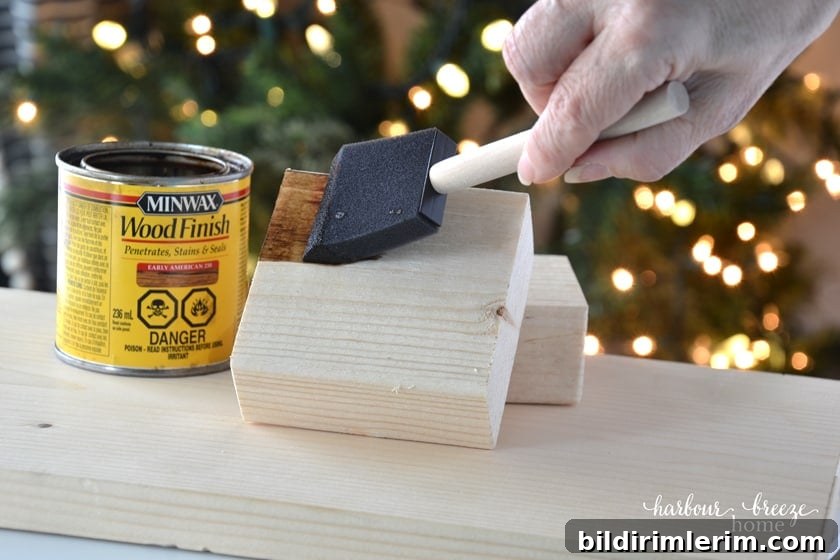
Use a foam brush to apply stain, then immediately wipe it off with a rag to achieve an even, aged finish. Stain every side of each block except for one flat face — leave that face unstained because glue adheres better to raw wood.
Step 2: Glue the two blocks together
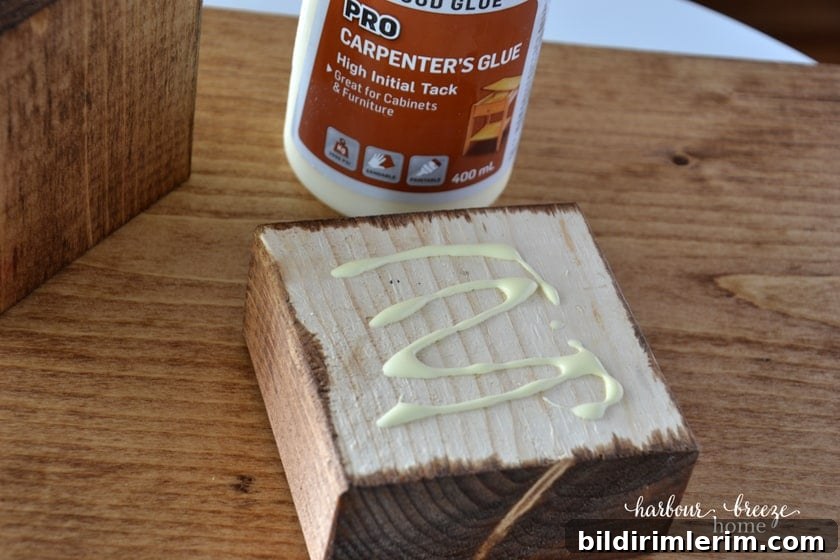
Apply wood glue to the unstained faces and press the blocks together, aligning all edges so the joint is even. Wipe away any excess glue before clamping.
Step 3: Clamp and allow to dry
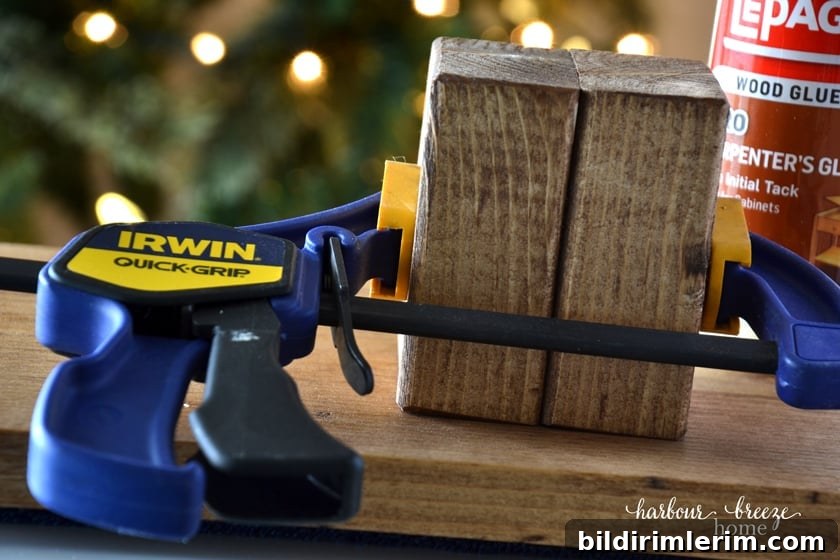
Clamp the assembly and let the glue cure fully. This is the slowest part of the process — I left mine overnight and returned to finish the piece when it was fully set.
Step 4: Wrap the block with aluminum tape
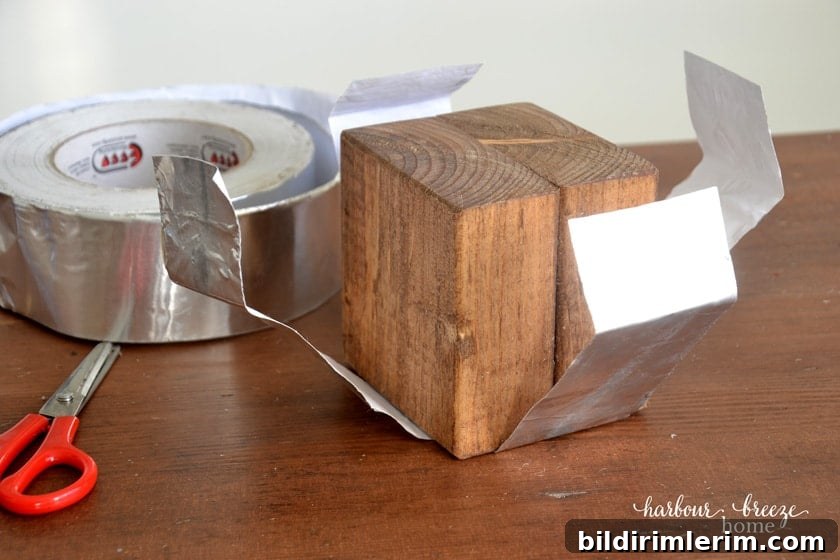
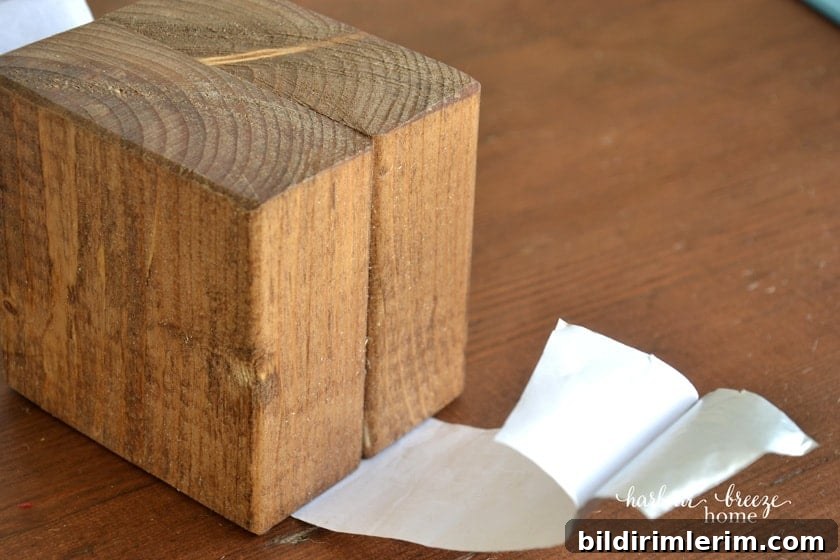
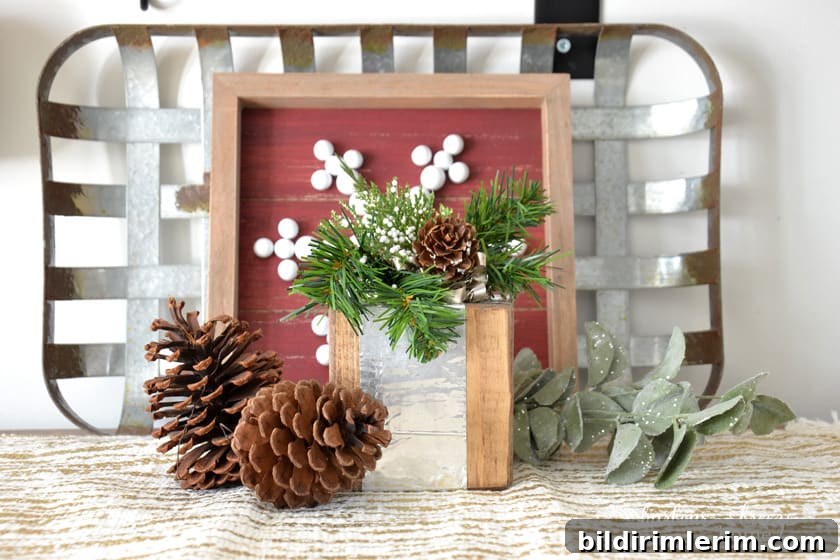
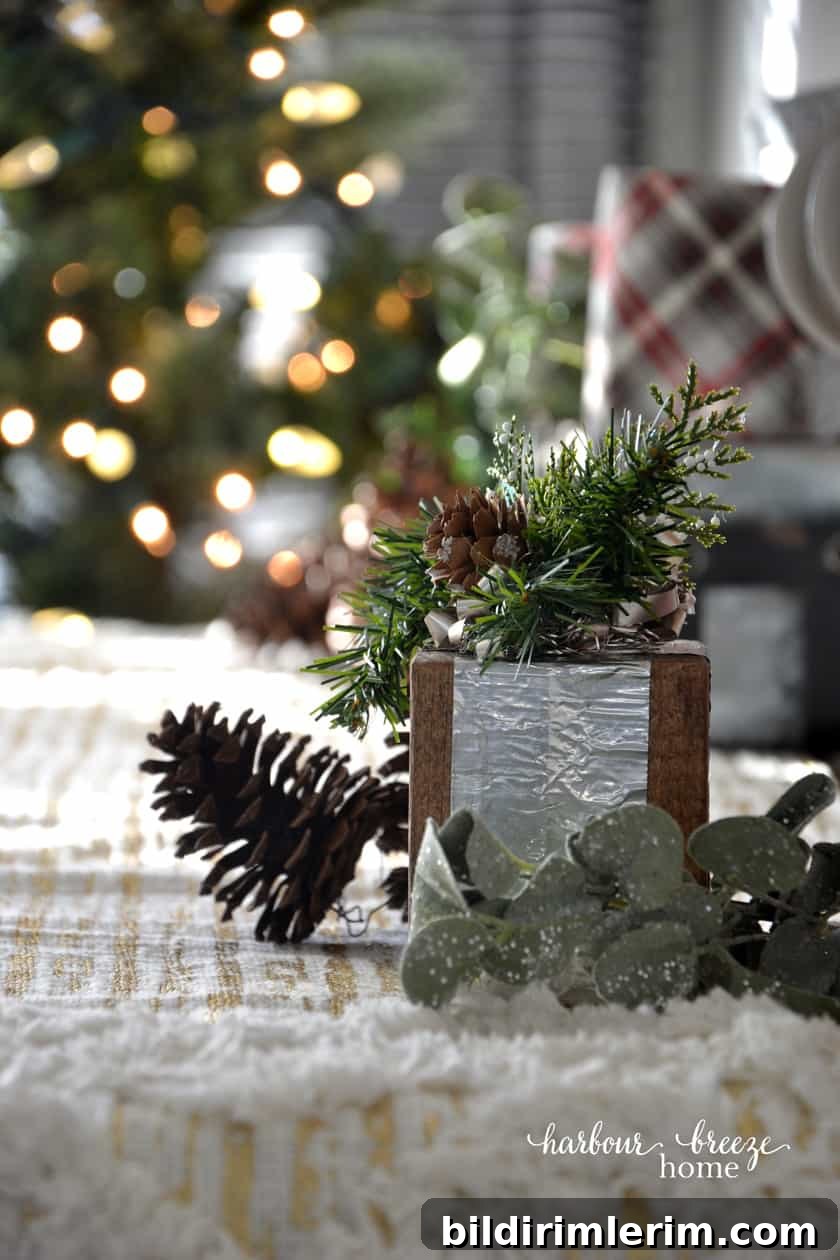
Cut two strips of aluminum tape long enough to wrap under and around the joined block. Peel the backing and press the tape firmly in place, smoothing it to remove air pockets. The aluminum tape gives a convincing galvanized look and creates a simple “ribbon” effect around the wood block.
Step 5: Add a tinsel bed for greenery
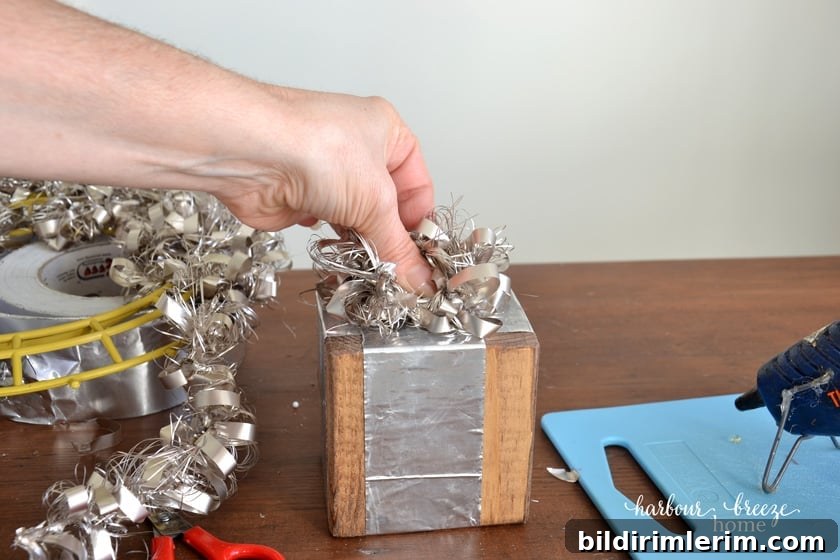
To anchor the greenery, form a small bed of silver tinsel or similar filler on the top of the block. I repurposed a small wreath’s tinsel, bunching it into a nest and gluing it in place so the faux greenery would have something to grip.
Step 6: Embellish with faux greenery and accents
Glue small sprigs of faux greenery into the tinsel bed and finish with a pine cone, mini ornament, or jingle bell. Keep the arrangement modest for a classic farmhouse look.
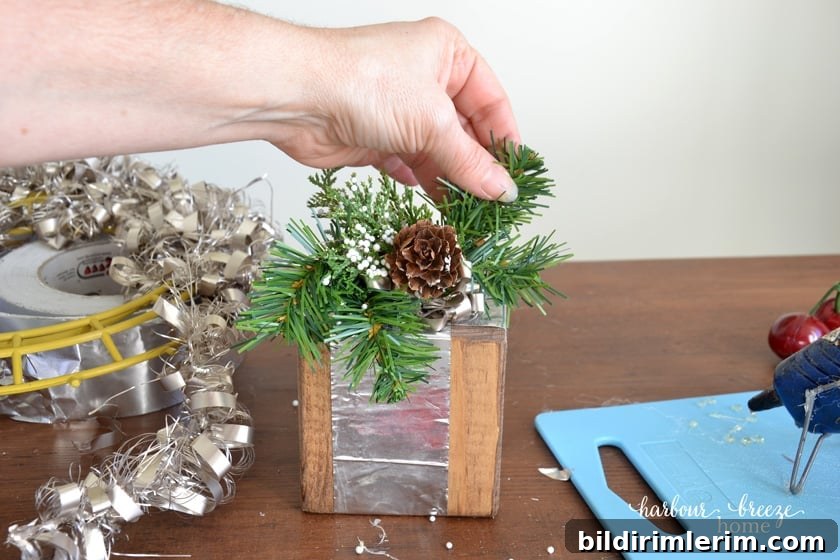
The finished block makes a charming rustic accent. Place it on a metal tray, in front of books, or grouped with other simple holiday pieces for a cozy display.
Additional ideas and variations
- Substitute plaid flannel or cotton fabric strips for the aluminum tape to create a softer, more traditional ribbon look.
- Create smaller versions to use as place card holders or to tuck into a centerpiece.
- Vary the stain color or distress the edges for a more aged appearance that coordinates with your decor.
For more recipes, crafts & home ideas all year round, consider subscribing for updates.
Subscribe to receive seasonal project ideas, printable art, and crafting inspiration delivered to your inbox.