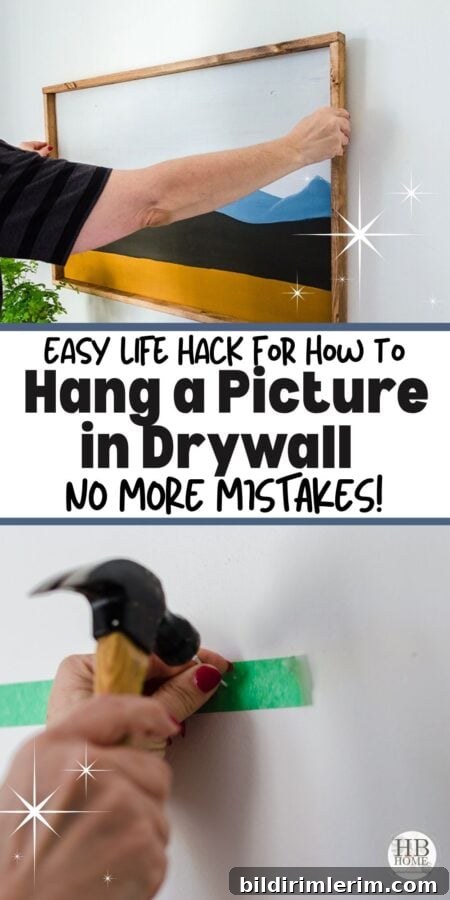
Here’s the easiest way to hang a picture on drywall with two hooks: use painter’s tape to mark the exact nail spots from the back of the frame. Perfect placement, no guessing, and done in minutes.
If you’ve ever flipped over a frame and found two sawtooth hangers, you know the frustration: measuring between the hangers, trying to transfer that spacing to the wall, and ending up with one nail slightly off so the frame hangs crooked. This simple method eliminates that hassle.
The trick uses painter’s tape as a temporary template so you can mark both nail points directly on the wall without measuring. It’s fast, accurate, and works for most medium-weight framed art hung on drywall with two sawtooth hangers.
Easiest Way to Hang a Picture on Drywall with Two Sawtooth Hangers
What you’ll need
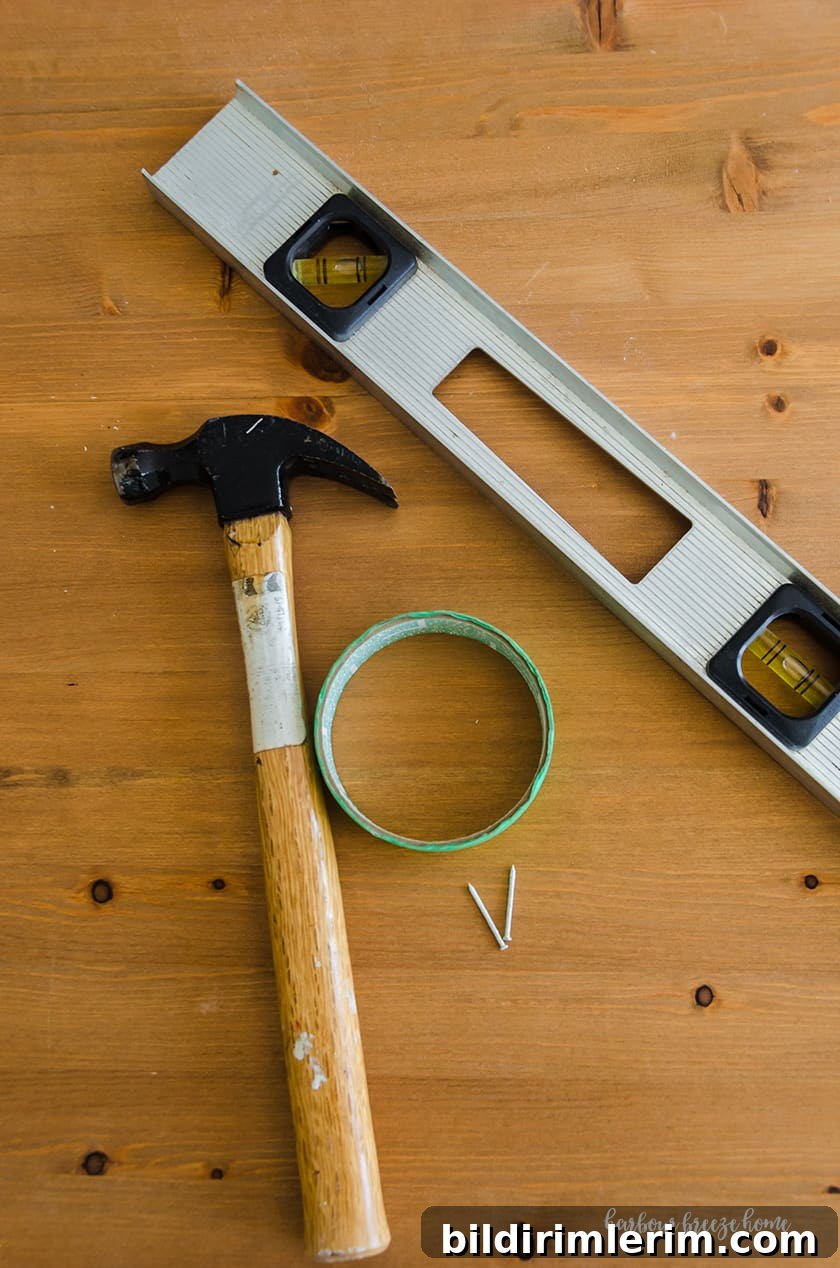
- Painter’s tape (enough to cover the top back edge of the frame)
- Two nails (1-inch panel nails work well for light to medium frames)
- A level
- A hammer
- A pencil for marking
Step 1: Apply painter’s tape across the top back of the frame
Place a strip of painter’s tape across the top back of the frame so it covers both sawtooth hangers. Make sure the tape is straight and aligned with the frame’s top edge — this becomes your temporary template.
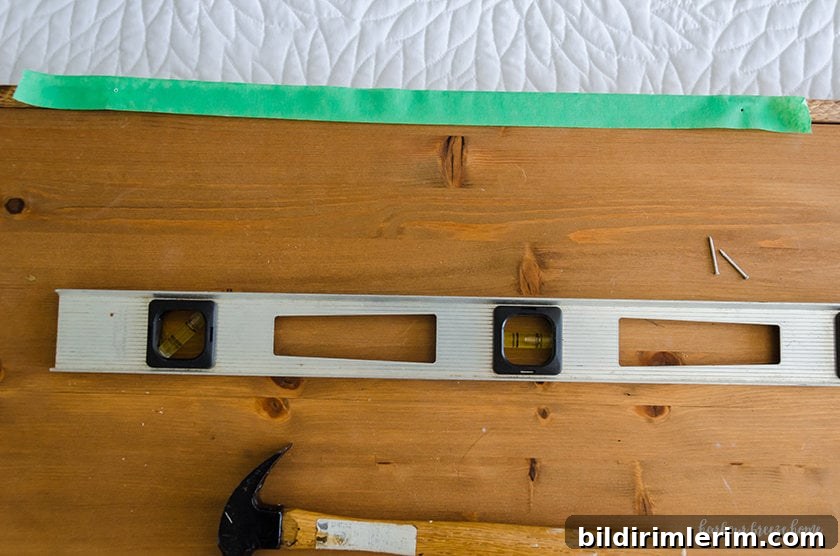
Step 2: Mark the nail positions through the sawtooth centers
Use a nail, awl, or a sharp tool to poke a small hole or mark at the center of each sawtooth hanger through the tape. I aim for the exact center of each sawtooth for the most secure, balanced hang. These two marks on the tape are your nail locations.
Step 3: Find and mark the center placement on the wall
Decide where the center of the picture should sit on the wall and make a small pencil mark at that point. This is the reference point you’ll use to align the tape template to the wall so the picture hangs exactly where you want it.
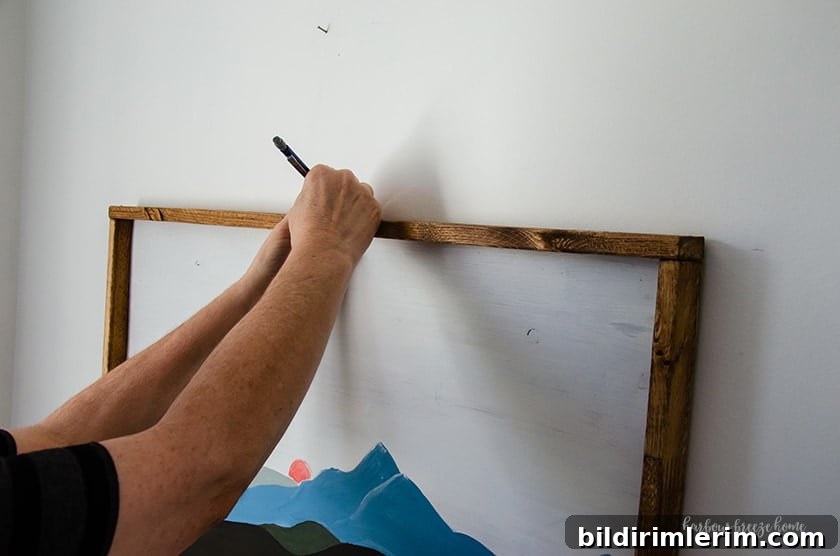
Step 4: Transfer the taped template to the wall and level it
Remove the tape from the frame and align the center of the tape with the center pencil mark on the wall. Use a level along the top edge of the tape to make sure it is perfectly straight before proceeding. Once level, press the tape so it adheres to the drywall.
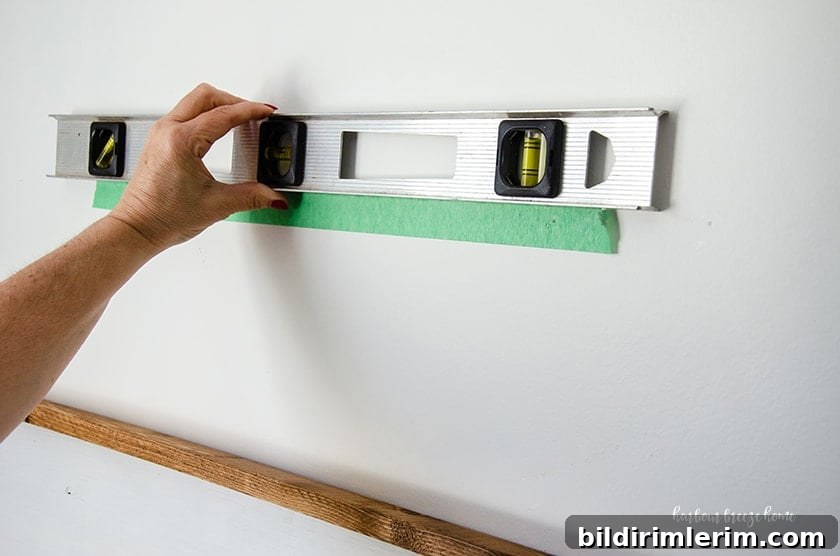
Step 5: Insert nails through the marked holes in the tape
Hammer a 1-inch nail into each marked spot on the tape so the head will be ready to catch the sawtooth hangers. Drive the nails at a slight upward angle to help the frame sit securely and avoid slipping.
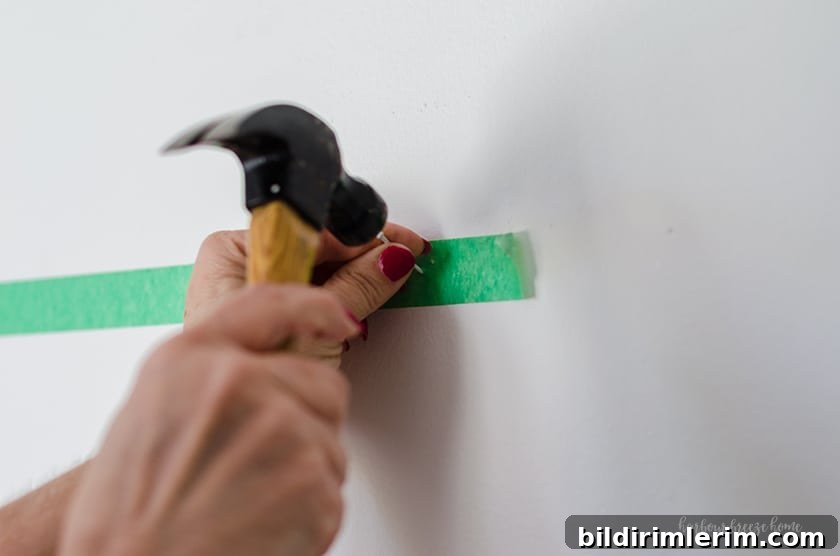
Important note: For heavier artwork or objects, use an appropriate wall anchor, toggle, or screw-and-anchor system rated for the weight. Small 1-inch panel nails are fine for many light-to-medium framed pieces on drywall but are not a substitute for anchors on heavy items.
Step 6: Remove the tape and hang the picture
Peel the tape from the wall, then hang the frame so each sawtooth catches on the corresponding nail. Use your level to make any micro-adjustments so the frame sits perfectly straight. You’ll find this method is fast and accurate — no more guesswork or mismatched nail spacing.
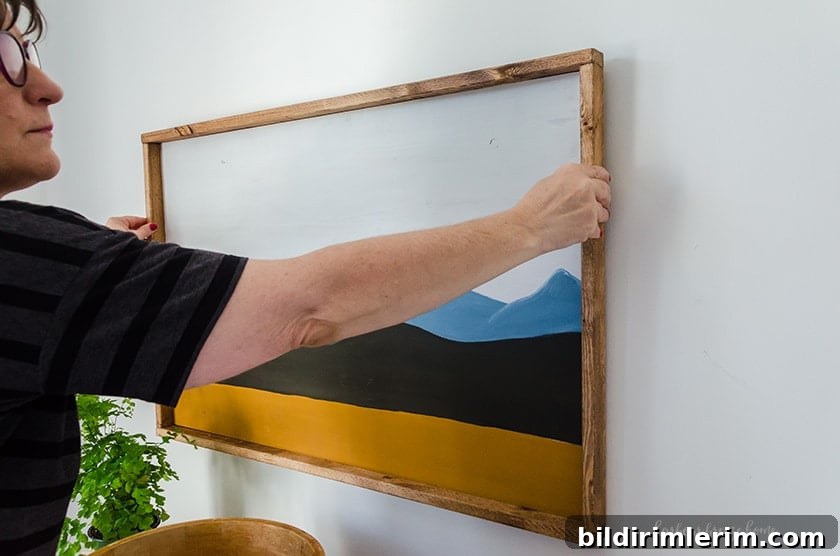
This technique works particularly well for large wall art that has two hangers spaced apart. It saves time and prevents the need to re-drill holes or patch drywall from missed placements.
Tips and variations
- If your frame has D-rings or wire instead of sawtooth hangers, adapt the same tape-template method by marking the d-ring centers or the wire endpoints.
- For uneven frames or irregular backs, place multiple short strips of tape to capture all attachment points and transfer them as one template.
- When hanging multiple pieces in a row or gallery wall, create a larger paper or tape template with all nail positions to ensure consistent spacing and alignment.
- Always double-check weight recommendations for your chosen fasteners and consider studs or heavy-duty anchors for frames over 20–30 pounds.
DIY Large Wall Art
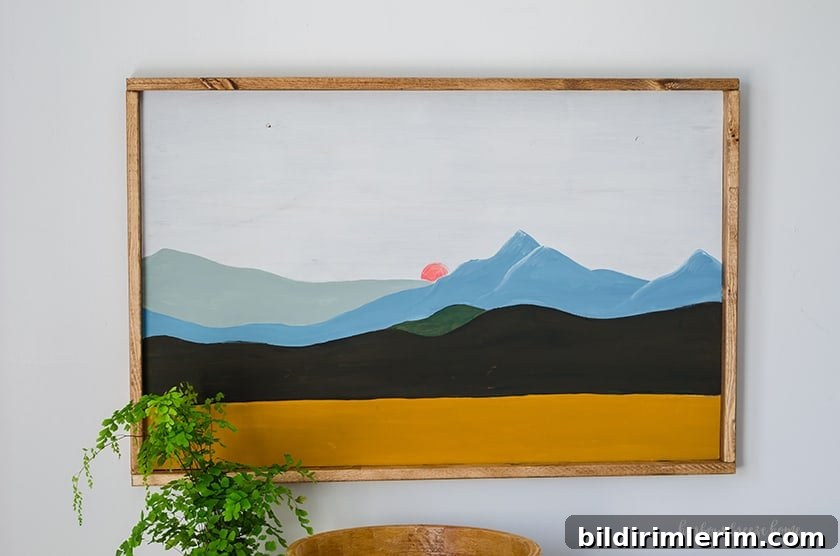
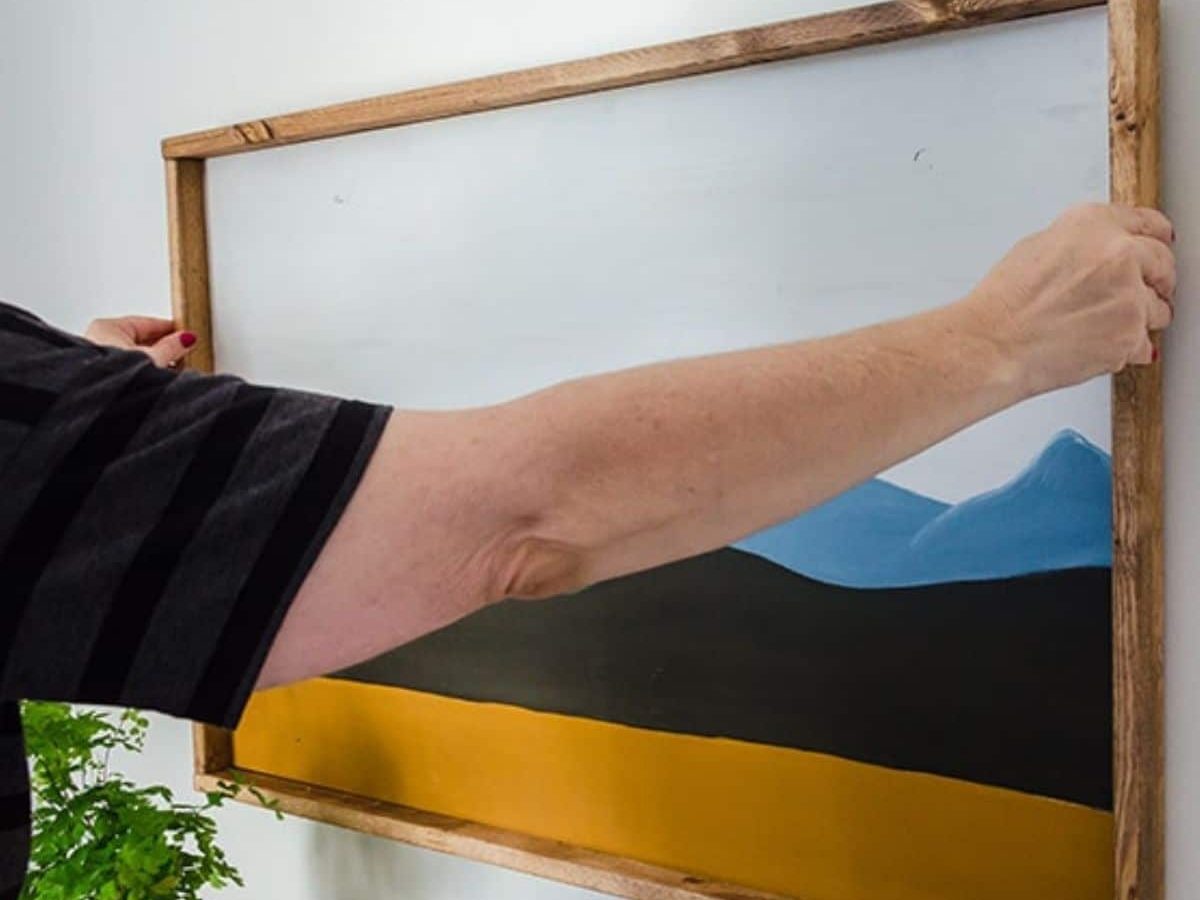
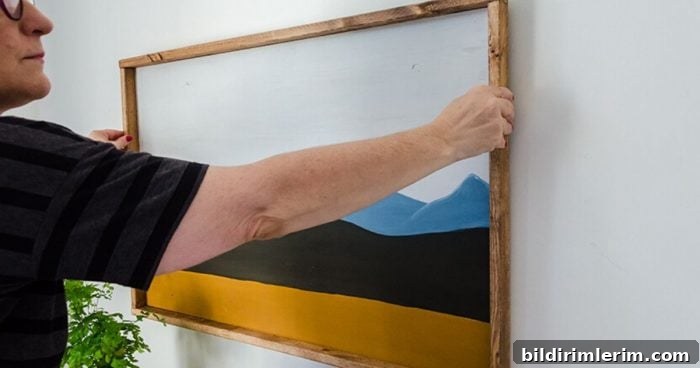
The framed artwork shown here was part of a recent bedroom makeover. The painter’s tape method made installing the large piece quick and precise so the room looked finished in minutes.
Give this painter’s tape template trick a try next time you need to hang a picture with two hangers. It’s a small step that delivers professional-looking results without measuring, marking, or frustration.