
DIY Custom Bulletin Board for Your Craft Room
Today I’m off to help a friend organize and refresh her basement, and I couldn’t be more excited. There’s something special about spending a day with a friend while doing a project you genuinely enjoy. Before I head out, I wanted to repost a short how-to that didn’t survive a recent site transition. If you saw it before, apologies for the repeat; if this is your first time, here’s a simple, stylish way to make a custom bulletin board for a craft room, office, or laundry room.
This project is quick, economical, and lets you coordinate the bulletin board fabric with your room’s colors or pattern. The finished board is easy to change when you want a fresh look, and the method works with any plain cork-backed bulletin board and a picture frame of the same size.
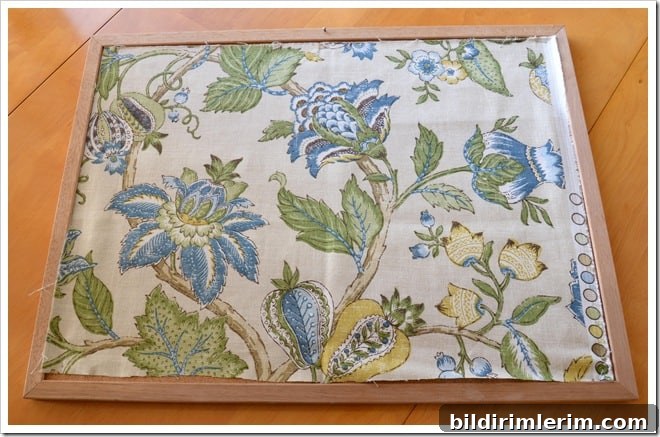
Materials and tools you’ll need: a plain bulletin board, a piece of fabric large enough to wrap around the board, a staple gun or heavy-duty stapler (even a regular paper stapler flattened can do the trick), small nails, and a picture frame the same size as your bulletin board. If the frame doesn’t have a hanger, add a sawtooth hanger to the back.
- Prepare the fabric. Cut your chosen fabric so it is slightly larger than the bulletin board, leaving enough overlap to wrap around the edges and staple to the back or sides. Pick a fabric that complements your craft room—cotton or linen-weight fabrics work well for pin visibility and durability.
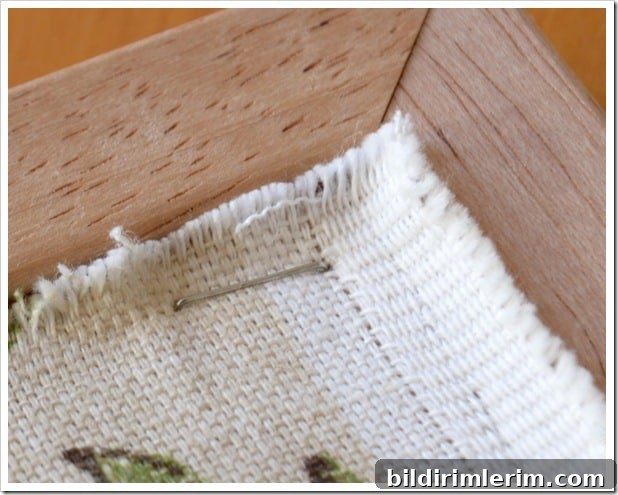
- Attach the fabric to the board. Lay the fabric face down on a flat surface, place the bulletin board on top with the cork side down, and pull the fabric snugly across the front. Fold the edges smoothly and staple the fabric securely around the perimeter. Use evenly spaced staples for a neat finish. If you don’t have a staple gun, a heavy stapler or small tacks will work; just take your time to keep the fabric taut.
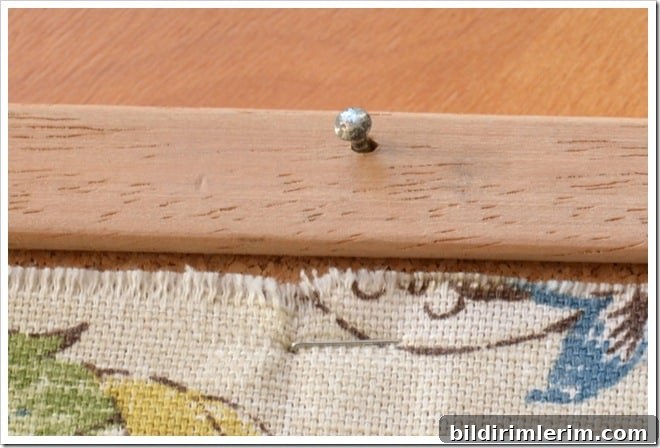
- Add a front-facing anchor point. Drive a small nail into the top center of the front of the bulletin board frame. This nail will serve as the hanging anchor for your framed finish and also helps center the frame when hanging. Make sure the nail is placed securely but not too deep to avoid splitting the frame.
- Prepare your picture frame. Remove the glass and matting from a picture frame that matches the size of your bulletin board. The frame will act as a decorative border for the finished board. If the frame lacks a hanger, attach a sawtooth hanger to the back, centered at the top.
- Assemble and hang. Hang the sawtooth hanger on the small nail you placed on the front of the board. The frame will sit over the fabric-covered board, giving the appearance of a framed, custom bulletin board. Adjust the fabric and frame alignment as needed so everything looks centered and even.
This technique is flexible: you can swap fabrics to match seasonal decor or try different frame styles—distressed wood for a rustic room, sleek metal for a modern space, or a painted frame to add a pop of color. If you want a more finished look, consider adding a thin foam or batting layer between the cork and fabric for a slightly padded surface that’s nicer for pins.
Safety note: take care when using staple guns, hammers, and nails. Protect your work surface and keep fingers clear while stapling or hammering. If you’re covering electrical outlets or wall fixtures, make sure you maintain safe access and avoid covering warning labels or blocking ventilation.
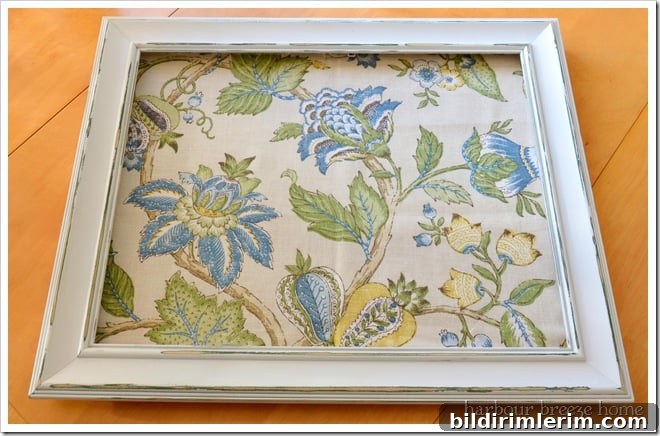
When the fabric shows wear or you want a new style, simply remove the frame, unstaple the fabric, and replace it with another pattern. This makes it a very budget-friendly option for updating your craft room, laundry room, or home office without buying a new board.
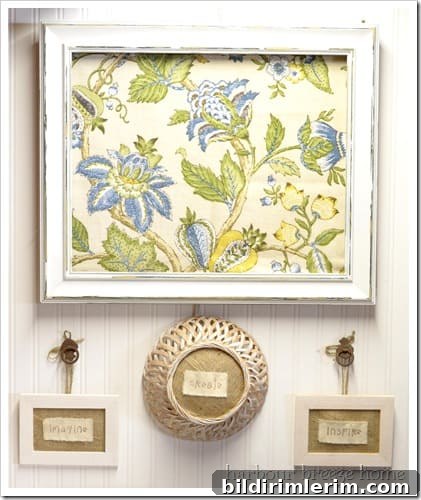
This quick DIY project delivers a custom, professional-looking bulletin board with minimal tools and materials. It’s an ideal weekend craft for anyone setting up a creative workspace or refreshing a room on a budget. Enjoy the process, and have fun choosing fabrics and frames that reflect your personal style.