
Tired of crumbs in your frosting? Try this simple, bakery-approved trick: freeze cake layers before you frost them. It makes icing smoother, reduces crumbs, and keeps your cake tasting fresh and easy to decorate.
How to Freeze Cake (So It’s Easy to Frost Later!)
I learned to appreciate careful cake decorating from family members who treated every cake like a project. I never quite matched their steady hands, but I did discover a straightforward trick that changed everything: freeze the cake before frosting it. Many bakers and food photographers use this method because it keeps the cake firm, reduces loose crumbs, and gives you clean, crisp edges when you spread the icing.
Why freeze cake after baking?
Freezing cake isn’t only for long-term storage. It also solves common decorating problems and saves time. Key benefits:
- Easier frosting: A firmer, chilled surface lets you spread icing without lifting crumbs into the frosting.
- Prep ahead: Bake layers ahead of time for events, then finish and decorate when you’re ready.
- Fewer decorating disasters: Cold layers are less likely to slide, and icing won’t melt as you work.
How to prepare cake layers so they stay fresh
Note: This method works for round layer cakes, sheet cakes, bundt cakes, and cupcakes.
To avoid freezer burn and preserve flavor and texture, protect the cake from exposure to air when freezing. The most reliable approach is a tight initial wrap followed by an outer layer for long-term storage. Below are the supplies and a popular, effective wrapping method.
Supplies You’ll Need:
- Plastic wrap or Press’n Seal
- Aluminum foil
- Sharpie or marker to label and date packages
- Baking sheet or another flat surface for initial freezing
- Airtight container or large freezer bags for extra protection
Step-by-Step Instructions for How to Freeze Cake
- Bake and cool: Follow your recipe, then cool the cake completely on a wire rack.
- Level the tops: Trim any domes with a serrated knife so layers stack evenly and frost smoothly.
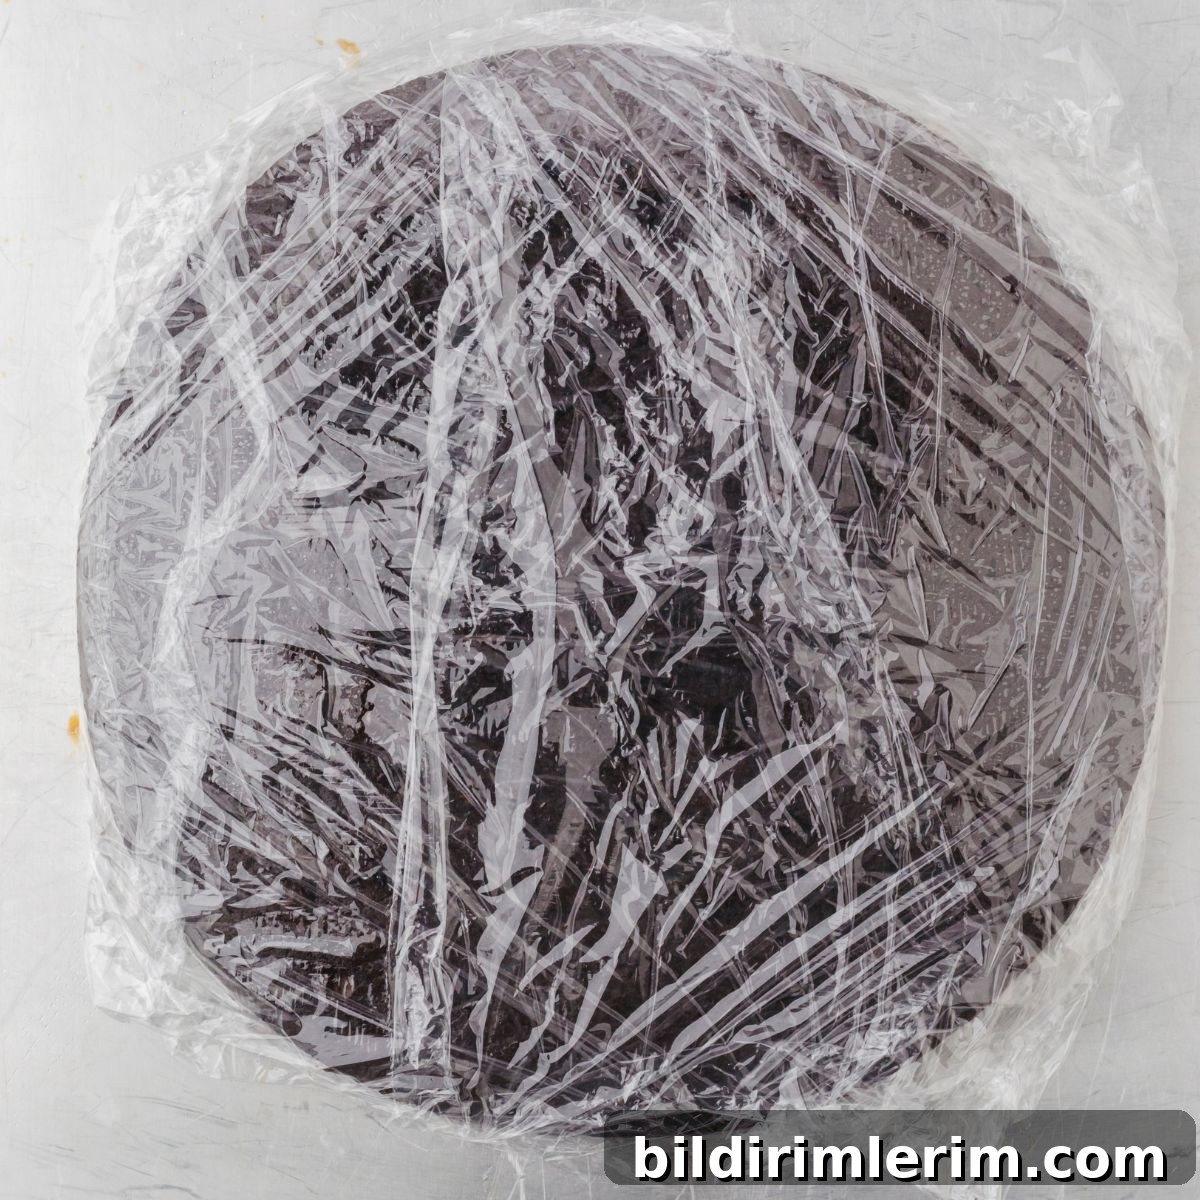
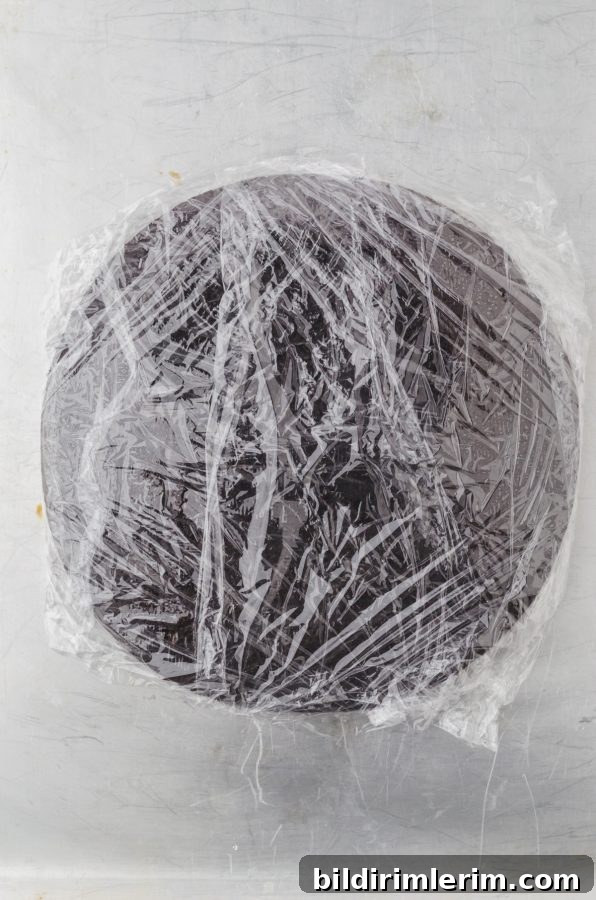
- Wrap each layer: First, wrap the cake horizontally in plastic wrap. Then wrap a second piece vertically to seal seams and reduce air exposure.
- Freeze flat: Place wrapped layers on a baking sheet and freeze overnight to set their shape.
- Optional—extra protection: For longer storage, wrap frozen layers in aluminum foil or place them in airtight containers or freezer bags the next day.
- Label and date: Mark each package. Properly wrapped cakes keep well for up to three months.
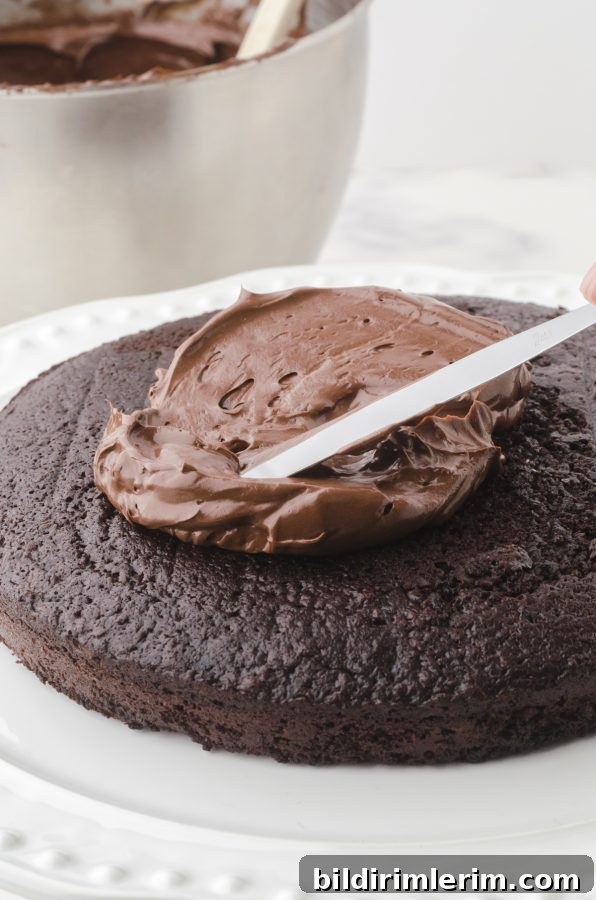
How to Frost a Frozen Cake
Frosting a frozen layer is the easiest part. Work from frozen to allow a crisp, crumb-free finish:
- Prepare your frosting and tools: Have your icing, offset spatula, and cake stand ready.
- Unwrap completely: Remove all plastic and foil just before you begin to frost.
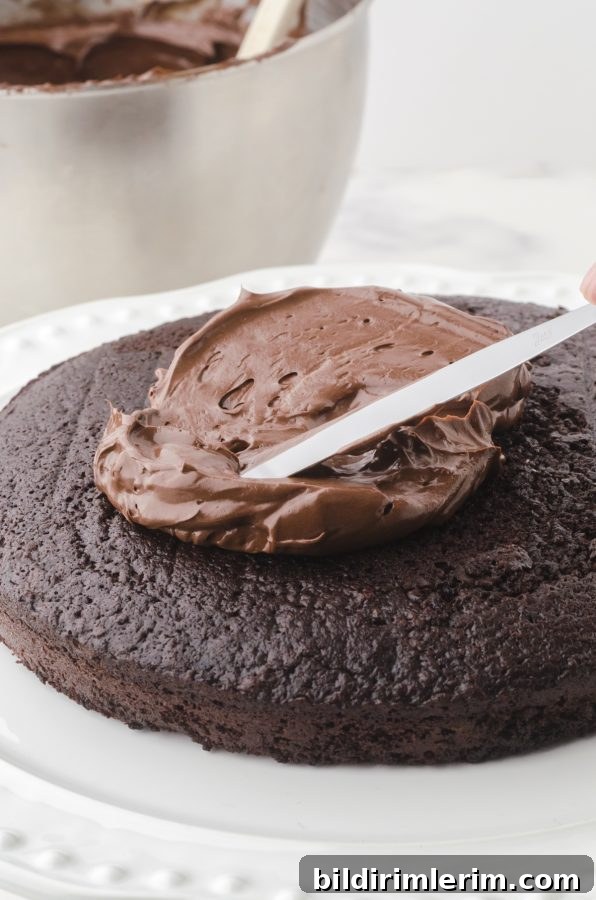
- Frost while frozen: Spread icing directly on the frozen surface for sharp edges and a smooth finish. Crumbs stay put instead of mixing into the icing.
- Thaw gently: After decorating, let the cake thaw on the counter or in the refrigerator before serving so the frosting sets and the texture returns to normal.
Cake Freezing Tips & Tricks
- Freeze before icing: It’s generally best to freeze un-iced cakes and finish them while frozen.
- Prevent freezer burn: Wrap tightly, use an airtight container, and avoid long exposure to fluctuating temperatures.
How long can you freeze cake?
Stored properly, most cakes will keep well in the freezer for up to three months without significant loss of quality.
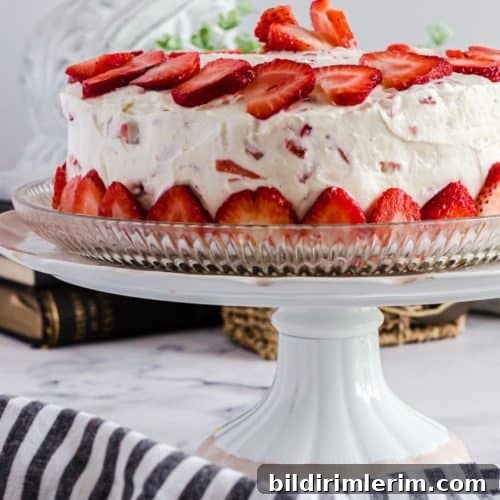
How to thaw frozen cake
To thaw, place the wrapped cake on a wire rack at room temperature. For best results, remove plastic wrap and foil before it fully thaws to prevent condensation from making the surface soggy. A standard layer cake usually needs 2–3 hours to come to room temperature; larger cakes require more time. After thawing, keep the cake covered until serving to maintain moisture.
Recipe Card: How To Freeze Cakes
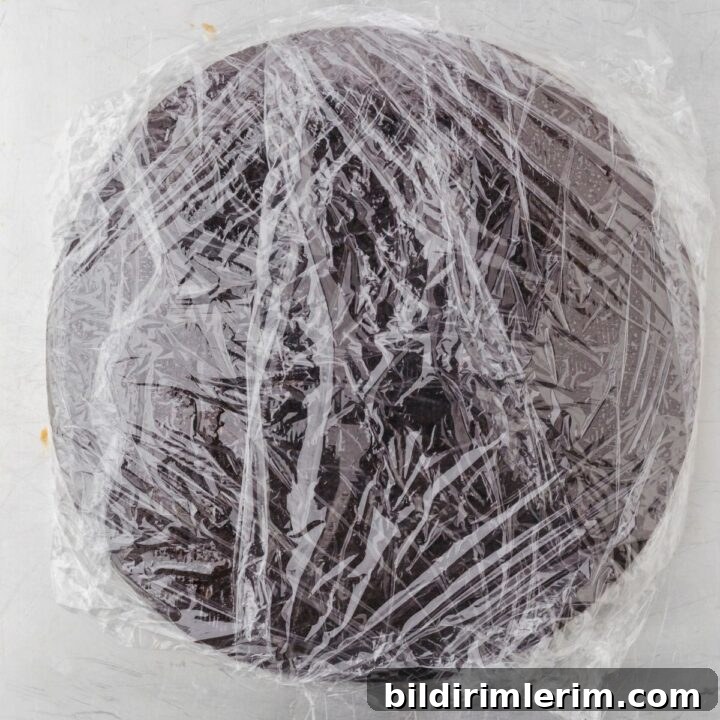
How To Freeze Cakes
Simple steps to freeze cake layers so they’re easier to frost and still taste fresh when served.
Ingredients / Supplies
- Plastic wrap or Press’n Seal
- Aluminum foil
- Marker to label packages
- Baking sheet for freezing
- Airtight containers or large freezer bags
Instructions
- Bake and cool your cake completely.
- Trim domed tops so layers are flat.
- Wrap each layer tightly in plastic wrap, sealing seams by wrapping twice in different directions.
- Freeze flat overnight on a baking sheet to set the shape.
- For long-term storage, wrap frozen layers in foil or place in airtight containers the next day.
- Label and date packages; freeze up to 3 months.
Notes
It’s best to freeze cakes before frosting and decorating for the cleanest results.
Save this tip for later
Freezing cake layers is a small step that delivers big results: easier decorating, fewer crumbs, and a fresher final product. Try it the next time you bake ahead for a party or want a stress-free decorating session.