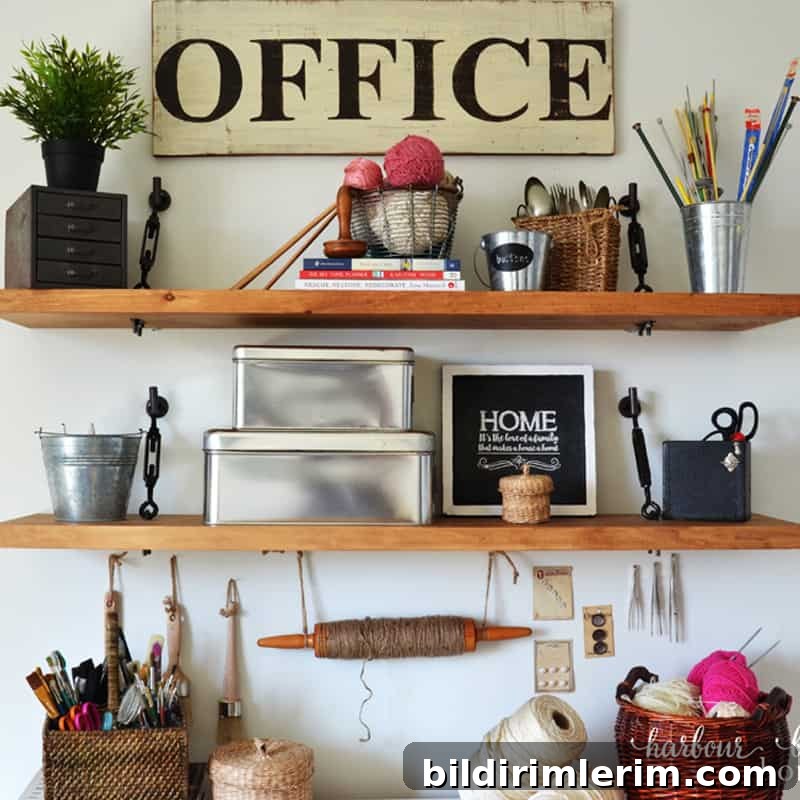
I was standing in the Home Depot aisle with my husband, debating which plain shelf bracket to buy, when friends we knew walked up. During conversation I learned they were making floating shelves using turnbuckle hardware. I had never heard of turnbuckle shelves, but after a quick internet search and seeing a photo, I knew I wanted them. They felt like the perfect blend of industrial and farmhouse style—much more interesting than the usual metal brackets.
We started the project right away and built two floating turnbuckle shelves for my craft room. Below are clear instructions, materials, and tips so you can make your own beautiful and sturdy shelves.
How to Make Floating Shelves with Turnbuckle Hardware
Disclosure: this post may reference products that are commonly used for convenience or appearance.
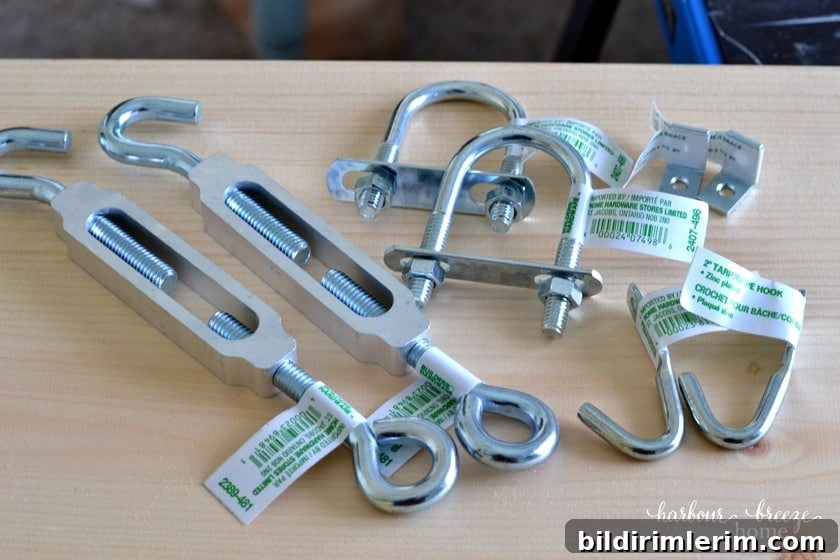
Supplies for the Turnbuckle Shelf Project
(Note: the list below is sized for two shelves.)
- One 2×10 board cut to the length you need (we used an 8-foot Eastern pine board cut into two 4-foot pieces)
- U-bolts (4 total) — for example, size 5/16 x 1 3/8 x 2 1/2
- Turnbuckle eye/hooks (4 total) — for example, size 5/16 x 9 3/8
- Wall hooks (4) that will secure into studs and accept the turnbuckle hooks
- Four small L-brackets to stabilize the back of each shelf
- Spray paint in an oil-rubbed bronze or black finish (optional, if you want a uniform hardware color)
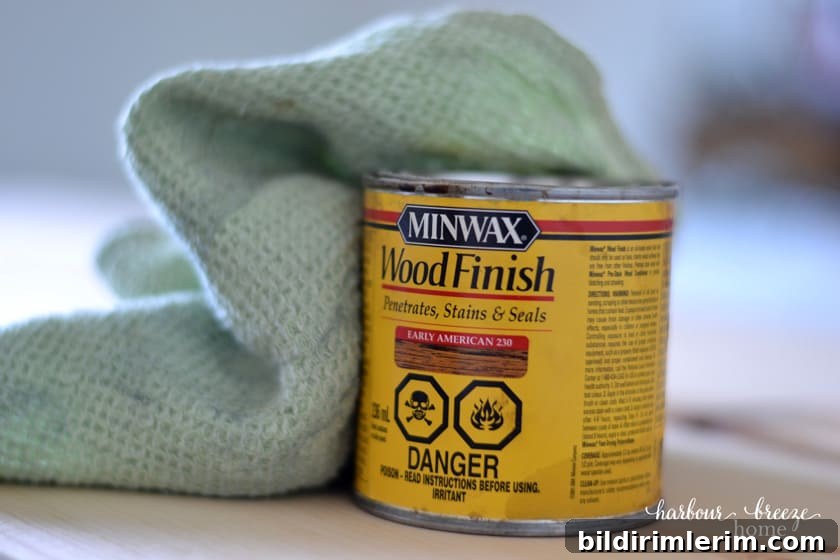
- Wood stain in a color you prefer (we used an Early American tone)
Other tools:
- Level
- Drill with appropriate bits
- Stud finder
- Measuring tape and pencil
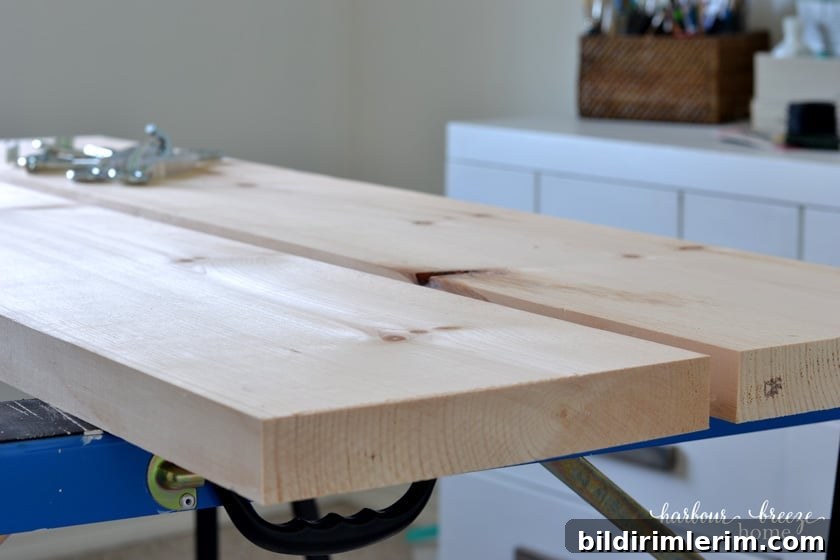
Where to Find Turnbuckle Hardware
Turnbuckle hardware and U-bolts can be a little tricky to locate. Check the hardware section of home centers where cabinet handles and shelf hardware are displayed. Decorative hooks may be in a different aisle from more industrial-style hooks, so look through both areas. If you prefer shopping online, many hardware stores and marketplaces carry these parts under turnbuckles, U-bolts, or shelf-support hooks.
Measure Your Space and Find Wall Studs
Before drilling, plan the shelf placement and locate studs with a stud finder. Anchoring the hardware into studs is essential for safety—floating shelves carrying weight need solid support. On our wall the studs meant the turnbuckles had to sit 8 inches from the board ends, so we marked and measured accordingly.
Stain the Shelf Boards
After measuring and cutting the boards to size, apply wood stain. Wipe the stain on with a cloth, rub it in evenly, and remove any excess. Allow the stain to dry and cure thoroughly before drilling any holes.
Drill Holes for U-Bolts
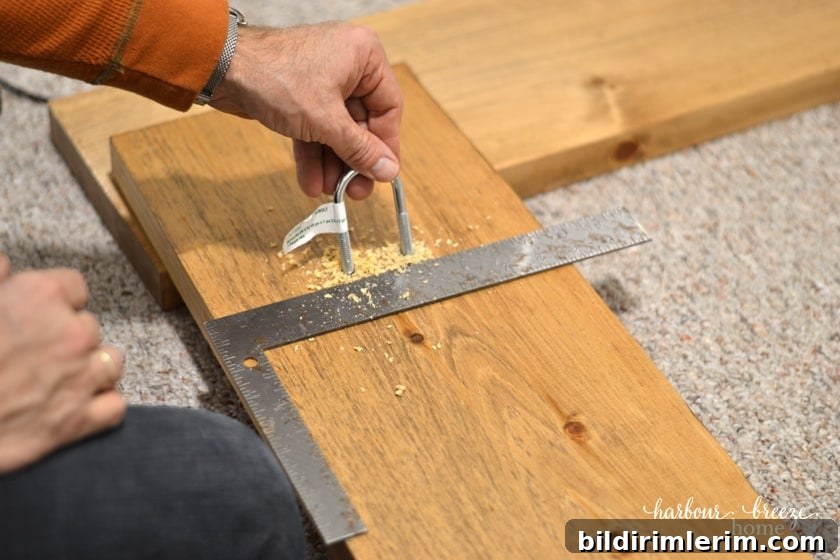
When the stain is dry, measure and drill two holes where the U-bolts will attach to the underside of the shelf. For our shelves, those holes were 8 inches from each end and centered across the board width. Double-check measurements so the hardware lines up with your wall studs.
Spray Paint Hardware (Optional)
If you want the hardware to match or appear darker, spray paint the U-bolts, turnbuckles, and hooks in oil-rubbed bronze or black. Be sure the hardware is clean and dry before painting, and allow it to cure completely before assembly.
How to Hang a Floating Turnbuckle Shelf
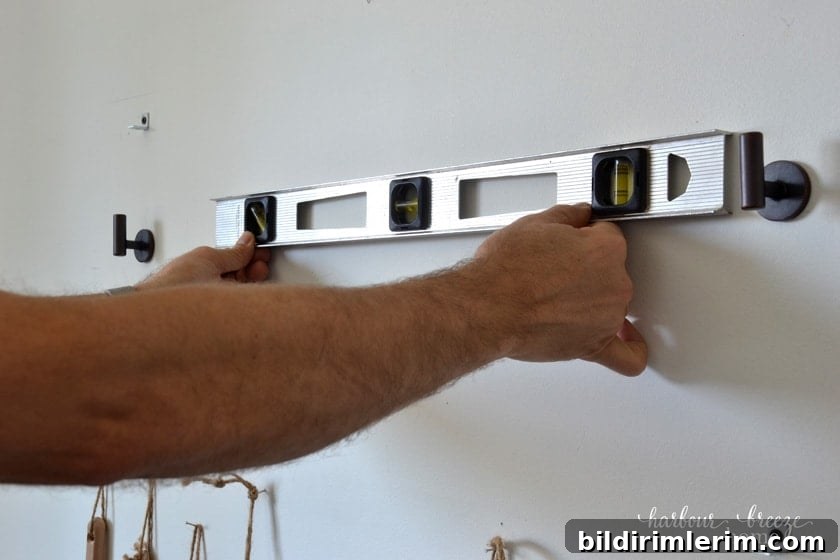
This is the most delicate part of the project. Work with a partner if possible, use a level, and mark lightly with pencil so you can adjust as needed.
-
Decide the vertical spacing you prefer. For example, our bottom shelf sits 17 1/4 inches above the dresser and the second shelf is 12 1/2 inches above the first.
-
Hold the shelf at the desired height and level it. Lightly draw a pencil line to mark the top edge as a placement guide.
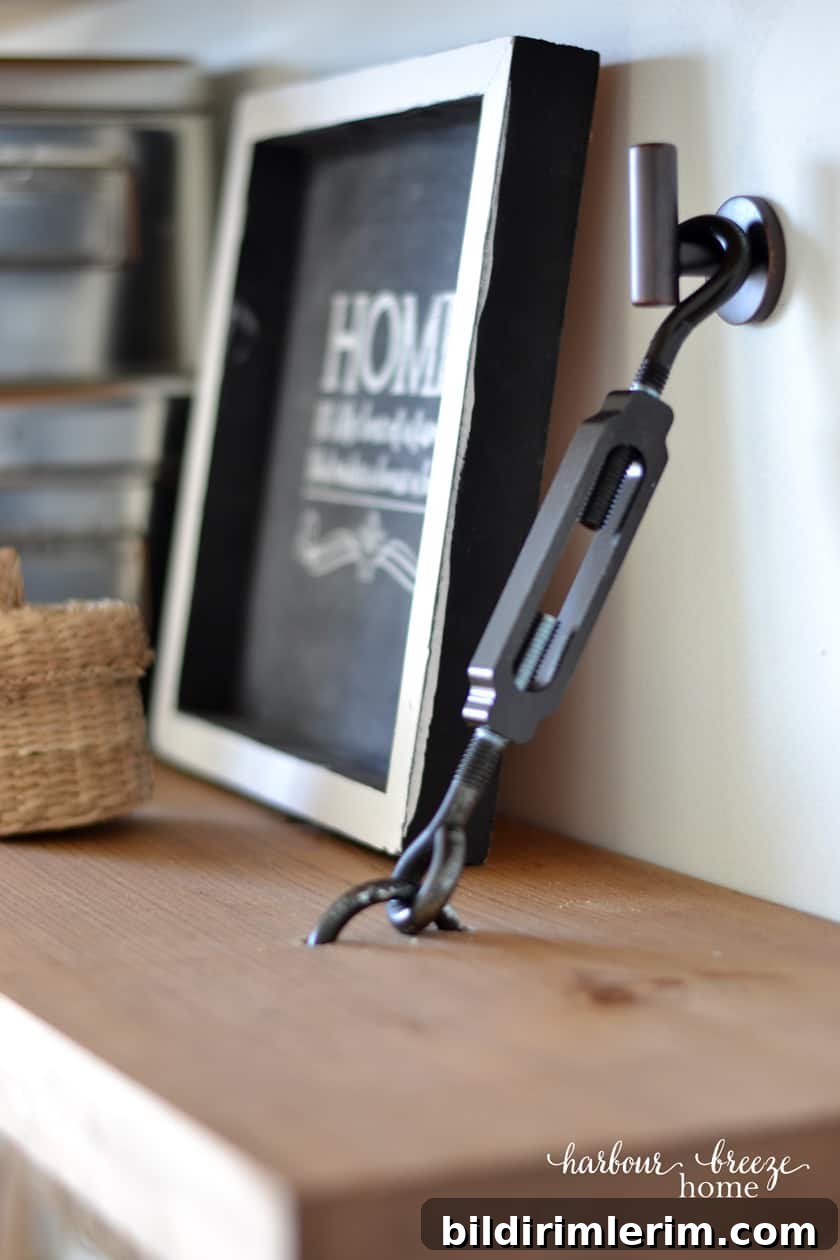
3. Using your stud markings and the shelf guide line, position the turnbuckle so it will reach the wall hook. Mark where each wall hook should be placed, and use a level to ensure both hook locations are aligned.
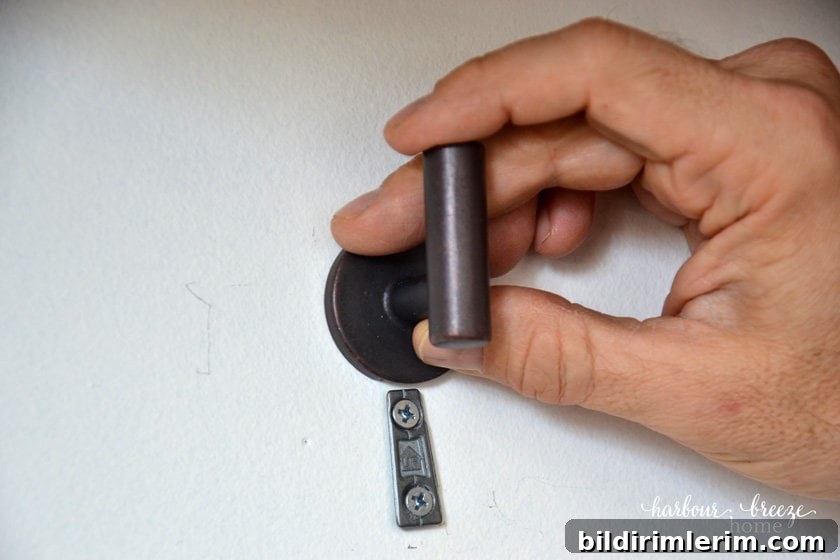
4. Attach the hooks to the wall, driving screws into studs for a solid anchor, then hang the turnbuckle hooks on them.
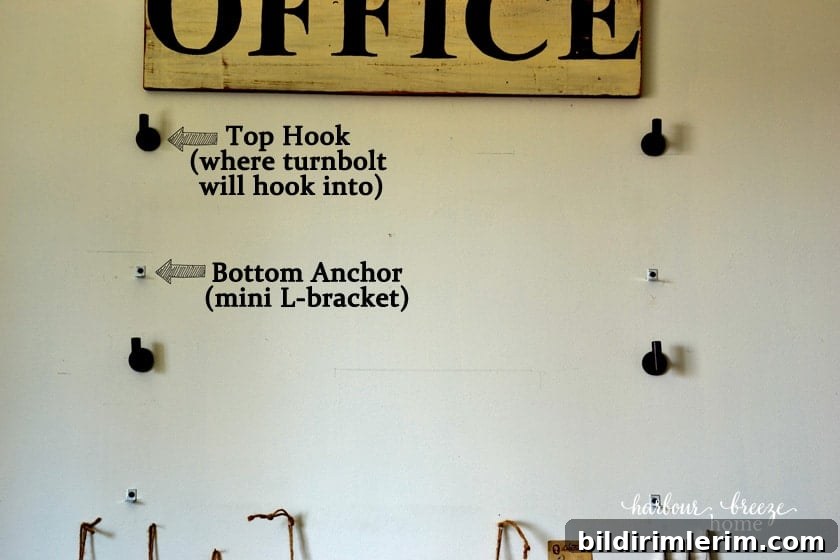
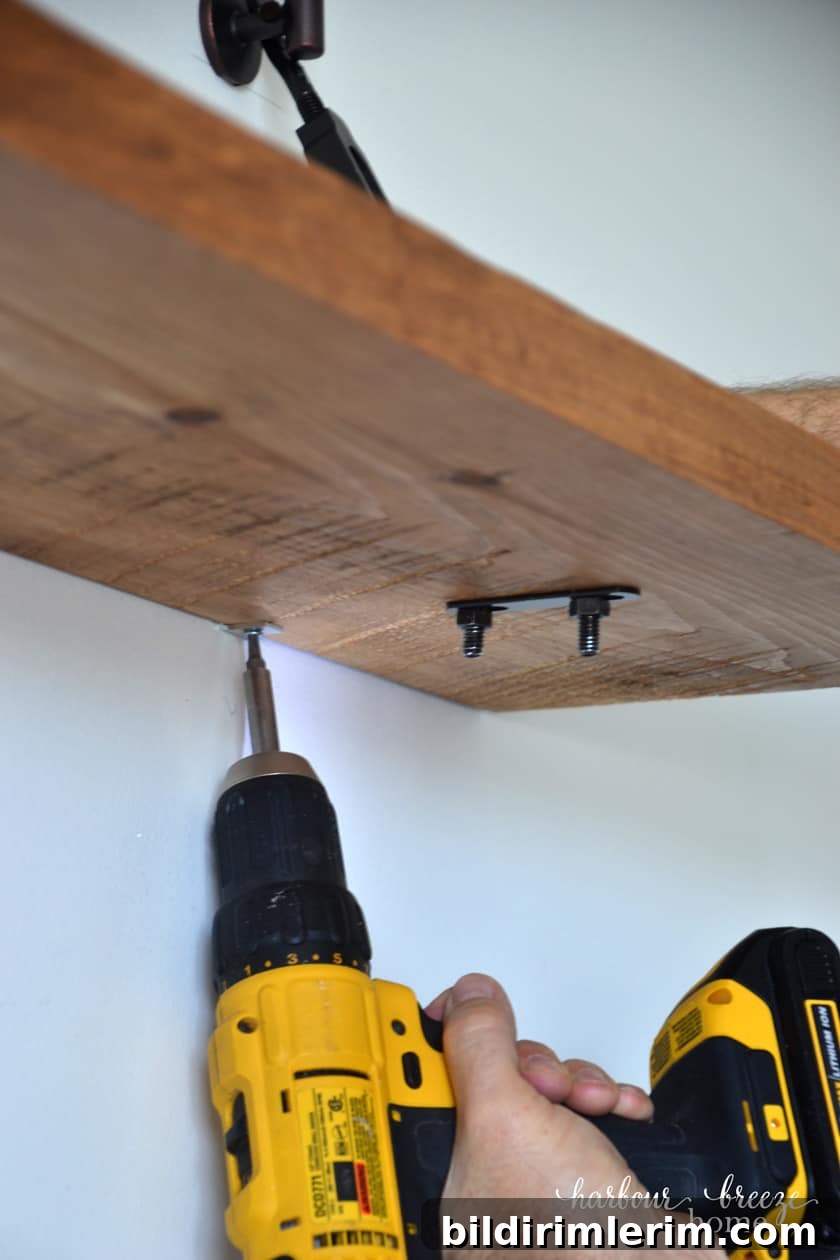
5. To stop the shelf from tipping backward, fit a small L-bracket under the back edge of the shelf. Lightly mark its position, remove the shelf, screw the wall side of the bracket into the stud, then replace the shelf and screw the bracket into the underside of the shelf.
Additional Tips
- To remove pencil marks from painted walls, use a gentle cleaner or a soft sponge—test a small area first so the paint is not damaged.
- Make sure hardware is fully dry and clean before spray painting to ensure an even finish.
- Always anchor heavy-duty hooks into studs when hanging shelves that will hold weight; toggle bolts and anchors are alternatives for drywall-only locations but studs provide the safest support.
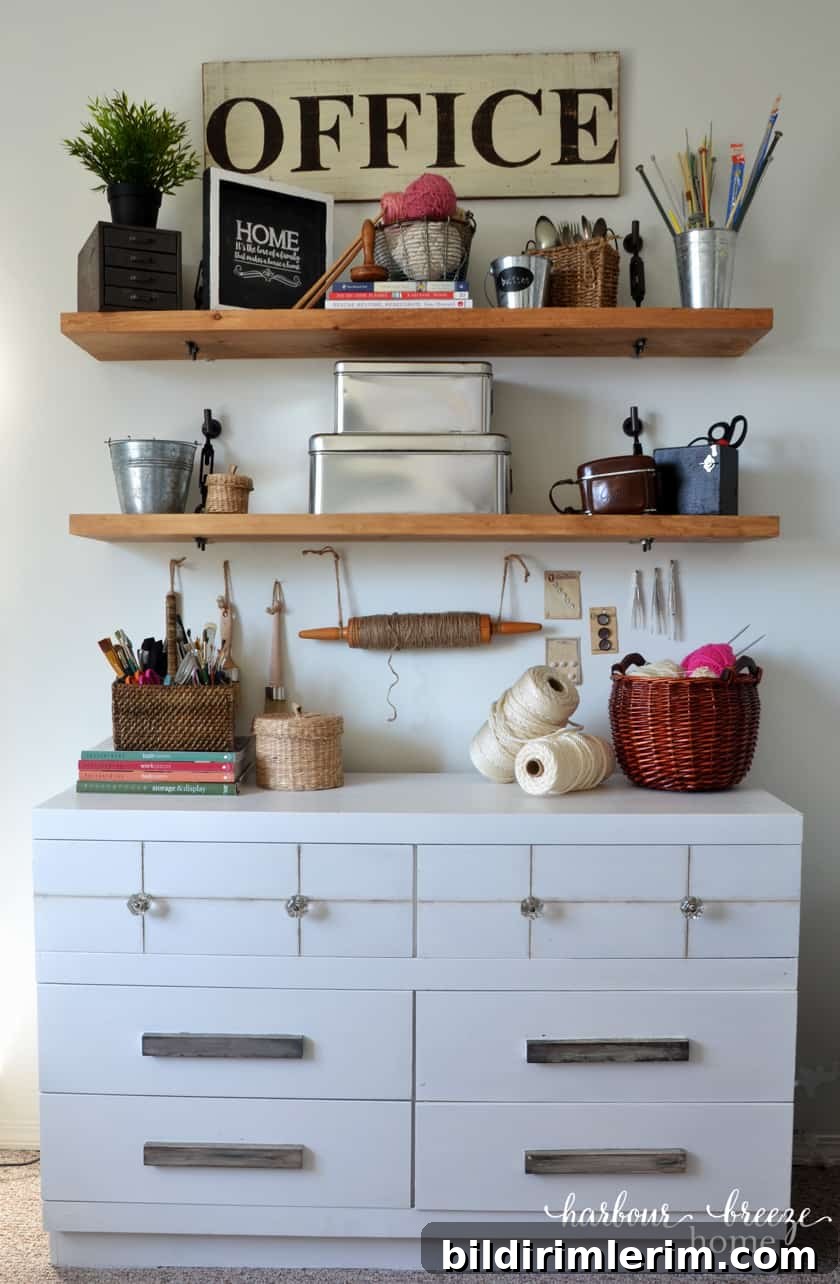
These turnbuckle floating shelves became the perfect storage and display solution for my craft room and office. They combine function and style: strong, supported shelving with a decorative, industrial look that complements farmhouse decor.
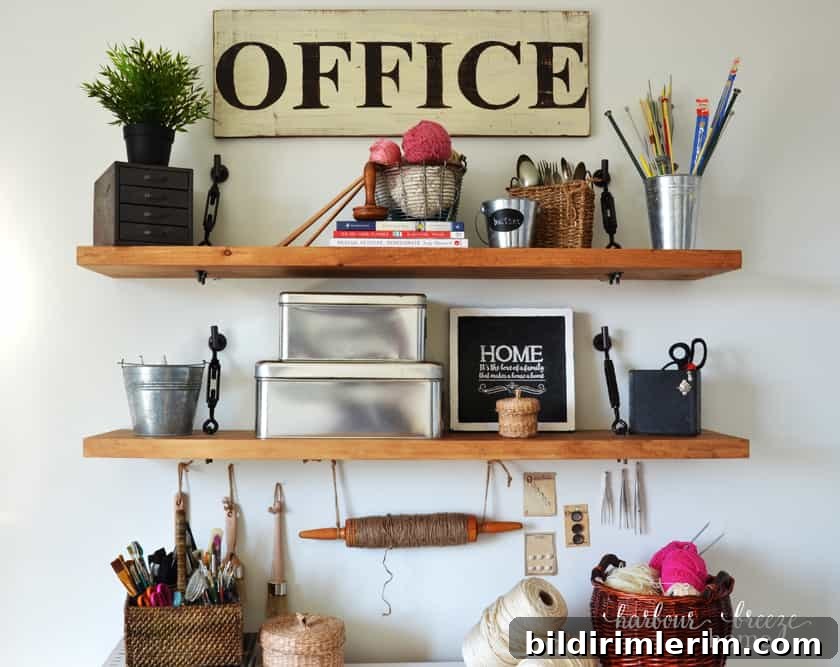
On my shelves I display sentimental pieces and keep frequently used craft supplies within easy reach. An antique rolling pin from my grandmother holds jute string—practical and charming. If you have questions about building floating shelves with turnbuckle hardware, feel free to ask in the comments.
Special thanks to the blog that inspired this project; their photos and tutorial helped shape the idea and approach for our version of turnbuckle shelves.