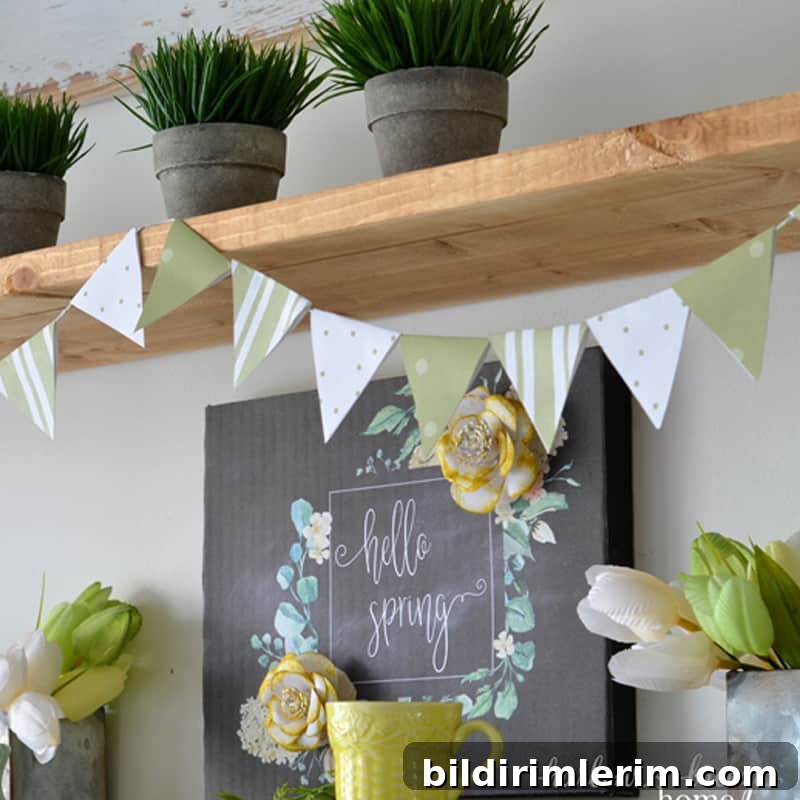
Freshen your decor with a handmade paper triangle bunting banner. This simple tutorial is perfect for using up scrapbook paper and adding instant joy to any room.
If you remember the scrapbook craze—when we all hunted for coordinating patterned paper, stamps, and cute embellishments—you probably still have boxes of beautiful paper tucked away. This project is a great way to revive that stash.
Turn pretty patterned paper into a paper triangle bunting banner. It’s a quick, low-cost DIY that brings a festive touch to shelves, mantels, windows, party tables, and more. You can make one in about 10 minutes and customize it to any color scheme or occasion.
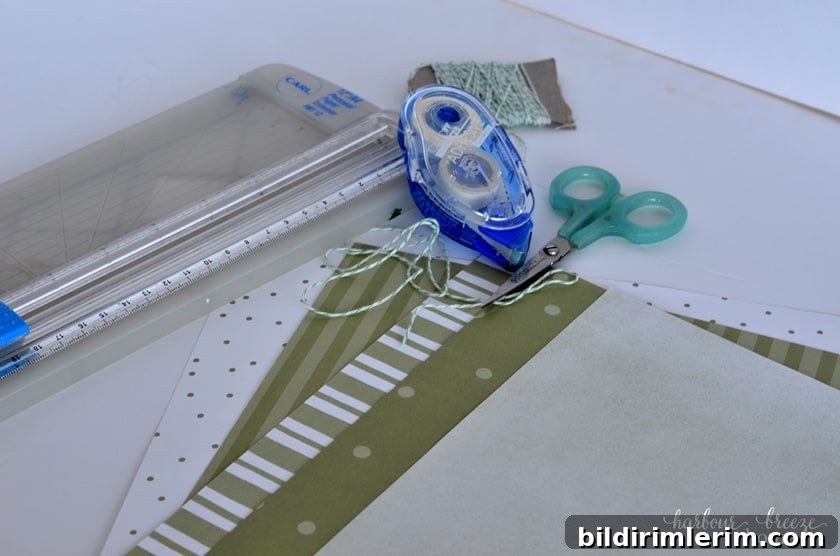
Supplies You’ll Need for this DIY Paper Bunting
Note: You can use any patterned or solid paper you already have—scrapbook paper works perfectly.
- Patterned paper (12” x 12”), coordinating designs and colors (look for seasonal or multi-pattern packs)
- String, jute, or baker’s twine
- Ruler
- Pencil
- Scissors or a paper cutter
- Glue stick
How to Make a Paper Bunting Step by Step
If you prefer, make a small printable card of these steps to keep with your craft supplies.
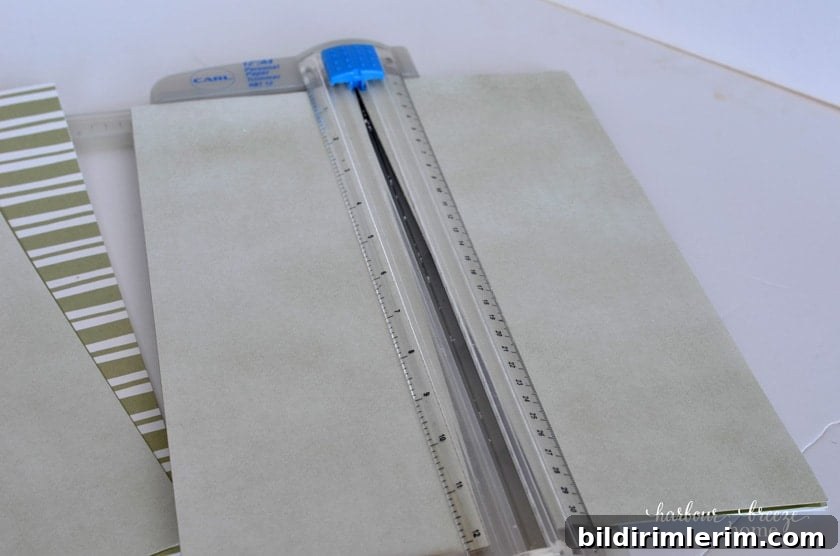
Step 1: Cut the paper into strips
Start with 12” x 12” scrapbook paper. Cut each sheet into 3 strips that are 4 inches wide.
Tip: For a 6-foot banner, plan for about 12–15 triangles. That usually means 4–5 sheets of paper depending on how many patterns you include.
Step 2: Fold and mark the triangles
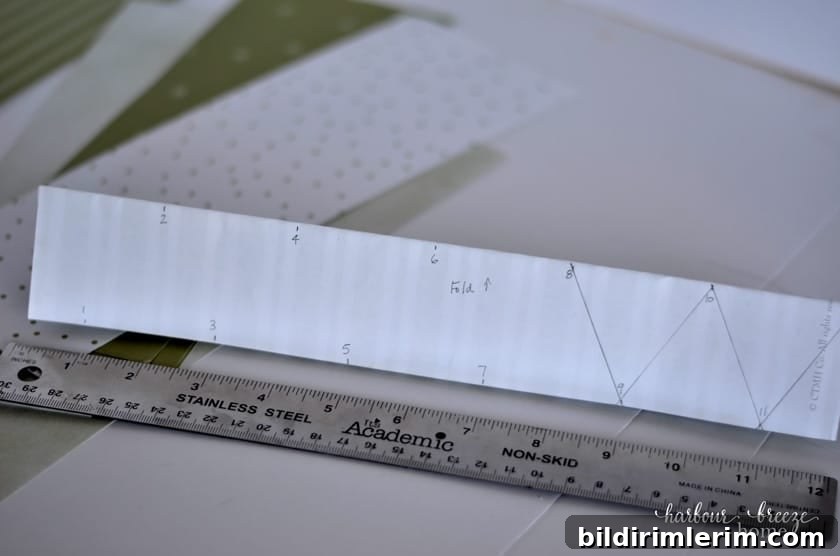
Fold each strip in half, right sides together, so the patterned side is inside. This helps keep the visible edges neat.
To mark triangle points:
- Mark the top edge every 2 inches, starting at 0.
- Mark the bottom edge every 2 inches, starting at 1 inch.
The offset marks create the triangle points. You can speed the process by folding and marking three strips together.
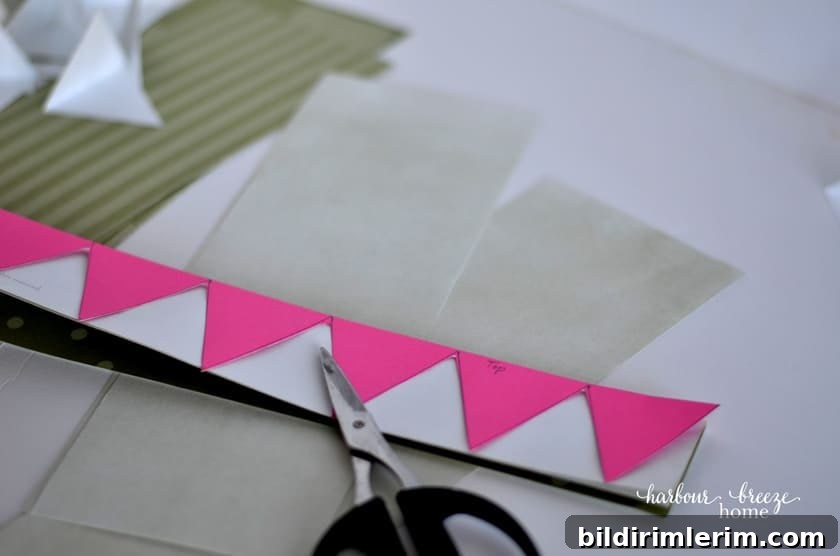
Optional: If you plan to make several banners, cut a simple cardstock template of one triangle to trace onto future strips.
Step 3: Cut the triangles
Cut along your pencil marks to create triangles. If you used a template, avoid cutting through the top edge of the template so it remains intact for future use.
Step 4: Add the string
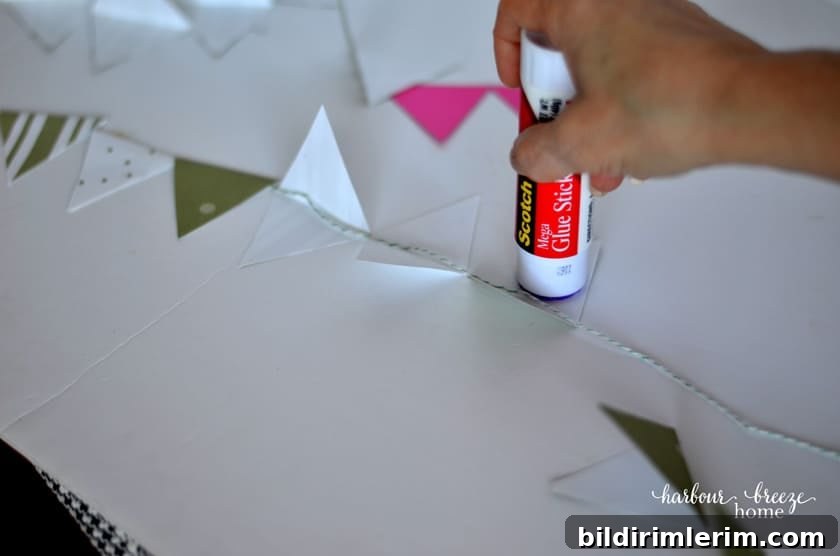
Measure your string to the desired length and lay it flat. Fold each triangle over the string so the folded edge sits at the top, apply glue stick to one side, and press the edge down to secure the triangle around the string.
Arrange triangles evenly along the string or cluster them for a fuller look. Leave extra string at each end for hanging.
Step 5: Hang it up!
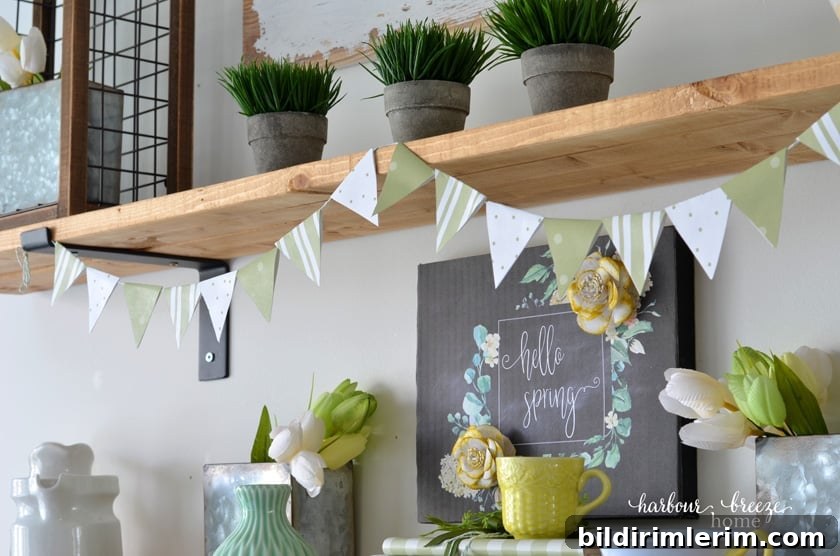
Tie small loops at each end of the string to hang. For a swagged look, secure the center with a small piece of tape or drape it over shelf brackets. The banner is lightweight and easy to move for seasonal updates.
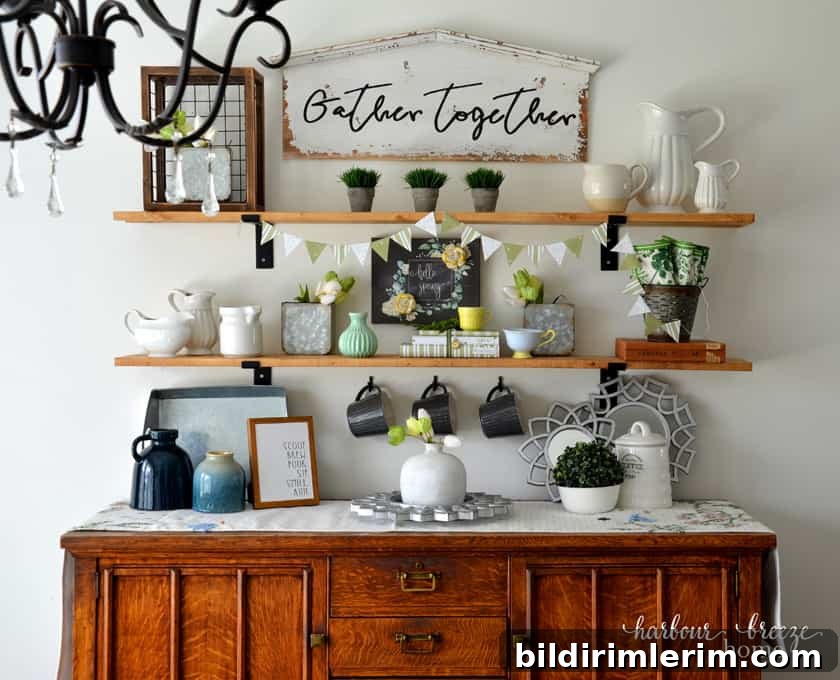
Turn it into a celebration with a paper bunting banner!
Bunting banners are cheerful, inexpensive decor pieces that work for many occasions. They’re easy to customize with colors, patterns, and even letters or cutouts. Here are a few ideas for how to use them:
- Attach one to the front of a gift table for a bridal shower or baby shower.
- Drape one over the handles of a drink cart at a backyard party for instant charm.
- Hang a brightly colored banner from an old window or above a dresser for a seasonal vignette.
- Use old book pages for a farmhouse-style bunting to hang in an office window, on a tree, or on a mantel.
- Add letters to the front of each triangle to spell a welcoming message in an entryway or at a party.
Other Ways to Use Paper in Decor
Paper is an economical and highly flexible decor tool. If you have a stash of scrapbook paper, printables, or decorative sheets, you can use them in many other projects beyond garlands:
- Iron-on transfers for DIY throw pillows—turn favorite printables into fabric accents.
- Book page bunting for a vintage farmhouse vibe that can be used year-round.
- Paper-covered books to create a coordinated shelf display or seasonal vignette.
- Paper placemats and table runners for festive, disposable table decor during parties or holidays.
- Paper feathers to tuck into a vase for a quick seasonal arrangement.
- Paper rosettes or flowers for inexpensive wall or table decor.
- Line shelves or drawer bottoms with patterned paper for a pretty surprise every time you open them.
- Paper confetti for party decor or to tuck into gift wrapping.
- DIY framed wall art by mounting patterned paper or collages in simple frames.
Pin this to remember it later!
Save this paper triangle bunting tutorial to your favorite craft board so you can find it when you’re ready to craft.
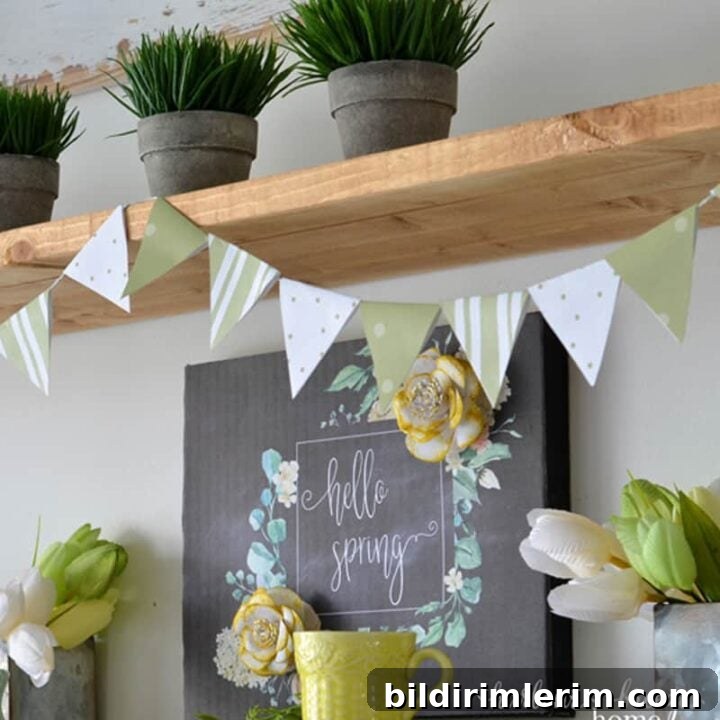
Paper Triangle Bunting Banner
Turn leftover scrapbook paper into a cheerful DIY paper triangle bunting banner. This quick craft adds seasonal color and works for celebrations, everyday decor, and parties.
Materials
- Patterned paper (12” x 12”)
- String, jute, or baker’s twine
- Ruler
- Pencil
- Scissors or paper cutter
- Glue stick
Instructions
- Cut each 12” x 12” sheet into 3 strips that are 4 inches wide.
- Fold each strip in half right sides together so the patterned side is inside.
- Mark the top edge every 2 inches, starting at 0.
- Mark the bottom edge every 2 inches, starting at 1 inch. These offset marks form the triangle points.
- Cut triangles along your markings. Use a template for fast, consistent shapes.
- Fold each triangle over the string and glue the folded edge to secure the triangle on the string.
- Arrange the triangles evenly, tie loops at each end, hang, and enjoy.