
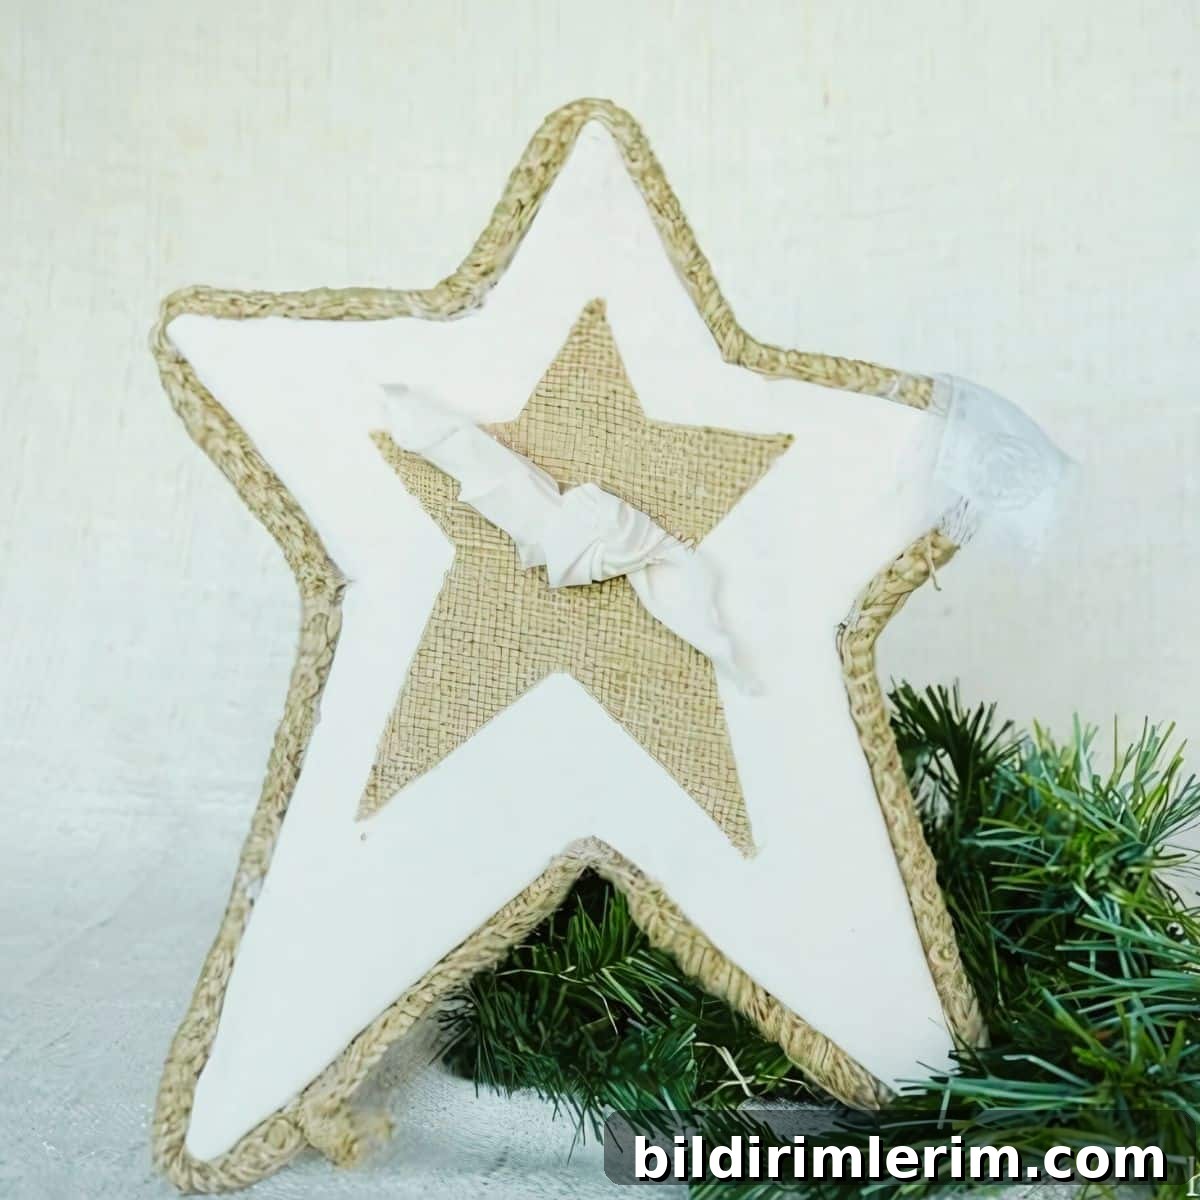
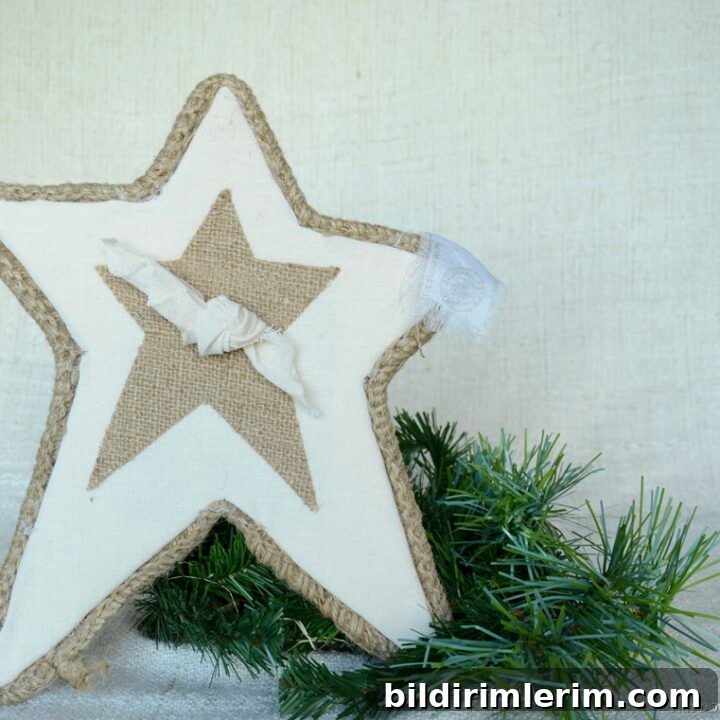
Bring a touch of rustic charm to your holiday decor with this DIY Burlap Star Tree Topper. Built from simple, affordable materials, this homemade star is an ideal accent for farmhouse, vintage, or cozy Christmas themes. The project is easy, customizable, and makes a warm, homespun finishing touch for your tree.
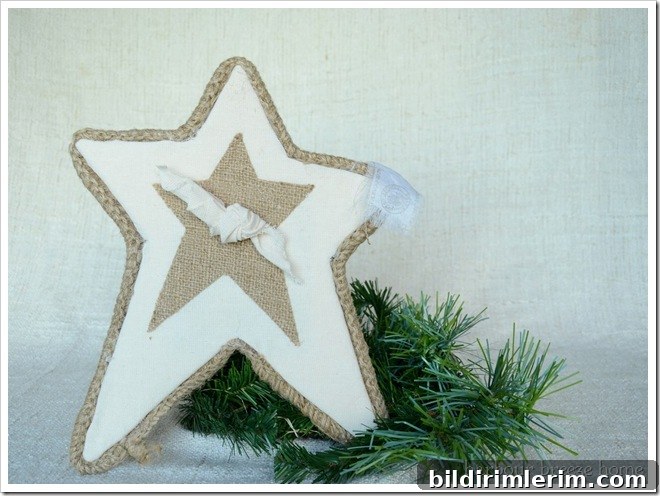
I often find inspiration in magazines and shop displays, then recreate the look at home for much less. Making your own tree topper not only saves money but adds a personal, handcrafted quality that store-bought items rarely match. This burlap star was one of those projects: I wanted a simple, old-fashioned accent and decided to make it myself. The result felt perfectly nostalgic and cozy on my tree.
If you try this project, consider putting on a favorite holiday movie or playlist while you work—crafting is more fun with a festive soundtrack. With a little time and a few straightforward supplies, you can create a charming heirloom-style topper that complements natural, rustic, or farmhouse décor.
Why You’ll Love This Burlap Star Tree Topper
- Rustic appeal — the burlap and simple fabrics give a farmhouse or vintage-inspired look.
- Affordable — made from common craft materials and household items.
- Customizable — swap trims, ribbons, or fabric colors to match your tree decor.
- Handmade keepsake — a warm, tactile piece that feels made with care and can be reused year after year.
Supplies You’ll Need
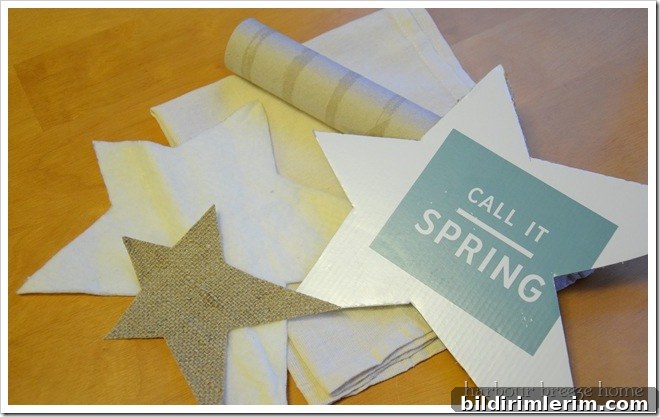
- Cardboard star shape (pre-cut or cut from a box)
- Warm & Natural batting or any thin polyester/cotton batting
- Flour sack dish towel or similar lightweight fabric
- Burlap fabric (reclaimed coffee sack or new burlap)
- Paper towel tube (trimmed to fit your tree branch as a holder)
- Spray adhesive
- Heat & Bond or fusible web (optional, to stabilize burlap)
- Hot glue gun and glue sticks
- Scissors and an iron
Step-by-Step Instructions
Step 1: Prepare and Cushion the Star Base
Begin with a sturdy cardboard star. Spray one side with adhesive and press a thin layer of batting onto the front; this adds soft dimension and helps the top fabric lay smoothly. Trim the batting close to the star edges so it follows the shape without excess bulk.
Step 2: Cover with Fabric and Secure Edges
Lightly spray the batting, then drape the flour sack towel or lightweight fabric over the star so it covers the front and wraps to the back. Trim the fabric, leaving about an inch margin to fold and secure. Clip or notch the fabric at the star points to reduce bulk, then fold and hot glue the fabric neatly to the back of the cardboard. Take care at corners so the front remains smooth and taut.
Step 3: Add the Burlap Accent
Cut a slightly smaller star from burlap to layer over the center. For a cleaner look and easier handling, back the burlap with Heat & Bond or a similar fusible web; press it with an iron according to product instructions. Center this burlap star on the fabric-covered base and press or glue it in place. This creates contrast and highlights the star shape.
Step 4: Attach the Base Holder and Finish the Back
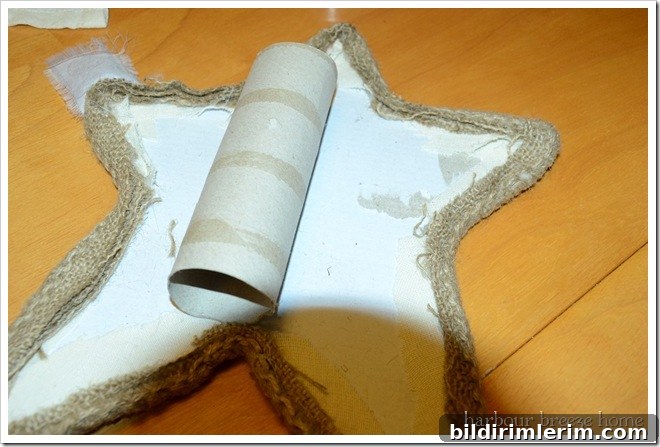
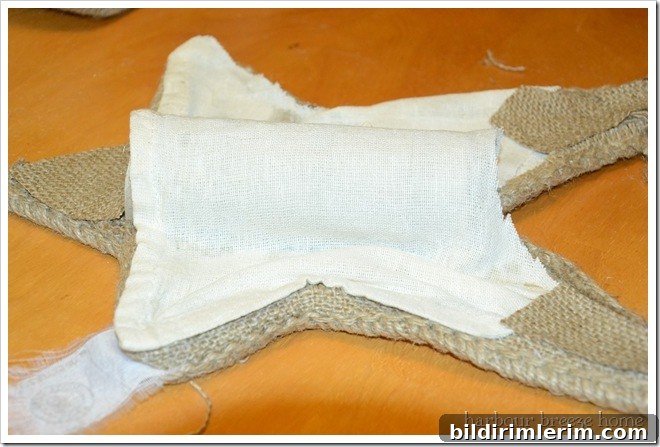
Glue a cut paper towel tube to the back center of the star with hot glue. Trim the tube so it fits snugly over a strong top branch of your tree—the tube serves as the tree collar for easy placement. Cover the exposed back and glued edges with a scrap of flour sack or burlap to tidy the appearance. The back will be mostly hidden when the topper is in place, but a neat finish helps it last.
Step 5: Add Trim and Decorative Center
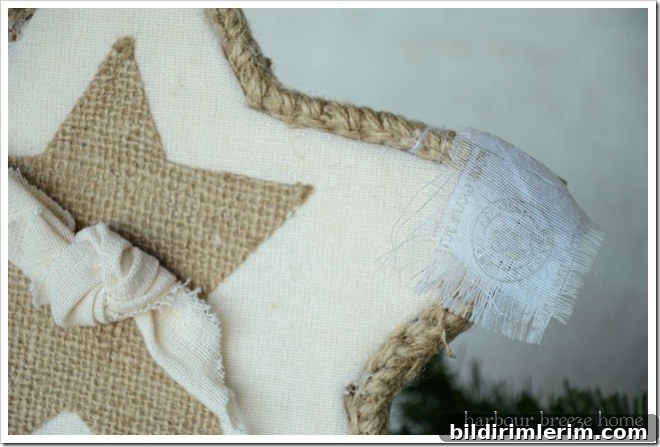
Glue burlap trim, jute, or ribbon around the star edges for a finished border. For the center decoration, knot a strip of flour sack towel or a small ribbon into a rosette or simple flower and attach it with hot glue. This small accent gives the topper a handmade, finished appearance.
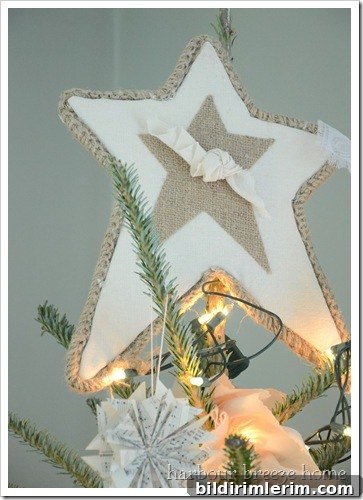
Place the finished burlap star on your tree by sliding the paper towel tube over the topmost branch. Adjust so the star sits straight and secure any loose areas with a bit more glue or twine if needed. The result is a warm, rustic tree topper with farmhouse charm.
Tips and Variations
- Use patterned fabric beneath the burlap for a pop of color or seasonal print.
- Add a light string of battery-operated micro-lights behind the burlap layer for a subtle glow.
- If your tree topper needs more stability, reinforce the paper tube with a small dowel glued inside before mounting.
- Swap the flour sack center for a small wooden button, ornament, or layered fabric medallion for different looks.
Materials Summary & Timing
- Yield: 1 burlap star tree topper
- Prep time: ~5 minutes
- Active time: ~30 minutes
- Total time: ~35 minutes
- Difficulty: Easy — suitable for beginner crafters
- Materials: Cardboard star, batting, flour sack towel, burlap, trim, paper towel tube, spray adhesive, Heat & Bond (optional), hot glue gun, scissors, iron
More DIY Ornament Ideas
- Hand-sewn fabric ornaments in simple tree shapes
- Felt Christmas decorations that make thoughtful gifts
- Paper-book-page stars for a vintage paper craft look
- Small fabric bird ornaments made from leftover scraps
Save This Project
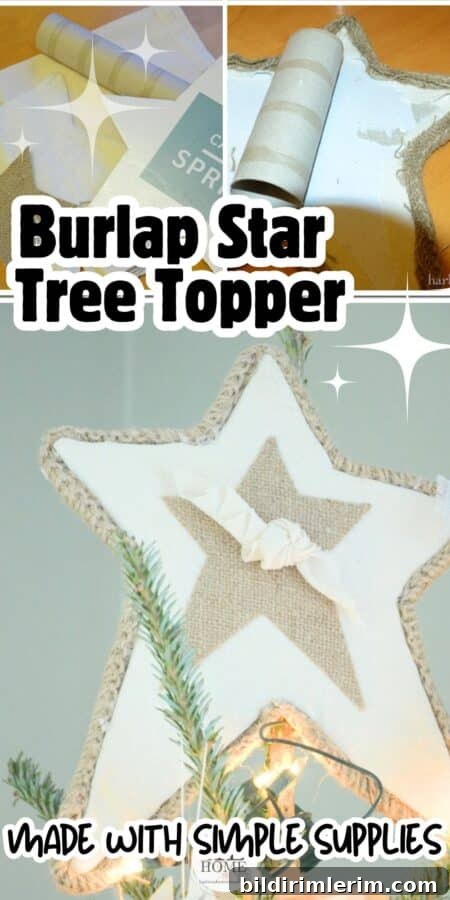
DIY Burlap Star Tree Topper
Create a rustic farmhouse-style tree topper using simple supplies and easy steps. This project is budget-friendly and customizable to suit your holiday decor.
Materials
- Cardboard star, batting, flour sack towel, burlap, trim, paper towel tube, spray adhesive, Heat & Bond (optional), hot glue gun
Instructions
- Adhere batting to the star with spray adhesive.
- Cover the star with a flour sack towel, trim edges, and glue the fabric to the back.
- Iron or glue a smaller burlap star onto the front for contrast.
- Glue trim around edges and attach a paper towel tube as the tree base.
- Cover and tidy the back with extra fabric if desired.
- Add a knotted fabric “flower” or ornament to the center for decoration.
- Place the finished star on your tree and enjoy your rustic handmade topper.