
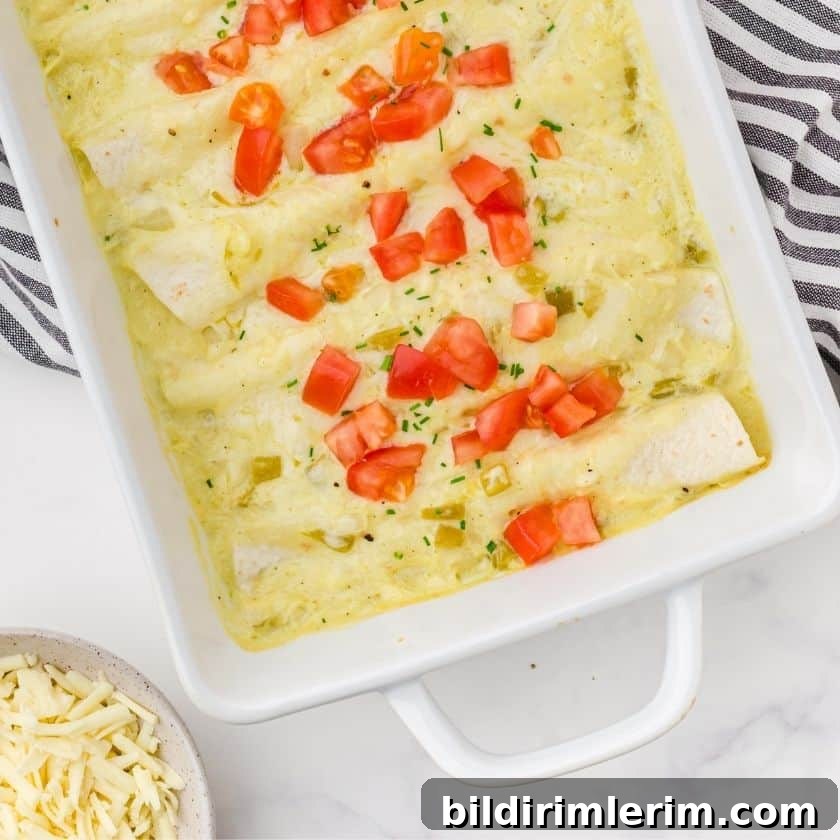
Soft flour tortillas filled with tender chicken, a creamy white sauce, and melted cheese are rolled and arranged in a baking dish, then finished with more sauce and cheese on top. This creamy chicken enchiladas recipe is comforting, easy to make, and perfect for weeknights or make-ahead dinners.
In our family it’s a birthday tradition that each child chooses their favorite meal. For years our middle son picked these creamy chicken enchiladas—simple to assemble, freezer-friendly, and irresistibly cheesy.
If you need a crowd-pleasing weeknight dinner or a reliable freezer meal, add this recipe to your rotation. A printable version of the recipe is included in the recipe card below.
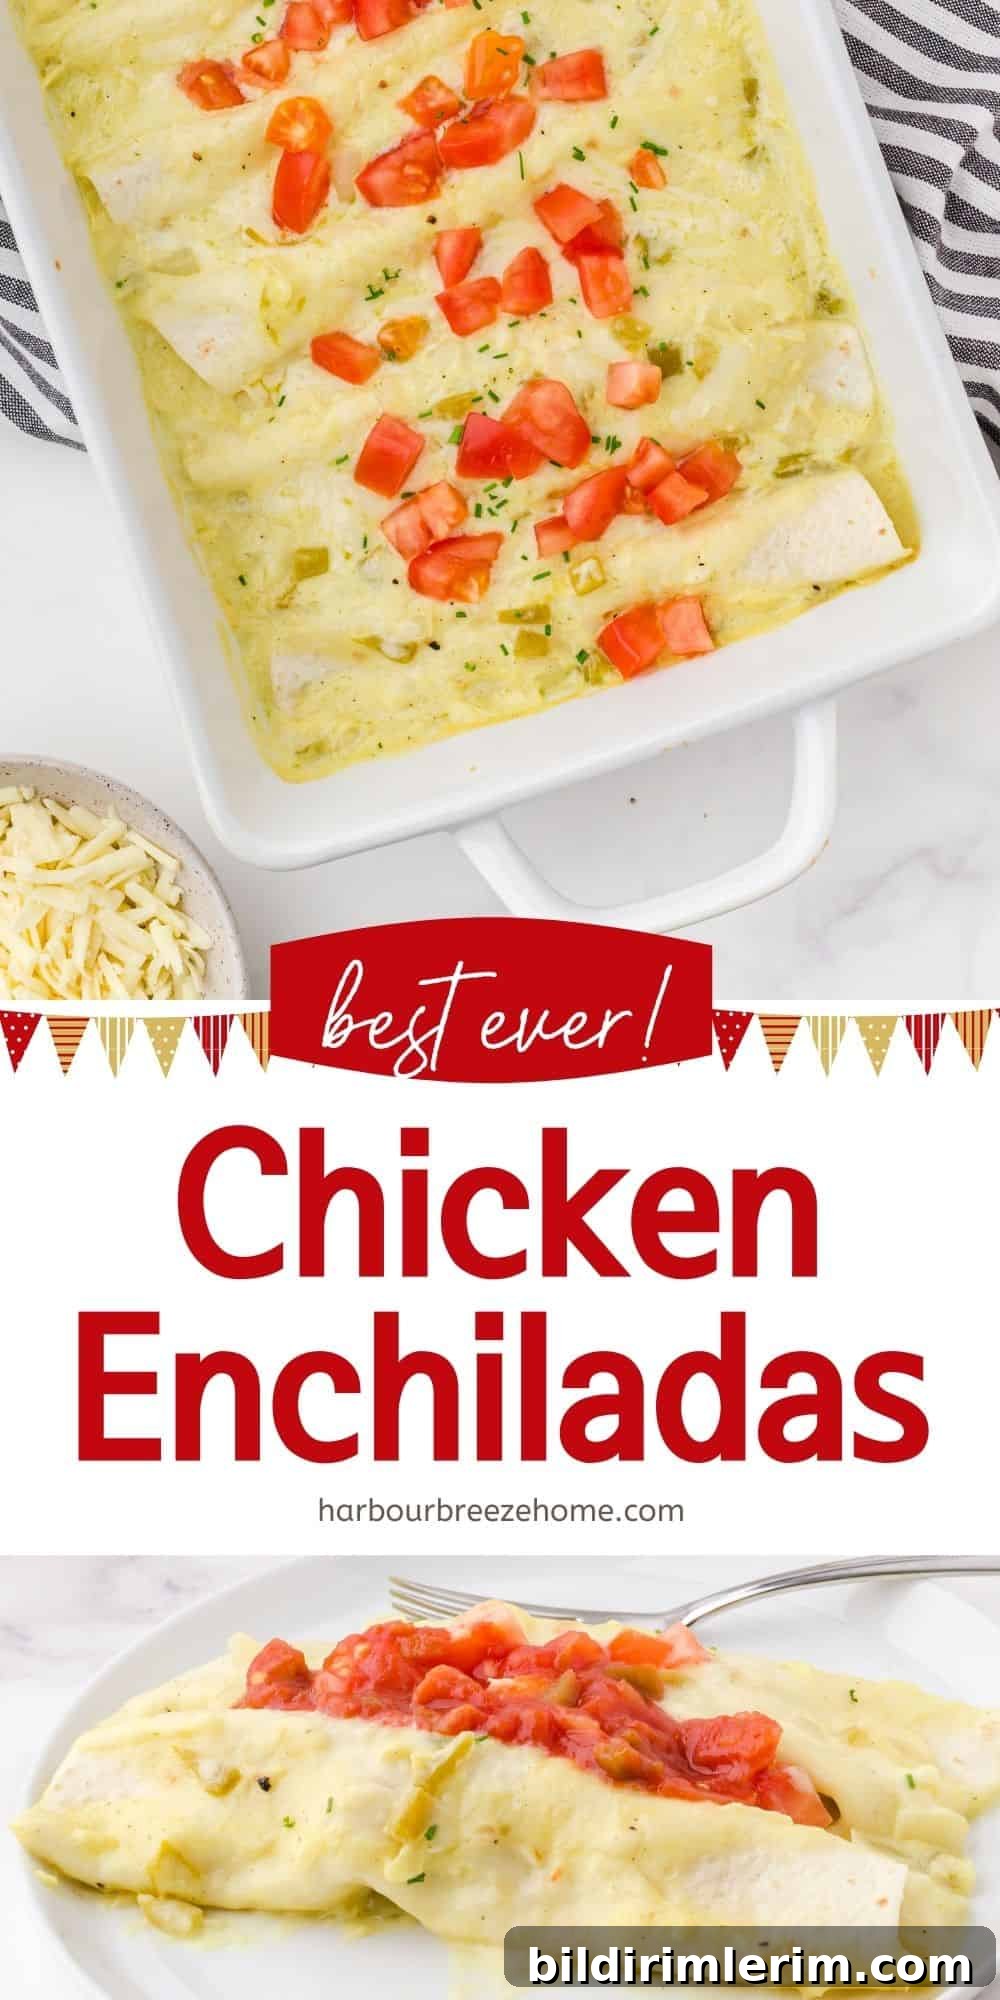
How to Make Creamy Chicken Enchiladas
Ingredients
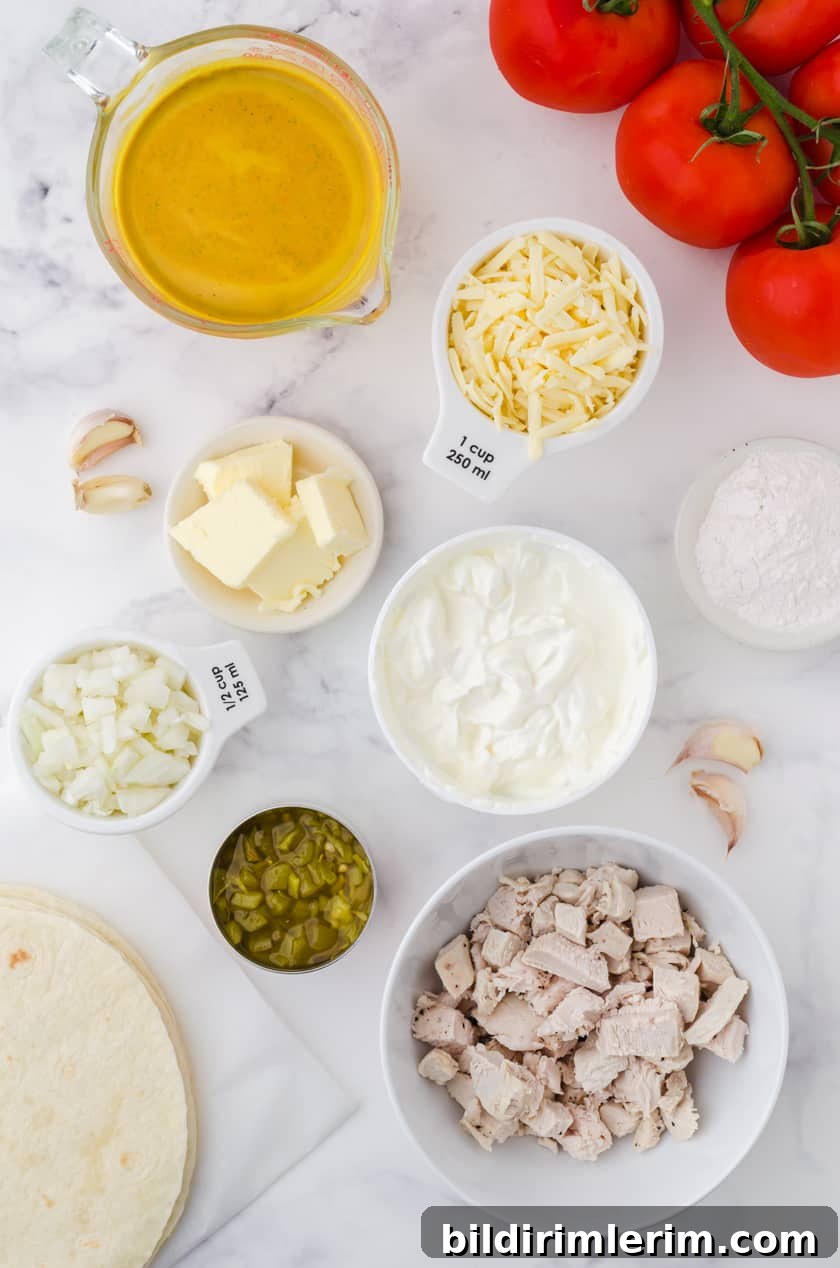
- 8 flour tortillas, 6-inch rounds (10-inch tortillas can be used if you fold the edges before rolling)
- 1/2 cup diced white onion (red onion can be substituted)
- 4 cloves garlic, minced
- Black pepper, to taste
- 2 tablespoons butter
- 3 tablespoons all-purpose flour
- 1 (8-ounce) carton sour cream
- 2 cups chicken broth (use prepared broth or reconstituted chicken broth powder)
- 1 (4-ounce) can diced green chiles, drained (or 1–2 diced fresh jalapeños if you prefer fresh heat)
- 1 cup shredded Monterey Jack cheese (or your preferred melting cheese)
- 2 1/2 cups diced cooked chicken (leftover or roasted chicken works well)
- Optional toppings: salsa, diced tomatoes, sliced black olives, extra sour cream, chopped chives
Step-by-Step Directions
Step 1: Preheat the oven to 350°F (175°C).
Step 2: Make the creamy sauce. In a medium saucepan, melt the butter over medium heat. Add the diced onion, minced garlic, and a pinch of black pepper; sauté until the onion is translucent. In a bowl, stir the flour into the sour cream until smooth, then add that mixture to the onions. Gradually stir in the chicken broth and the diced green chiles. Cook, stirring constantly, until the sauce thickens and comes to a gentle boil. Remove the pan from heat and stir in 1/2 cup of the shredded cheese until melted and smooth.
Step 3: Combine 1/2 cup of the finished sauce with the diced cooked chicken so the filling is moist and flavorful.
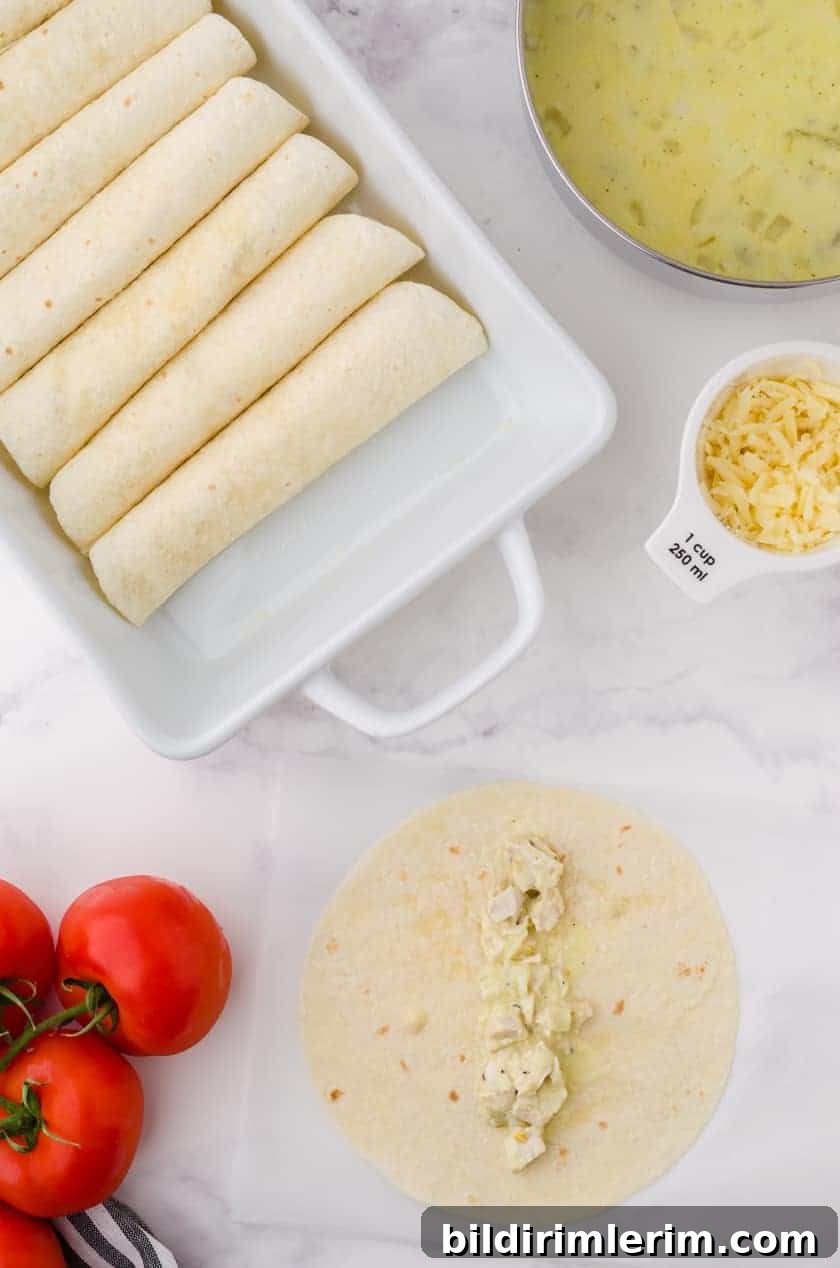
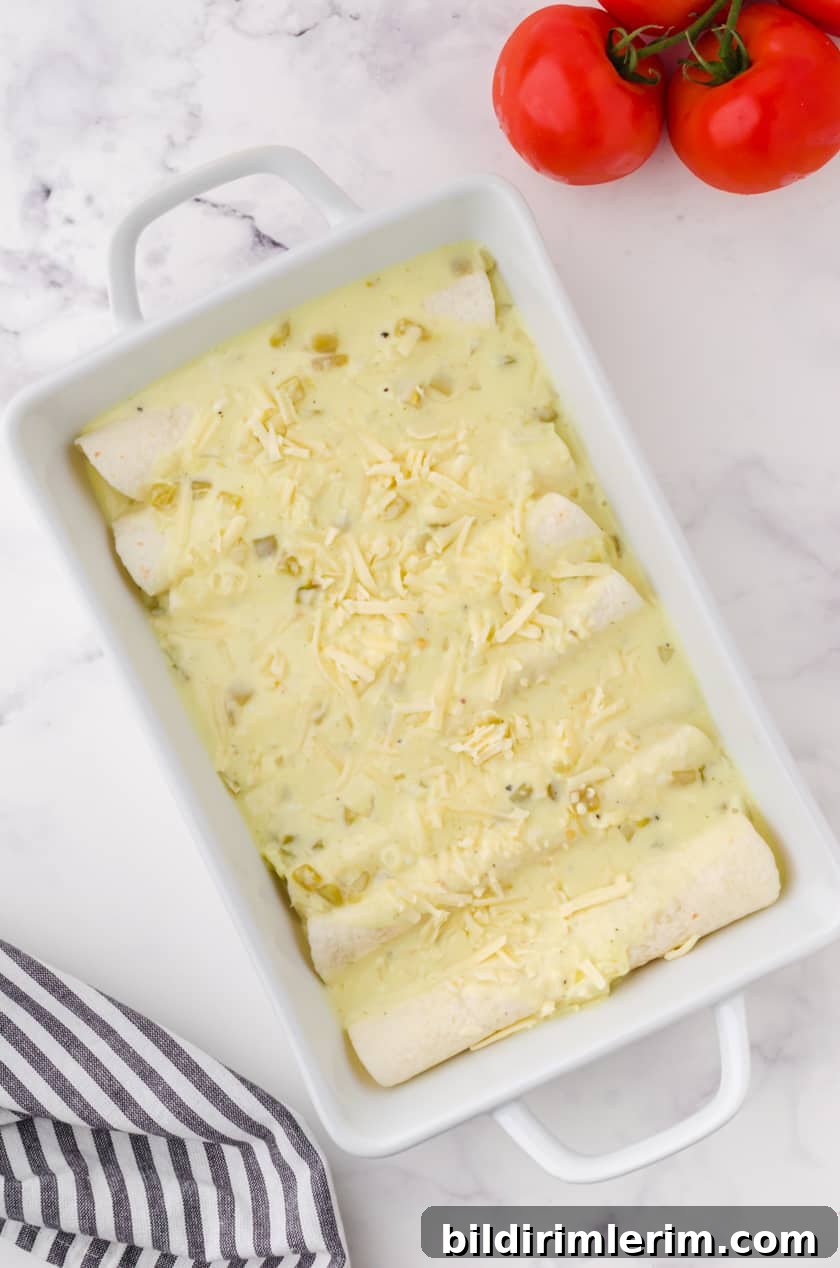
Step 4: Assemble the enchiladas. Spoon about 1/4 cup of the chicken filling down the center of each tortilla, then roll each one tightly and place seam-side down in a 7 x 11-inch baking dish (two rows of four fits nicely). Continue until all tortillas are filled.
Step 5: Pour the remaining sauce over the rolled enchiladas, making sure to cover them evenly. Sprinkle the remaining 1/2 cup of shredded cheese on top.
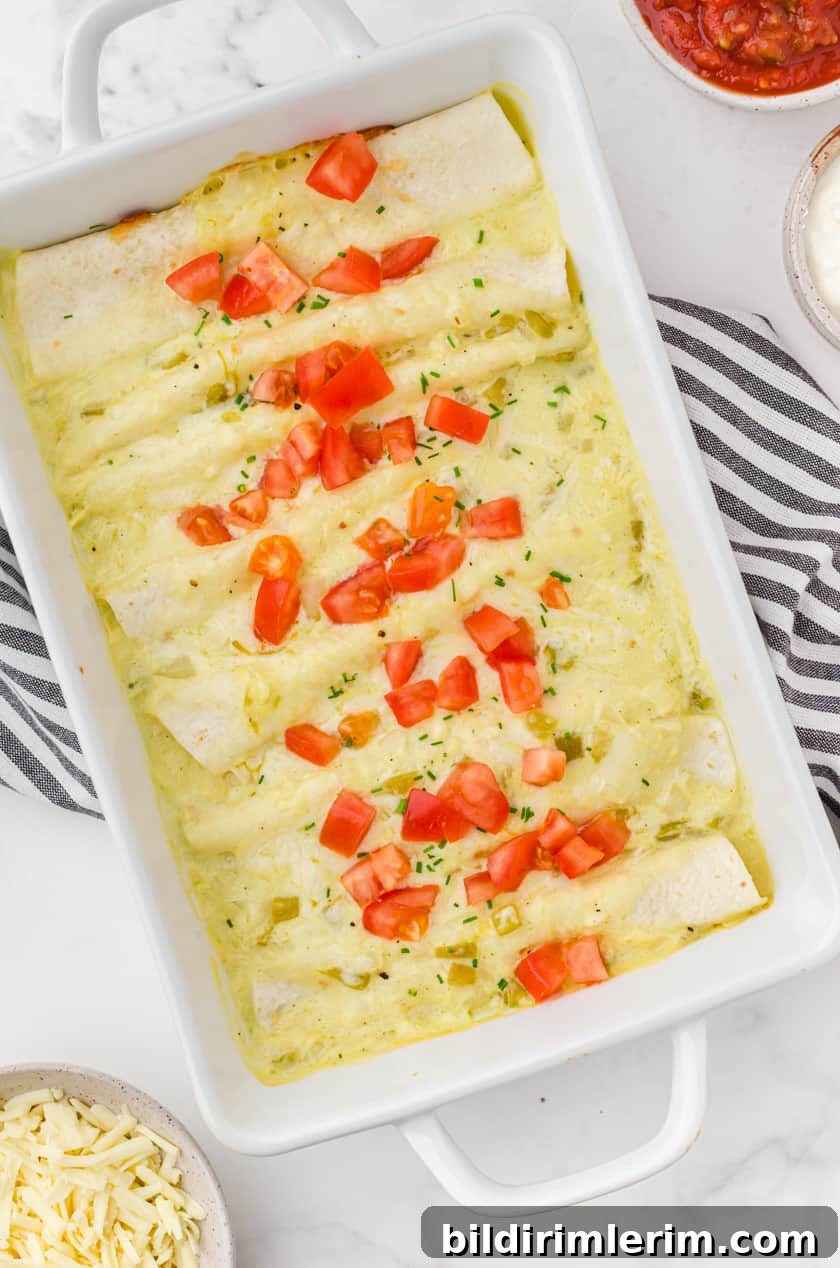
Step 6: Cover the baking dish with aluminum foil and bake at 350°F for 35 minutes, or until heated through. Remove the foil and bake an additional 5–10 minutes to brown and bubble the cheese on top.
Serving Suggestions
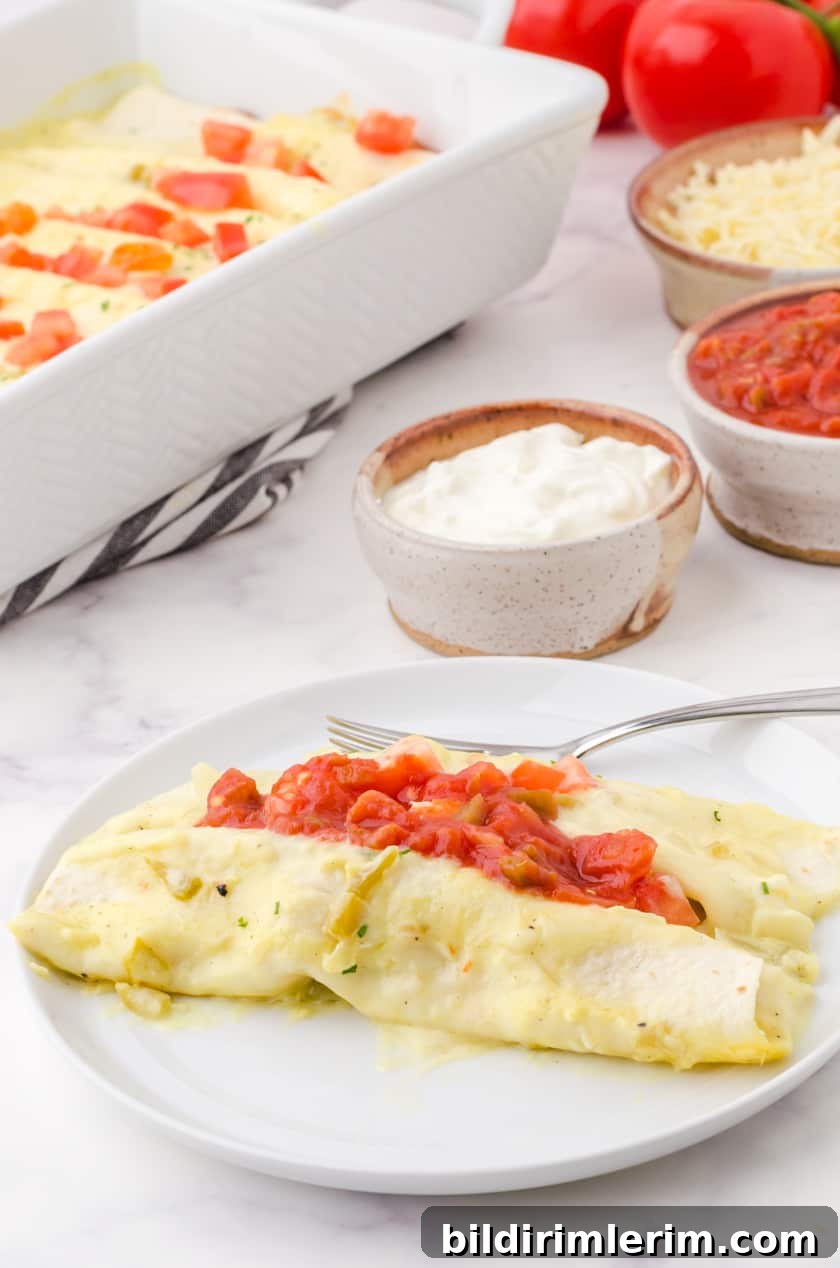
Serve these enchiladas with seasoned rice or a simple green salad and a selection of toppings like salsa, diced fresh tomatoes, sliced black olives, sour cream, and chopped chives. The fresh toppings add color and brightness that balance the rich, creamy sauce.
Make-Ahead and Freezing Tips
These enchiladas freeze very well and are ideal for meal prep. Assemble the enchiladas in a freezer-safe baking dish, cover tightly with plastic wrap and aluminum foil, or use a lidded glass baking dish. To bake from frozen, thaw in the refrigerator first, cover with foil, and bake at 350°F for about 35 minutes. Remove the foil and bake another 10 minutes until the cheese is golden and bubbling. If baking directly from frozen without thawing, add extra baking time and ensure the center reaches a safe temperature.
Other Easy Weeknight Dinner Ideas
- White Chicken Chili (slow cooker version)
- Chicken Gnocchi Soup — cozy, creamy, and filling
- Simple grilled or roasted chicken with a favorite marinade
- Tater Tot Casserole for an easy family-style meal
Recipe Card
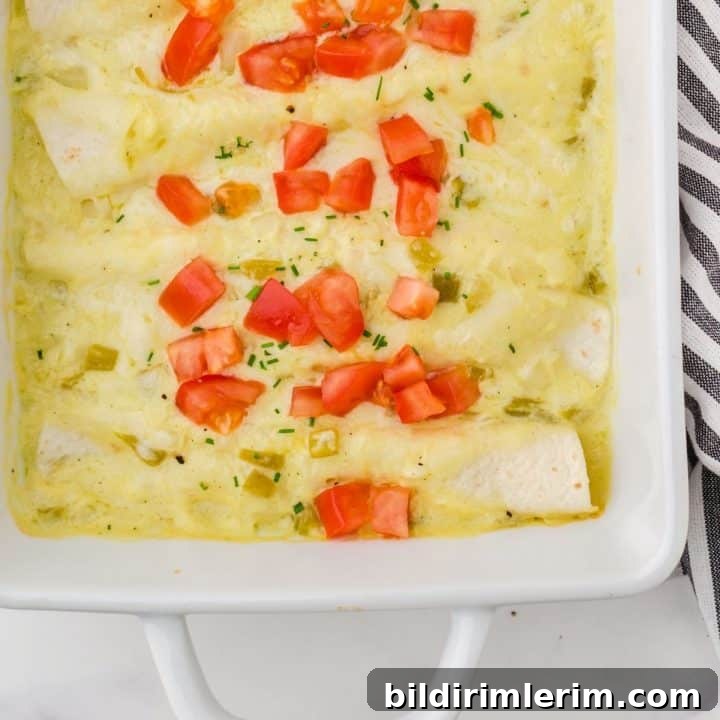
The Best Creamy Chicken Enchiladas
Flour tortillas filled with shredded chicken and a creamy white sauce are rolled, baked, and finished with melted cheese for a comforting, family-friendly meal.
Ingredients
- 8 – 6 inch flour tortillas
- 1/2 cup diced onion
- 4 cloves minced garlic
- 2 tablespoons butter
- 3 tablespoons flour
- 1 (8-ounce) carton sour cream
- 2 cups chicken broth
- 1 (4-ounce) can diced green chiles
- Pepper to taste
- 1 cup shredded Monterey Jack cheese
- 2 1/2 cups diced cooked chicken
- Favorite toppings such as diced tomatoes, salsa, and sour cream
Instructions
- Preheat oven to 350°F (175°C).
- Sauté onion, garlic, and pepper in butter until onion is translucent. Stir flour into sour cream and add to the pan.
- Stir in chicken broth and diced green chiles. Cook, stirring, until thickened and simmering. Remove from heat and stir in 1/2 cup cheese.
- Combine 1/2 cup of the sauce with the diced chicken. Place about 1/4 cup filling down the center of each tortilla, roll up, and place seam-side down in a 7 x 11-inch baking pan.
- Pour remaining sauce over the enchiladas and sprinkle with remaining cheese. Cover with foil and bake 35 minutes. Uncover and bake an additional 5–10 minutes until cheese is bubbly.
Nutrition Information (per serving)
Calories: 565 | Total Fat: 30g | Saturated Fat: 13g | Cholesterol: 105mg | Sodium: 897mg | Carbohydrates: 48g | Fiber: 4g | Sugar: 5g | Protein: 27g
If you make this recipe, feel free to note any personal tweaks—different cheeses or additional spices—to tailor it to your family’s tastes. Enjoy!