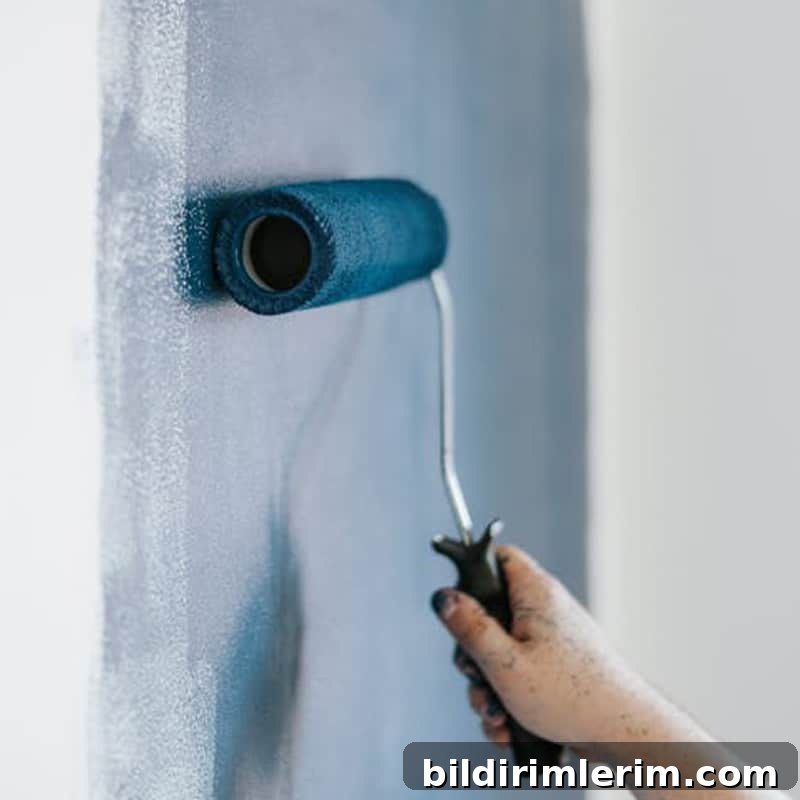
In this article you’ll find a clear, step-by-step guide to painting a room from start to finish, with practical tips to make the job easier and more effective.
I’ve just finished the second coat on my latest project and, between the sore muscles and the satisfaction of a refreshed room, I’m reminded how transformative a fresh coat of paint can be. If you’re working with a tight budget, painting is the single most impactful update you can make to change the look and mood of a space.
If you’re new to painting rooms, follow this simple guide. I’ve learned a lot from hands‑on experience over the years and if I can do it, you can too.
How to Paint a Room
1. Choose a paint color
Picking a color can feel overwhelming. Use these practical steps to narrow your choices with confidence:
- Create an inspiration folder. Collect photos from Pinterest, magazines, or rooms that feel right for your space. Look for patterns: similar wall tones, lighting, or flooring that appeal to you.
- Identify the mood you want. Ask yourself what feeling each inspiration photo evokes and which colors contribute to that mood.
- Note any paint names you like. If an article lists the exact paint, write it down and search for more examples of that shade online to see how it performs in different lighting.
- Look for coordinating color palettes. Whole‑home palettes and designer color schemes are useful when you want accent colors or a cohesive flow between rooms.
- Ask a designer or paint store consultant if needed. Free in-store consultations or paid in‑home visits can help when you’re stuck; bring photos and measurements to get the best advice.
- Bring swatches home. Don’t trust how colors look in the store. Tape swatches to the wall and observe them at different times of day under natural and artificial light.
- Buy sample cans and make large test panels. Paint two coats on poster board or primed boards and tack them to the wall to see the true color at scale.
2. Purchase the paint
Once you’ve chosen a color, select a reputable paint brand. Paint quality varies, and cheaper options can be thin and require extra coats. Brands such as Benjamin Moore, Sherwin‑Williams, and Behr offer lines that provide good coverage. Be wary of “one‑coat” claims—coverage depends on color, surface, and product.
Choose the paint finish (sheen) that suits the room and note how much area you need to cover. As a general guideline, one gallon of paint covers about 400 square feet.
3. Decide whether you need primer
Primer prepares surfaces so your topcoat adheres and looks even. Use primer in these situations:
- When covering oil‑based paint with latex—you must prime first.
- When painting over dark stain, wallpaper, slick paneling, or any surface that is glossy or resistant to paint.
- When changing from a very dark to a very light color, primer reduces the number of top coats needed.
Primer isn’t always necessary, for example when repainting latex over latex in a similar shade, but it’s worth using when adhesion or color blocking is a concern.
4. Assemble your supplies
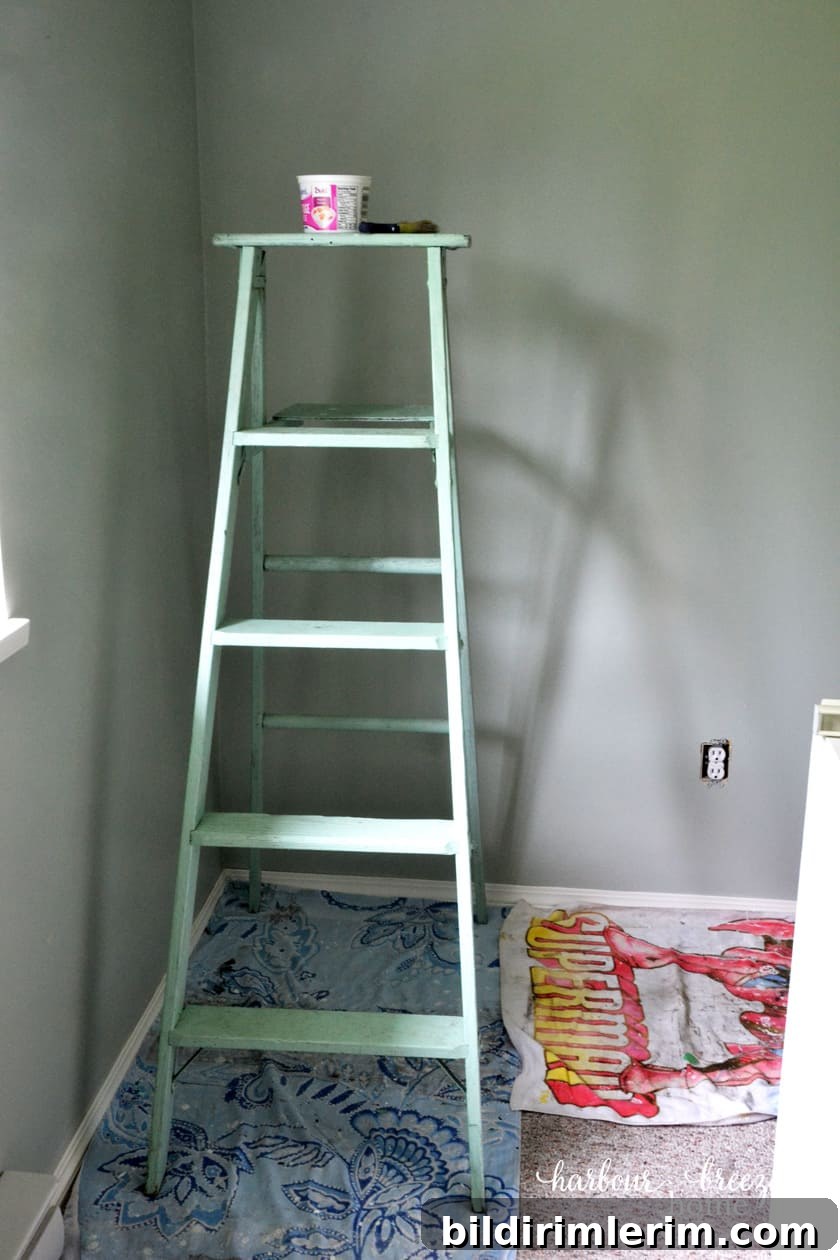
Gather paint, primer (if needed), rollers, brushes, trays, an extension pole, drop cloths, sandpaper, spackling compound, a ladder, and cleaning supplies. Wear a painting apron or old clothes. Old towels make handy drop cloths to protect floors from drips.
5. Prep the room
Proper prep ensures a smooth finish. Clean walls to remove dirt and grease—use a degreaser or TSP cleaner for heavy buildup. Sand glossy surfaces lightly to provide tooth for the paint. Fill holes and dents with spackling, sand smooth once dry, and prime patched areas if your paint doesn’t include primer.
Remove switch and outlet covers and protect the floor and furniture with cloths or drop cloths.
6. Cut in along the ceiling and trim
“Cutting in” means painting the edges where a roller won’t reach: along ceilings, corners, and trim. Use a comfortable angled brush and stand on a step ladder so you can clearly see the line. Dip the brush about an inch into the paint, tap off excess, place the brush slightly below the ceiling line, and move steadily to create a straight edge. Work with a confident, fluid stroke rather than slow, hesitant movements.
Keep a damp rag nearby to remove any mistakes while the paint is wet. Painter’s tape can help for multi‑pane windows or stair rails, but remove it before the paint fully dries or score the edge first with a knife to avoid peeling.

7. Roll on the paint
After cutting in, use a roller with an extension pole to cover the main wall area. Load the roller evenly in the tray and apply paint in long, even strokes from top to bottom, working in sections. Blend between rolled sections while the paint is still wet to avoid lap marks. Watch for drips and smooth them out promptly.
8. Apply a second coat
Allow the first coat to dry fully, then repeat the process: cut in around edges and roll the second coat. Most projects need two coats for even coverage and depth of color, though heavily pigmented or very light hues may require more.

9. Store brushes and paint overnight
If you’re pausing between sessions, wrap brushes and rollers tightly in plastic wrap or zip‑top bags to keep them from drying out for a few hours. For overnight breaks, it’s best to wash brushes and let them dry to keep them in good condition.
10. Care for your tools and leftover paint
Clean brushes and rollers with warm water and a drop of dish soap until the water runs clear. Stand rollers upright to dry and hang brushes to keep their shape. Rinse paint trays thoroughly. Seal paint cans securely by tapping the lid with a rubber mallet and store them in a frost‑free area between 60–80°F.
Enjoy the results
Once the paint is dry, reinstall switch plates and outlet covers, remove drop cloths, and admire your refreshed room. Painting is a relatively quick, cost‑effective way to transform a space—congratulations on a job well done!
Related topics you may find helpful
- How to Paint a Metal Front Door
- How to Paint a Vinyl Door Sweep
- Simply White and Silver Strand Painted Master Bedroom
- How to Pick a Paint Color You’ll Love
- Choosing Paint Colors for a Small Dark Space
- Small Kitchen Ideas: Paint Color Combinations
For more seasonal ideas, recipes, and home projects, join the VIP list!
Become a VIP subscriber to receive access to printable resources including wall art and gift tags. Sign up to get updates and free printables delivered to your inbox.