This guide covers practical tips and step-by-step instructions for painting a room from start to finish.
I’ve just finished the second coat on my latest project, and between aching muscles and a fresh new wall, I’m reminded how transformative paint can be. If you’re working on a tight budget, a fresh coat of paint is the single most effective way to change the look and feel of a room.
If you’re new to painting, follow this friendly, clear walkthrough. I’ve tried many techniques over the years, and with a little planning and the right tools, anyone can get professional-looking results.
How to Paint a Room
1. Choose your paint color
Choosing a paint color can feel overwhelming, but a methodical approach makes it easier. Start by collecting inspiration photos—from magazines, online boards, or rooms you admire—and look for recurring elements like wall tone, lighting, and flooring. Ask yourself what mood each image evokes and whether specific designers or palettes repeat.
When you find paint names you like, search for photos of those named colors to confirm they read the same way for you. Look for curated “whole home paint color schemes” to see coordinating options for trim, accents, and adjacent rooms.
If you’re really unsure, consider a designer consultation—many paint stores or independent designers offer quick advice or in-home color help. When you’ve narrowed options, bring swatches home. Lighting dramatically changes how paint appears, so view the swatches on your walls in morning, afternoon, and evening light.
Narrow to three favorites and buy small sample cans. Create large swatches by painting two coats on poster board and pinning them to the wall. These oversized samples reveal how color reads at room scale and under your lighting conditions. This simple testing step prevents costly mistakes.
2. Buy the right paint
All paints aren’t equal. Some lower-cost options may require more coats for full coverage. Brands vary, and many offer lines formulated with better pigment and durability. Read product labels for coverage estimates and whether the paint includes primer. Keep in mind that very light or very dark colors can behave differently and may need extra coats.
Decide on the finish (sheen) before you buy—matte, eggshell, satin, semi-gloss, etc.—based on the room’s use and desired durability. Also calculate your room’s square footage so you buy the correct quantity; one gallon typically covers about 350–400 square feet depending on the product.
3. Decide whether you need primer
Primer prepares a surface for paint and improves adhesion and coverage. You’ll usually need primer when:
- Painting latex paint over oil-based paint
- Covering very dark or stained surfaces
- Painting over stained or bare wood, wallpaper, slick paneling, or similar challenging surfaces
If you’re repainting latex over latex and sticking with a similar shade, primer may not be necessary. When in doubt, priming will often give a more even finish and reduce the number of topcoats required.
4. Gather supplies
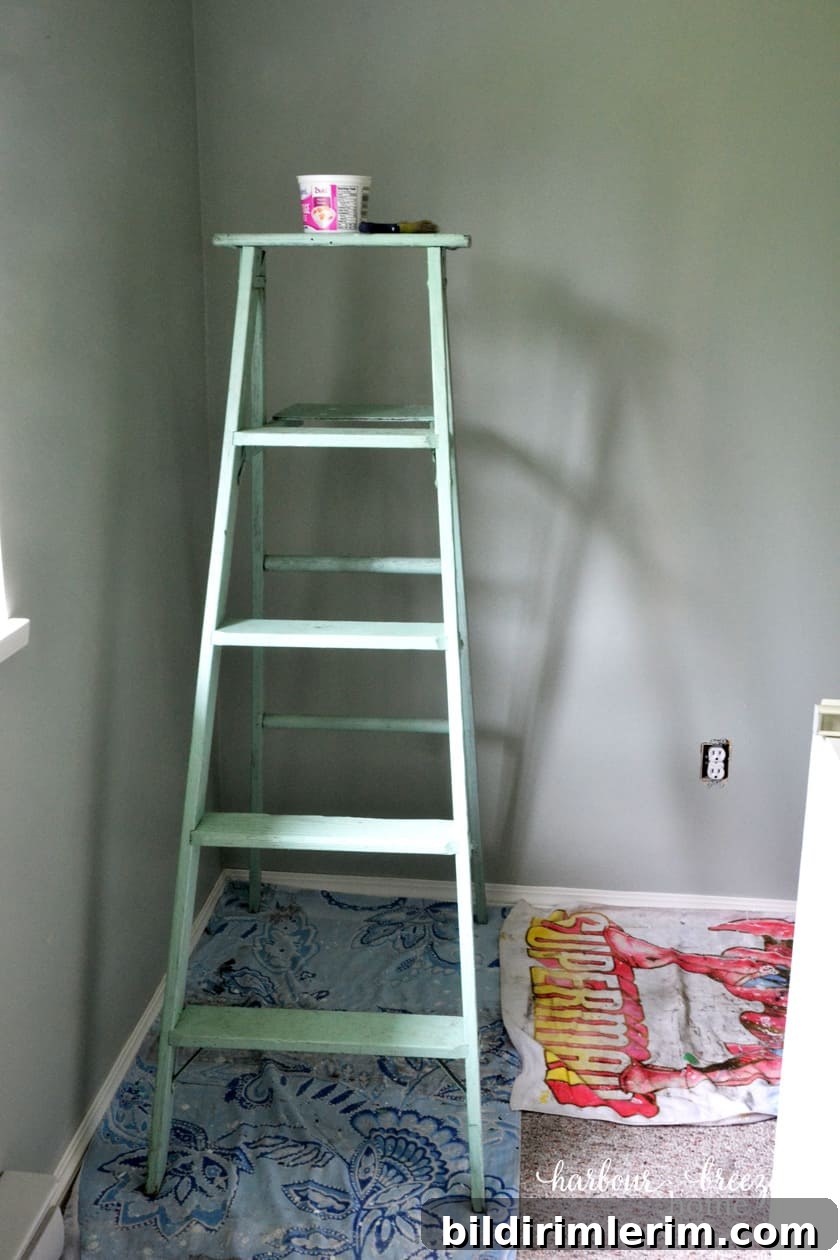
Assemble brushes, rollers, an extension pole, a paint tray, drop cloths, a step ladder, sandpaper, spackling and putty knife, painter’s tape (for specific edges), rags, and cleaning supplies. A comfortable painting apron and old towels as drop cloths work well. Quality tools make the job easier and give better results.
5. Prep the room
Proper preparation is essential. Clean the walls to remove grease and dirt—use a mild degreaser for kitchens or heavily soiled areas. Sand glossy surfaces lightly and repair holes or dents with spackling, then sand smooth. Remove light switch and outlet covers and protect floors and furniture with drop cloths.
If you’re applying primer, do it before the topcoat. Primer doesn’t need to look perfect—its job is to create a surface that will accept paint evenly.
6. Cut in along ceilings and trim
Cutting in means painting the narrow areas near the ceiling, corners, and trim with a brush before rolling the main wall surfaces. Use a comfortable angled brush and stand on a ladder so you can clearly see the seam between the wall and ceiling. Dip the brush about an inch into the paint, tap off excess, and paint a steady line. Practice builds control; moving the brush smoothly and confidently yields the best edge.
Keep a damp rag nearby for quick clean-ups. Painter’s tape can help in tricky areas, but remove it before the paint is fully dry to avoid peeling. If necessary, score the tape edge with a utility knife before removing.
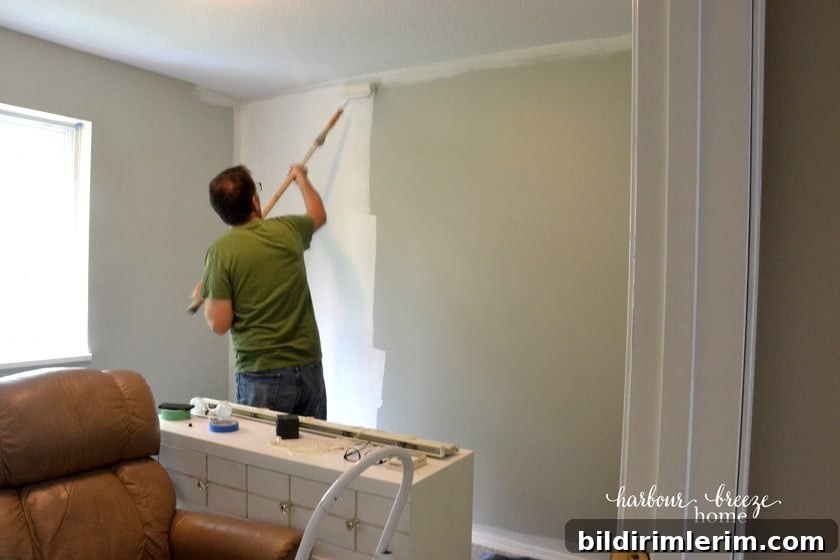
7. Roll the walls
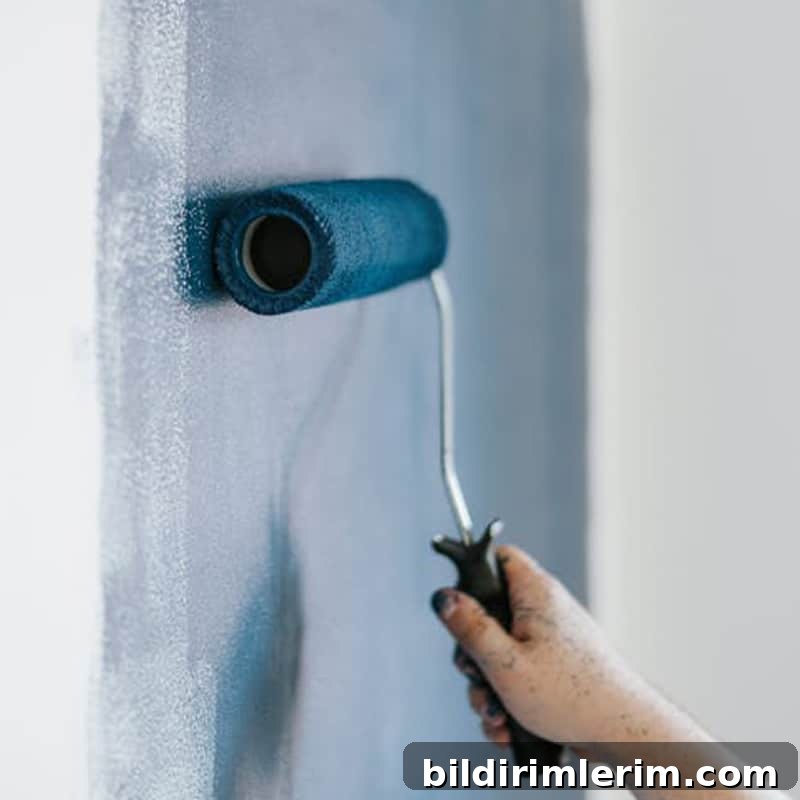
Attach a roller to an extension pole and load it evenly in a paint tray. Work in sections using long, overlapping “W” or vertical strokes, then blend to minimize roller marks. Keep an eye out for drips and smooth them before they dry. Rolling delivers the bulk of the coverage and brings the room to life.
8. Apply a second coat
Allow the first coat to dry fully, then repeat the cut-in and rolling process for a second coat. Two coats are common for an even, durable finish; some surfaces may need additional touch-ups.

9. Storing brushes and rollers between sessions
If you pause for a few hours, tightly wrap brushes and rollers in plastic to prevent drying. For overnight or longer, washing brushes and rollers with warm water and a bit of dish soap preserves their shape and performance.
10. Clean and care for your tools
Cleaning tools after each job extends their life. Rinse brushes and rollers until the water runs clear, use mild soap if needed, and let brushes air dry hanging or lying flat. Clean the paint tray thoroughly and seal any leftover paint cans tightly. Store paint in a cool, dry place above freezing temperatures.
Celebrate your new room
Take a step back and enjoy the difference. Painting a room is a cost-effective way to refresh your home and can be accomplished by most DIYers with some preparation and patience.
Related topics to explore
- How to paint a front door
- Painting vinyl or metal trims
- Choosing a white that brightens a dark space
- Picking paint colors that work together in small kitchens or throughout a home
For more home projects, tips, and seasonal ideas, consider joining our mailing list for exclusive printables and updates.
Become a VIP newsletter subscriber and get instant access to a library of free printables, wall art, gift tags, and more—sign up to receive project ideas and helpful guides directly to your inbox.